50 Days of Working on My Thesis
Day 1 - Jan 28
Day 2 - Jan 29
![]()
![]()
Day 3 - Jan 30
Day 4 - Jan 31
Day 5 - Feb 1
Day 6 - Feb 2
Day 7 - Feb 3
Day 8 - Feb 5
Day 9 - Feb 6
![]()
Day 10 - Feb 7
![]()
![]()
Day 11 - Feb 8
Day 12 - Feb 12
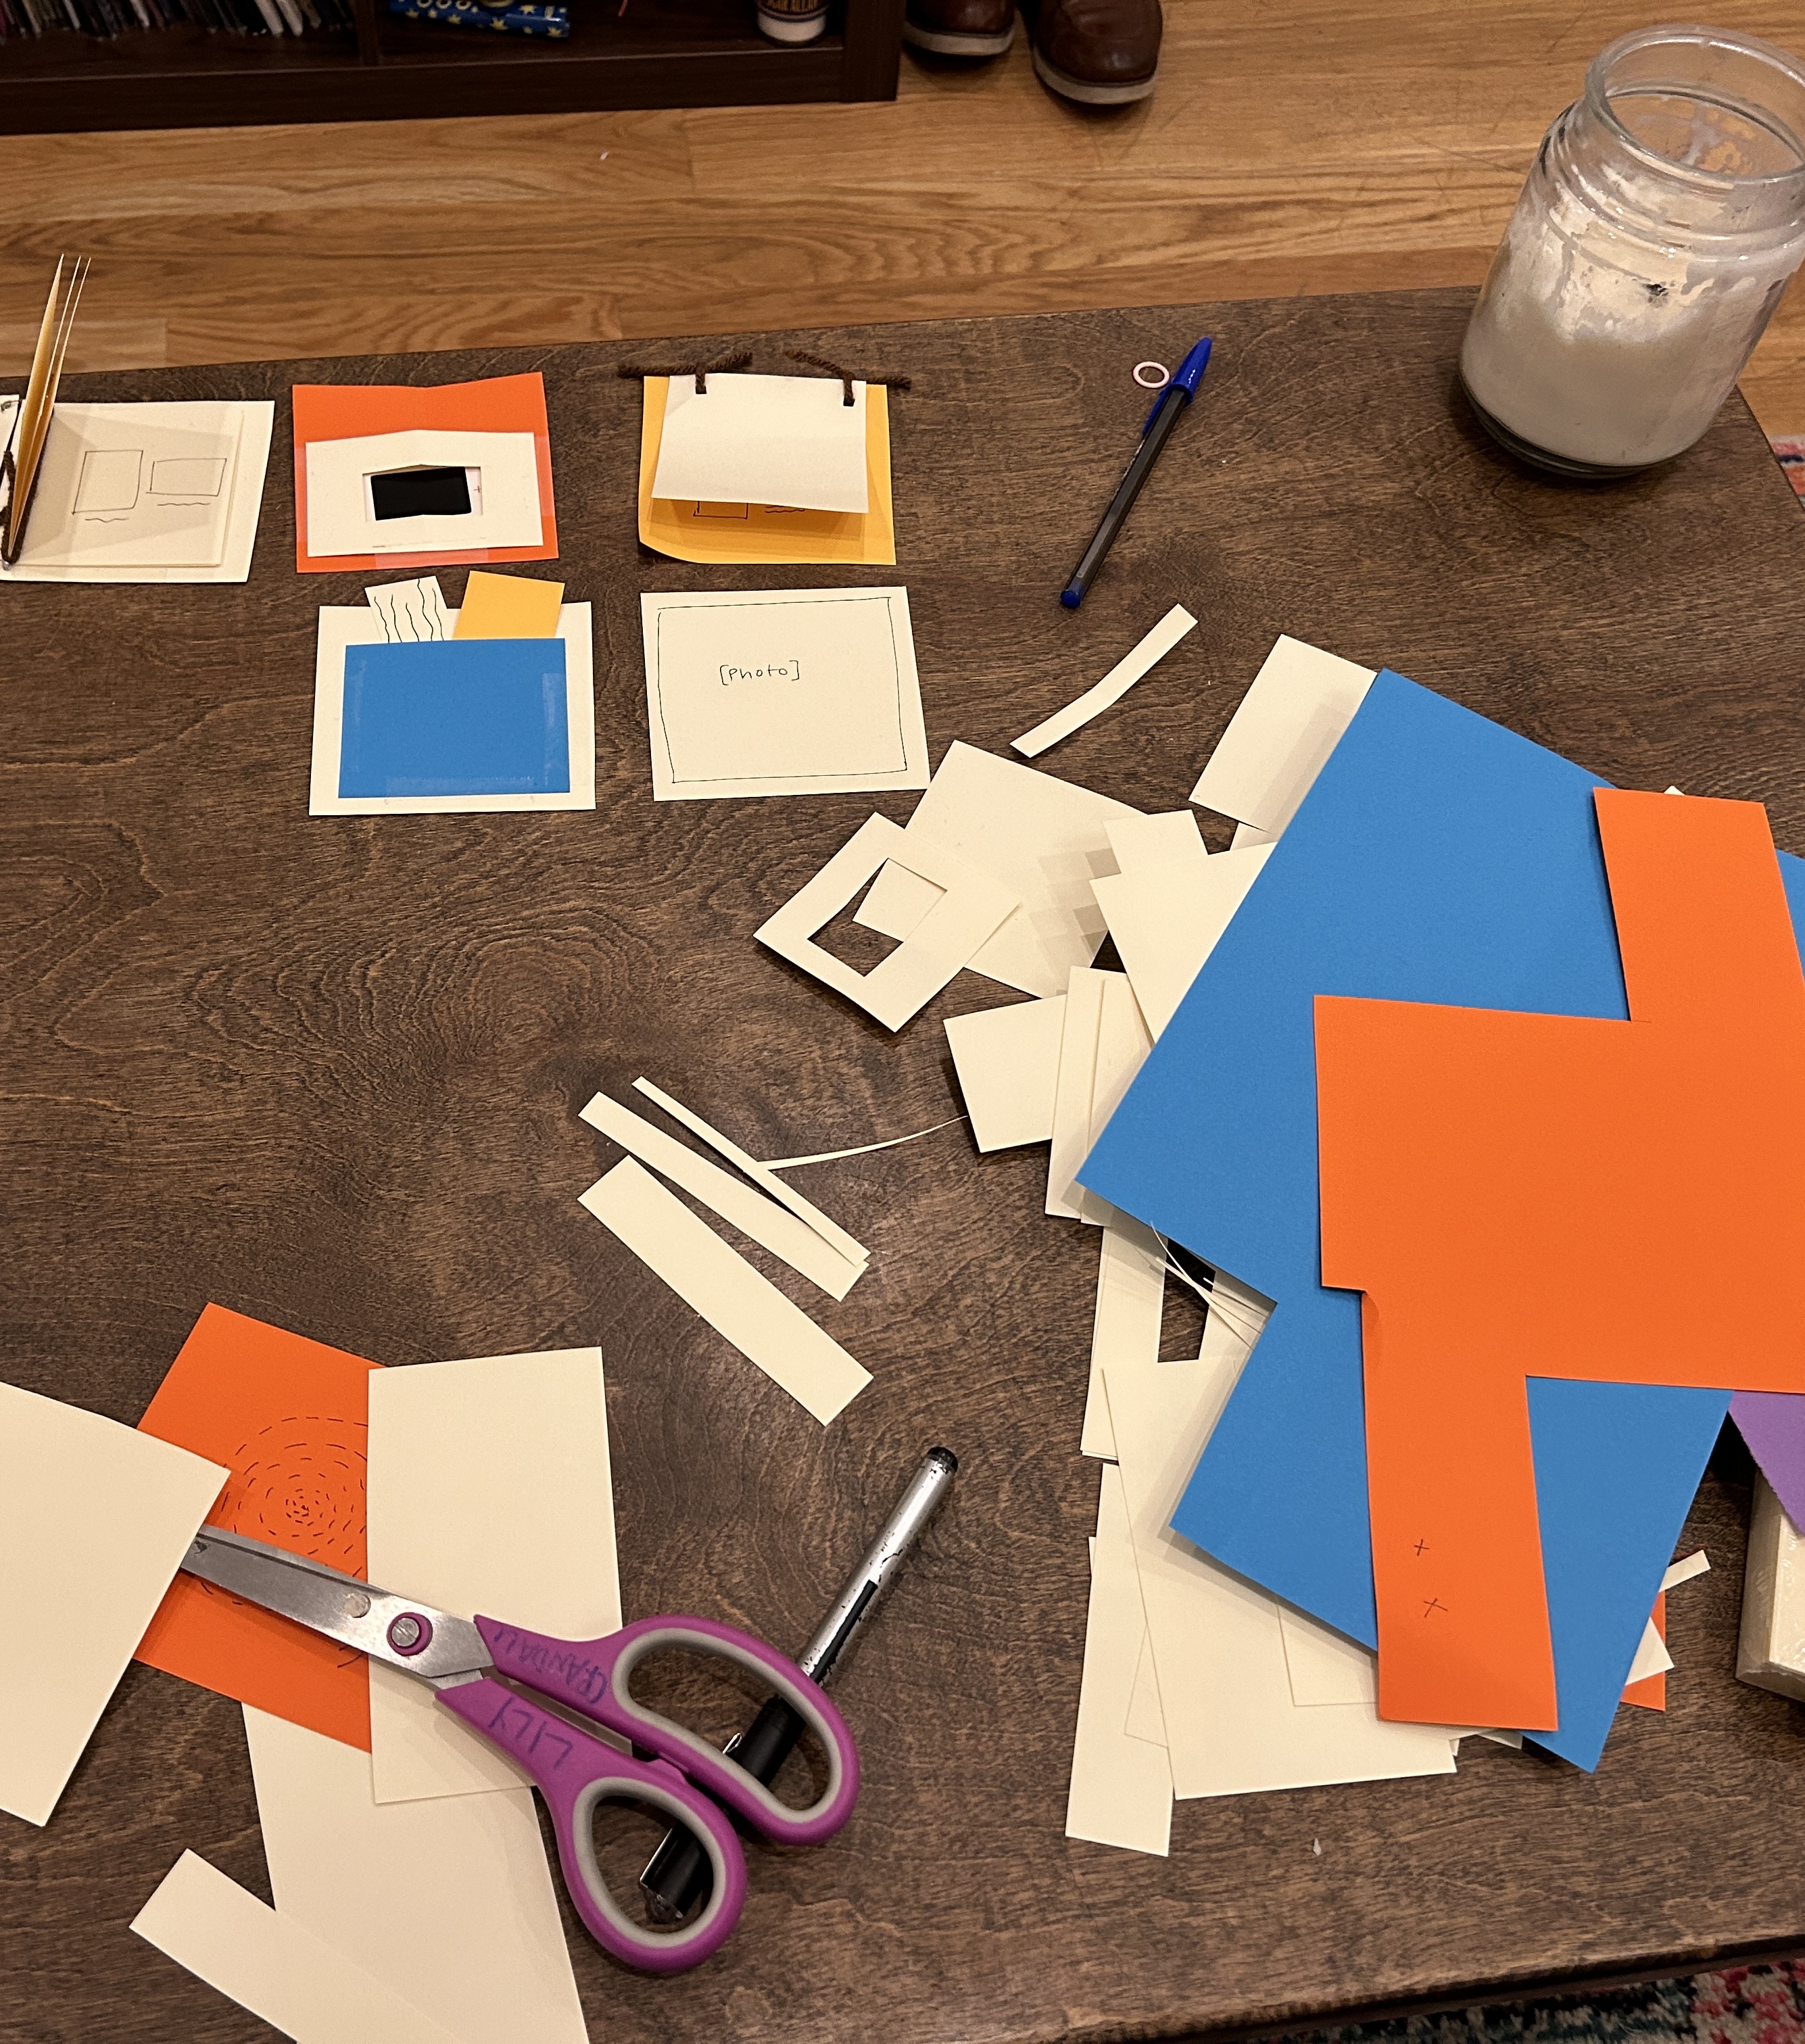
Day 13 - Feb 13
![]()
![]()
![]()
![]()
![]()
Day 14 - Feb 14
Day 15 - Feb 16
Day 16 - Feb 20
![]()
![]()
Day 17 - Feb 21
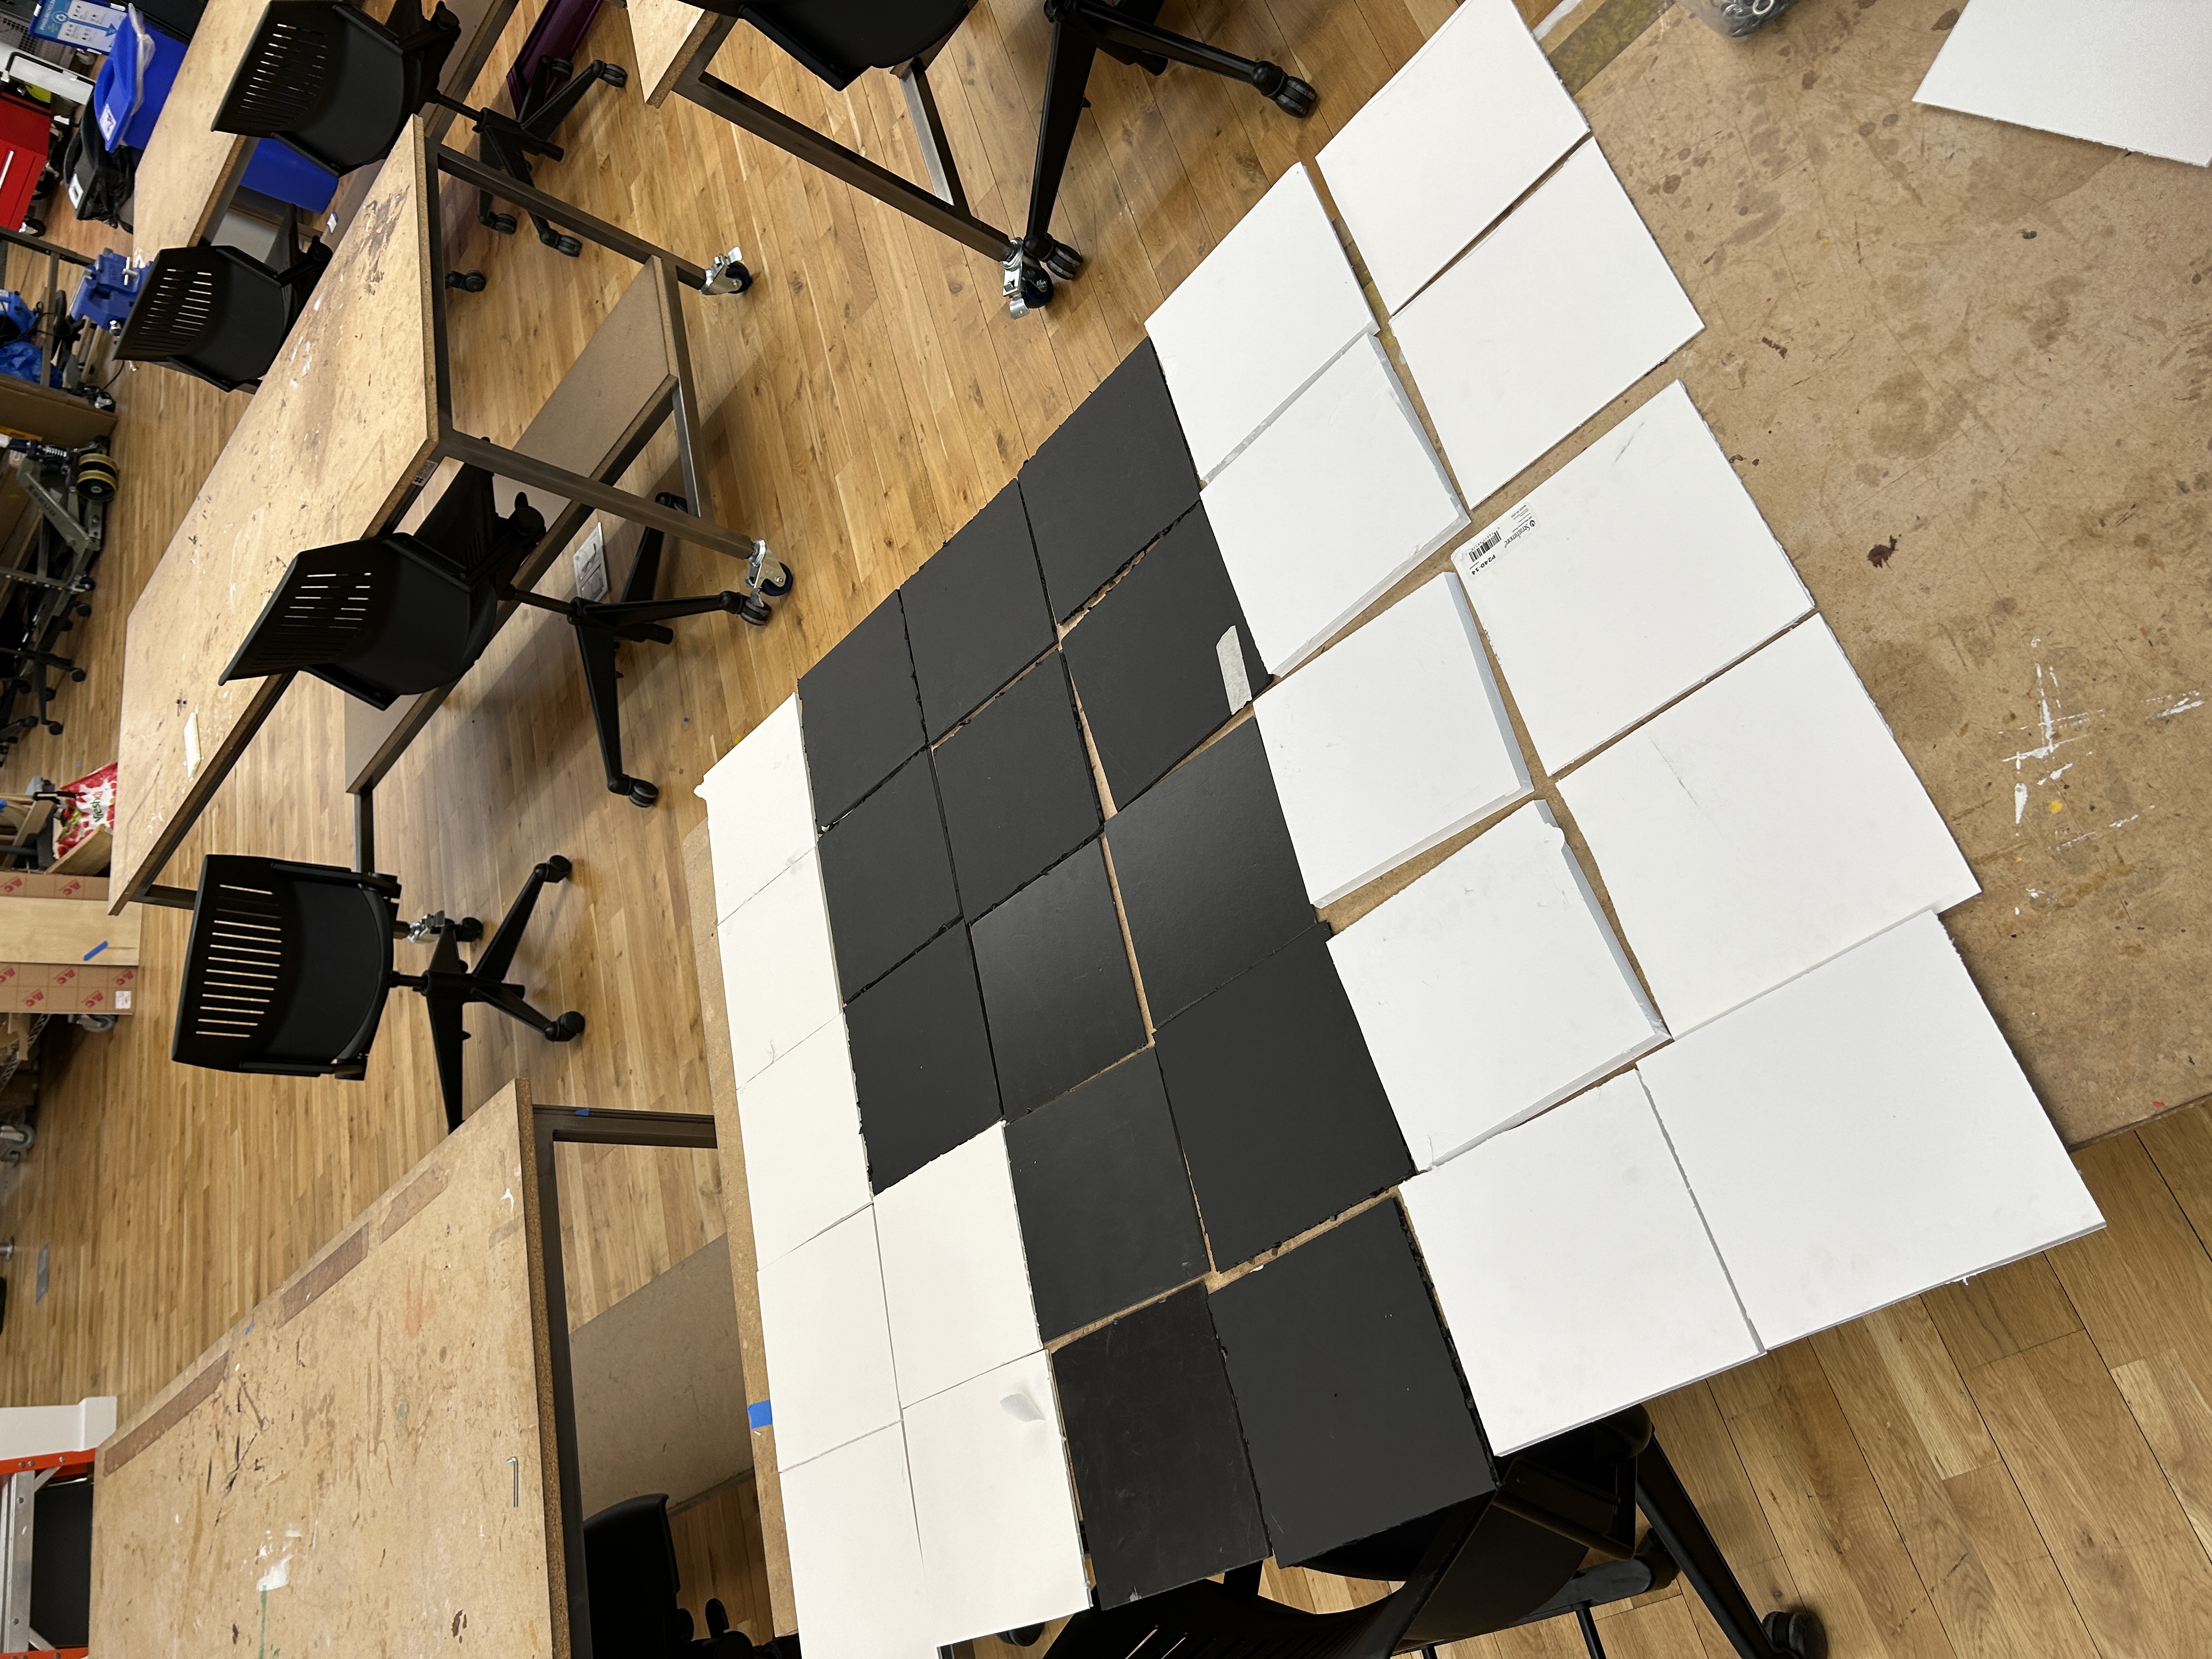
![]()
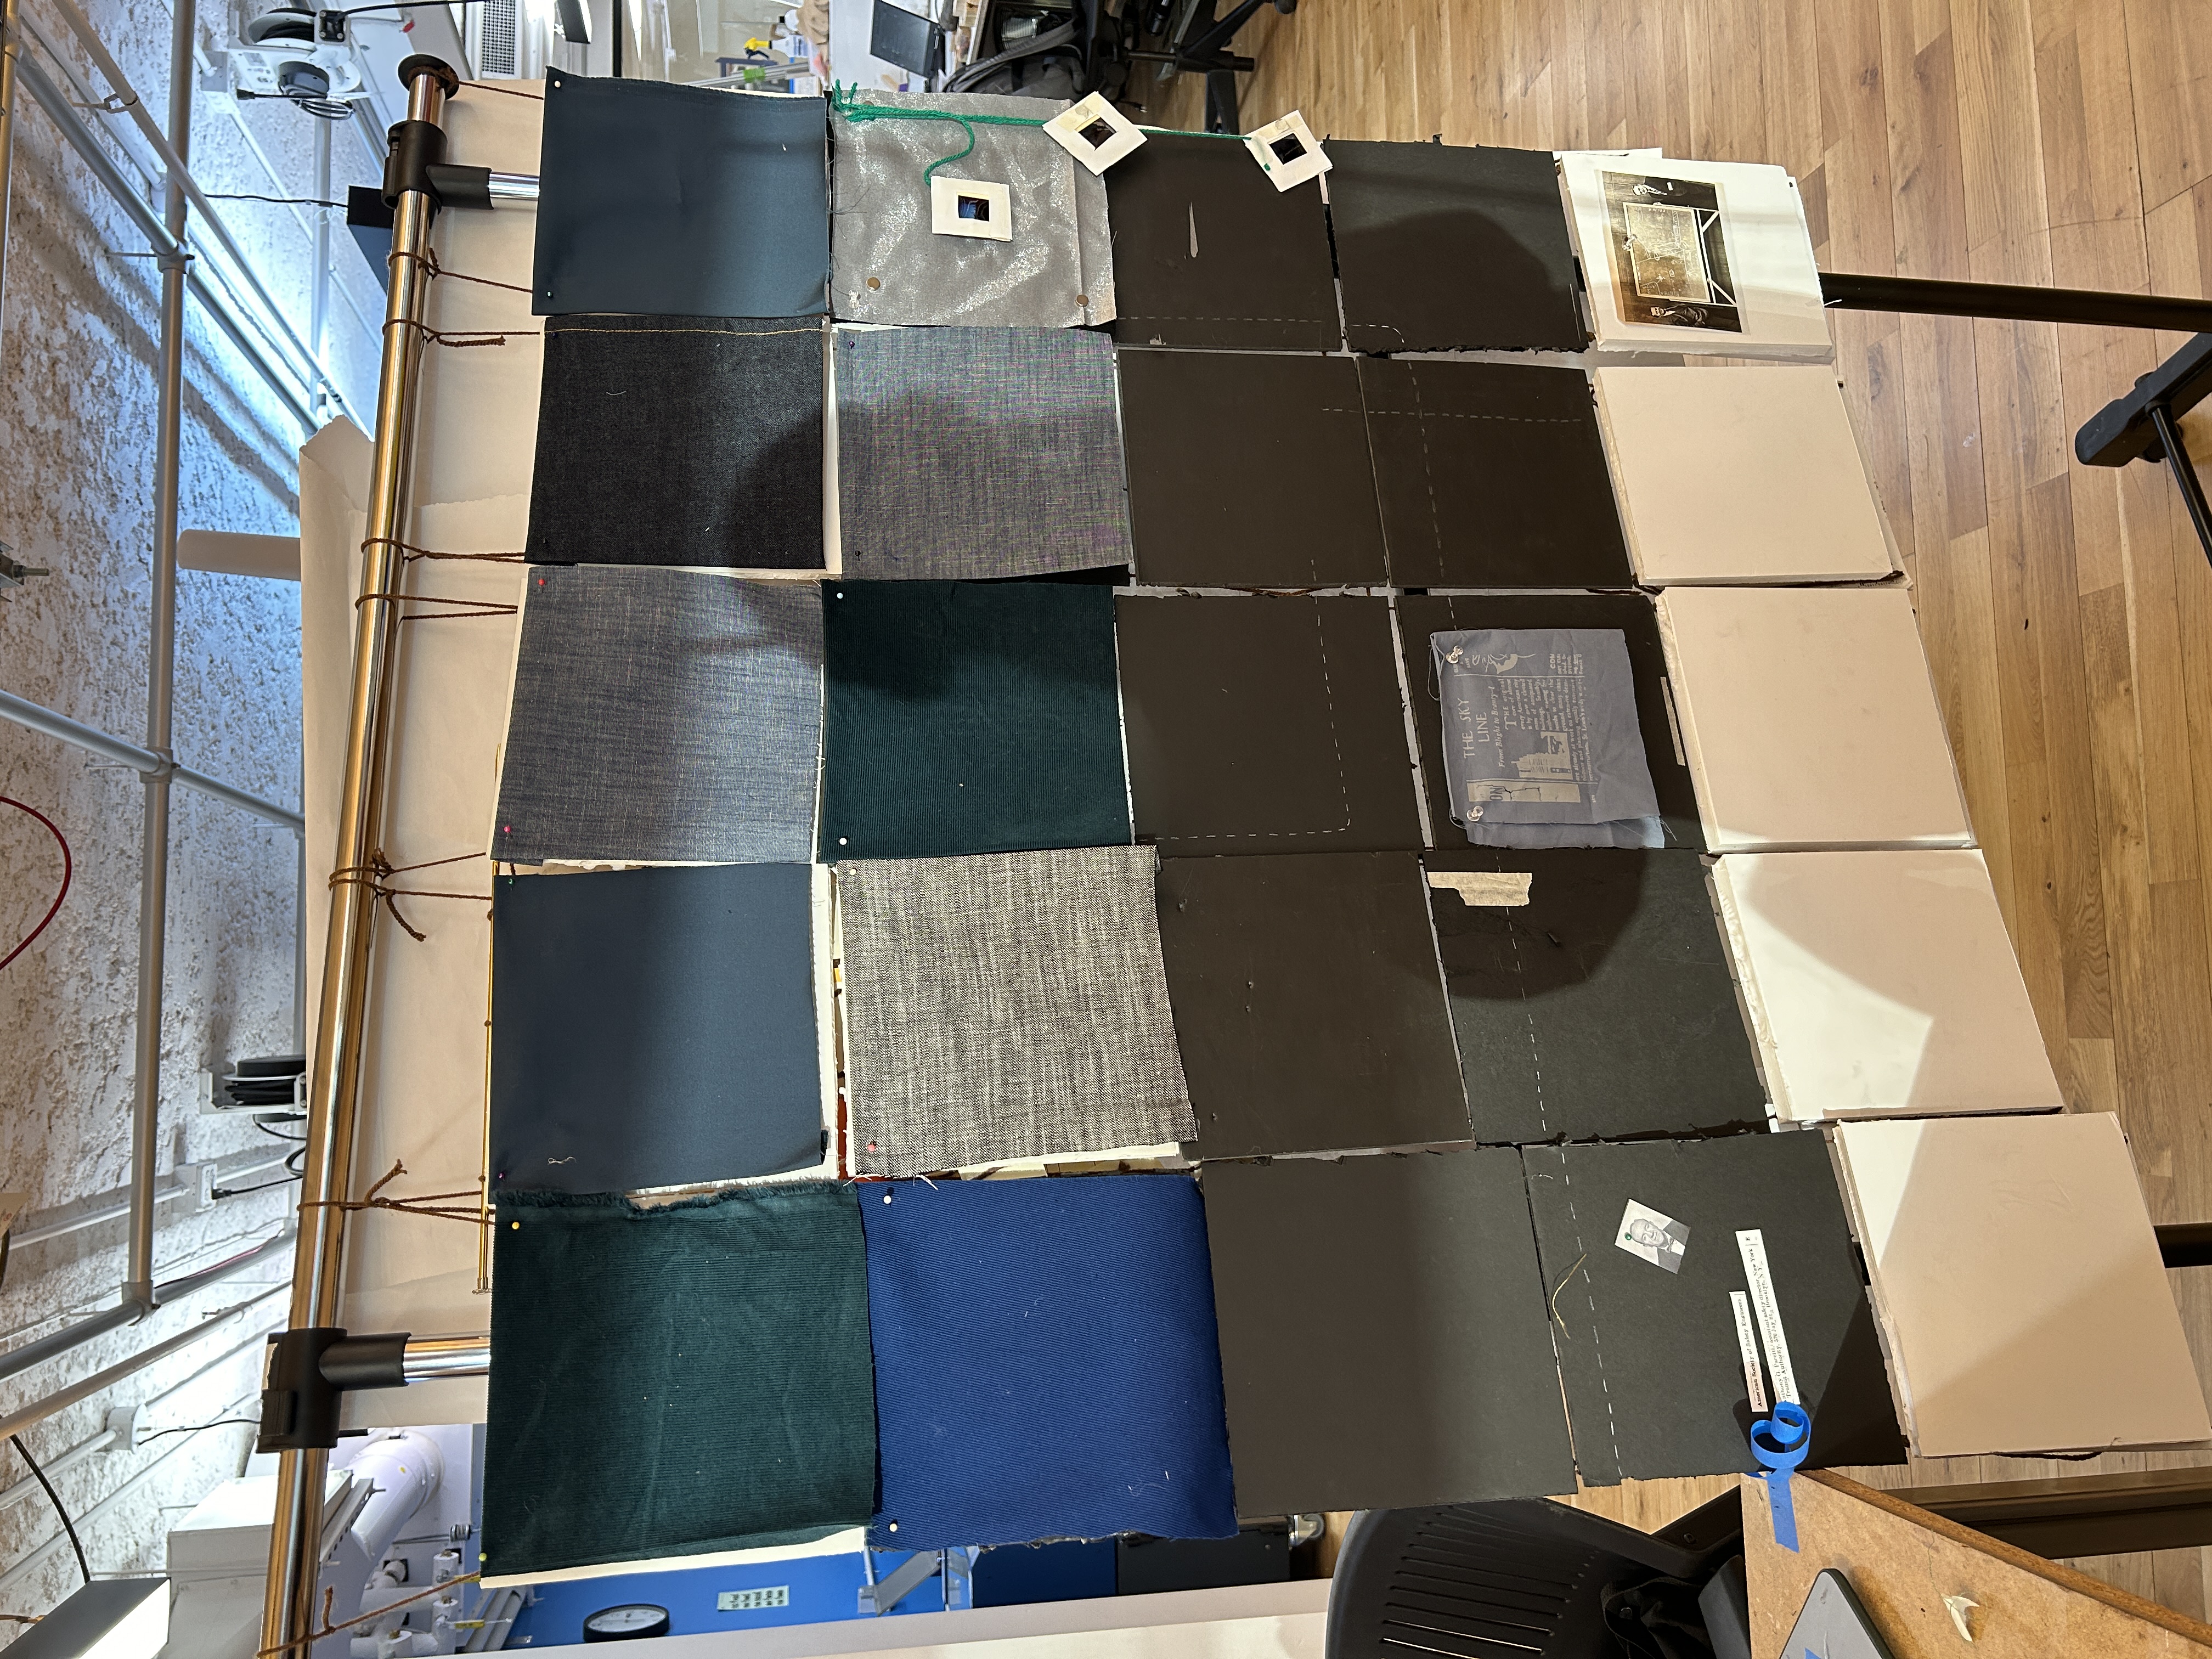
![7x7" squares, 5x6]()
![same quilt on the wall]()
![8x8" squares, 5x6]()
![paper mess]()
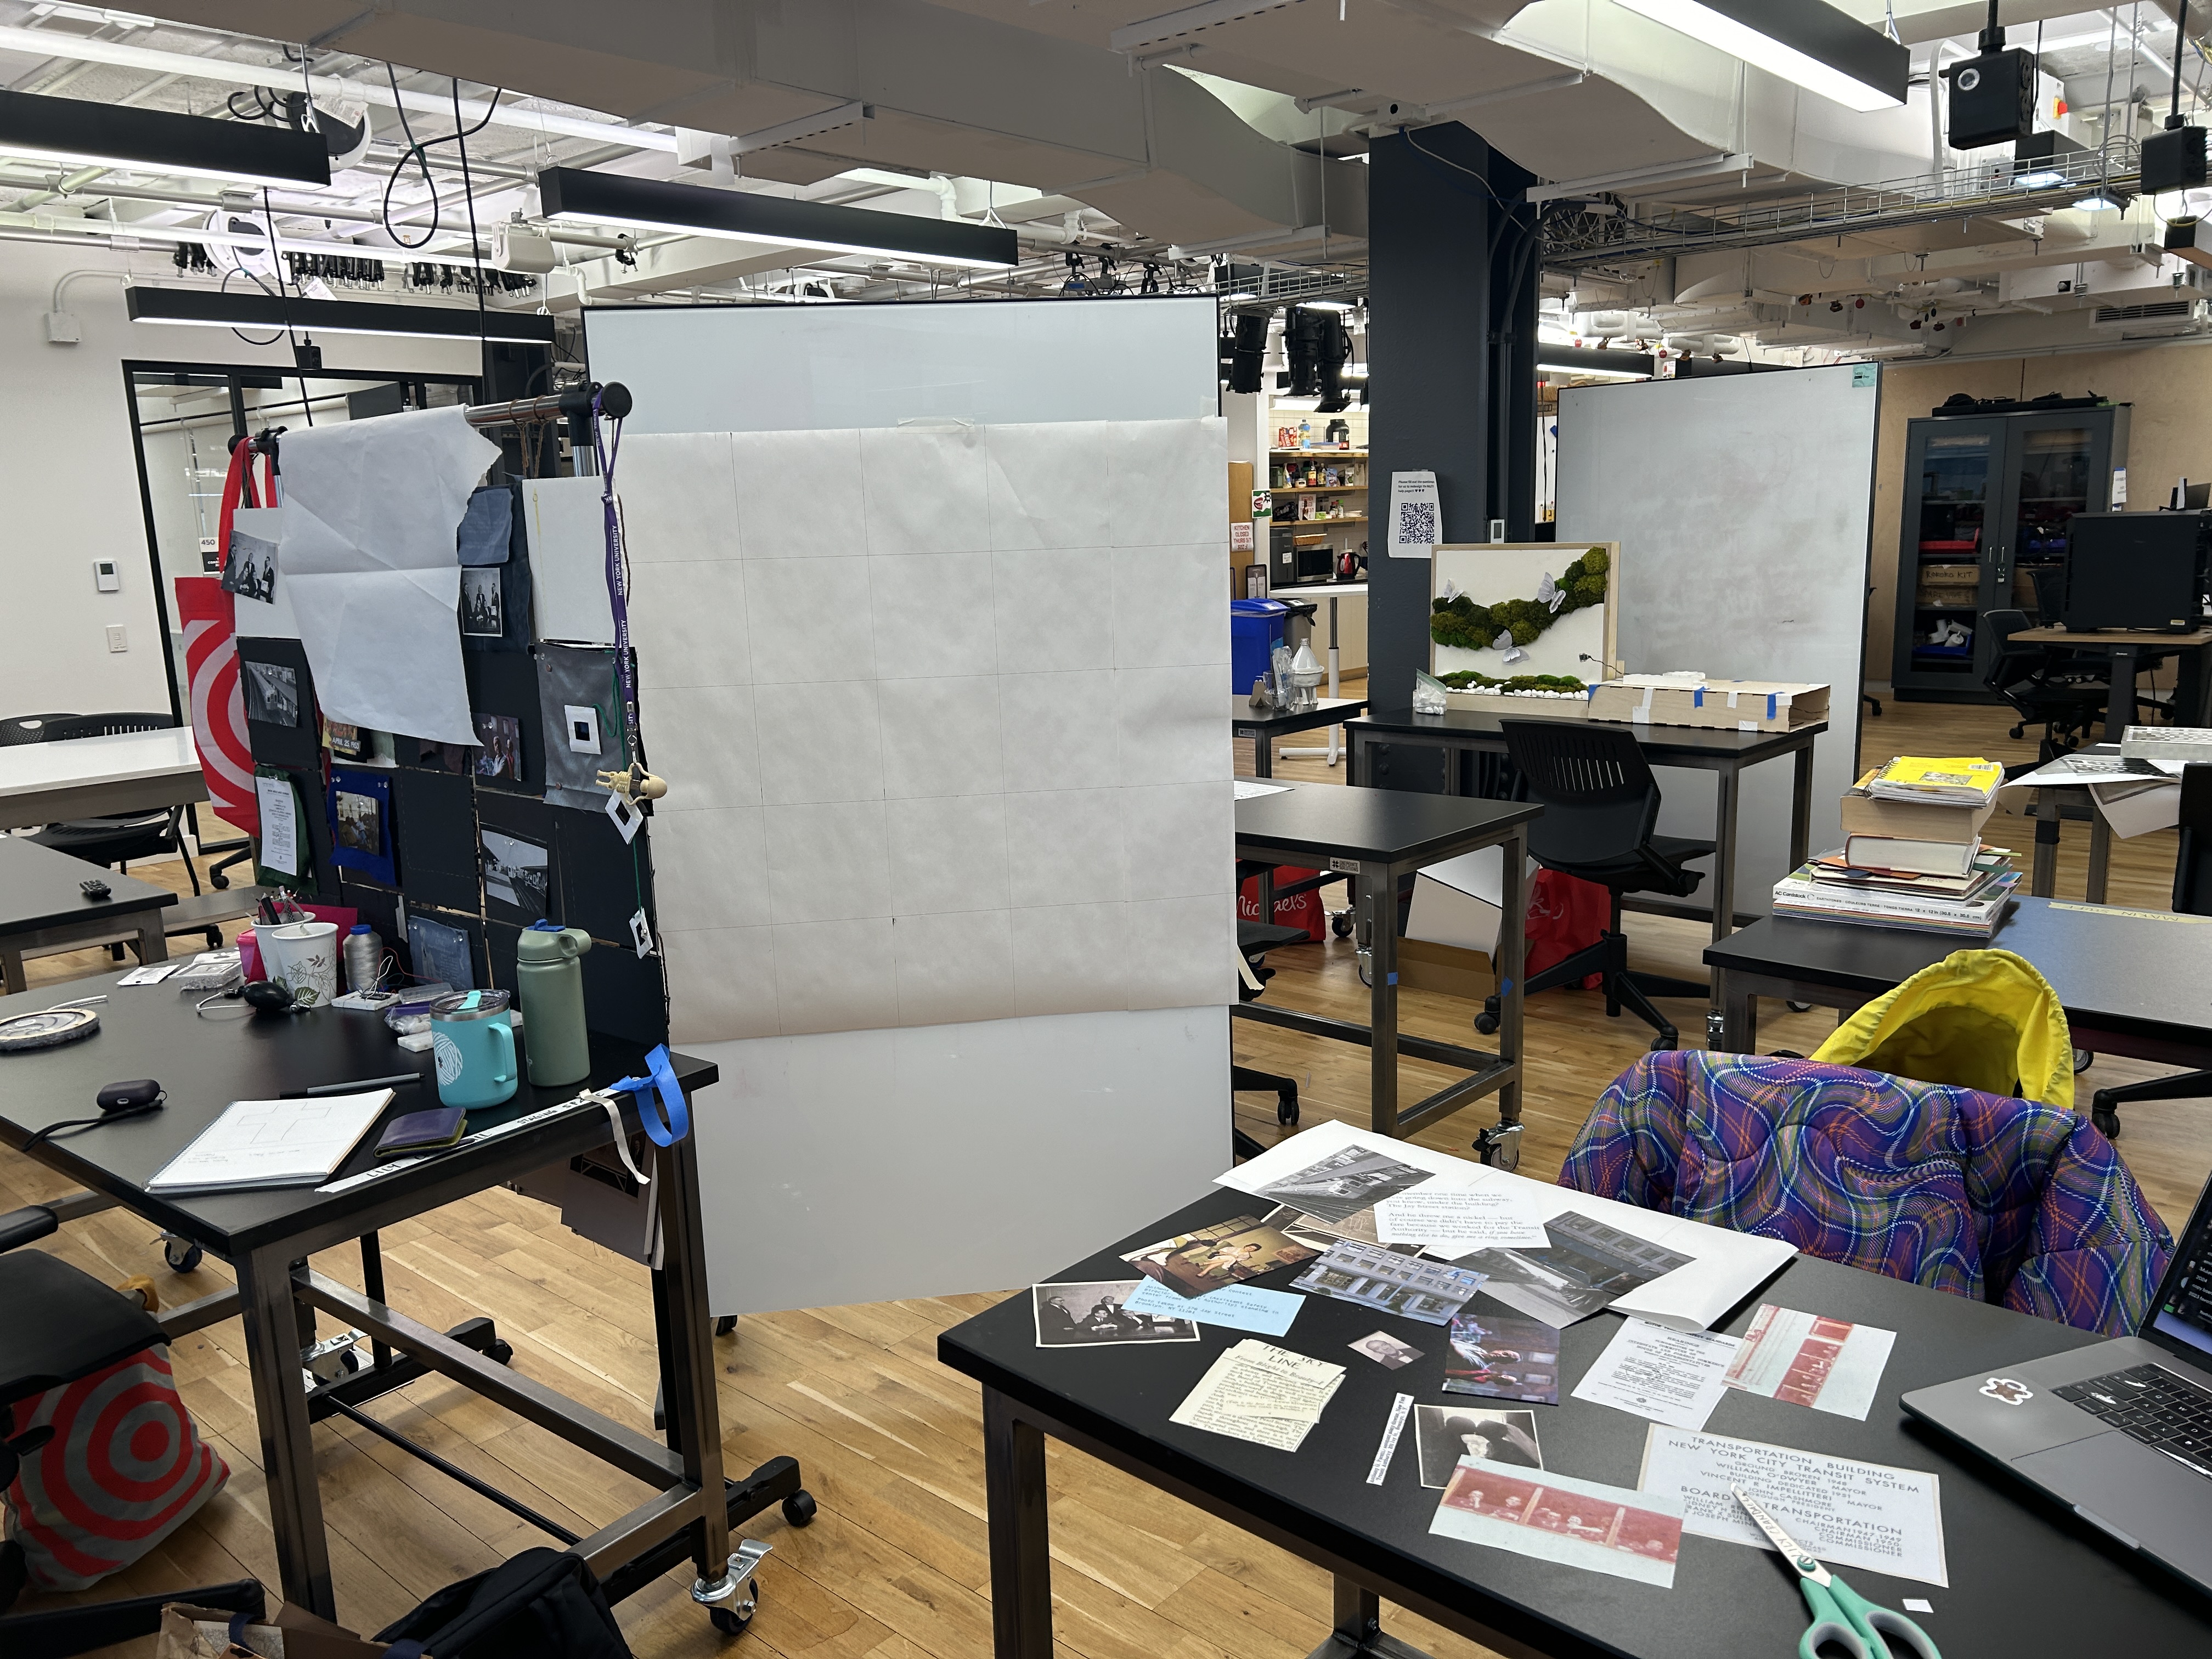
Day 18 - Feb 22
![]()
![]()
![]()
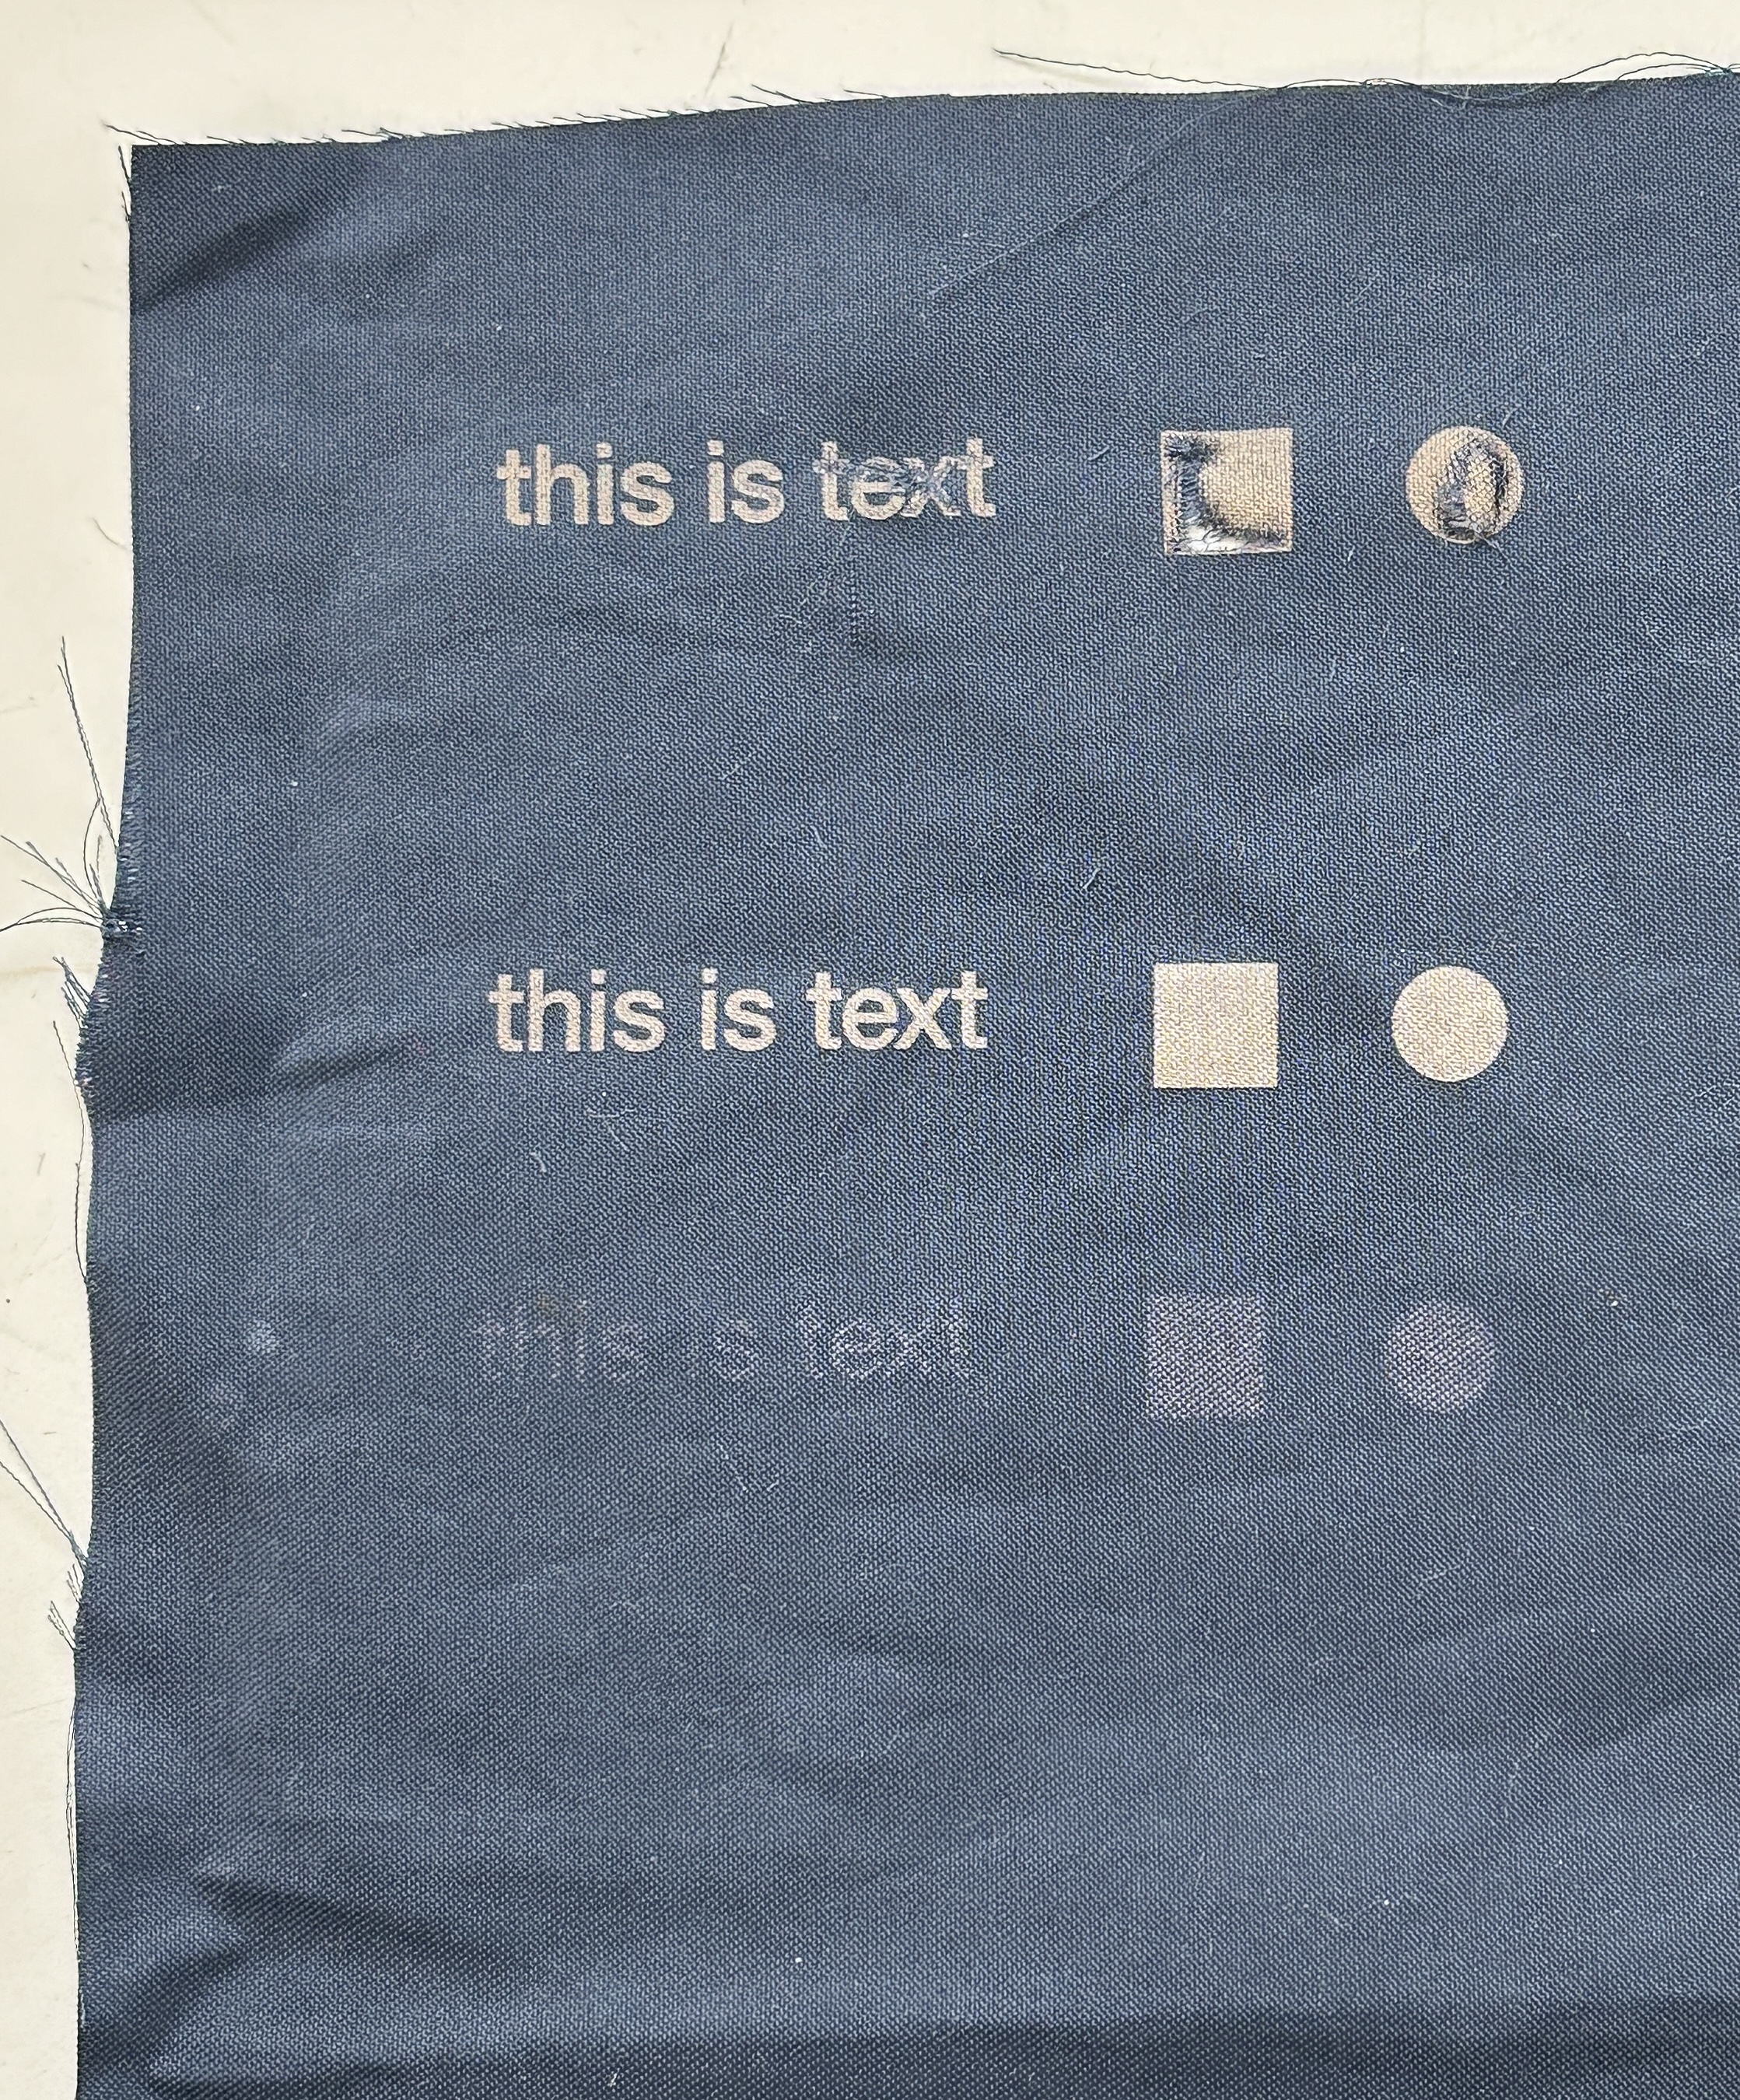
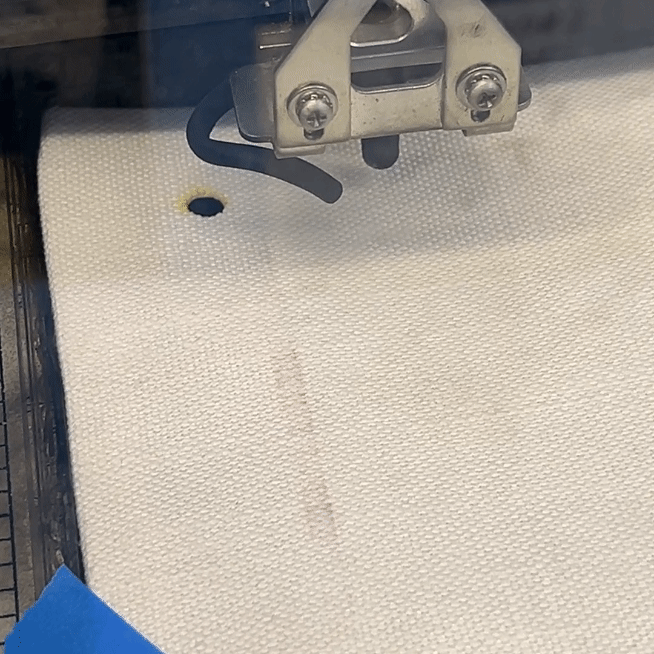
Tried laser engraving on more fabric:
![]()
![This one turned out the best]()
![Not good - just looks like a yellow stain]()
![Doesn't show up well on patterns like this]()
![Turned out okay!]()
Day 19 - Feb 23
Day 20 - Feb 25
Day 21- Feb 26
![]()
![]()
![]()
![]()
![]()
![]()
![]()
![]()
Day 22 - Feb 27
![]()
![]()
![]()
![I like this. wanna figure out more interactions like this.]()
![testing out engraving on velvet]()
Day 23 - Feb 28
Day 24 - March 3
![]()
![]()
Day 25 - March 4
![]()
![]()
![]()
![]()
![]()
Day 26 - March 5
![]()
![]()
![figuring out distance + diffusion to view the image]()
![tried setting up the switch with a reed switch but it didn't work really well.]()
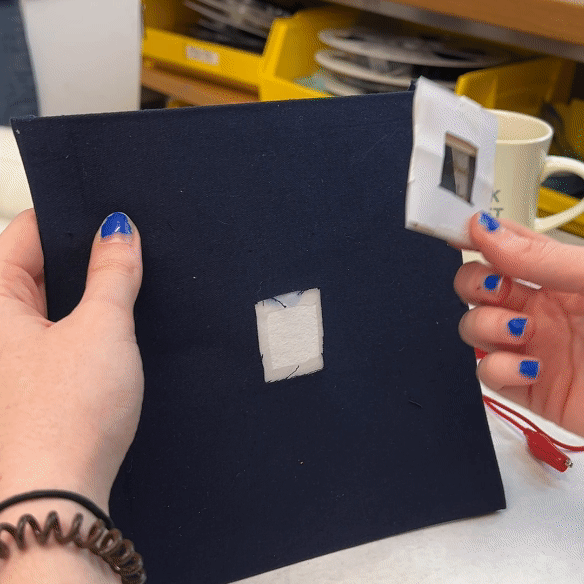
![cut out center of the fabric and embroidered the edge to avoid fraying]()
![]()
Day 27 - March 6
![]()
![]()
Day 28 - March 7
Day 29 - March 10
![]()
![]()
![]()
![]()
Day 30 - March 11
![]()
![]()
![]()
Day 31 - March 12
![]()
![]()
![]()
Day 32 - March 13
![]()
![]()
![]()
![]()
![]()
![]()
Day 33 - March 14
![]()
![]()
Day 34 - March 16
![]()
![]()
![]()
![]()
![]()
Day 35 - March 17
![]()
![]()
!["Learn, Practice, Teach Safety"]()
![great-grandpa Tony's desk in the back!]()
![]()
![]()
![no idea when this was taken]()
Day 36 - March 18
![new idea for joining squares together with snaps]()
![]()
![original photo]()
![image trace version]()
![engraved on fabric]()
Day 37 - March 19
![original]()
![image trace]()
![engraved]()
![]()
![]()
![]()
![testing corduroy engraving]()
![]()
![]()
![original image]()
![instead of image trace, I just typed all of this up. was way easier.]()
![engraved on corduroy]()
![original]()
![edited]()
![printed + glued]()
![]()
![]()
Squares assembled so far:
![]()
![]()
![]()
![]()
![]()
Day 38 - March 20
![]()
![]()
![]()
![]()
![]()
Day 39 - March 21
![]()
![]()
Day 40 - March 22
![]()
![]()
![]()
Day 41 - March 24
![]()
![]()
![]()
![]()
![]()
![]()
![]()
![]()
Day 42 - March 25
![]()
![]()
![]()
![]()
Day 43 - March 26
![]()
![]()
![]()
Day 44 - March 27
Day 45 - March 29
![]()
![]()
![]()
Day 46 - March 30
Day 47 - April 1
![???]()
![scary]()
![kind of beautiful if i don't say so myself]()
![]()
![]()
![]()
![]()
![]()
Day 48 - April 2
![]()
![]()
![]()
![]()
Day 49 - April 3
![]()
![]()
Day 50 (!!!) - April 4
Day 51 - April 5
![]()
![]()
![]()
![]()
![]()
![]()
Day 52 - April 6
![]()
![]()
![]()
![]()
![]()
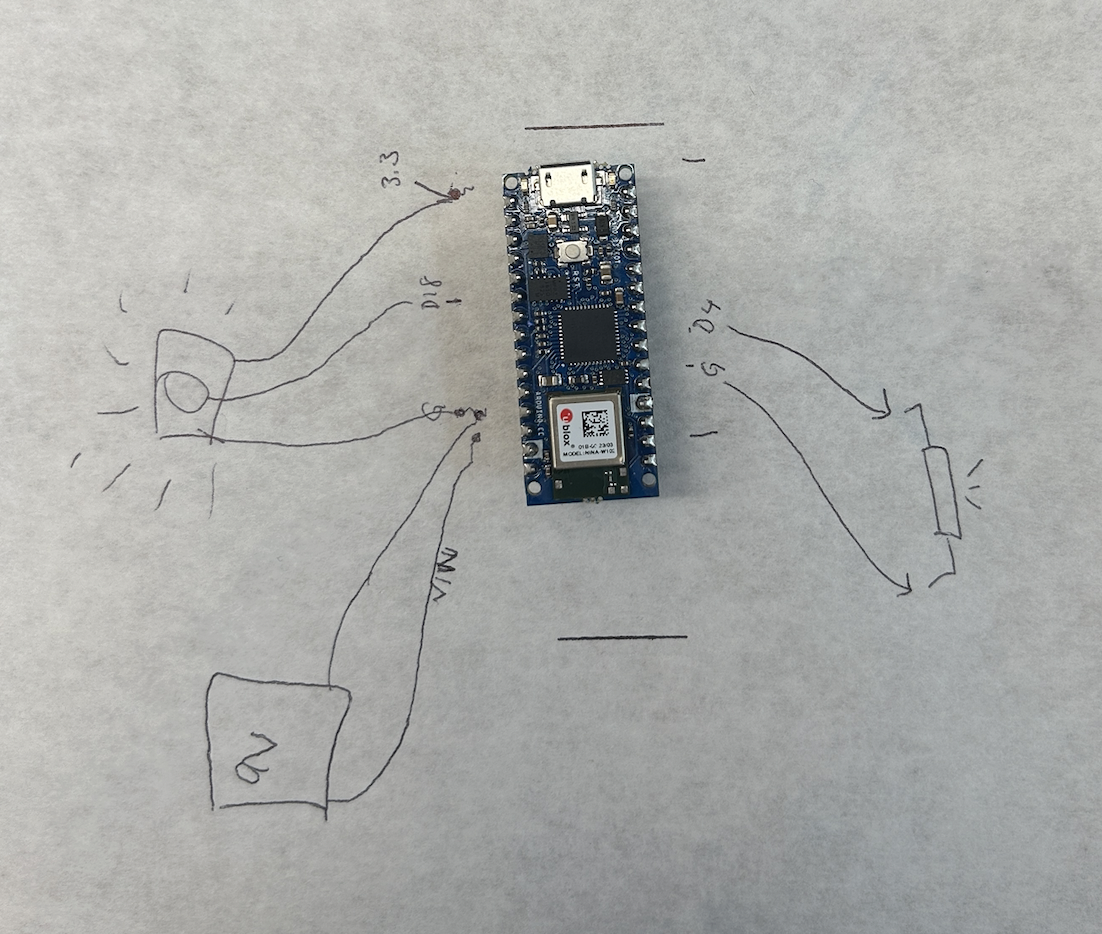
![analog circuit]()
![grommets!!!]()
Day 53 - April 7
Day 54 - April 8
![]()
![]()
Day 55 - April 9
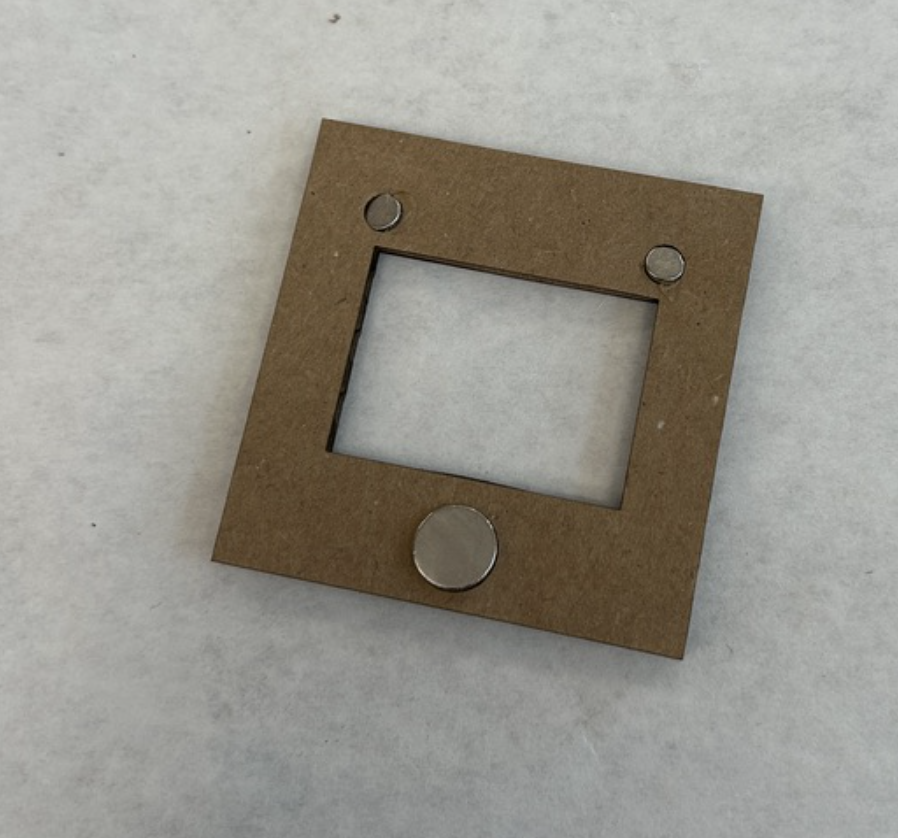
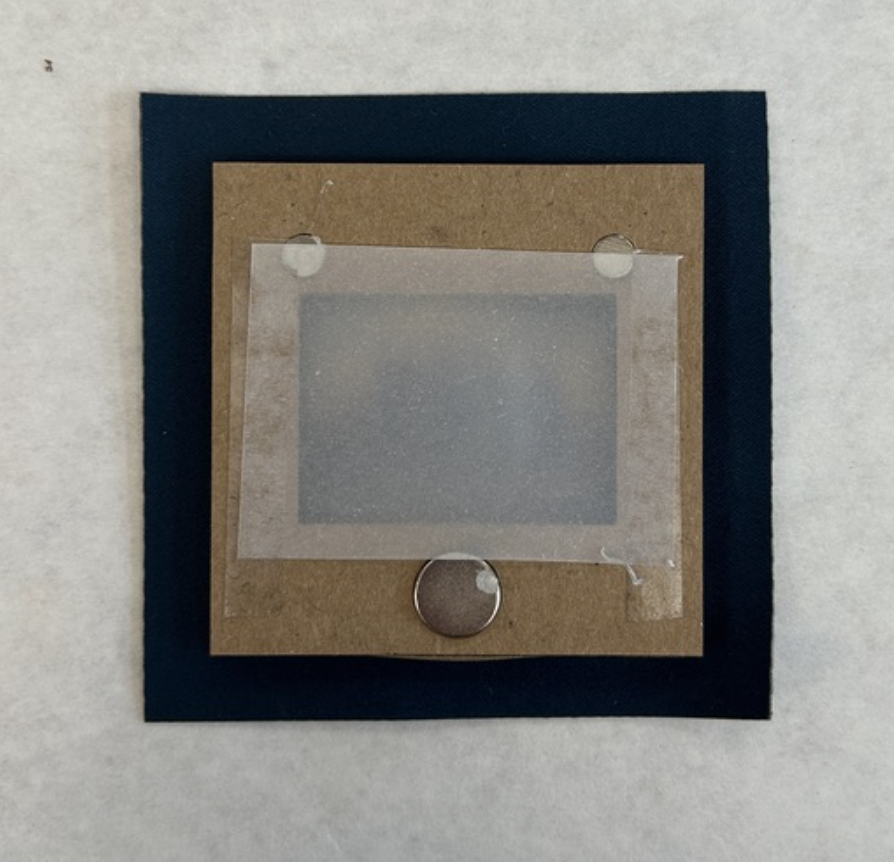
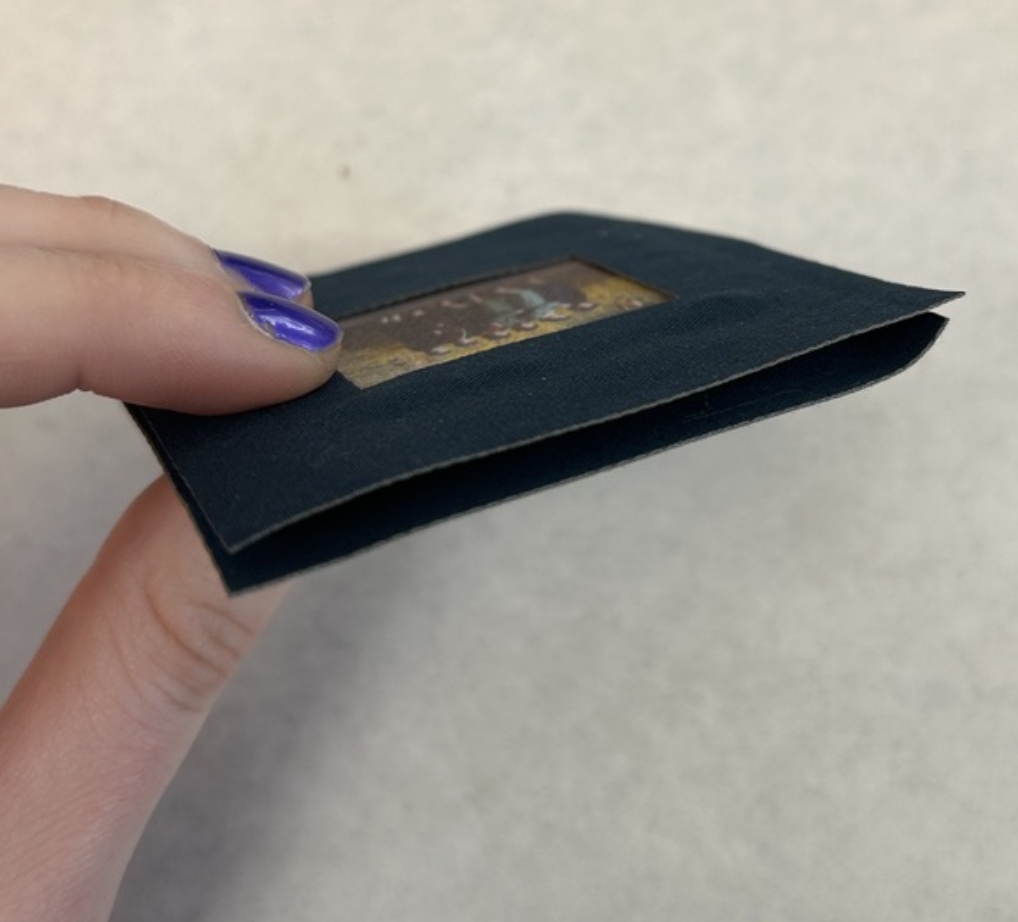
![I lasercut the frame and engraved holes for the 3 magnets]()
![taped down the vellum layer with printed image]()
![glue]()
![applied lasercut fabric to the frame]()
![added blank vellum to the other side - just so you can't see the cardboard frame. I kind of wish I printed the image again on the back.]()
![glued another piece of fabric and hot glued it all shut.]()
![lasercutting the fabric. i used 100s / 5p / 500f]()
![my instructions for myself]()
![]()
![woohoo]()
![after some adjusting and lots of knot-tying]()
Day 56 - April 10
![me and priyanka matching]()
![got the tech to work!!!!!!]()
![]()
![]()
![painted 2 black dowels]()
![ended up going with the bigger dowel so had to paint that black later.]()
![]()
![]()
![]()
![]()
![]()
Day 1 - Jan 28
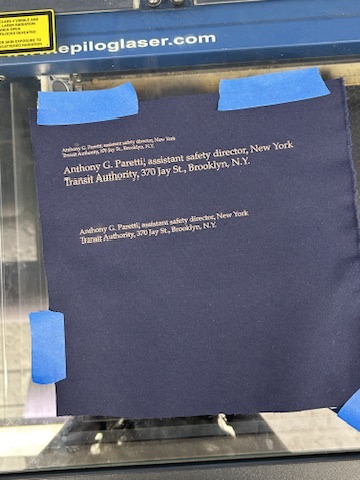
- Followed up with Transit Museum request for 370 Jay
Day 2 - Jan 29
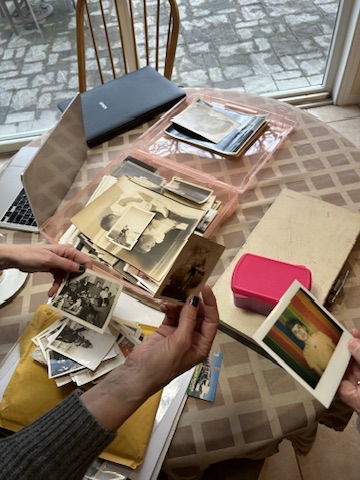
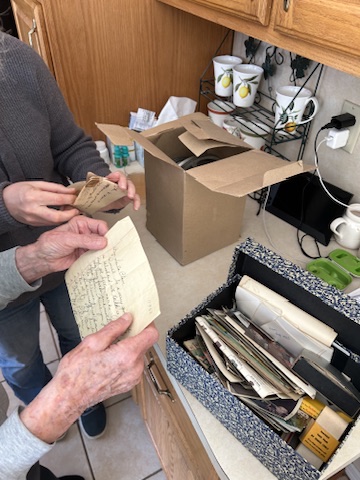
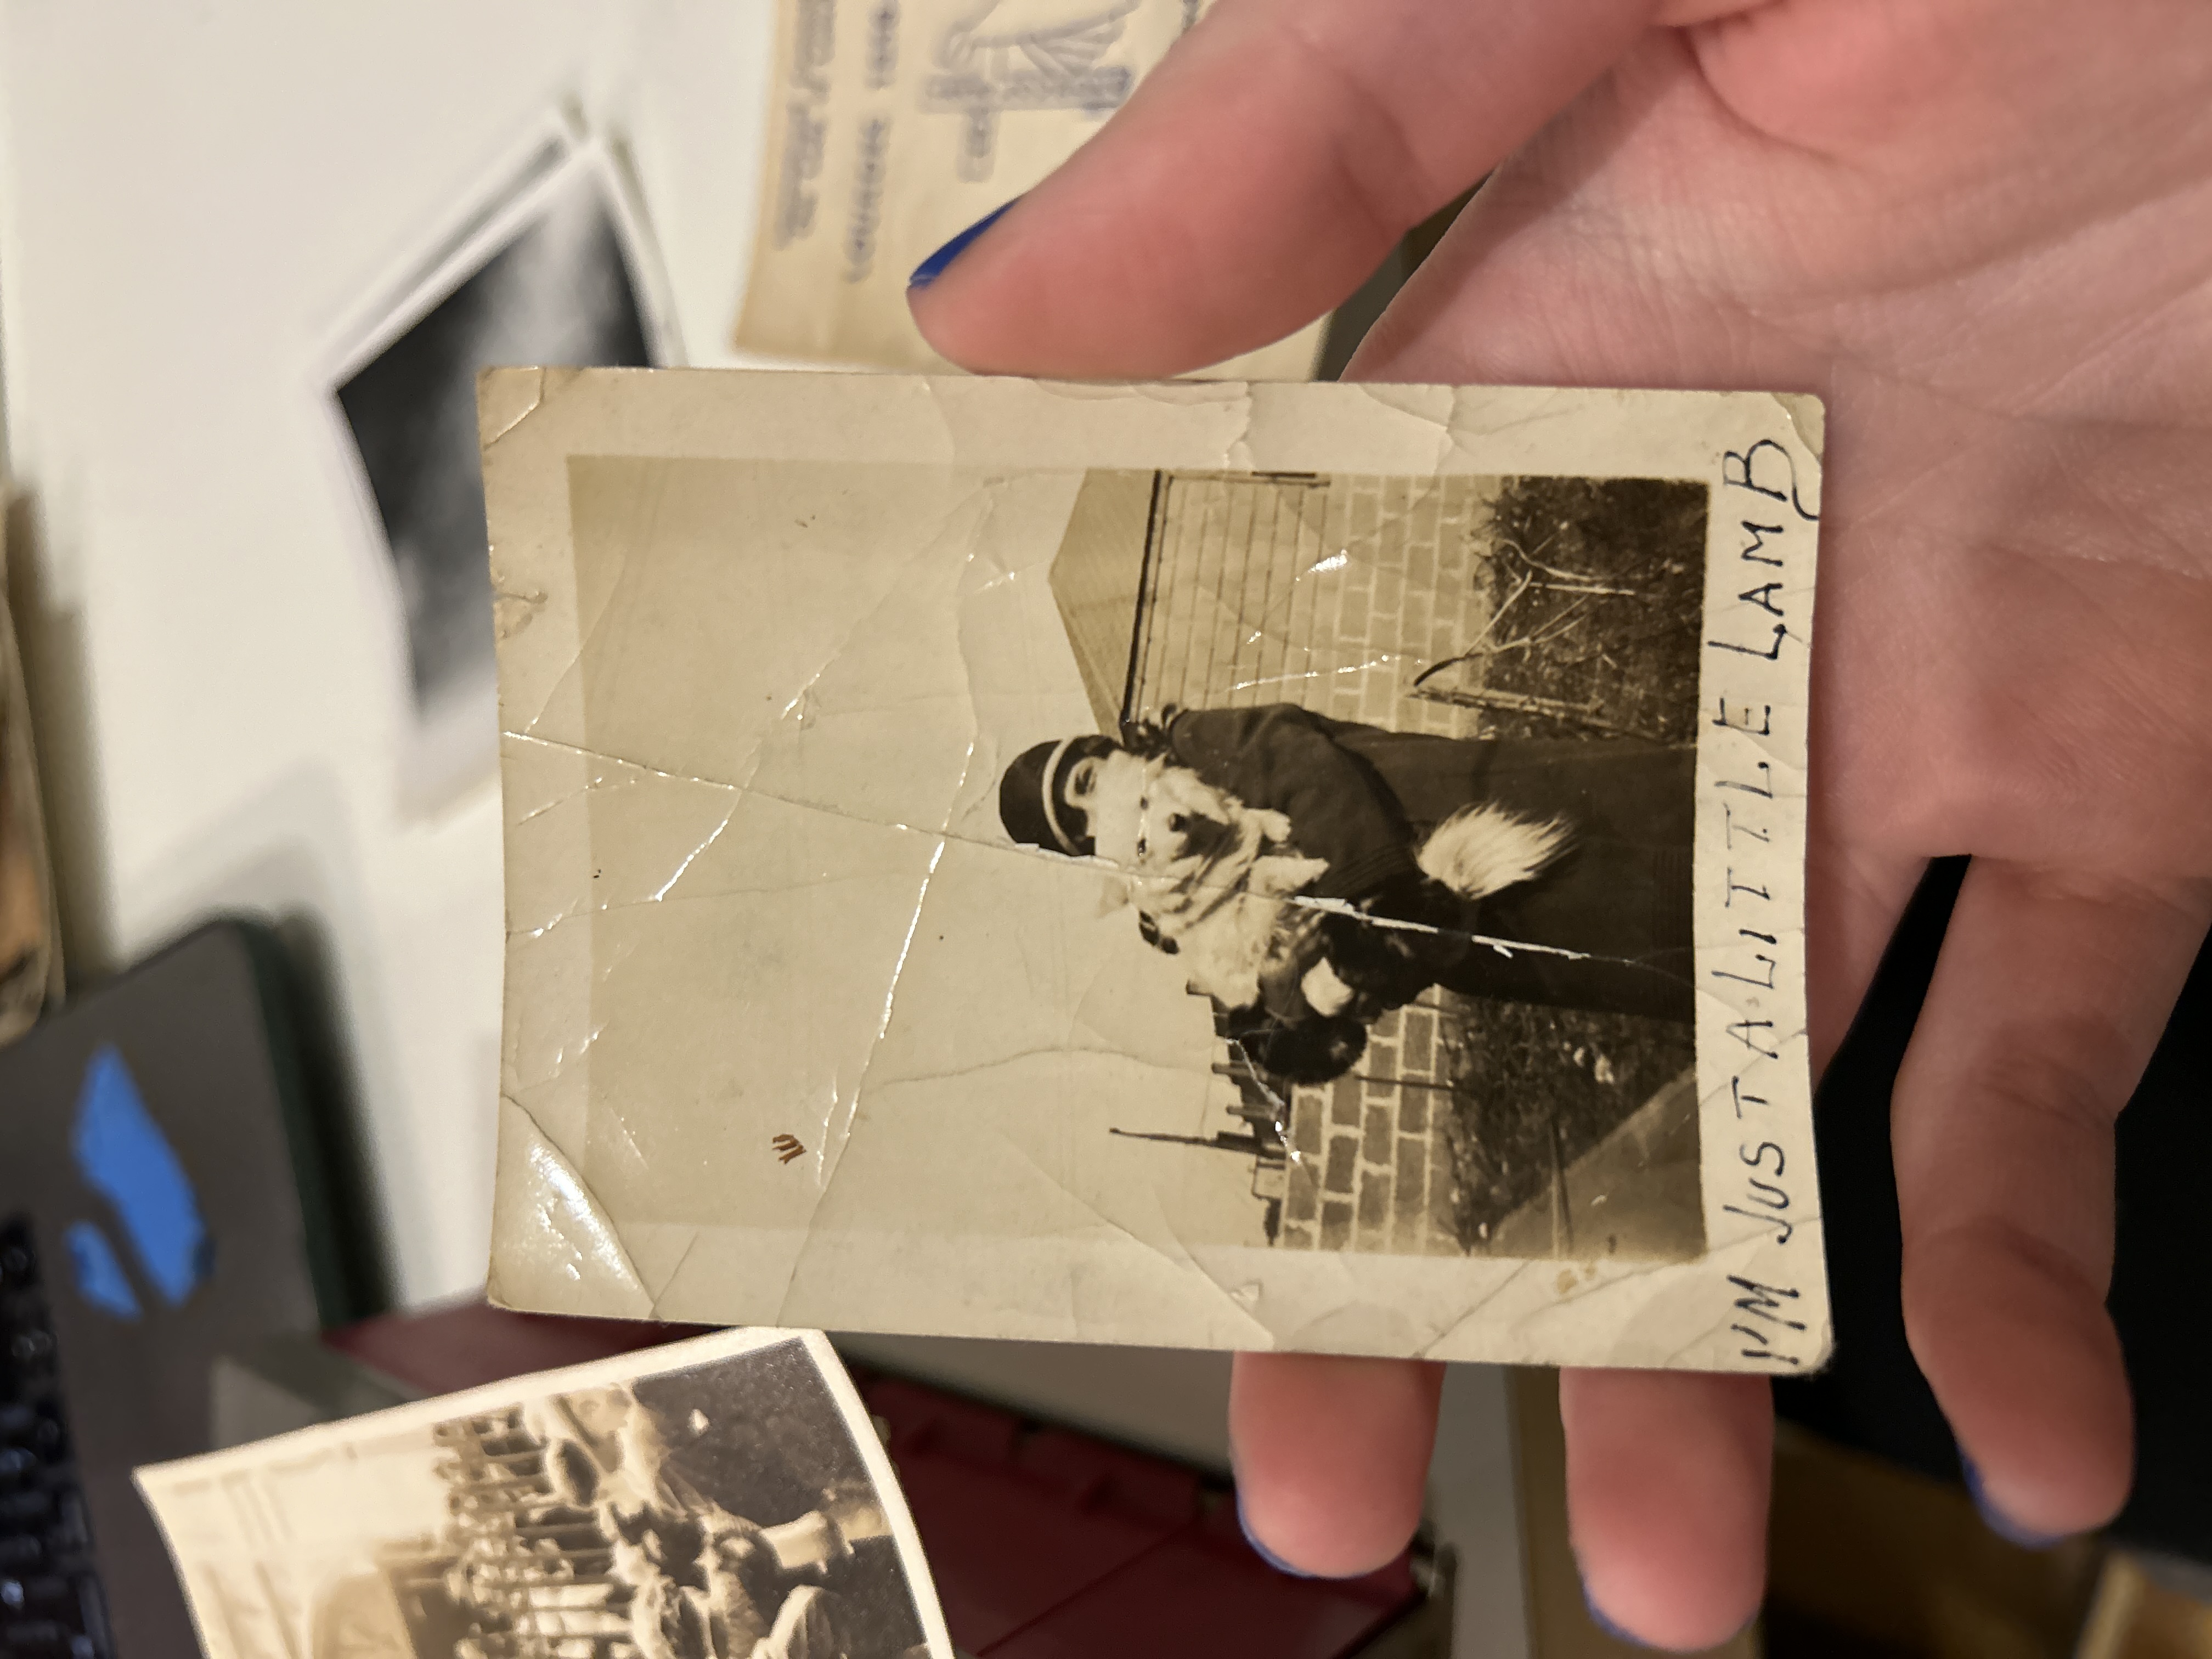
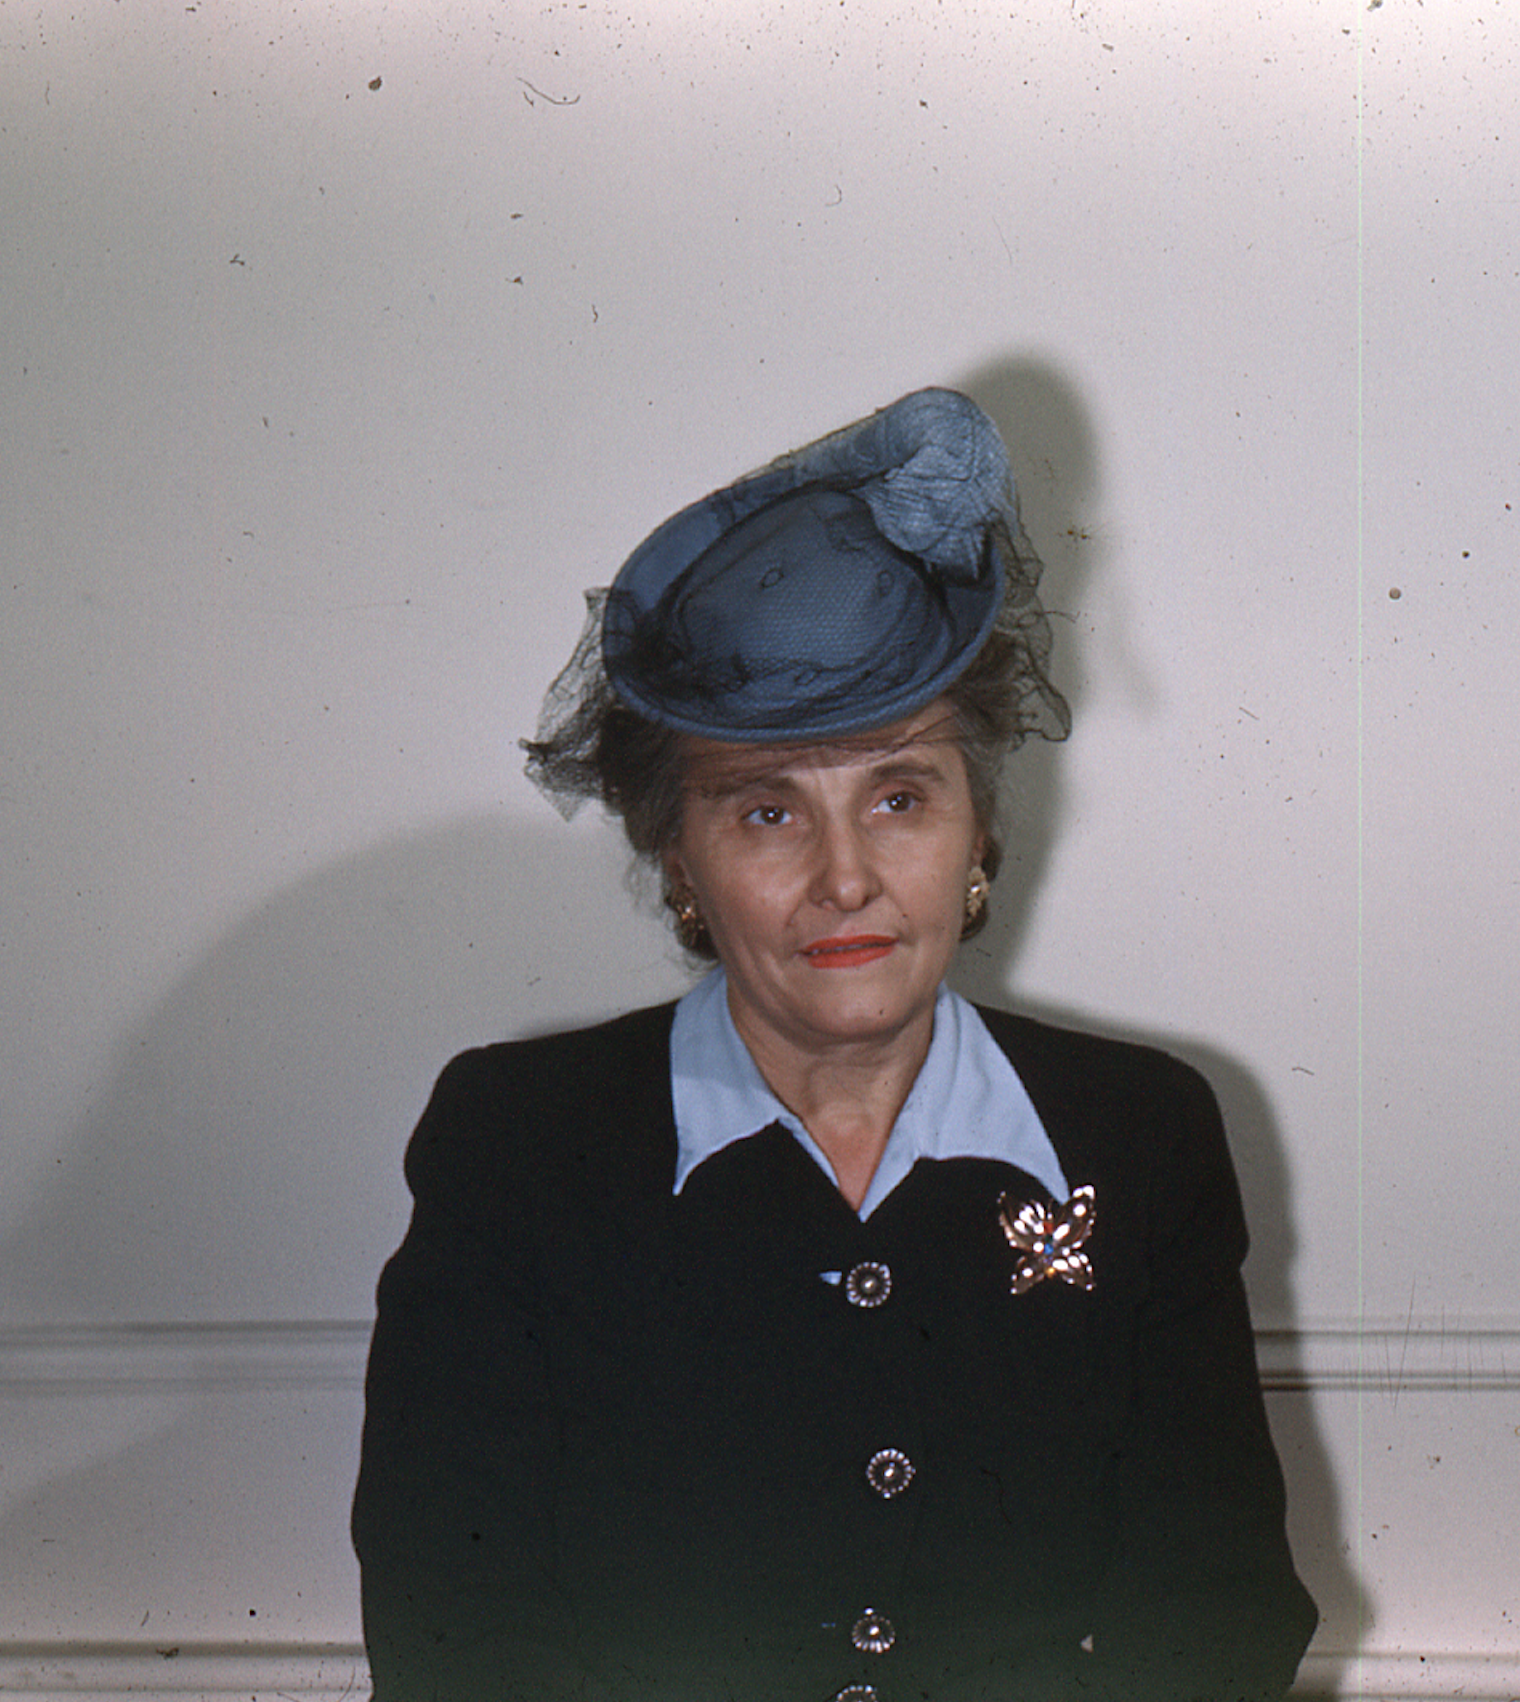
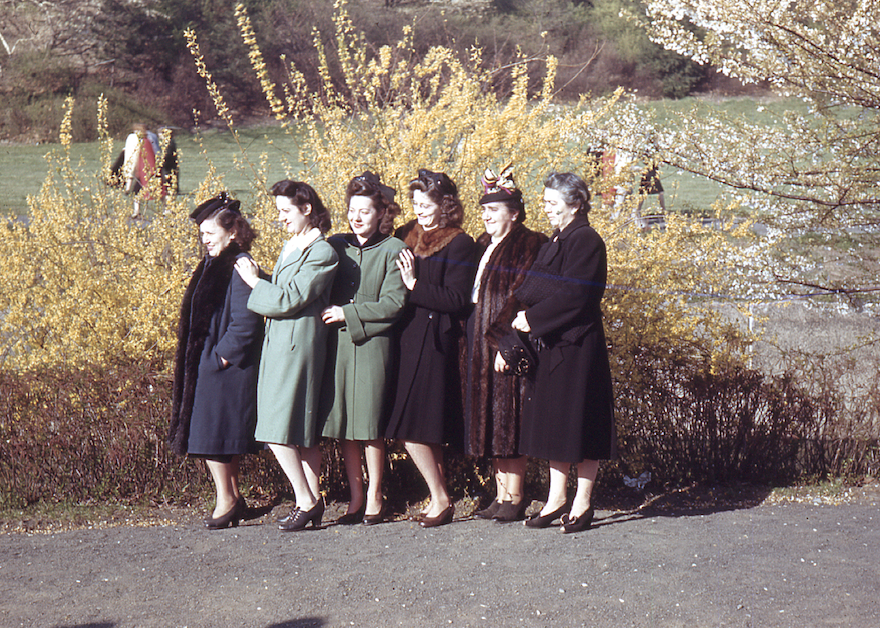
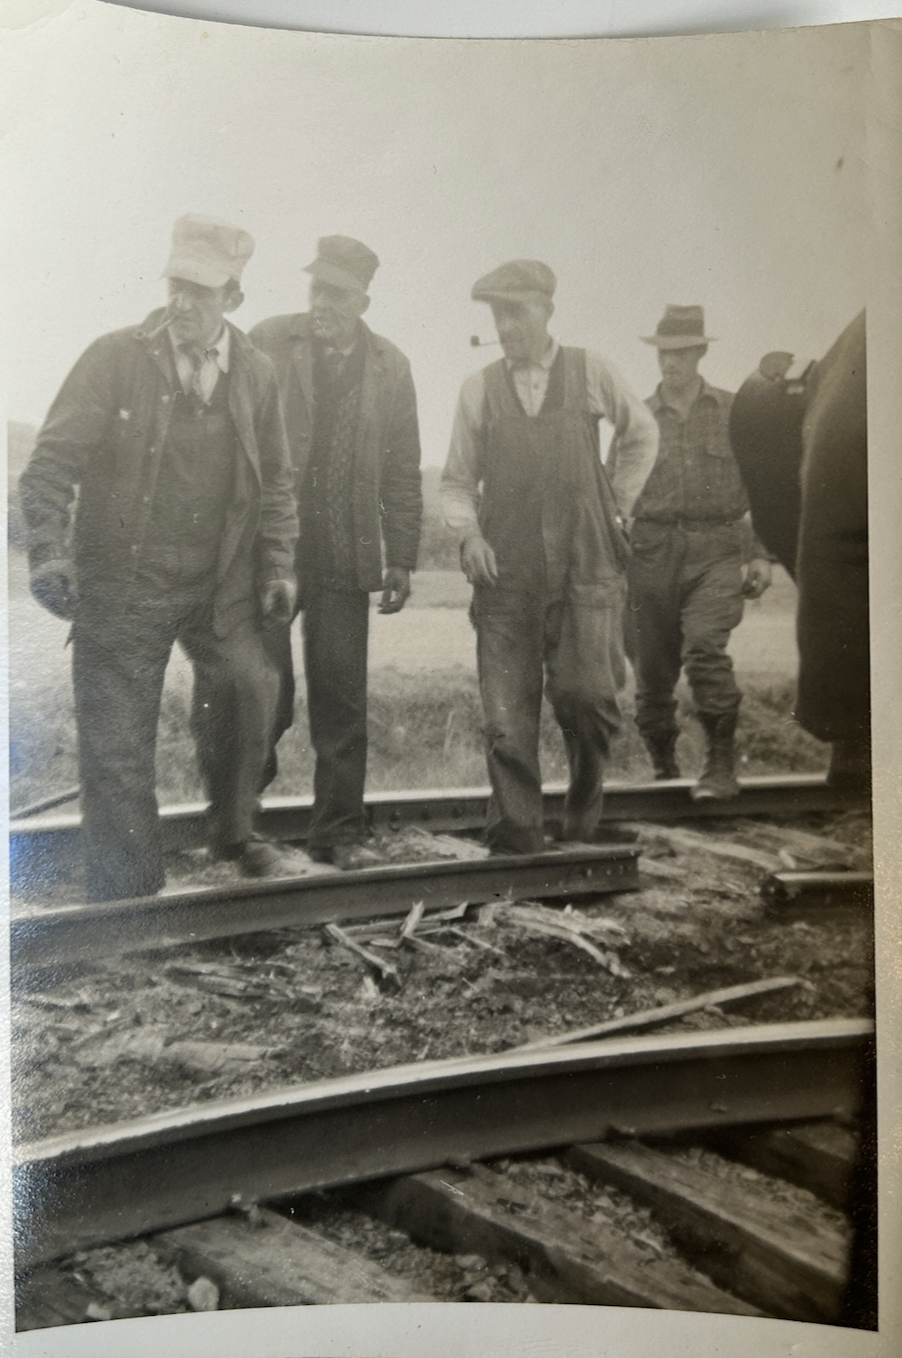
- Visited Aunt Marie, cataloged old photos
Day 3 - Jan 30
Day 4 - Jan 31
- What if it’s just digital? A big digital archive?
- Interesting controller to explore the site?
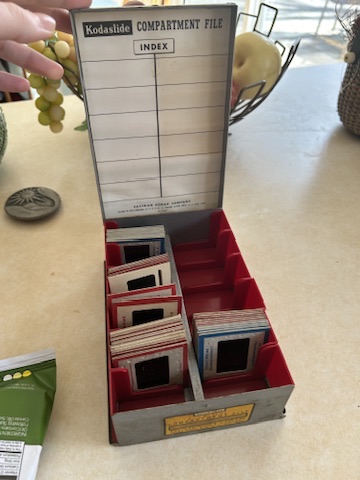
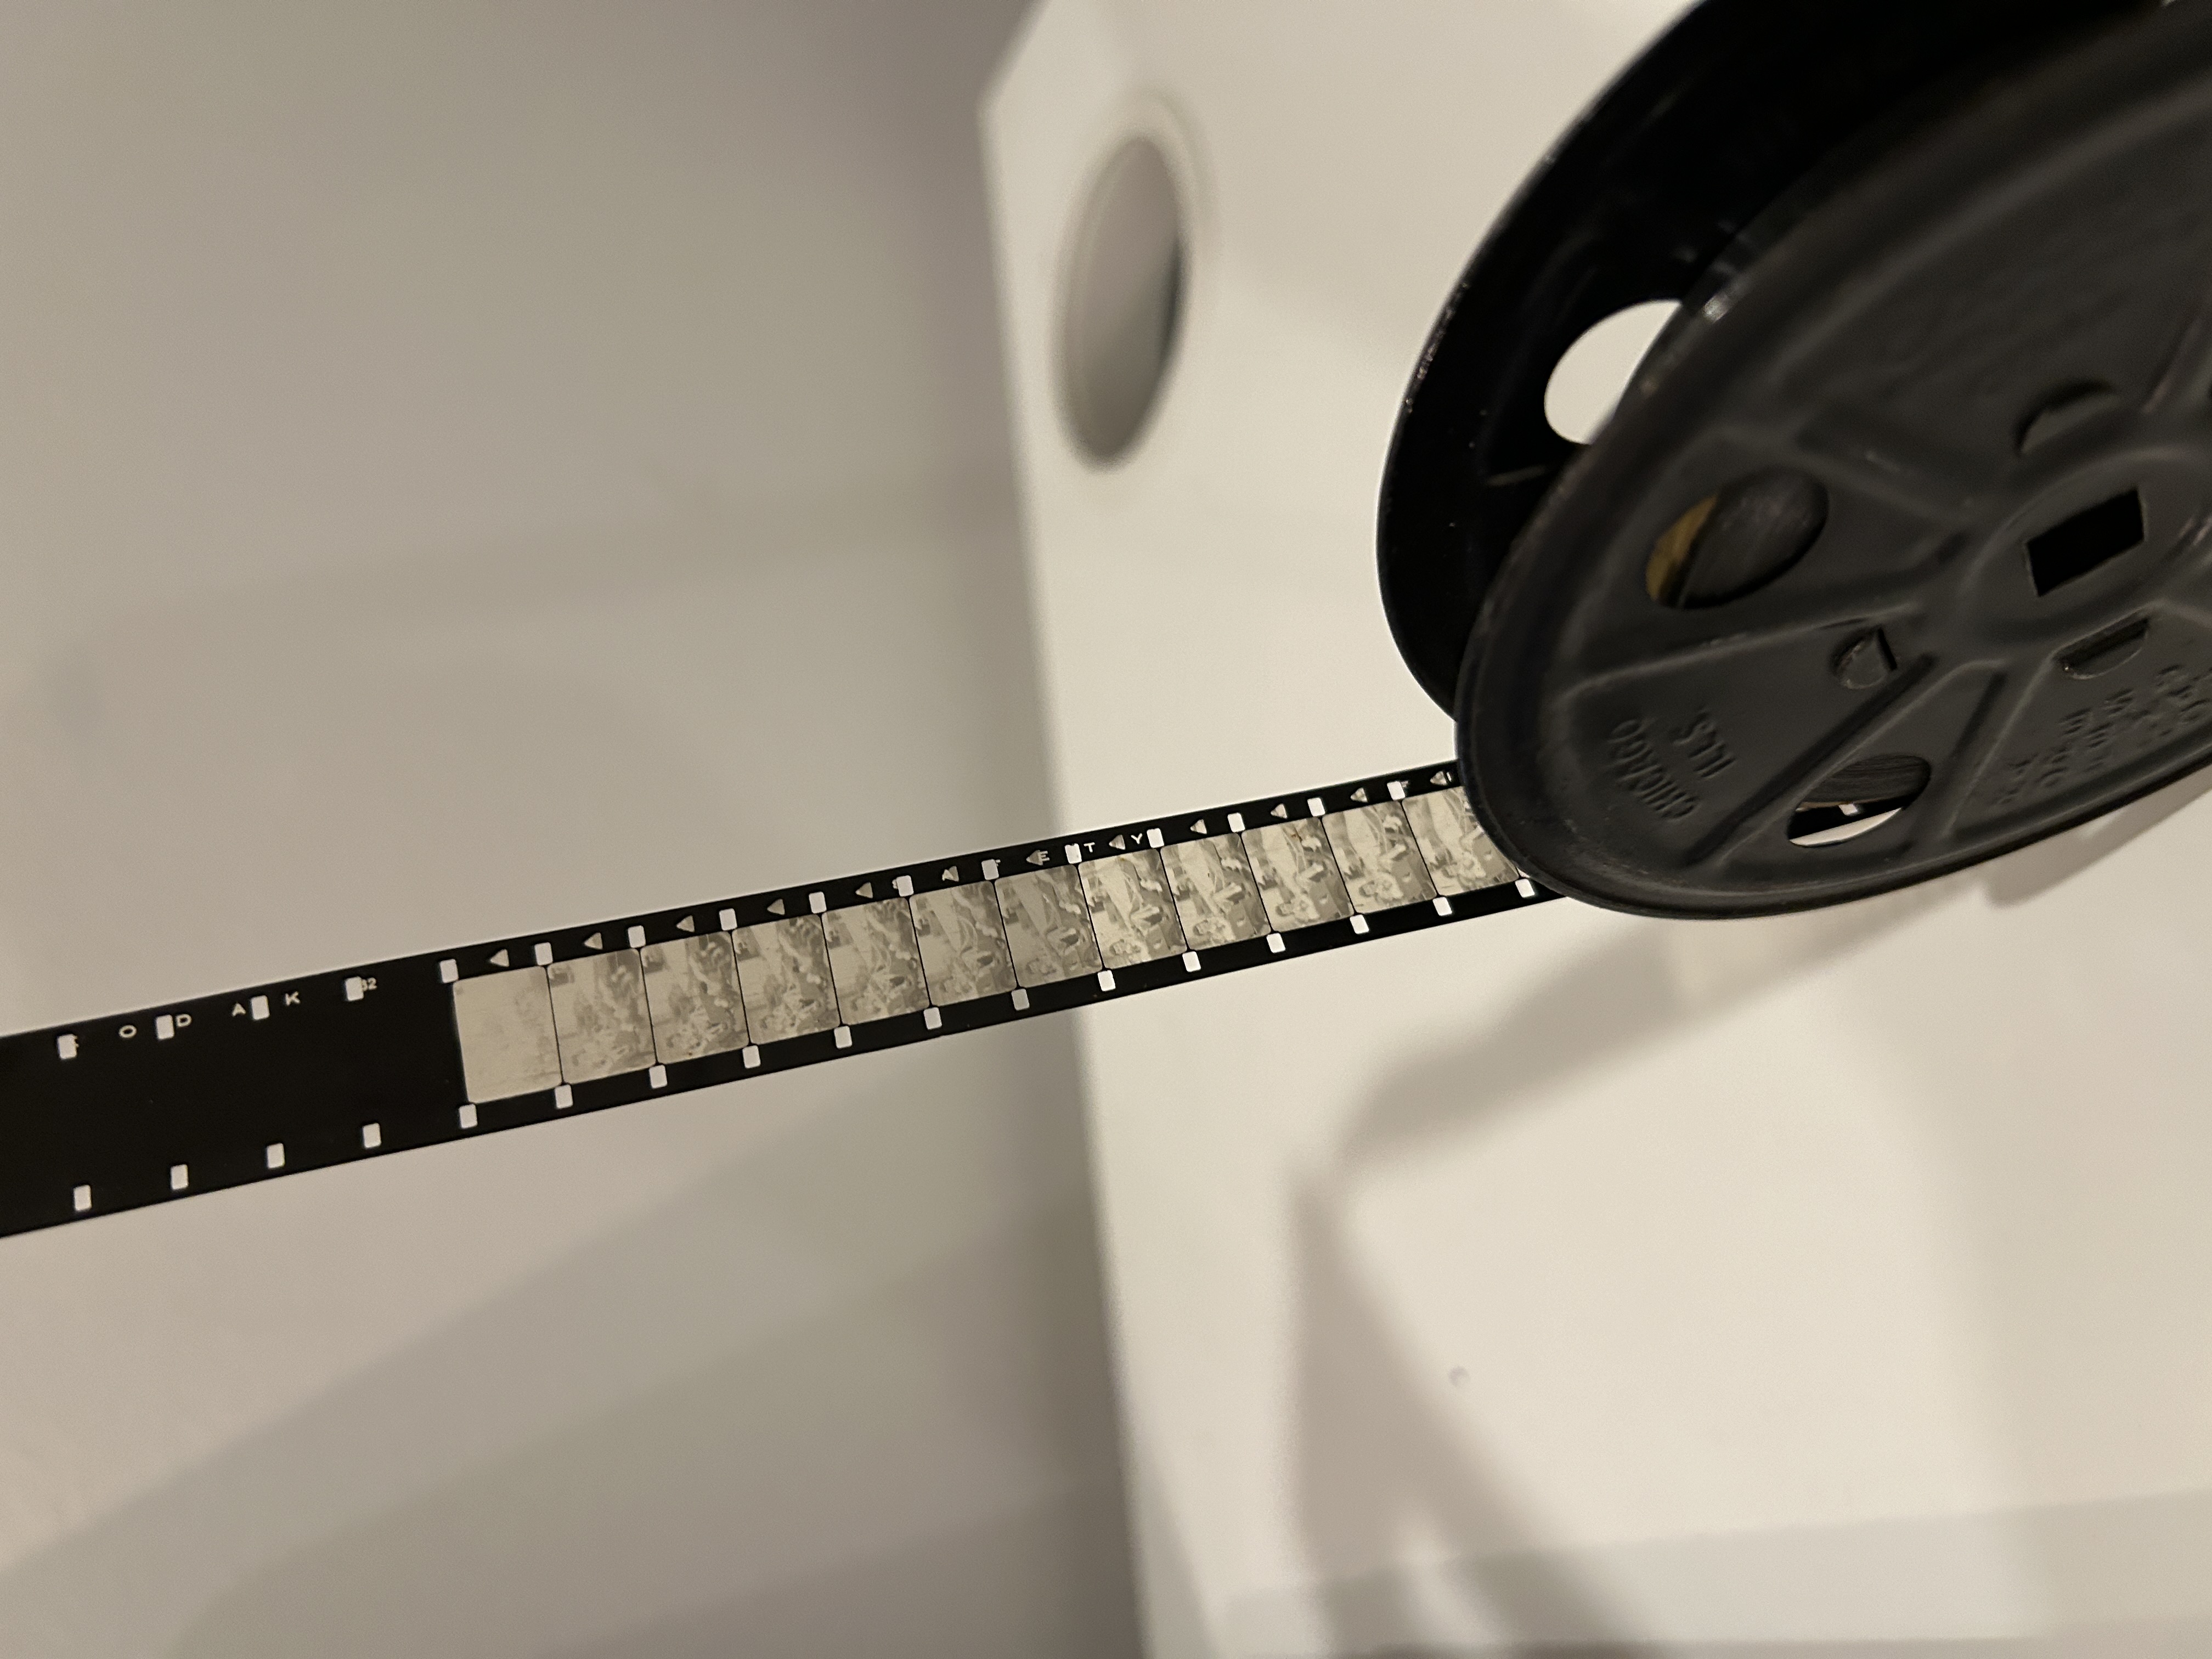
- Started digitizing slides: Tony Slides
Day 5 - Feb 1
- Emailed research archivist
- Met with Sharon
- New idea - focusing on how much closer I have gotten with Aunt Marie throughout this process, as well as the perceived closeness I feel with Tony. Photobooth, photos always.
Day 6 - Feb 2
Day 7 - Feb 3
Day 8 - Feb 5
- Called Transit museum, spoke to new researcher Stephanie Diorio, she said to email with info and she’d get back to me if she found anything
Day 9 - Feb 6
- Met with Phil for office hours.
- Finished transcribing the travel log + scanned it
- Going forward with quilt idea. Visitor can “finish” the quilt through interaction
- Q: How do I organize everything I have found?
- Started organizing documents on my laptop
- Tried scanning on different scanners at school. Didn’t really work
- Phil said to not scan images into JPEGS - use png or tiff files

Day 11 - Feb 8
- Emailed researcher from Transit Museum
- Emailed Emily Conrad
Day 12 - Feb 12
- Met with Emily Conrad:
- Quilt as type of collage
- What would I want to change from previous projects? Quilts, shared halls
- Does not have to be complete & cohesive
- Record-keeping and comfort
- Lineage + spatial connection
- Who was in the room before we got there? Who will walk in after we leave?
- Bump up narrative
- Other types of forms: tapestry, curtain, canvas
- Does it “open”? “Close”?
- Pull shade?
Day 13 - Feb 13
- Planned and made paper prototype
- Stuggling with narrative - what am I trying to show with this? What do I want people to walk away with?


Day 14 - Feb 14
- Met with Simone Salvo: there will be wall text next to it always, don’t worry about spelling everything out in the quilt itself, think about the affordances of working with fabric, and the affordances of this concept -- see the overlap
- Showed prototype in thesis class
Day 15 - Feb 16
- Went to Feedback Collective and got feedback from Suraj, Zoe, Shuang, and Maya
Day 16 - Feb 20
- Met with Molly Ritmiller: Don’t try to do everything, try conductive thread with the embroidery machine, gave me a bunch of conductive materials to play with
- Met with Daniel Ryan Johnston: use non-tech stuff for stuff that represents the old building (MTA uniform pocket?), don’t try to handsew everything (glue, velcro), make something that stays together, create digital version to drag + drop parts around, use old subway tokens (maybe that’s the shape!), rail control map around the quilt
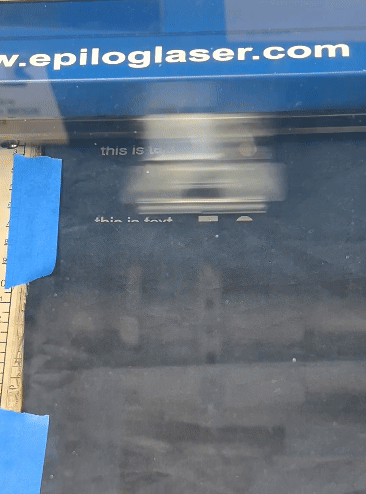
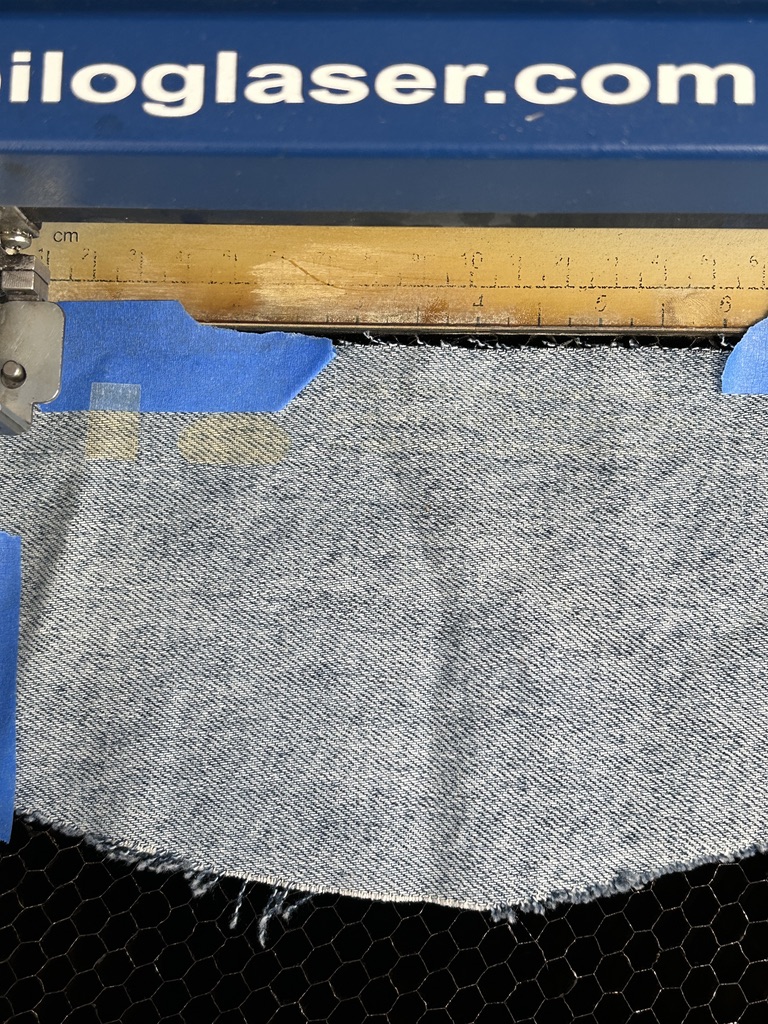
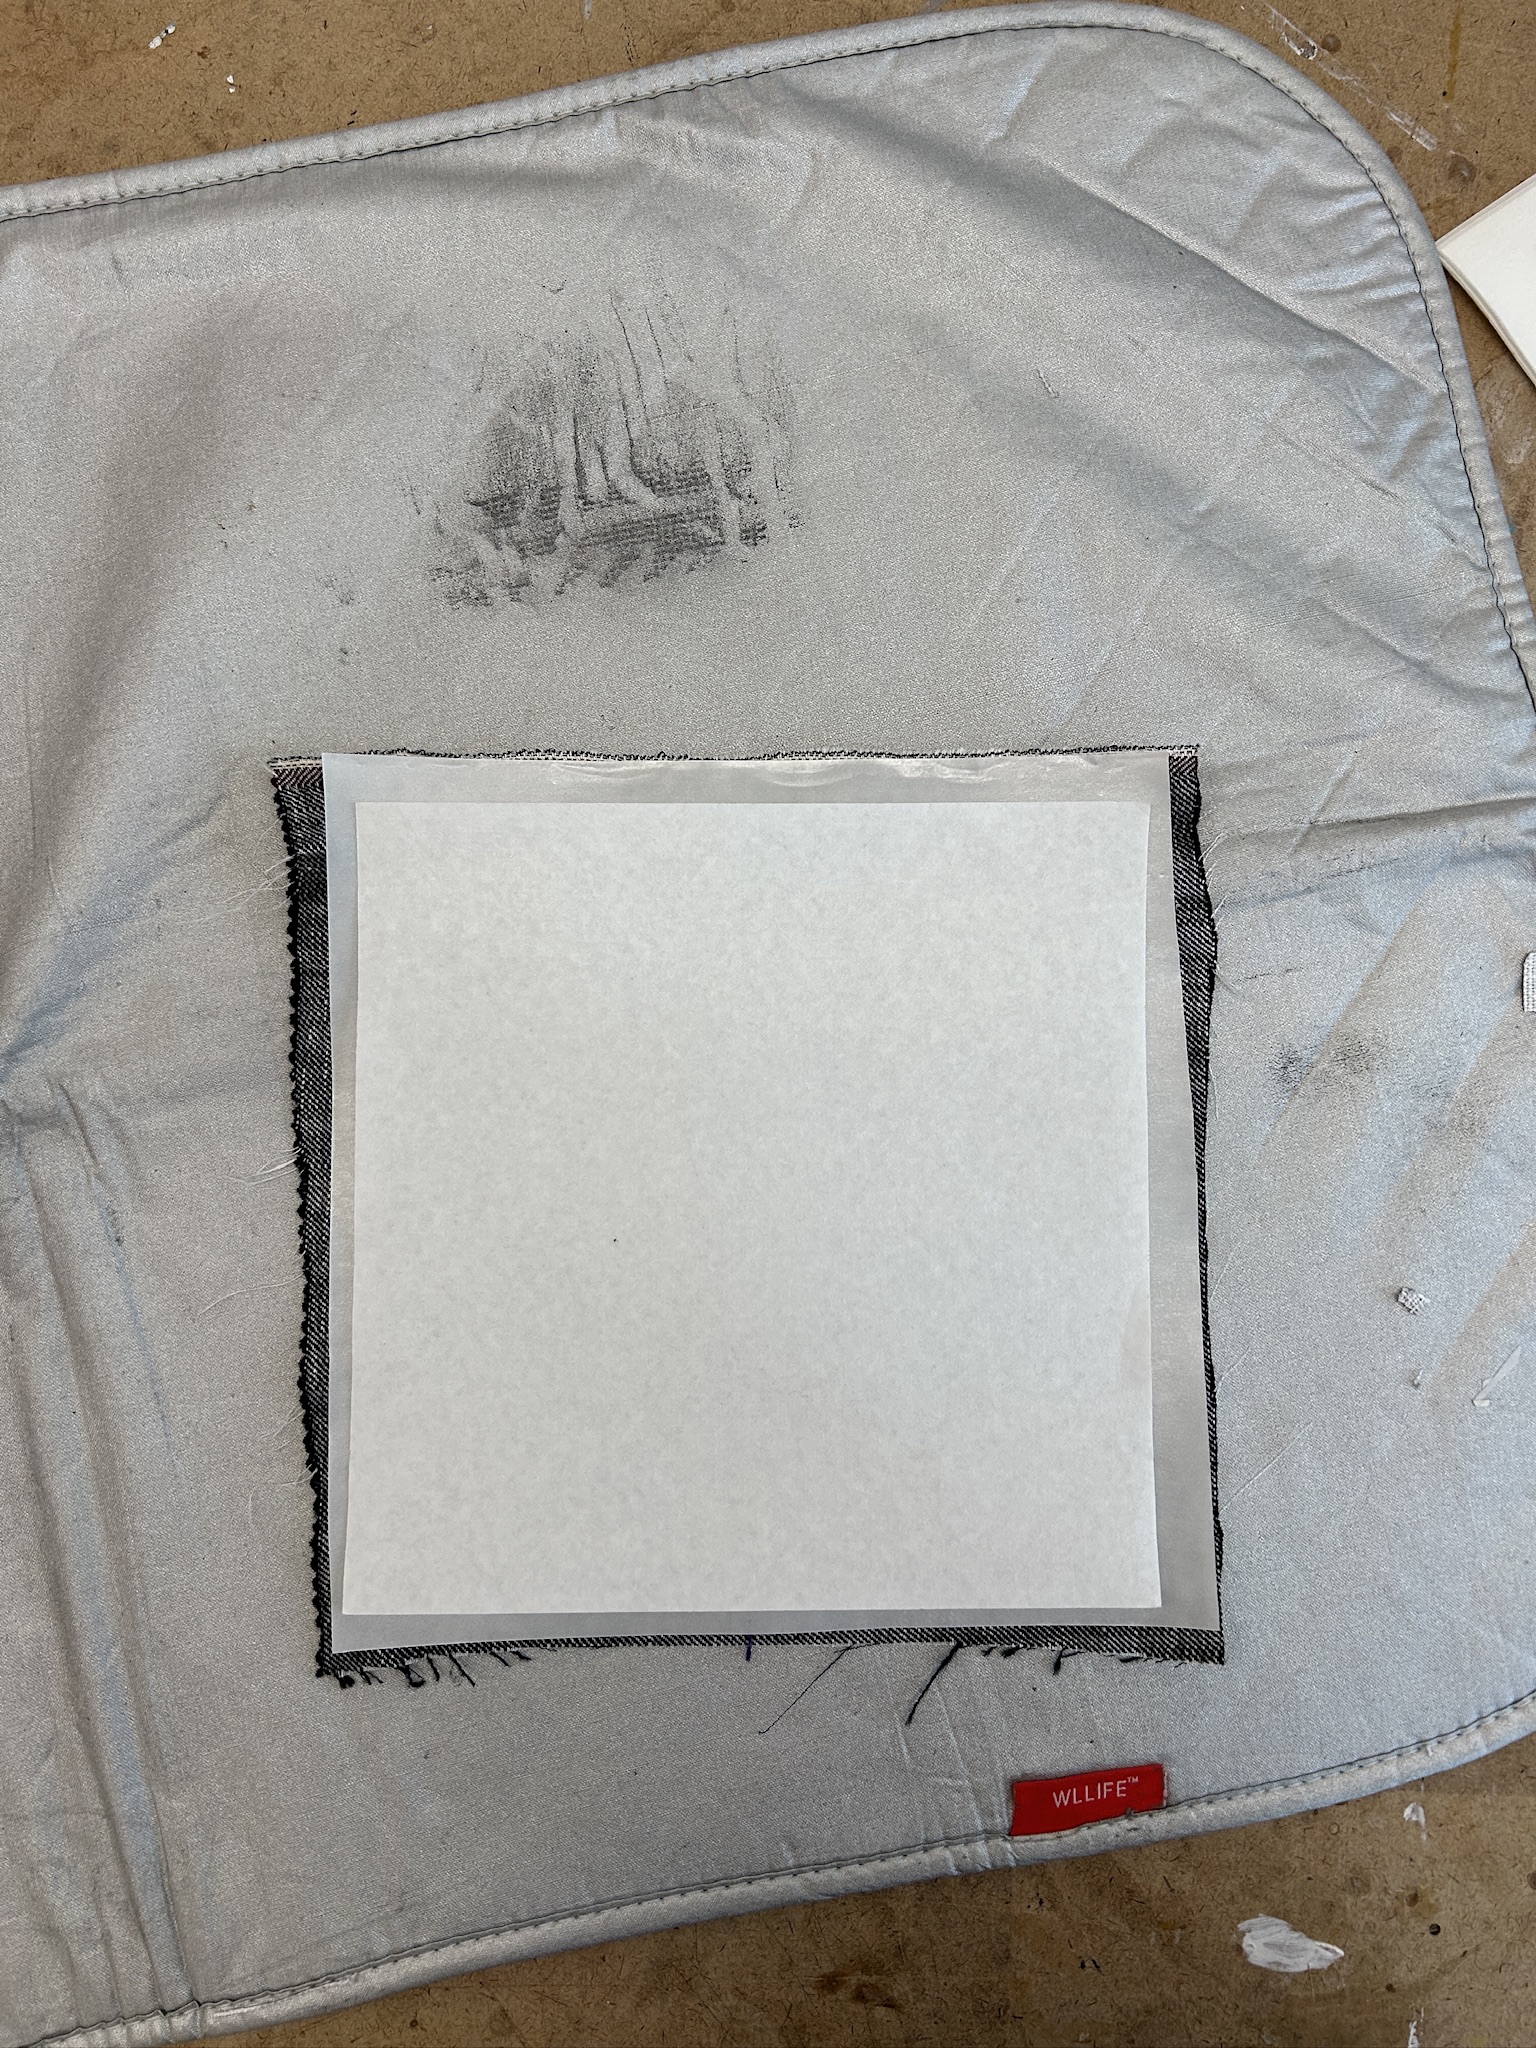
- Tried laser engraving fabric. Worked pretty well with some experimentation, I want to try with thicker fabrics, maybe engraving a photo. This could be a really great alternative to the UV printer.
- Started Miro board to plan out ideas
Attempt #1: 90 speed, 30 power - too strong for this fabric, tore apart easily
Attempt #2: 95 speed, 20 power - perfect
Attempt #3: 100 speed, 10 power - really light
Day 17 - Feb 21
- Met with Dan: goal is to come next week with version to the actual scale, filled in with some actual content
-
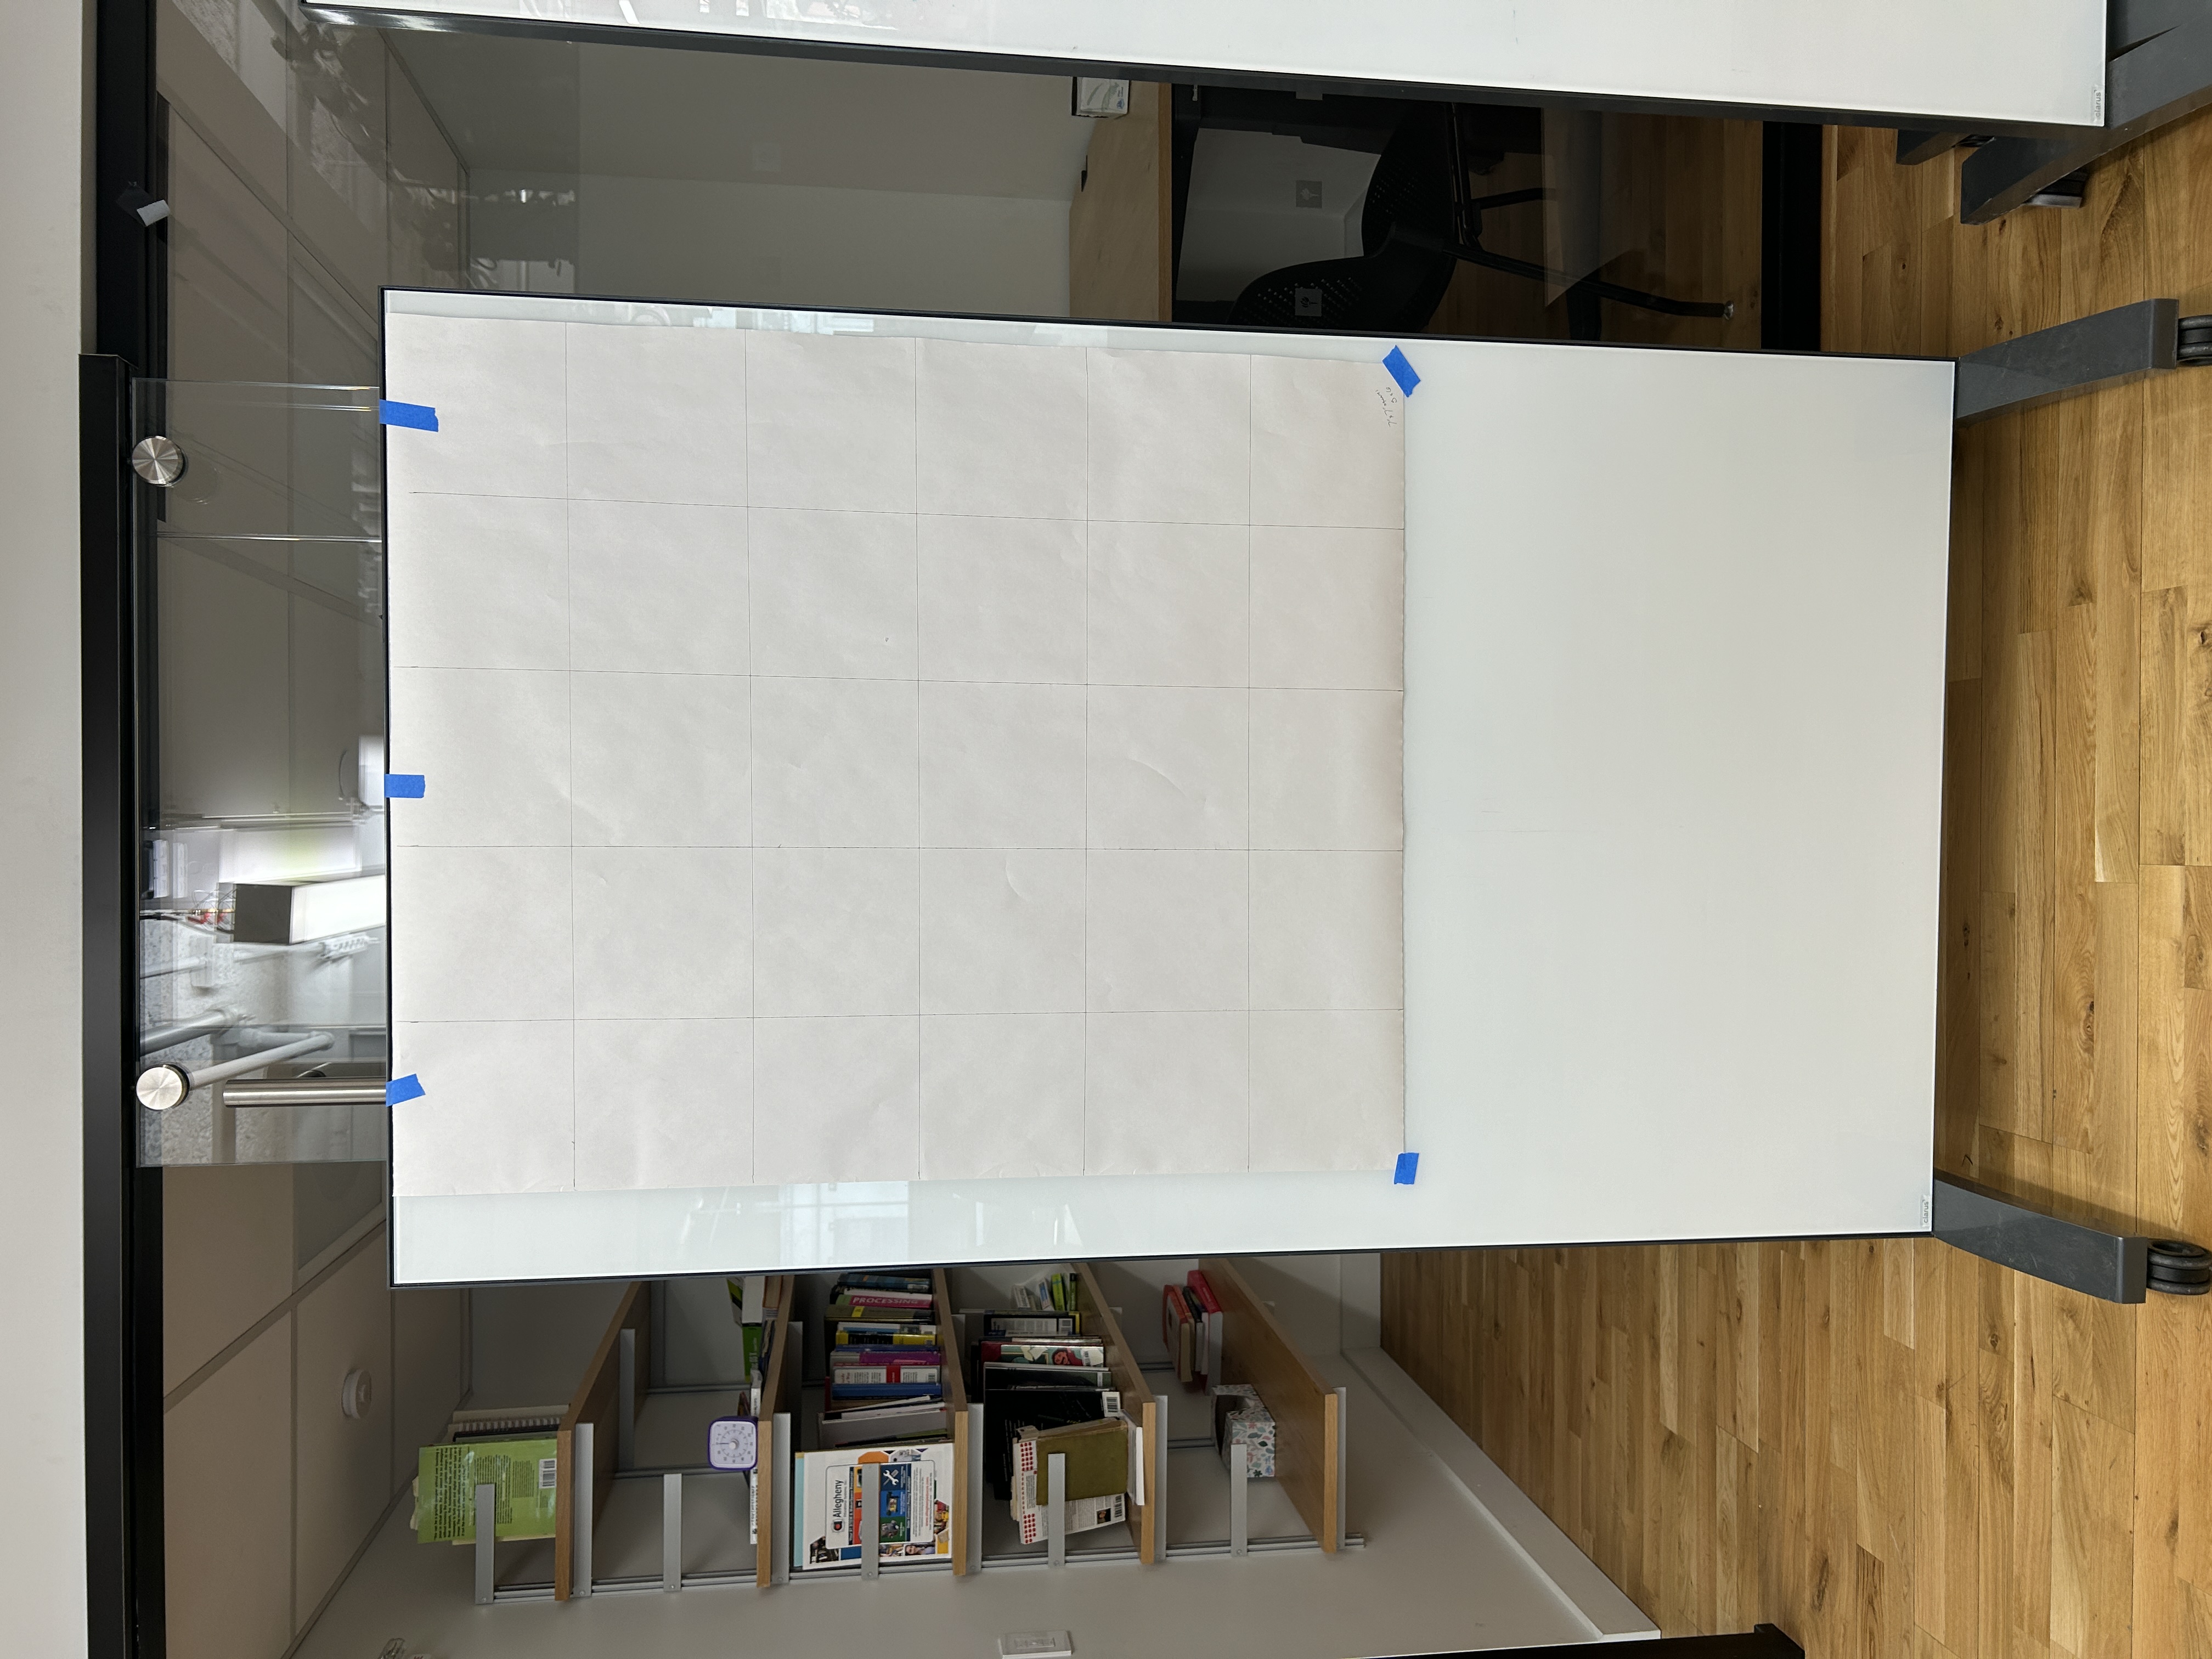
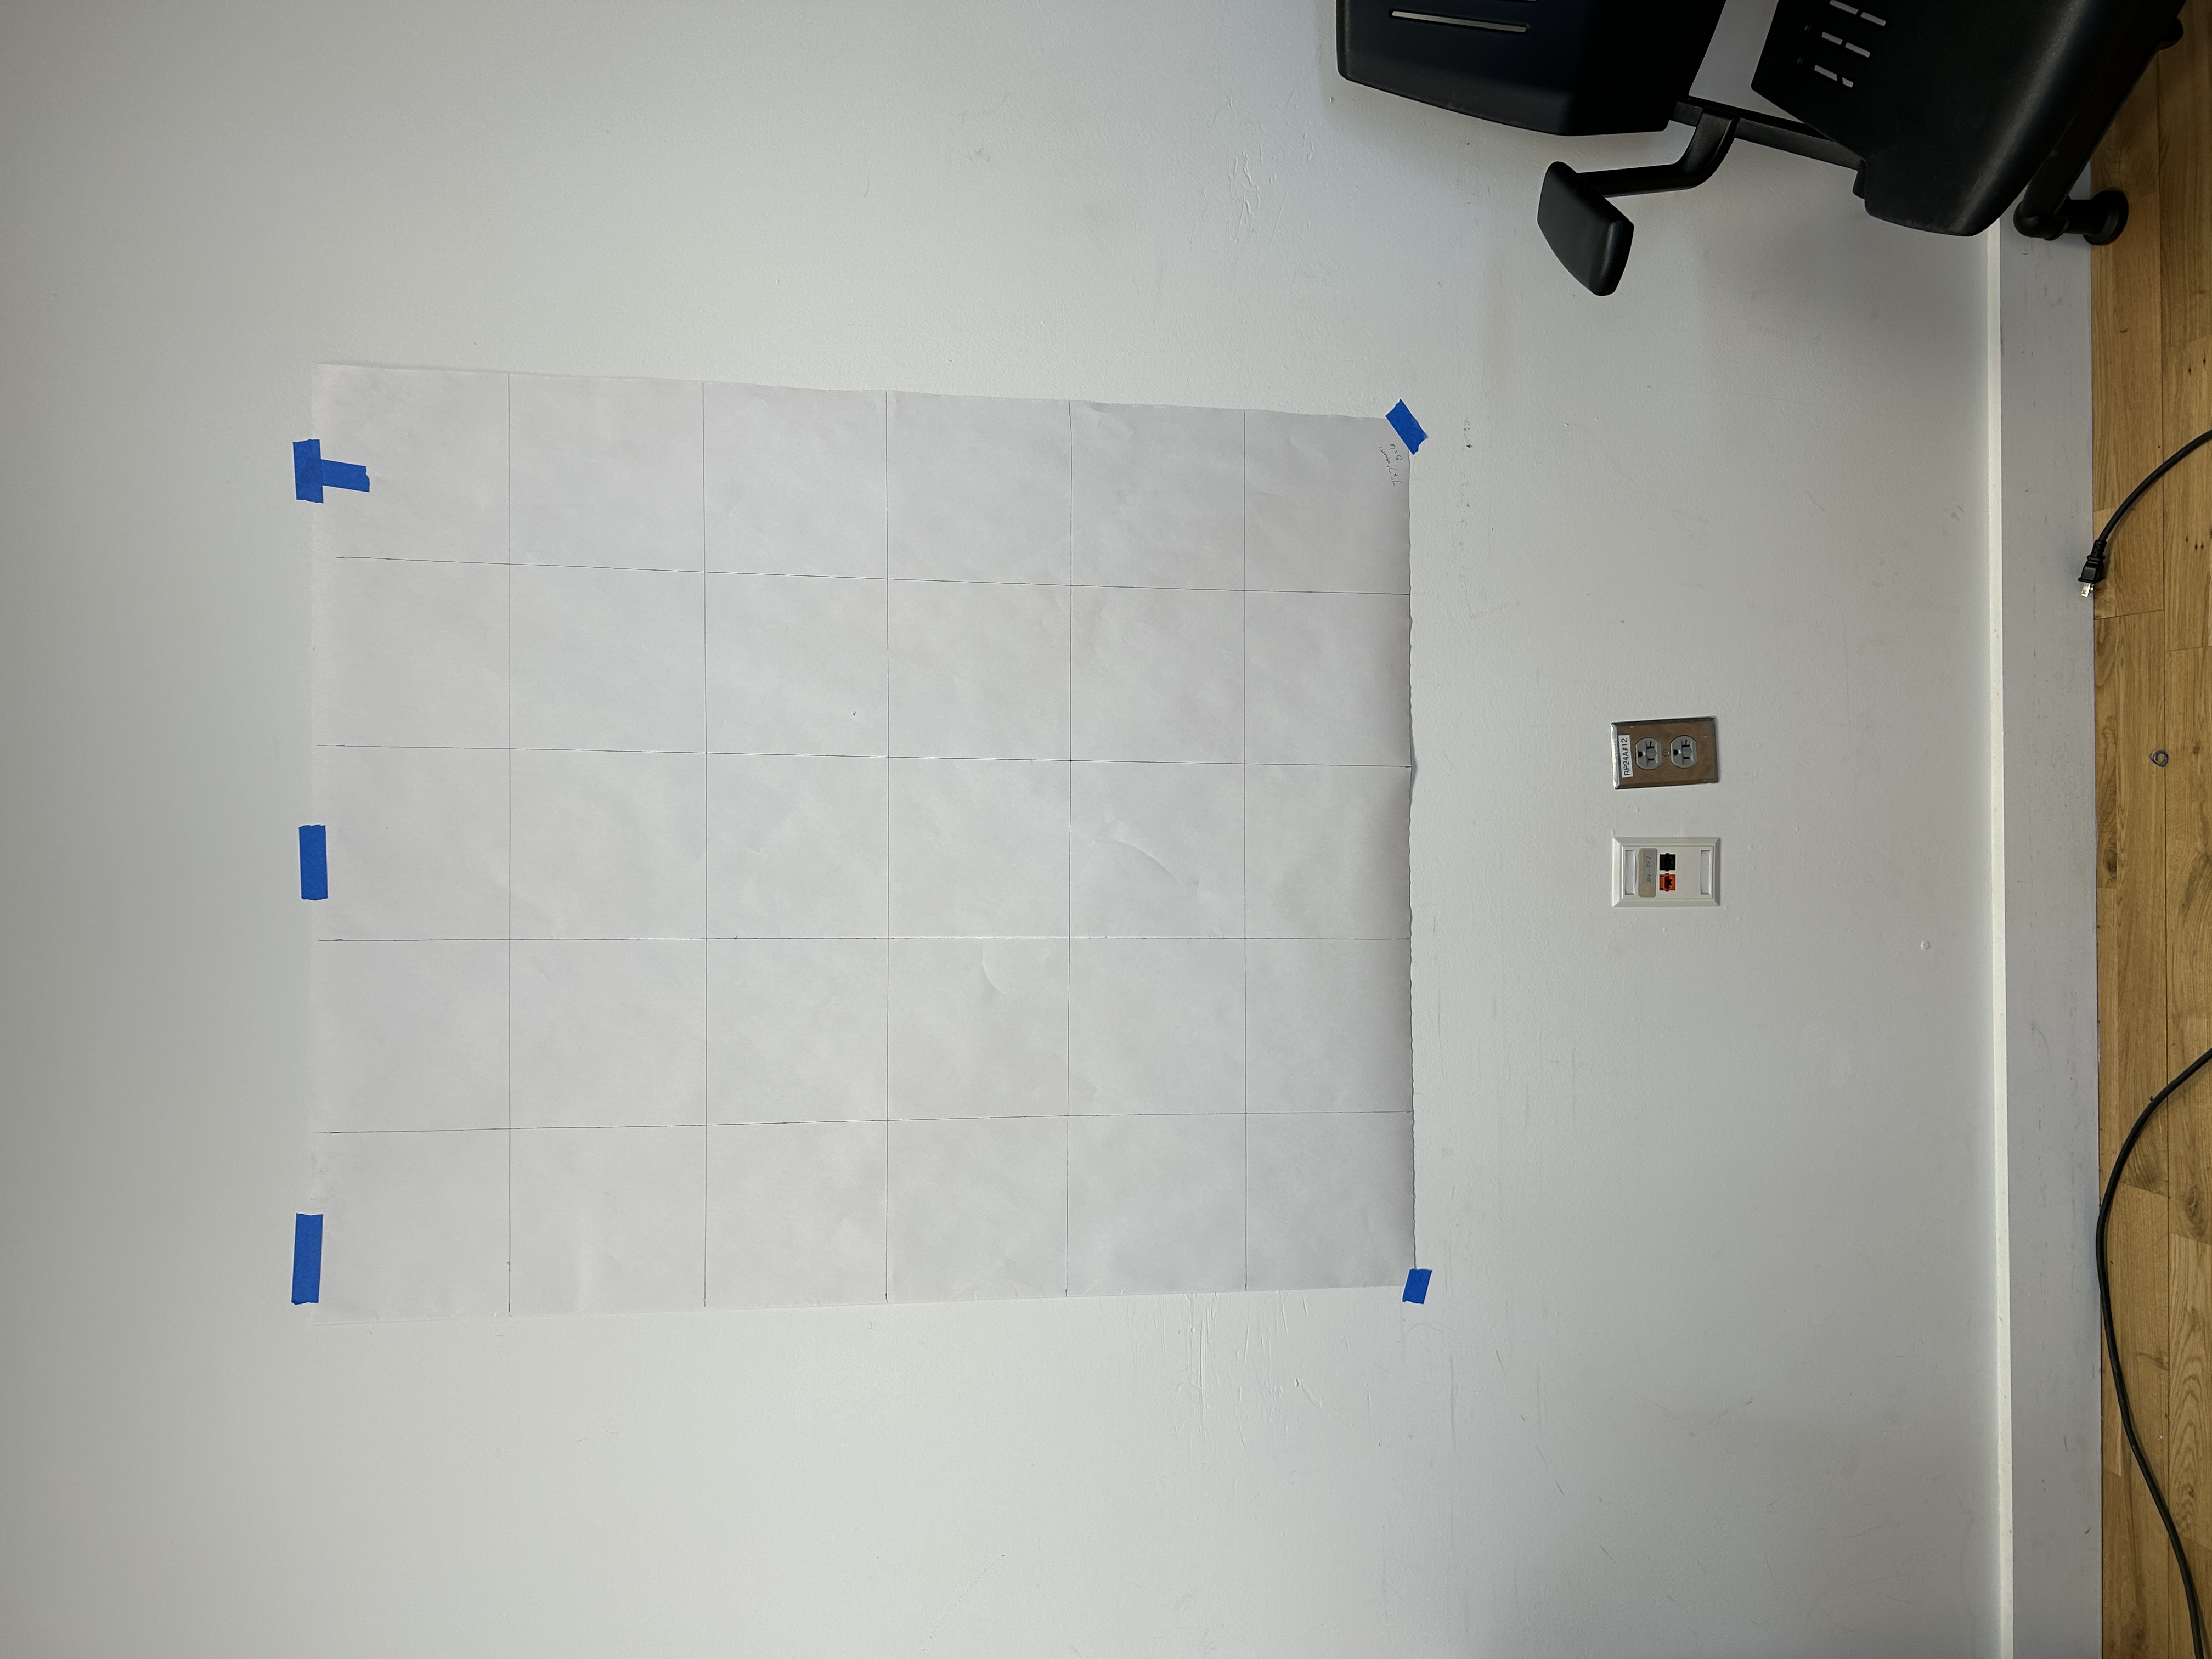
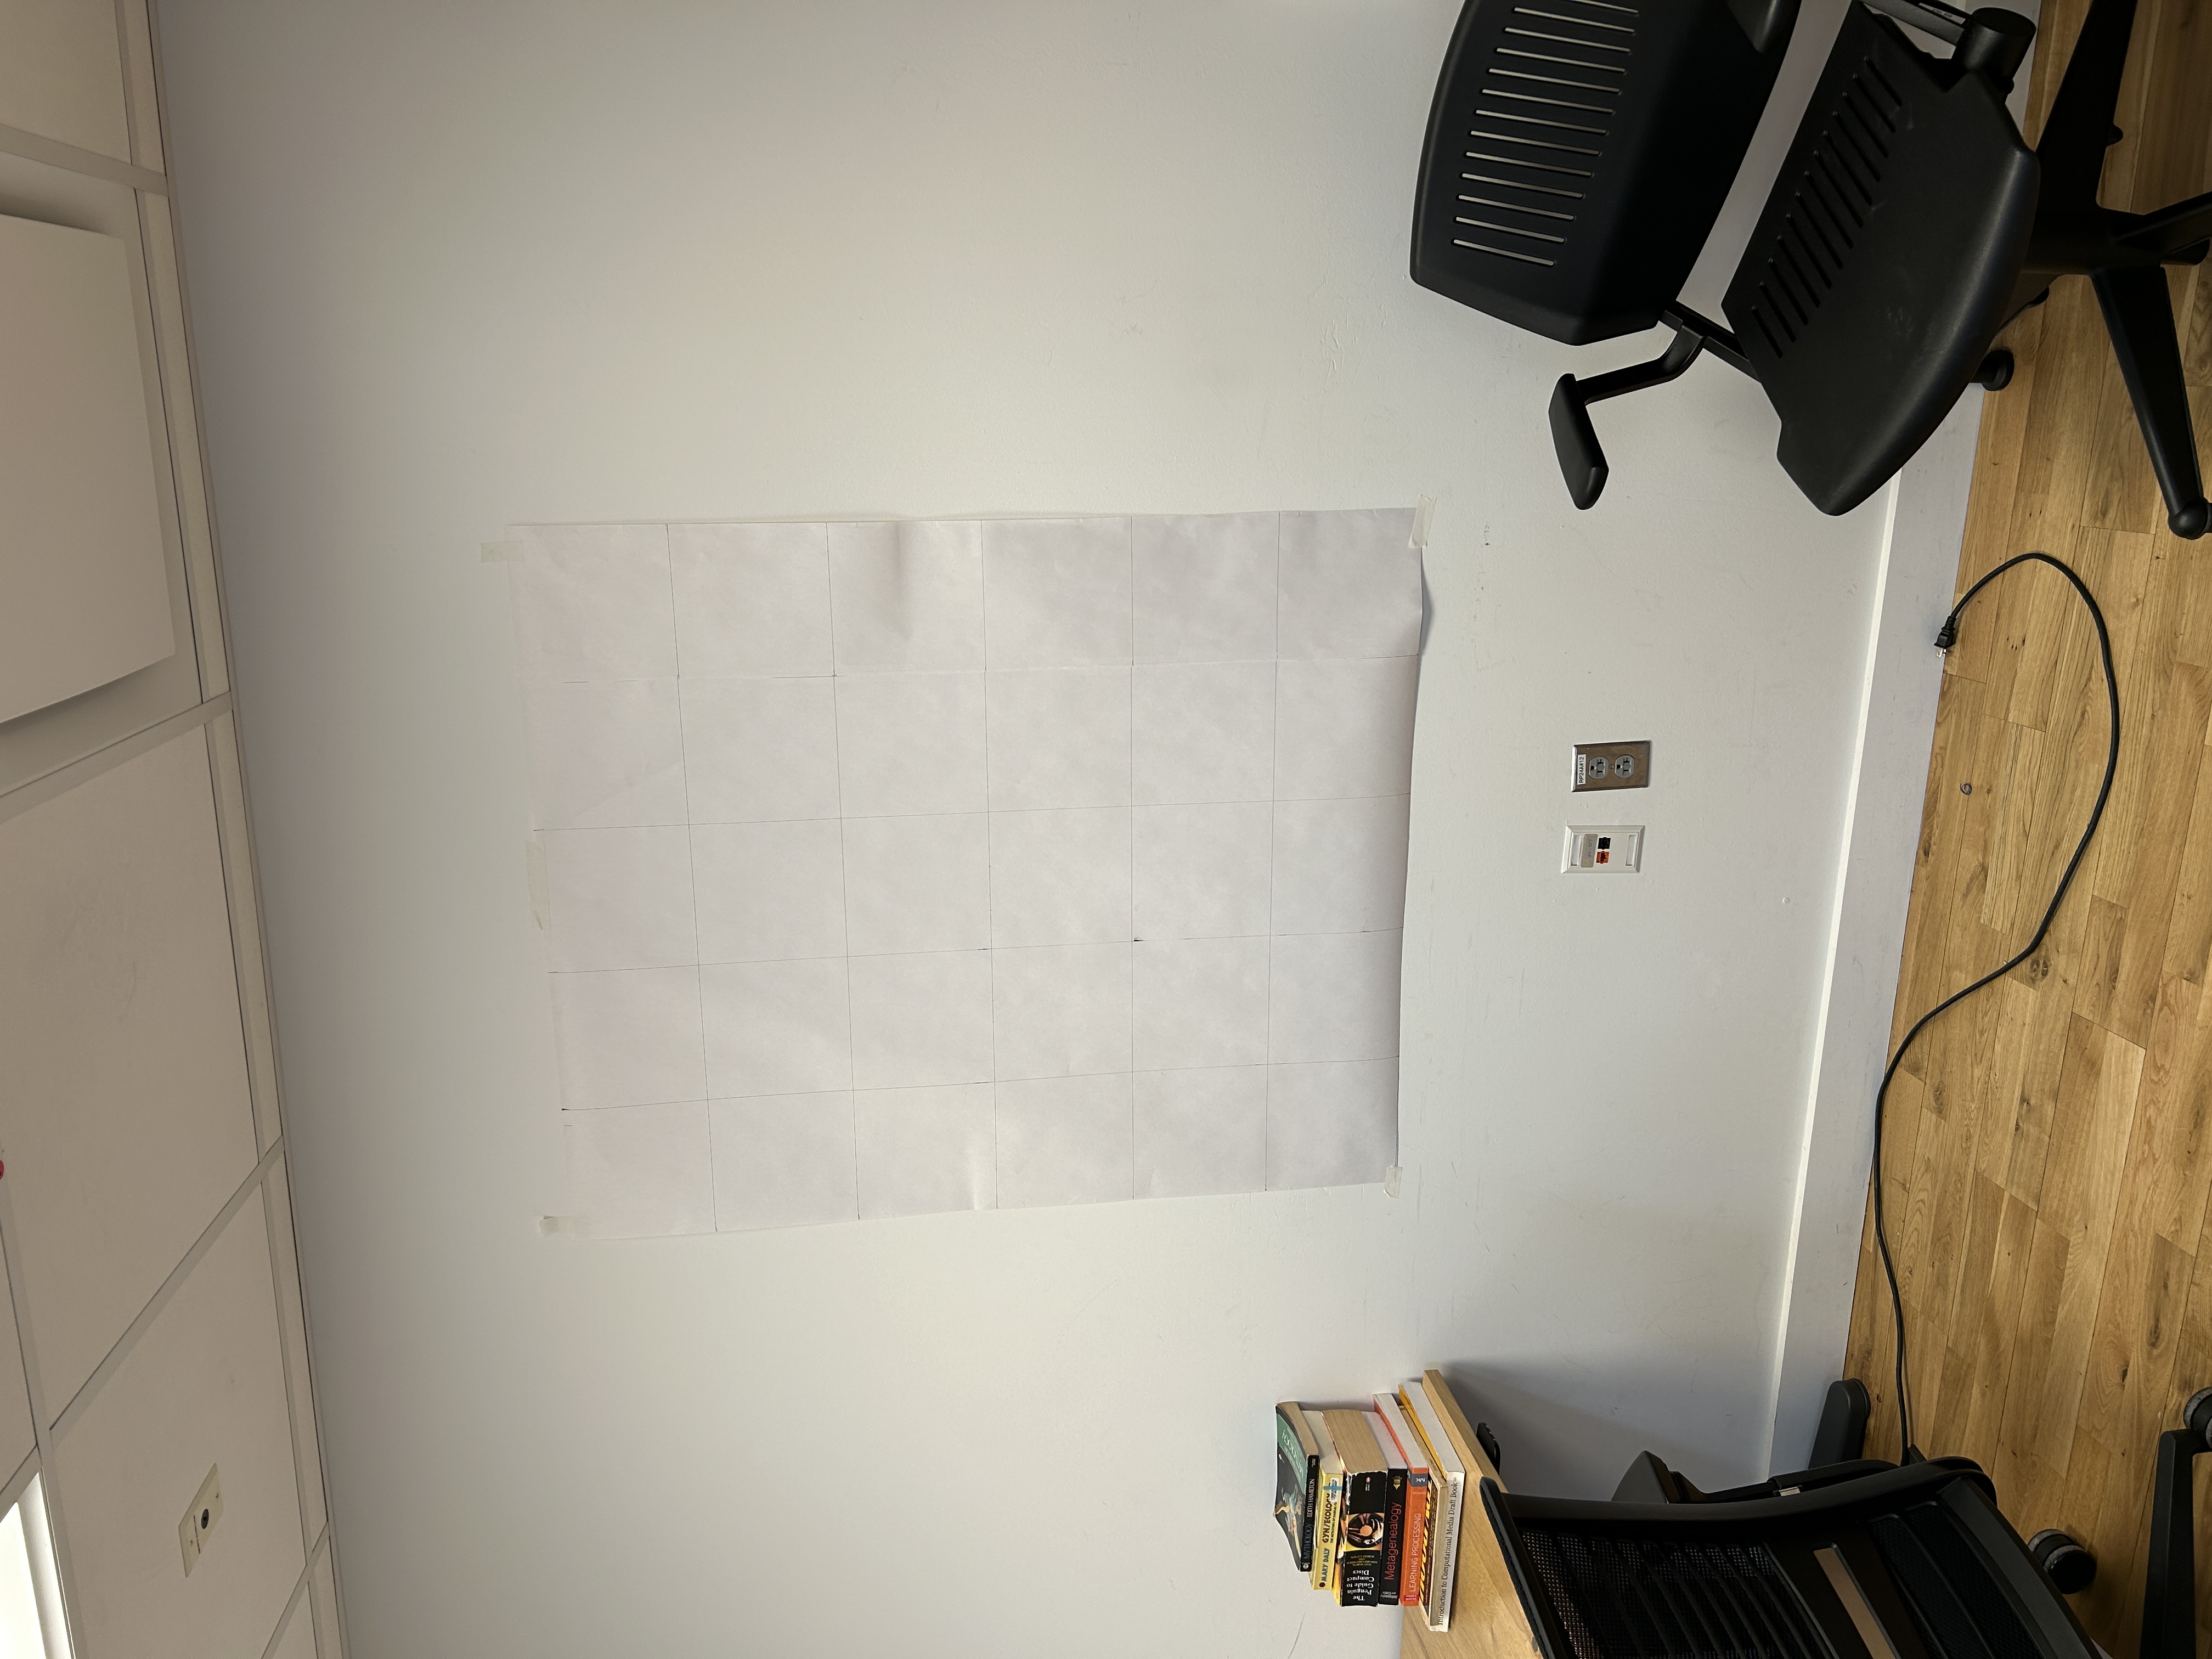
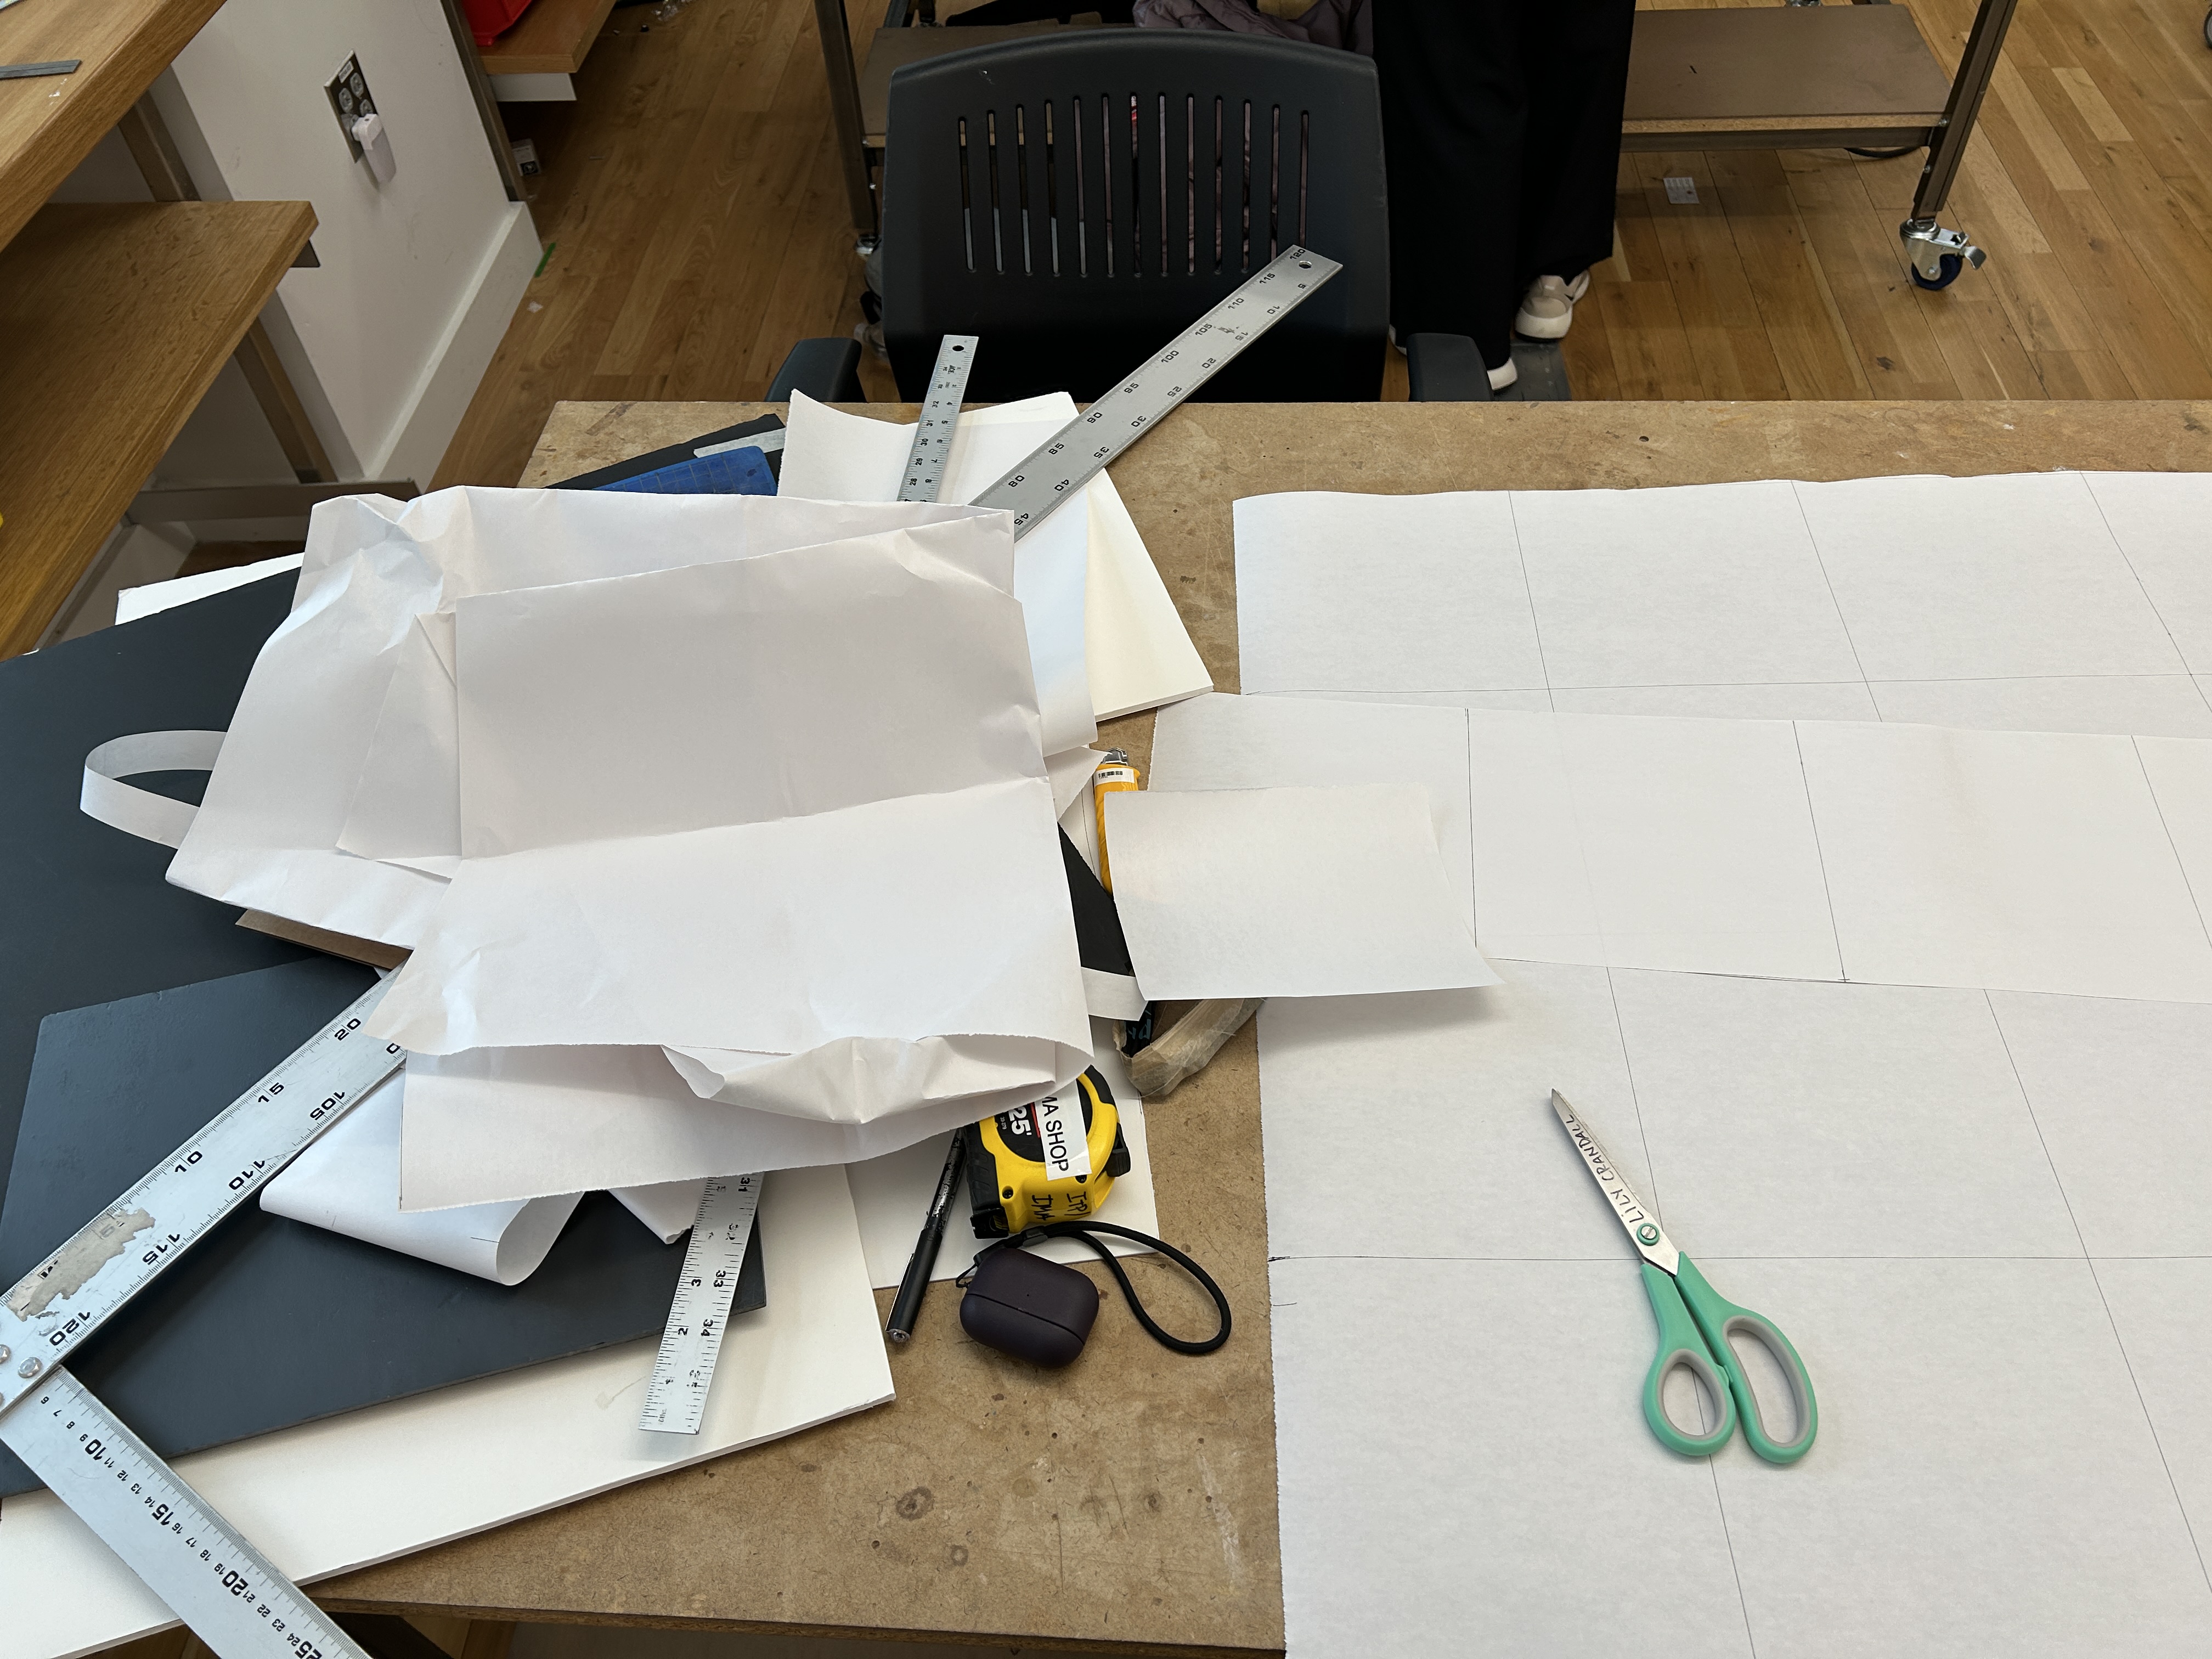
Started drawing out quilts on big pieces of butcher paper with different sized squares.
Day 18 - Feb 22
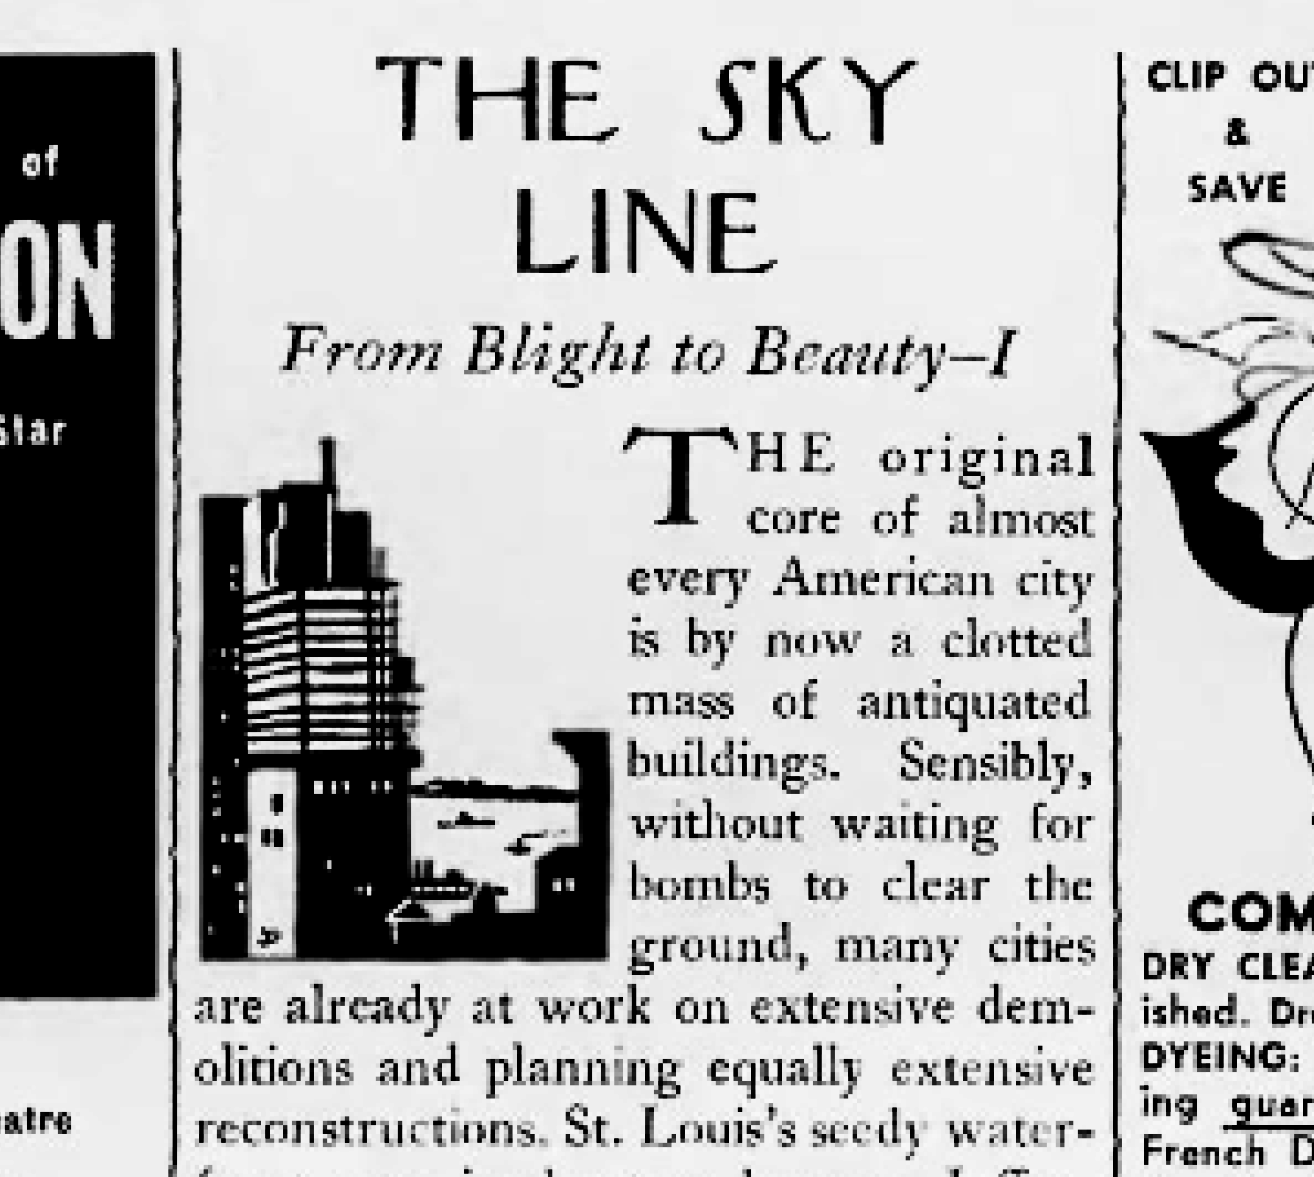
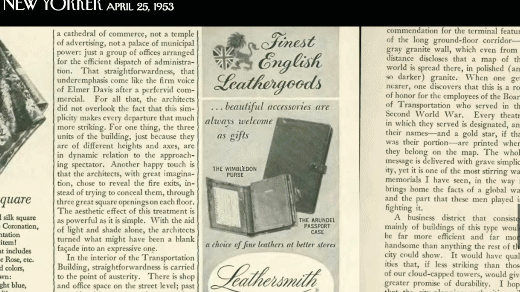
- Found this article - maybe will print on fabric (engrave on fabric, stamp?)
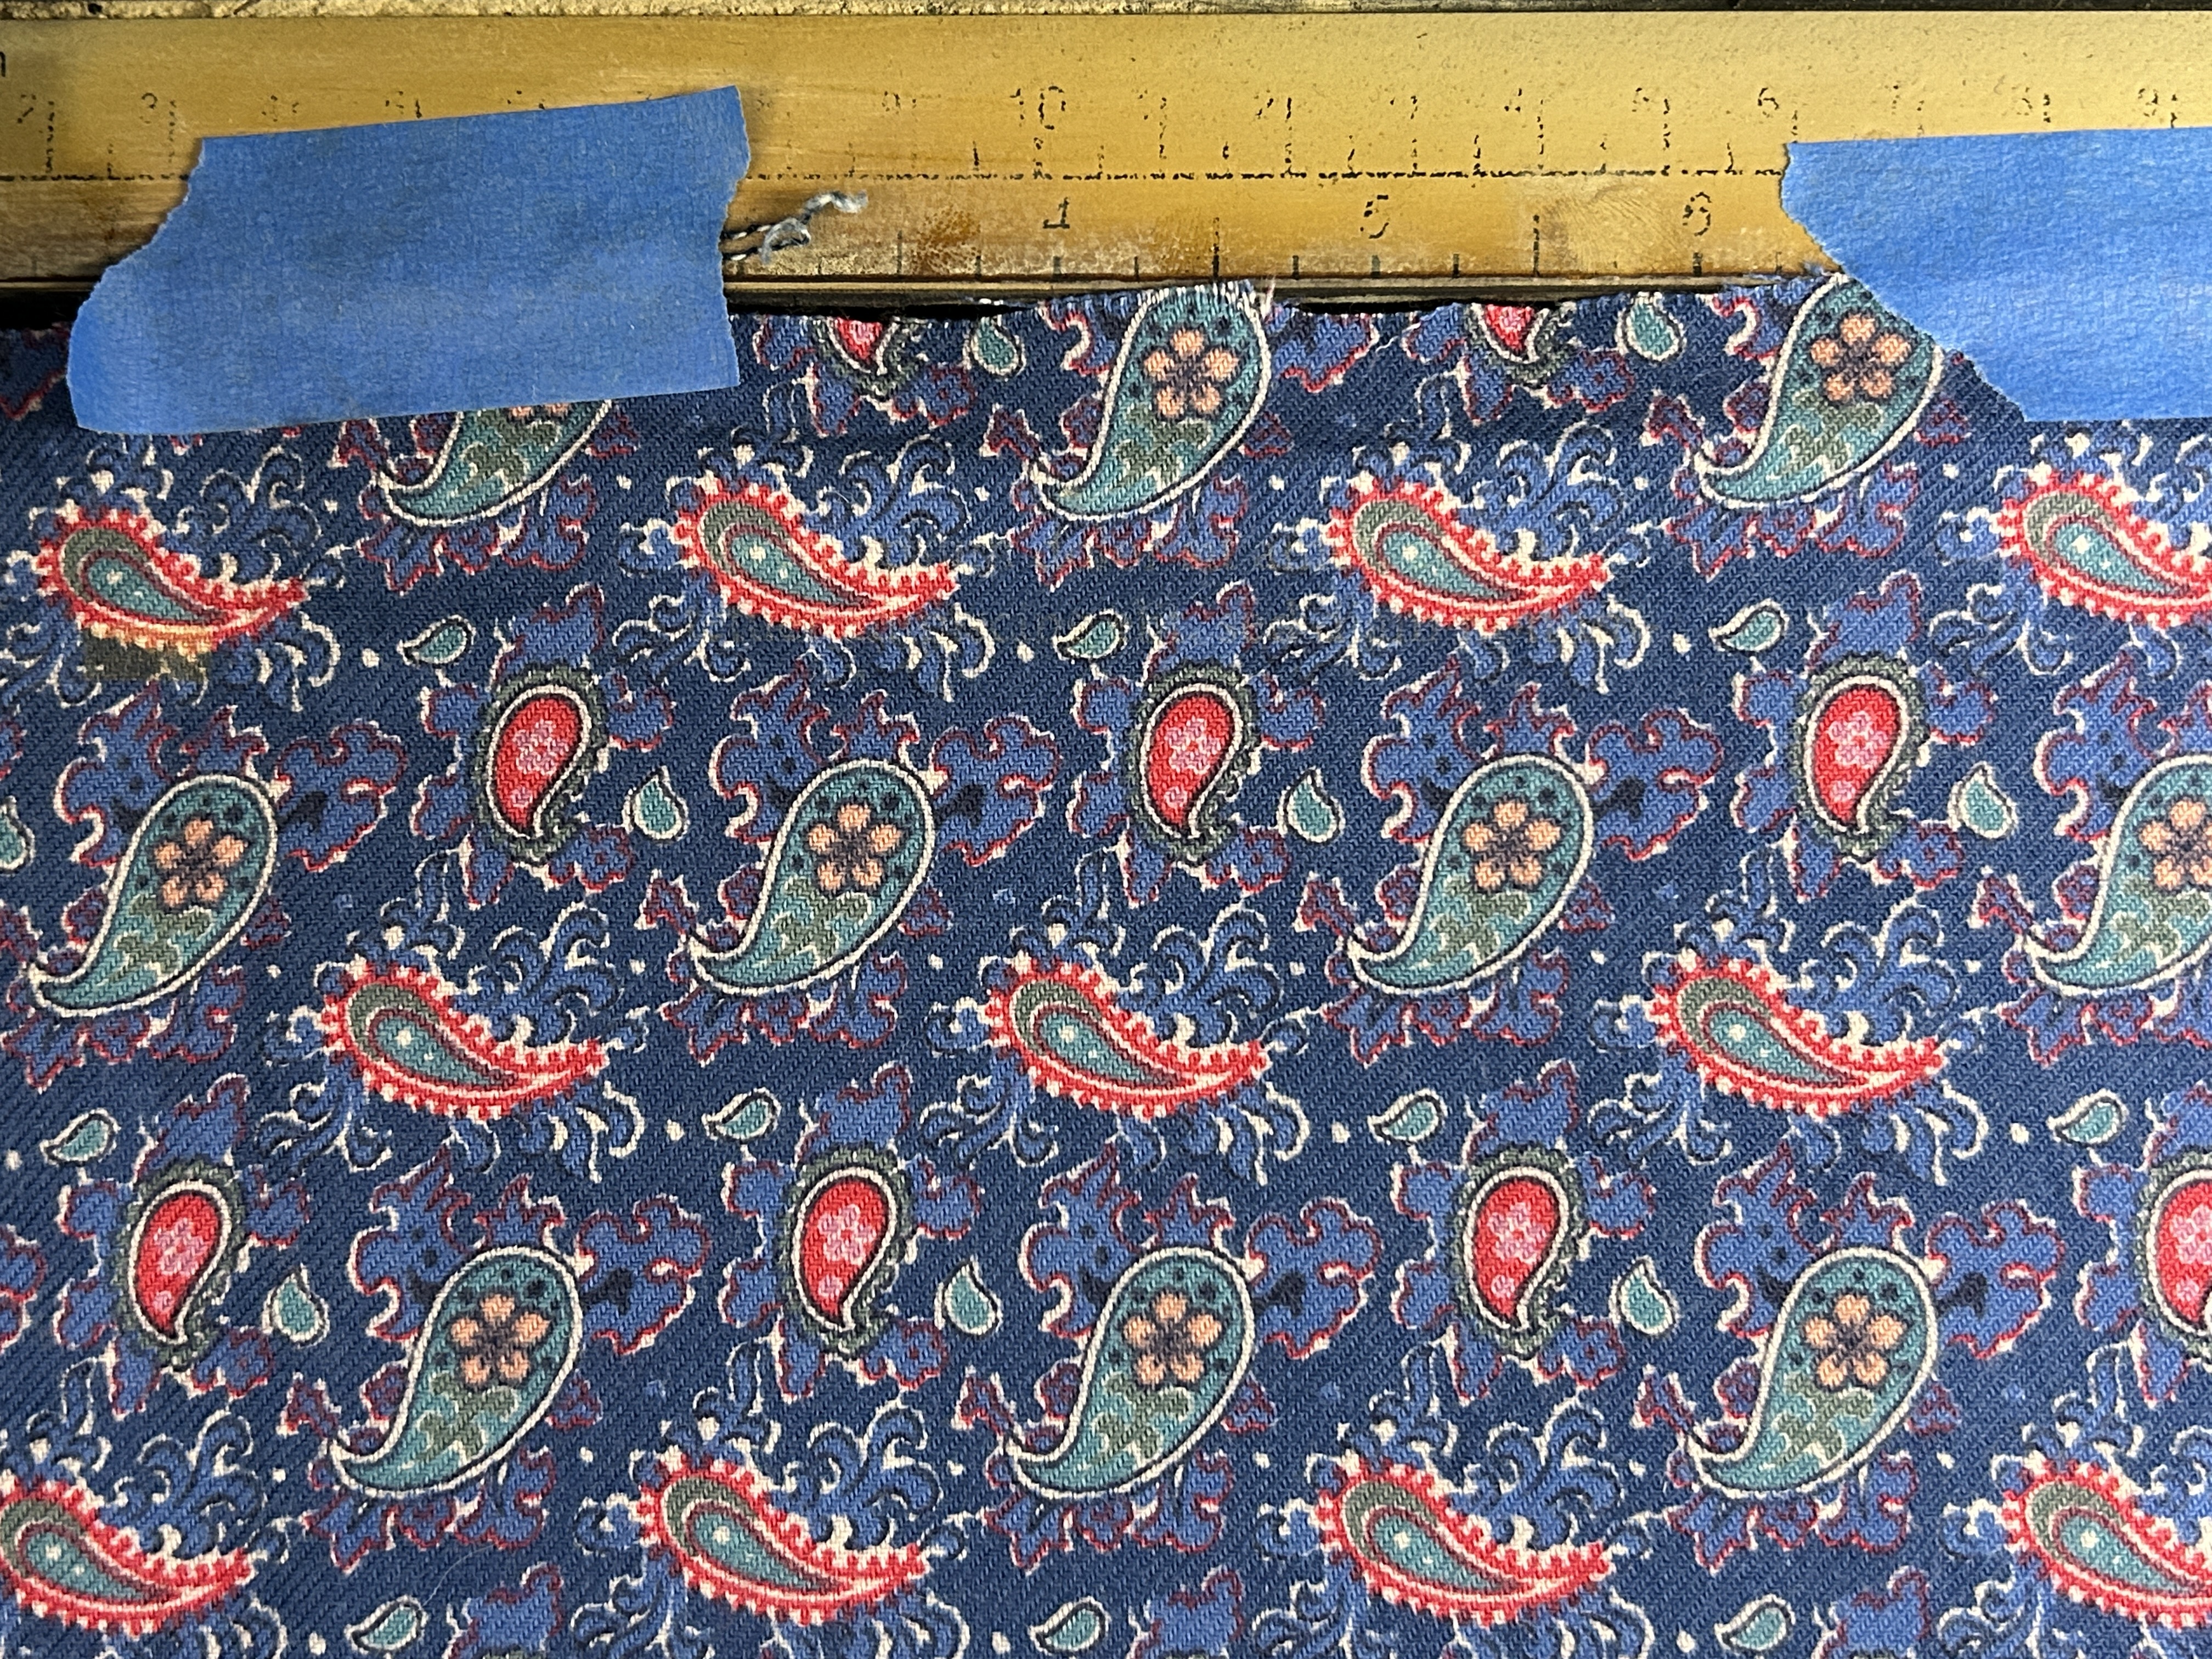
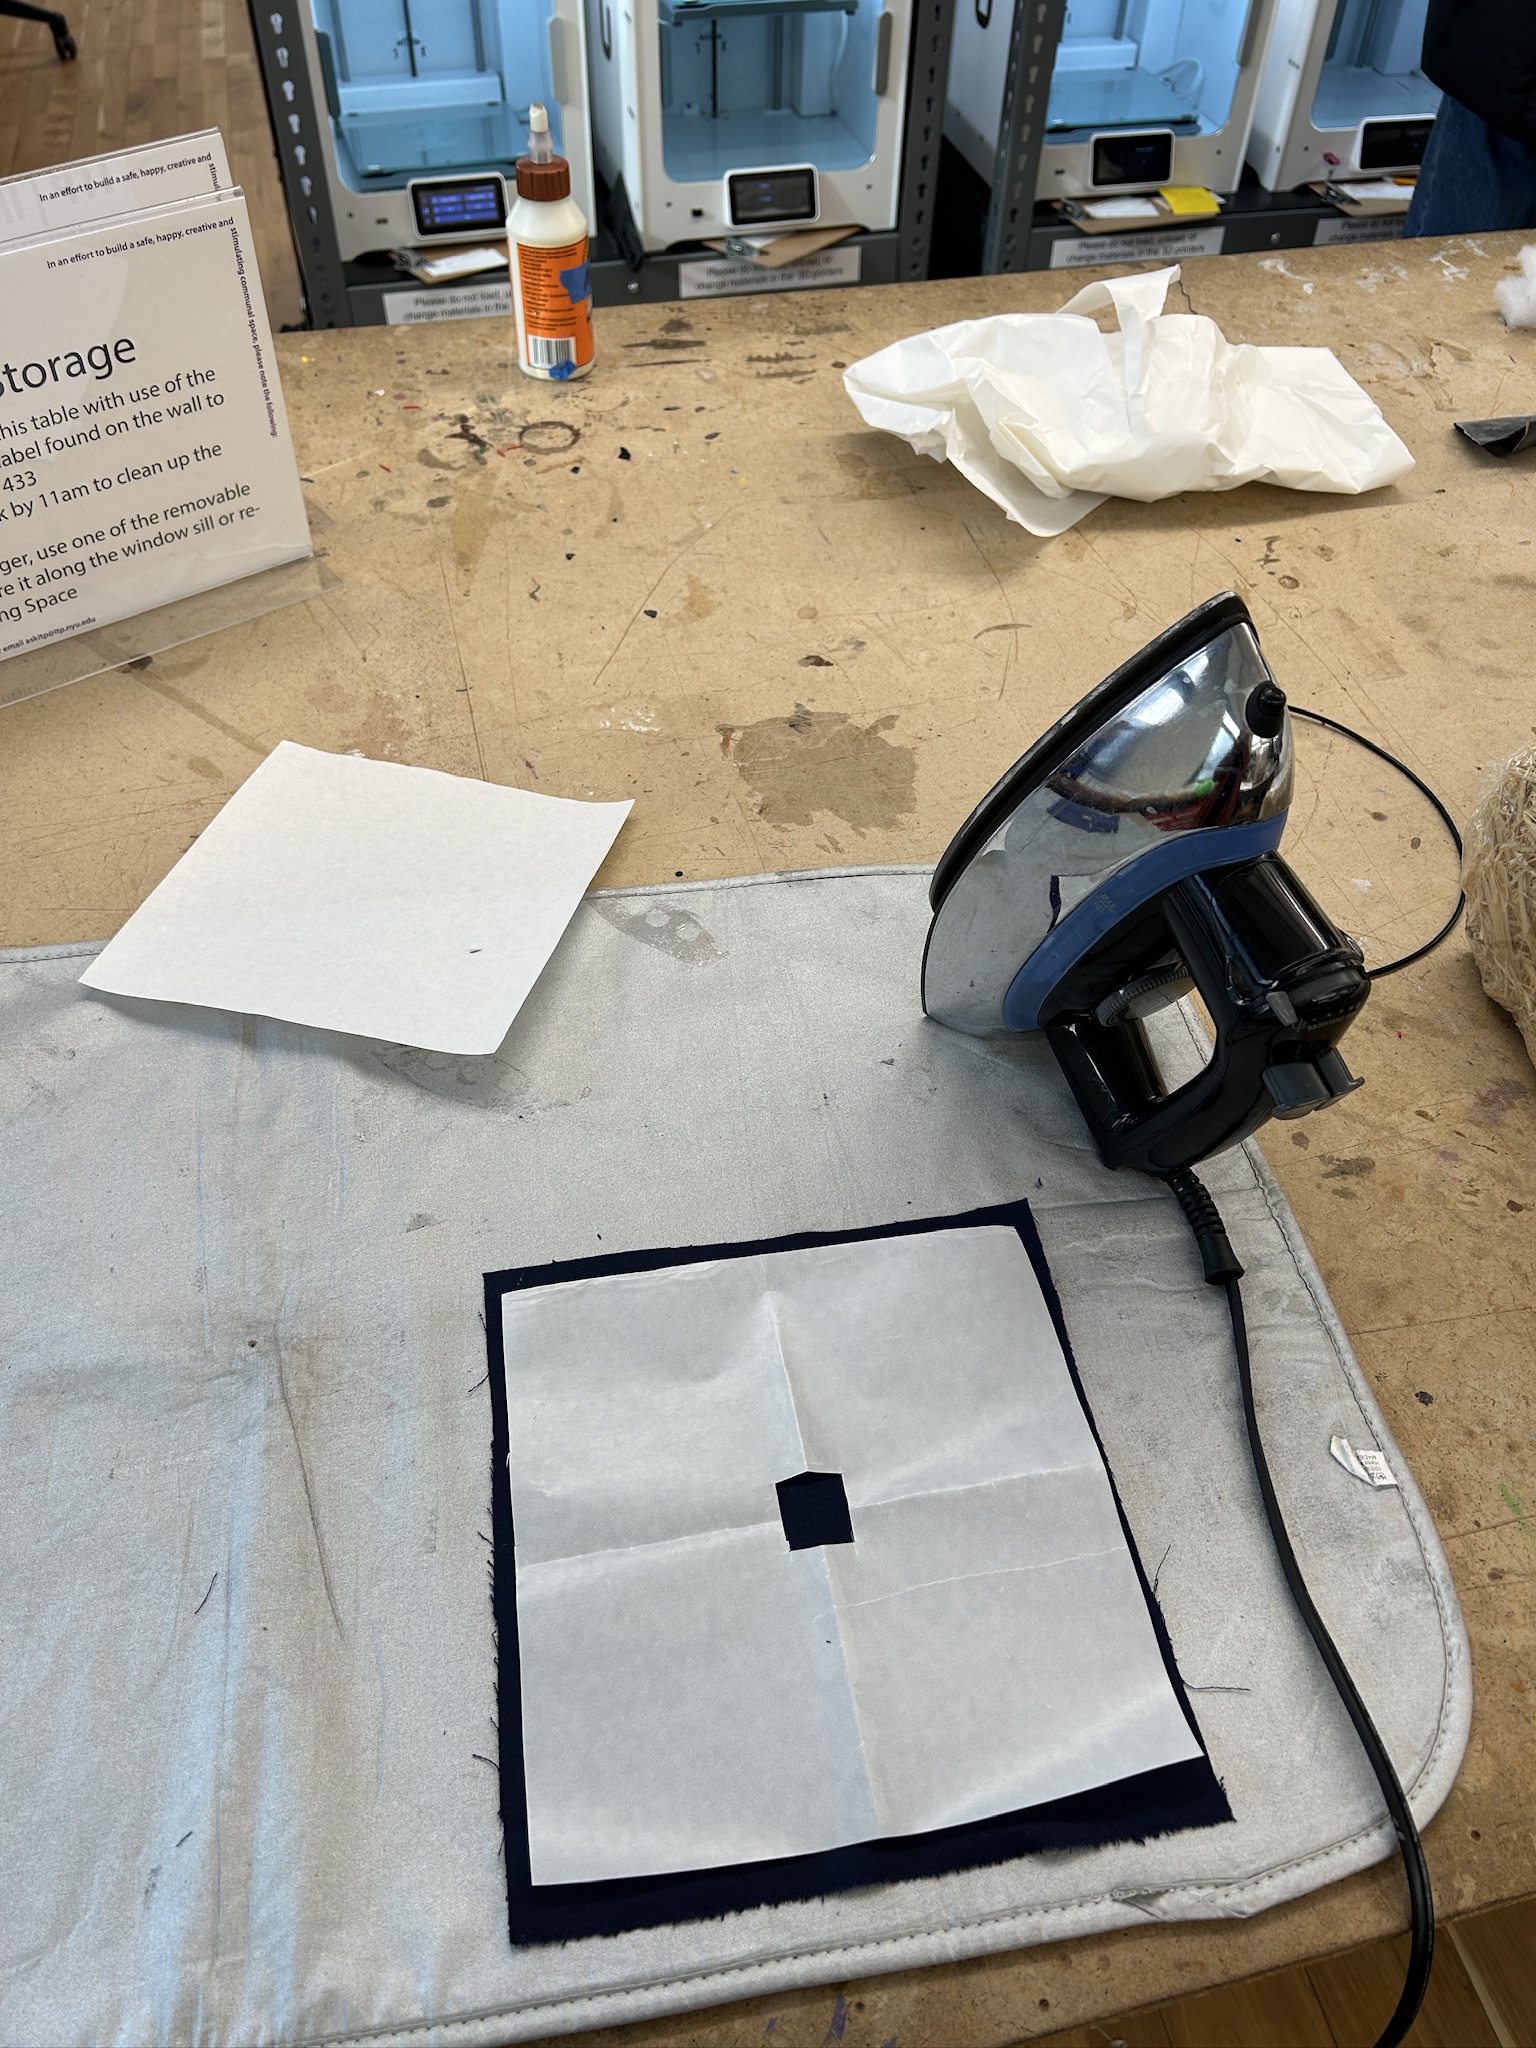
- Started engraving on fabric more, tested different materials
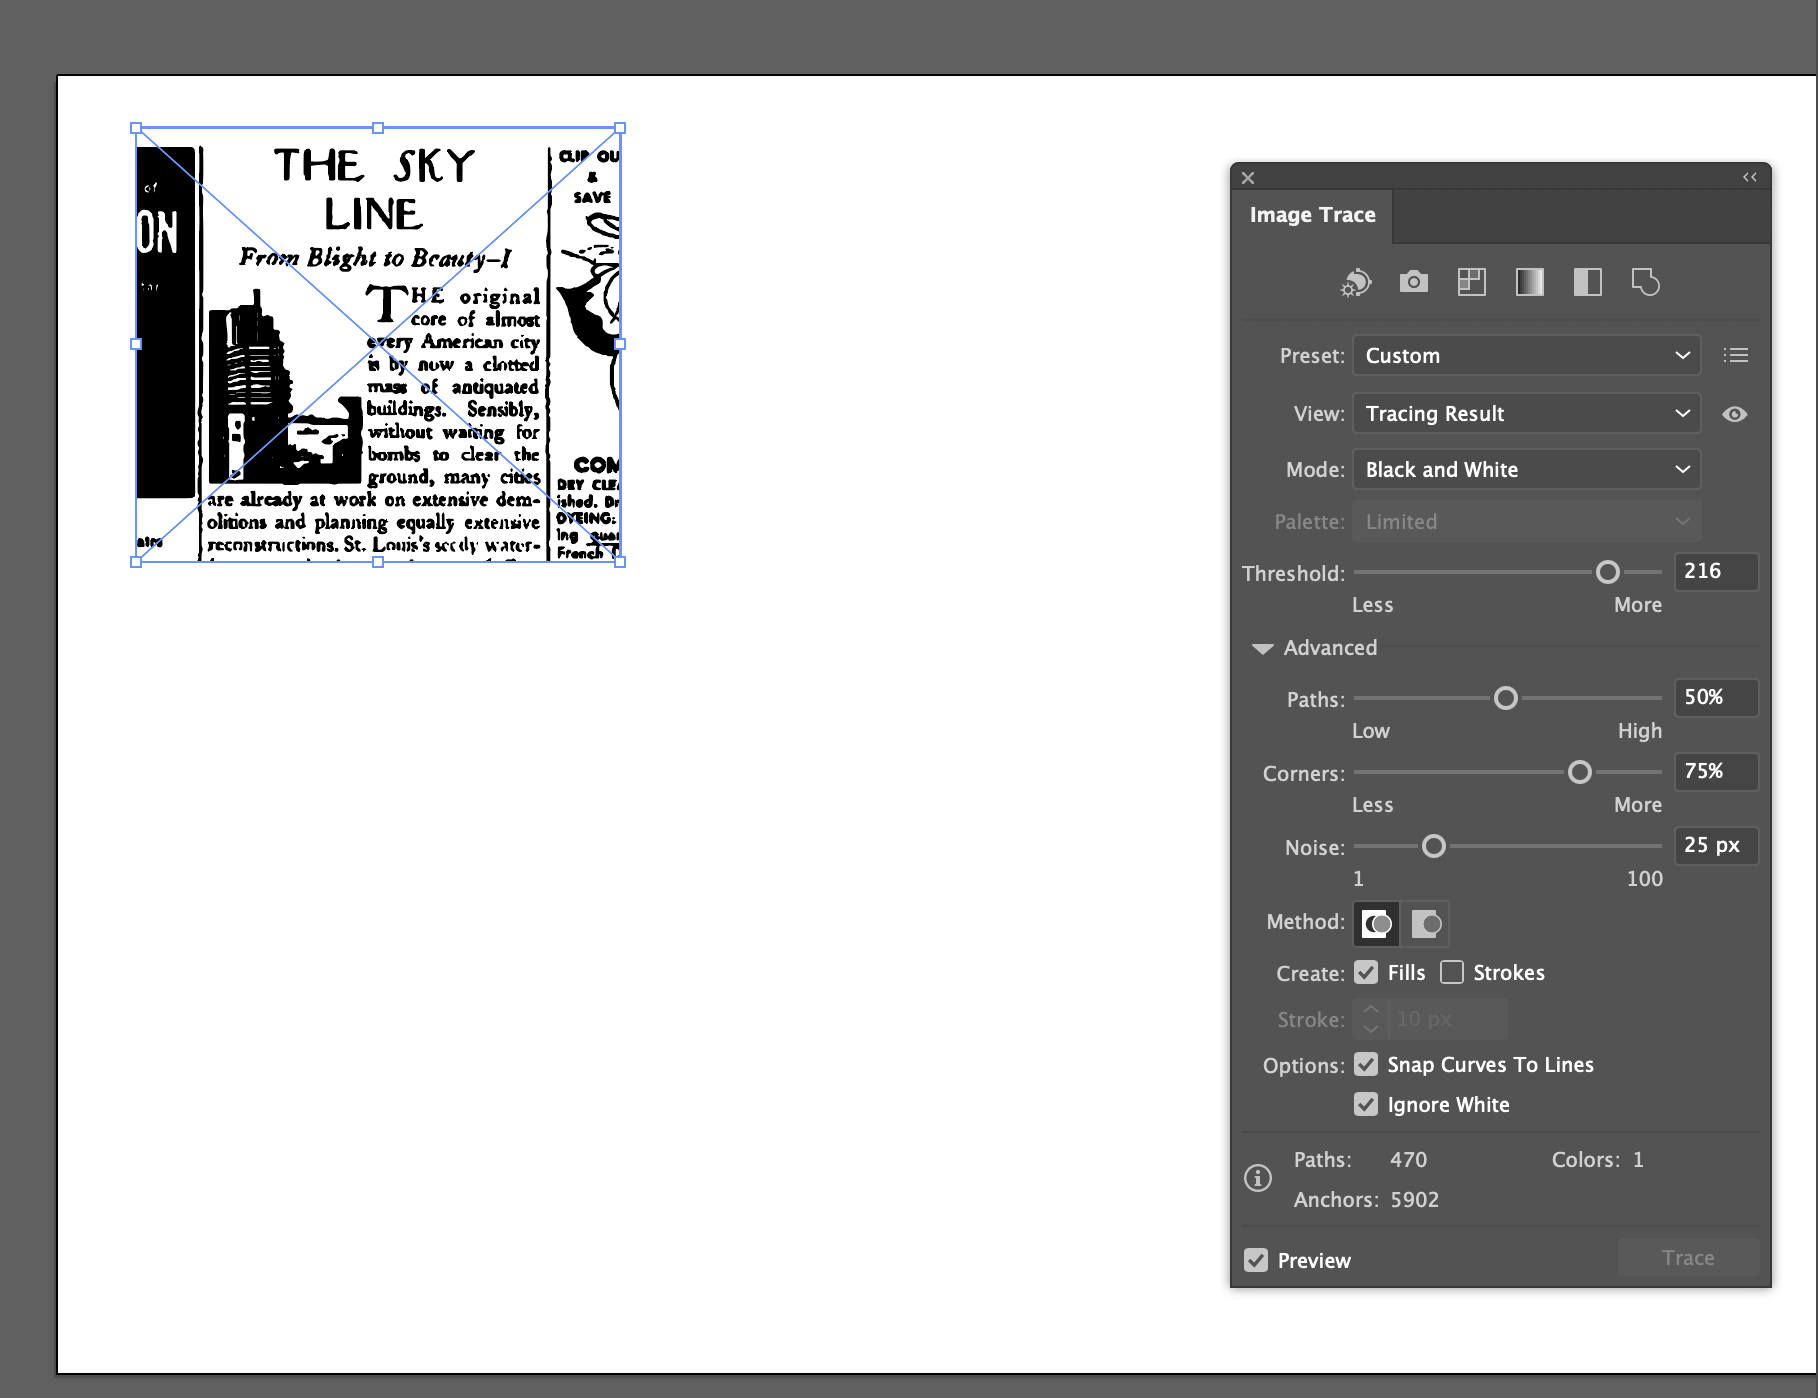
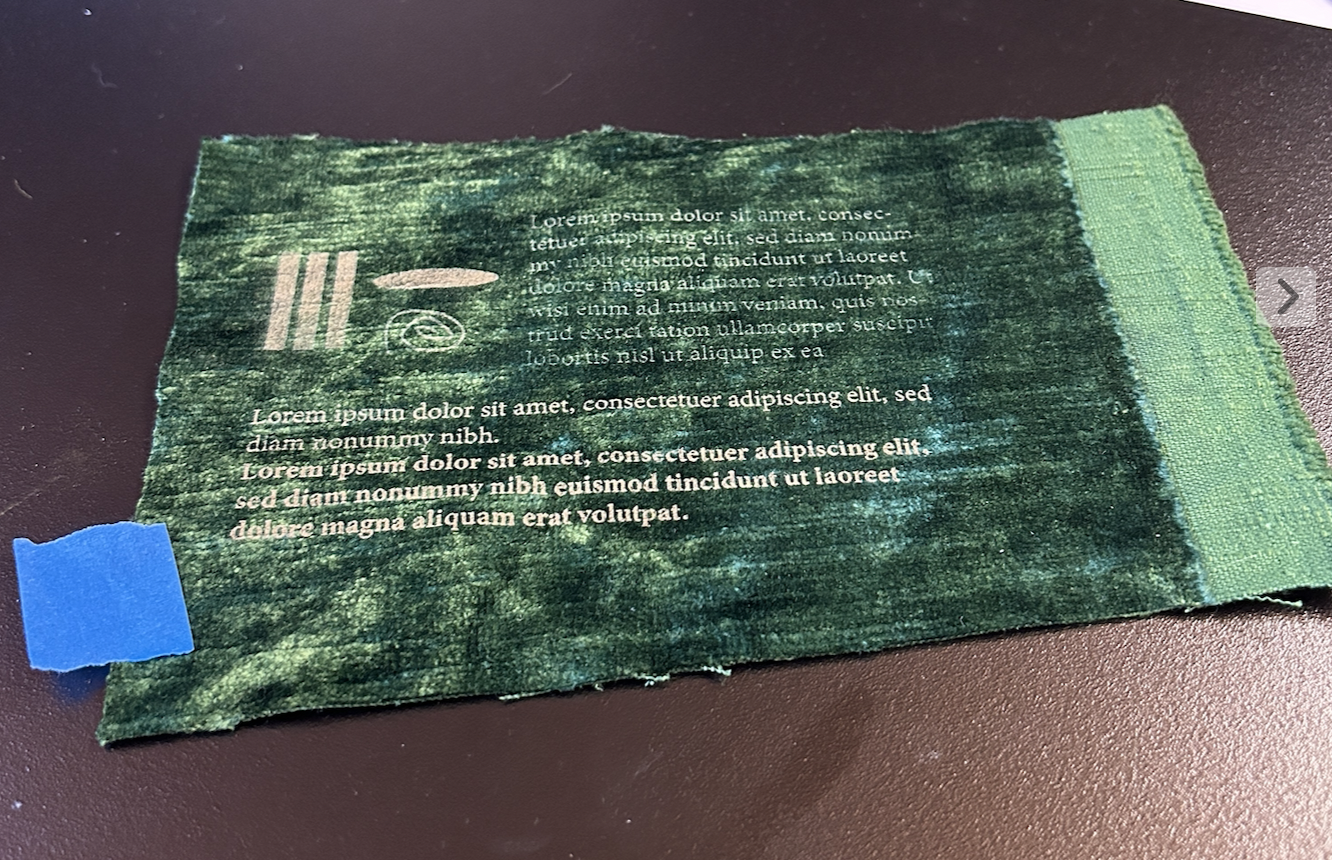
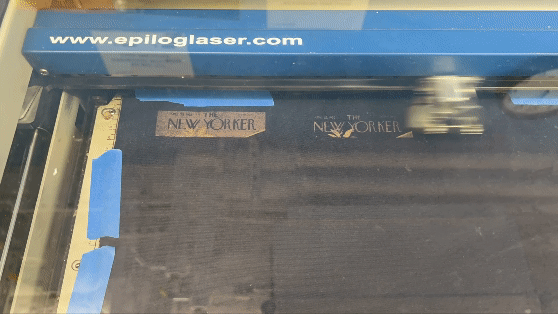
- Spend a really long time trying to remove the white background from the New Yorker article - tried just doing one section of it. Went from editing in Photoshop ︎︎︎ Illustrator, made a lot of changes to the Image Trace settings, and it kind of worked. The text isn’t as clear as I’d like it to be.

Tried laser engraving on more fabric:
Day 19 - Feb 23
- Met with Kate Hartman: Irene Posch
Day 20 - Feb 25
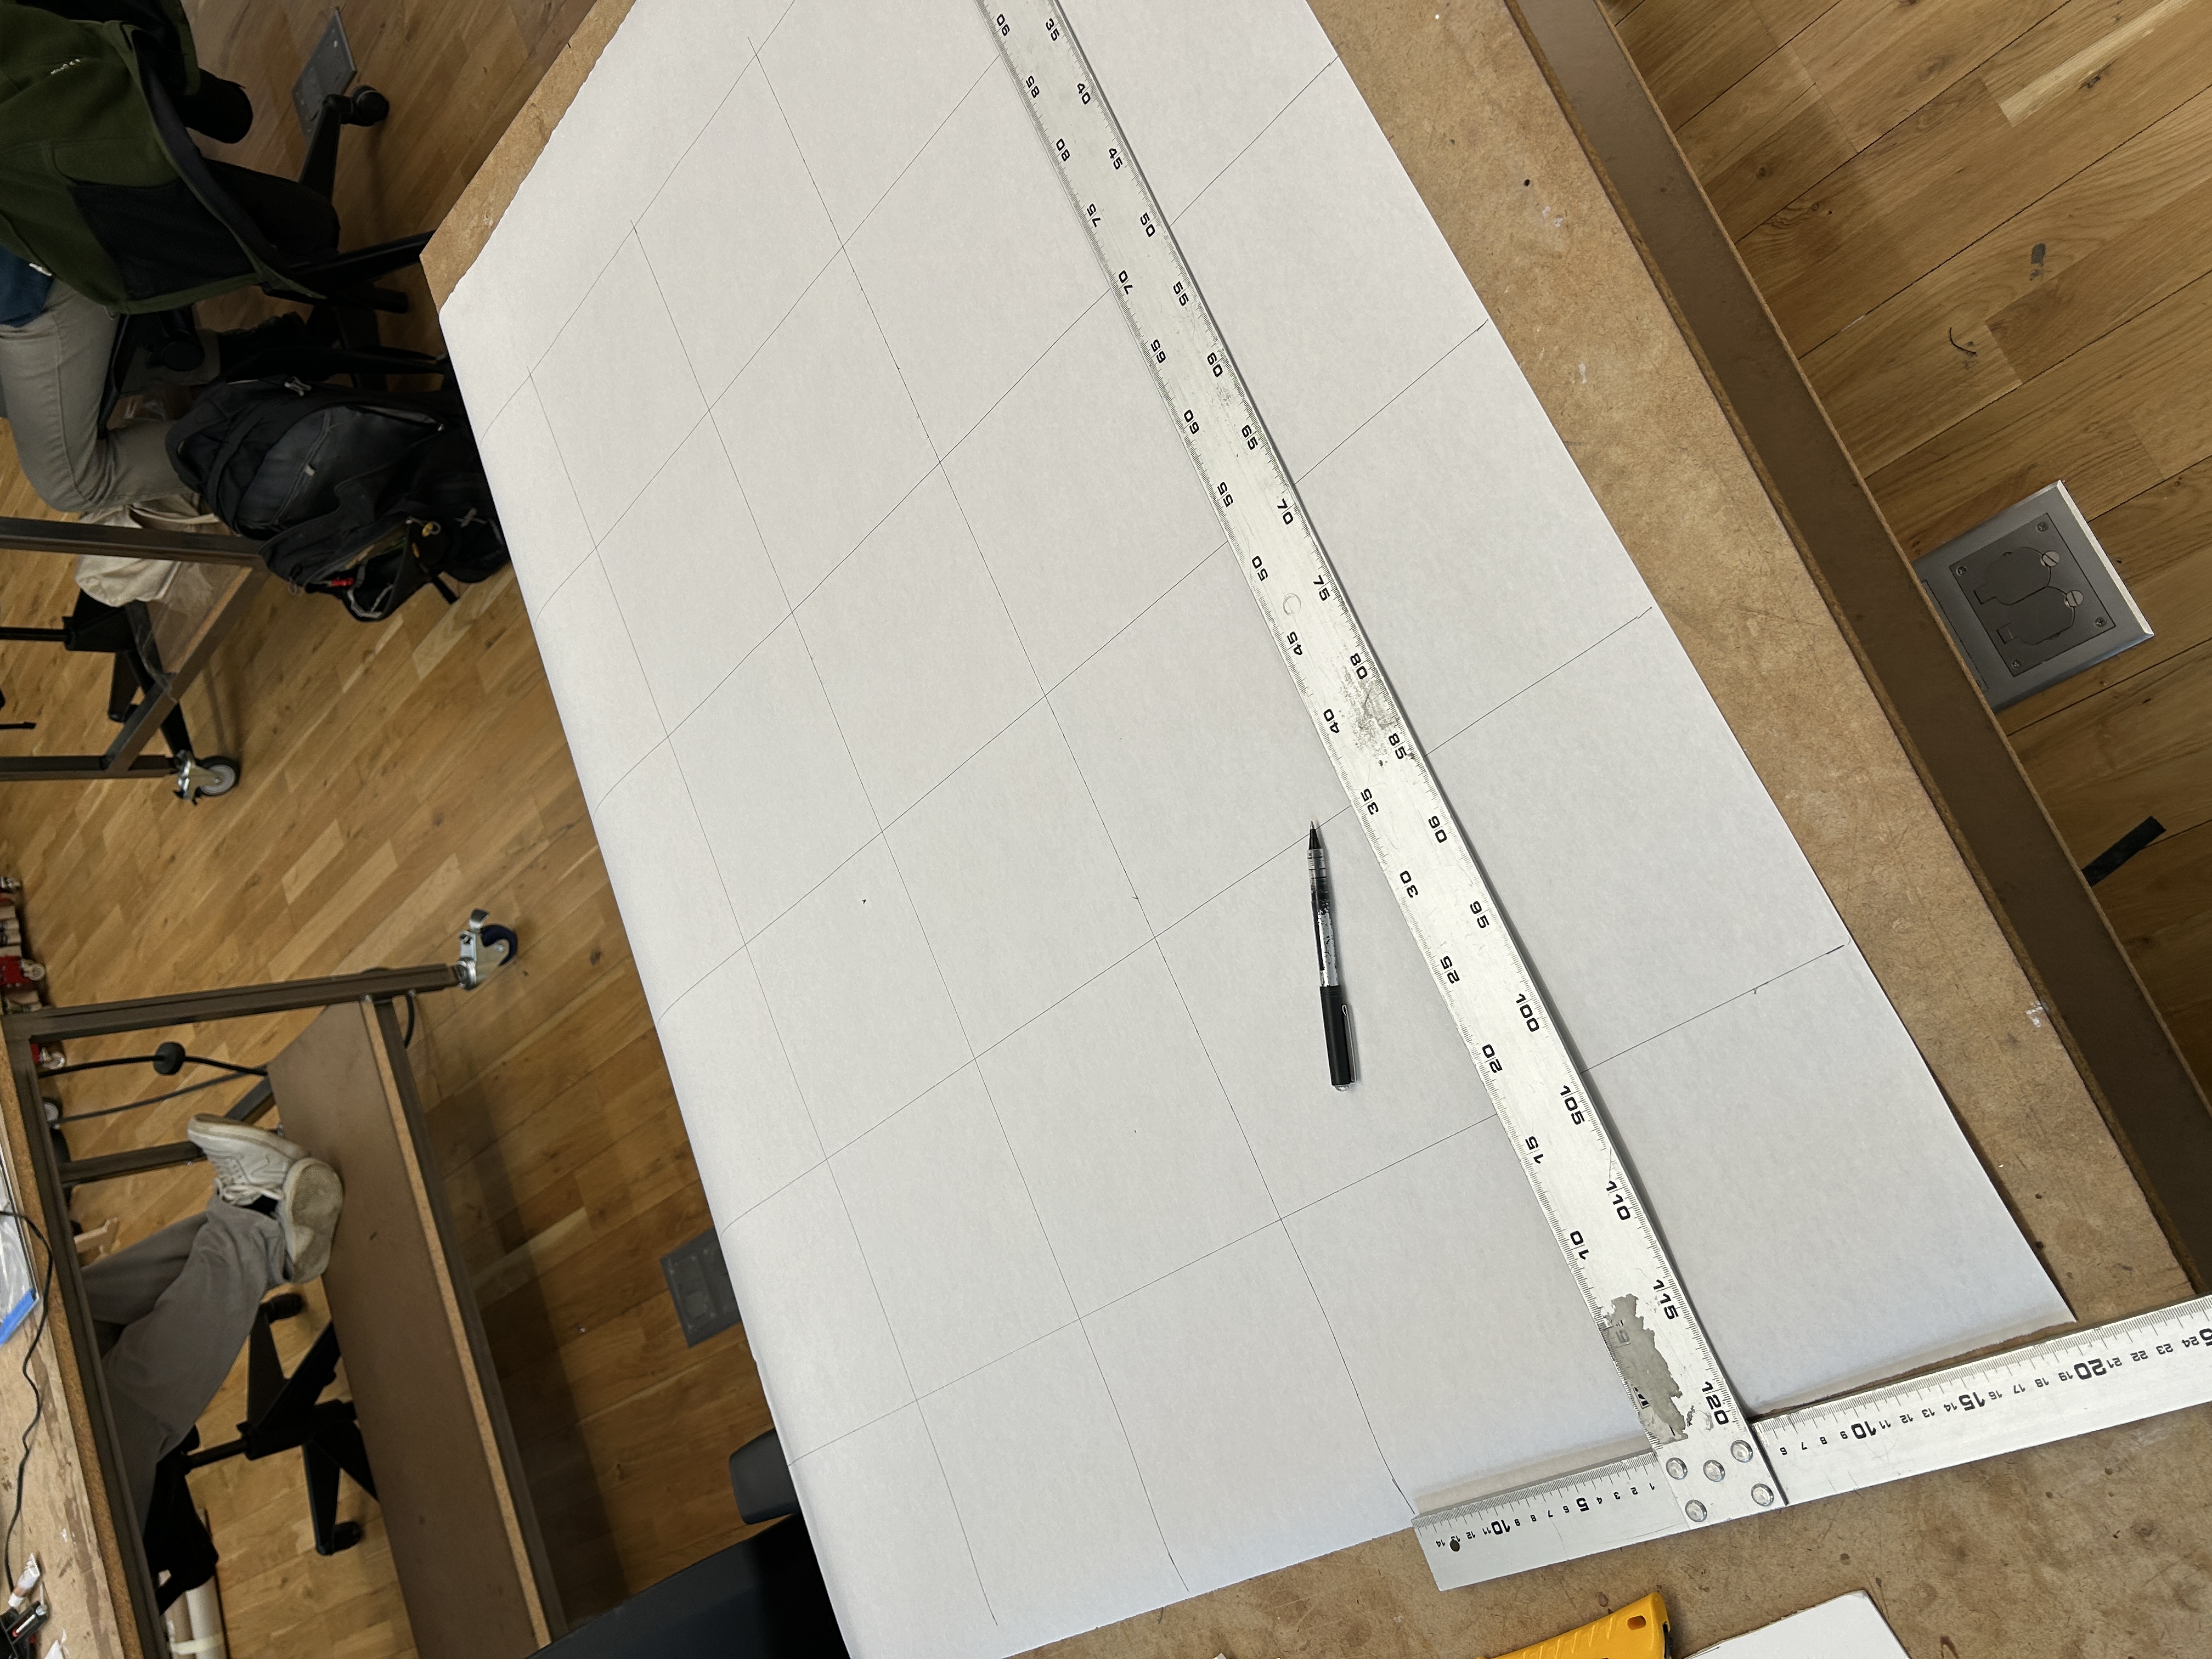
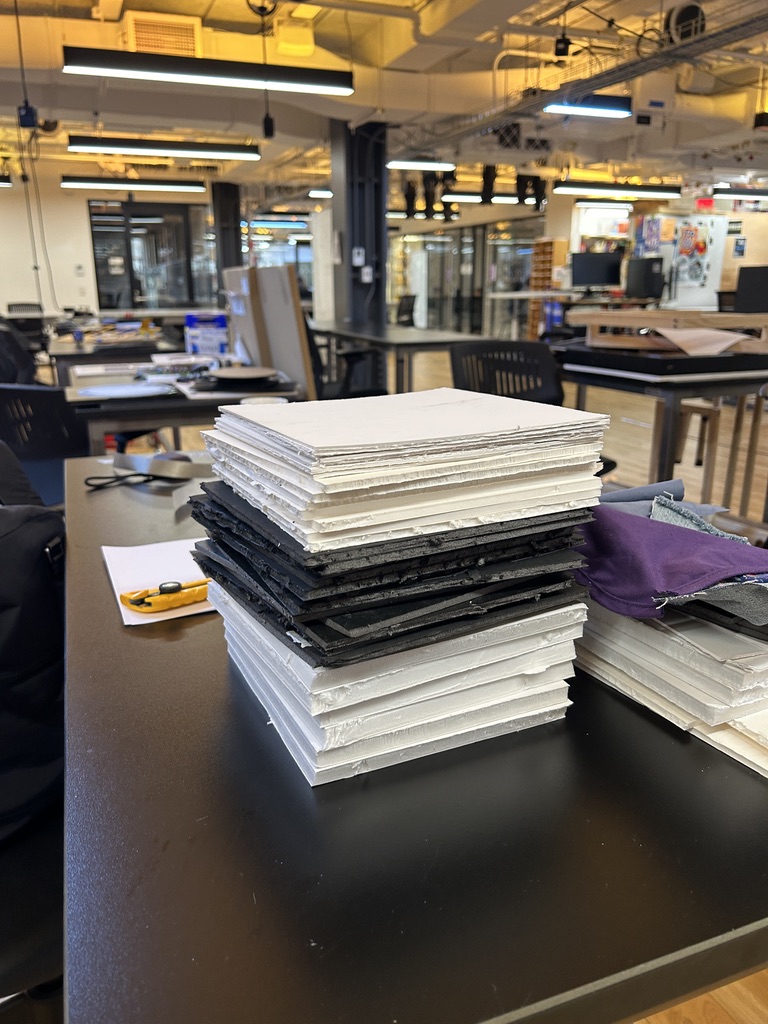
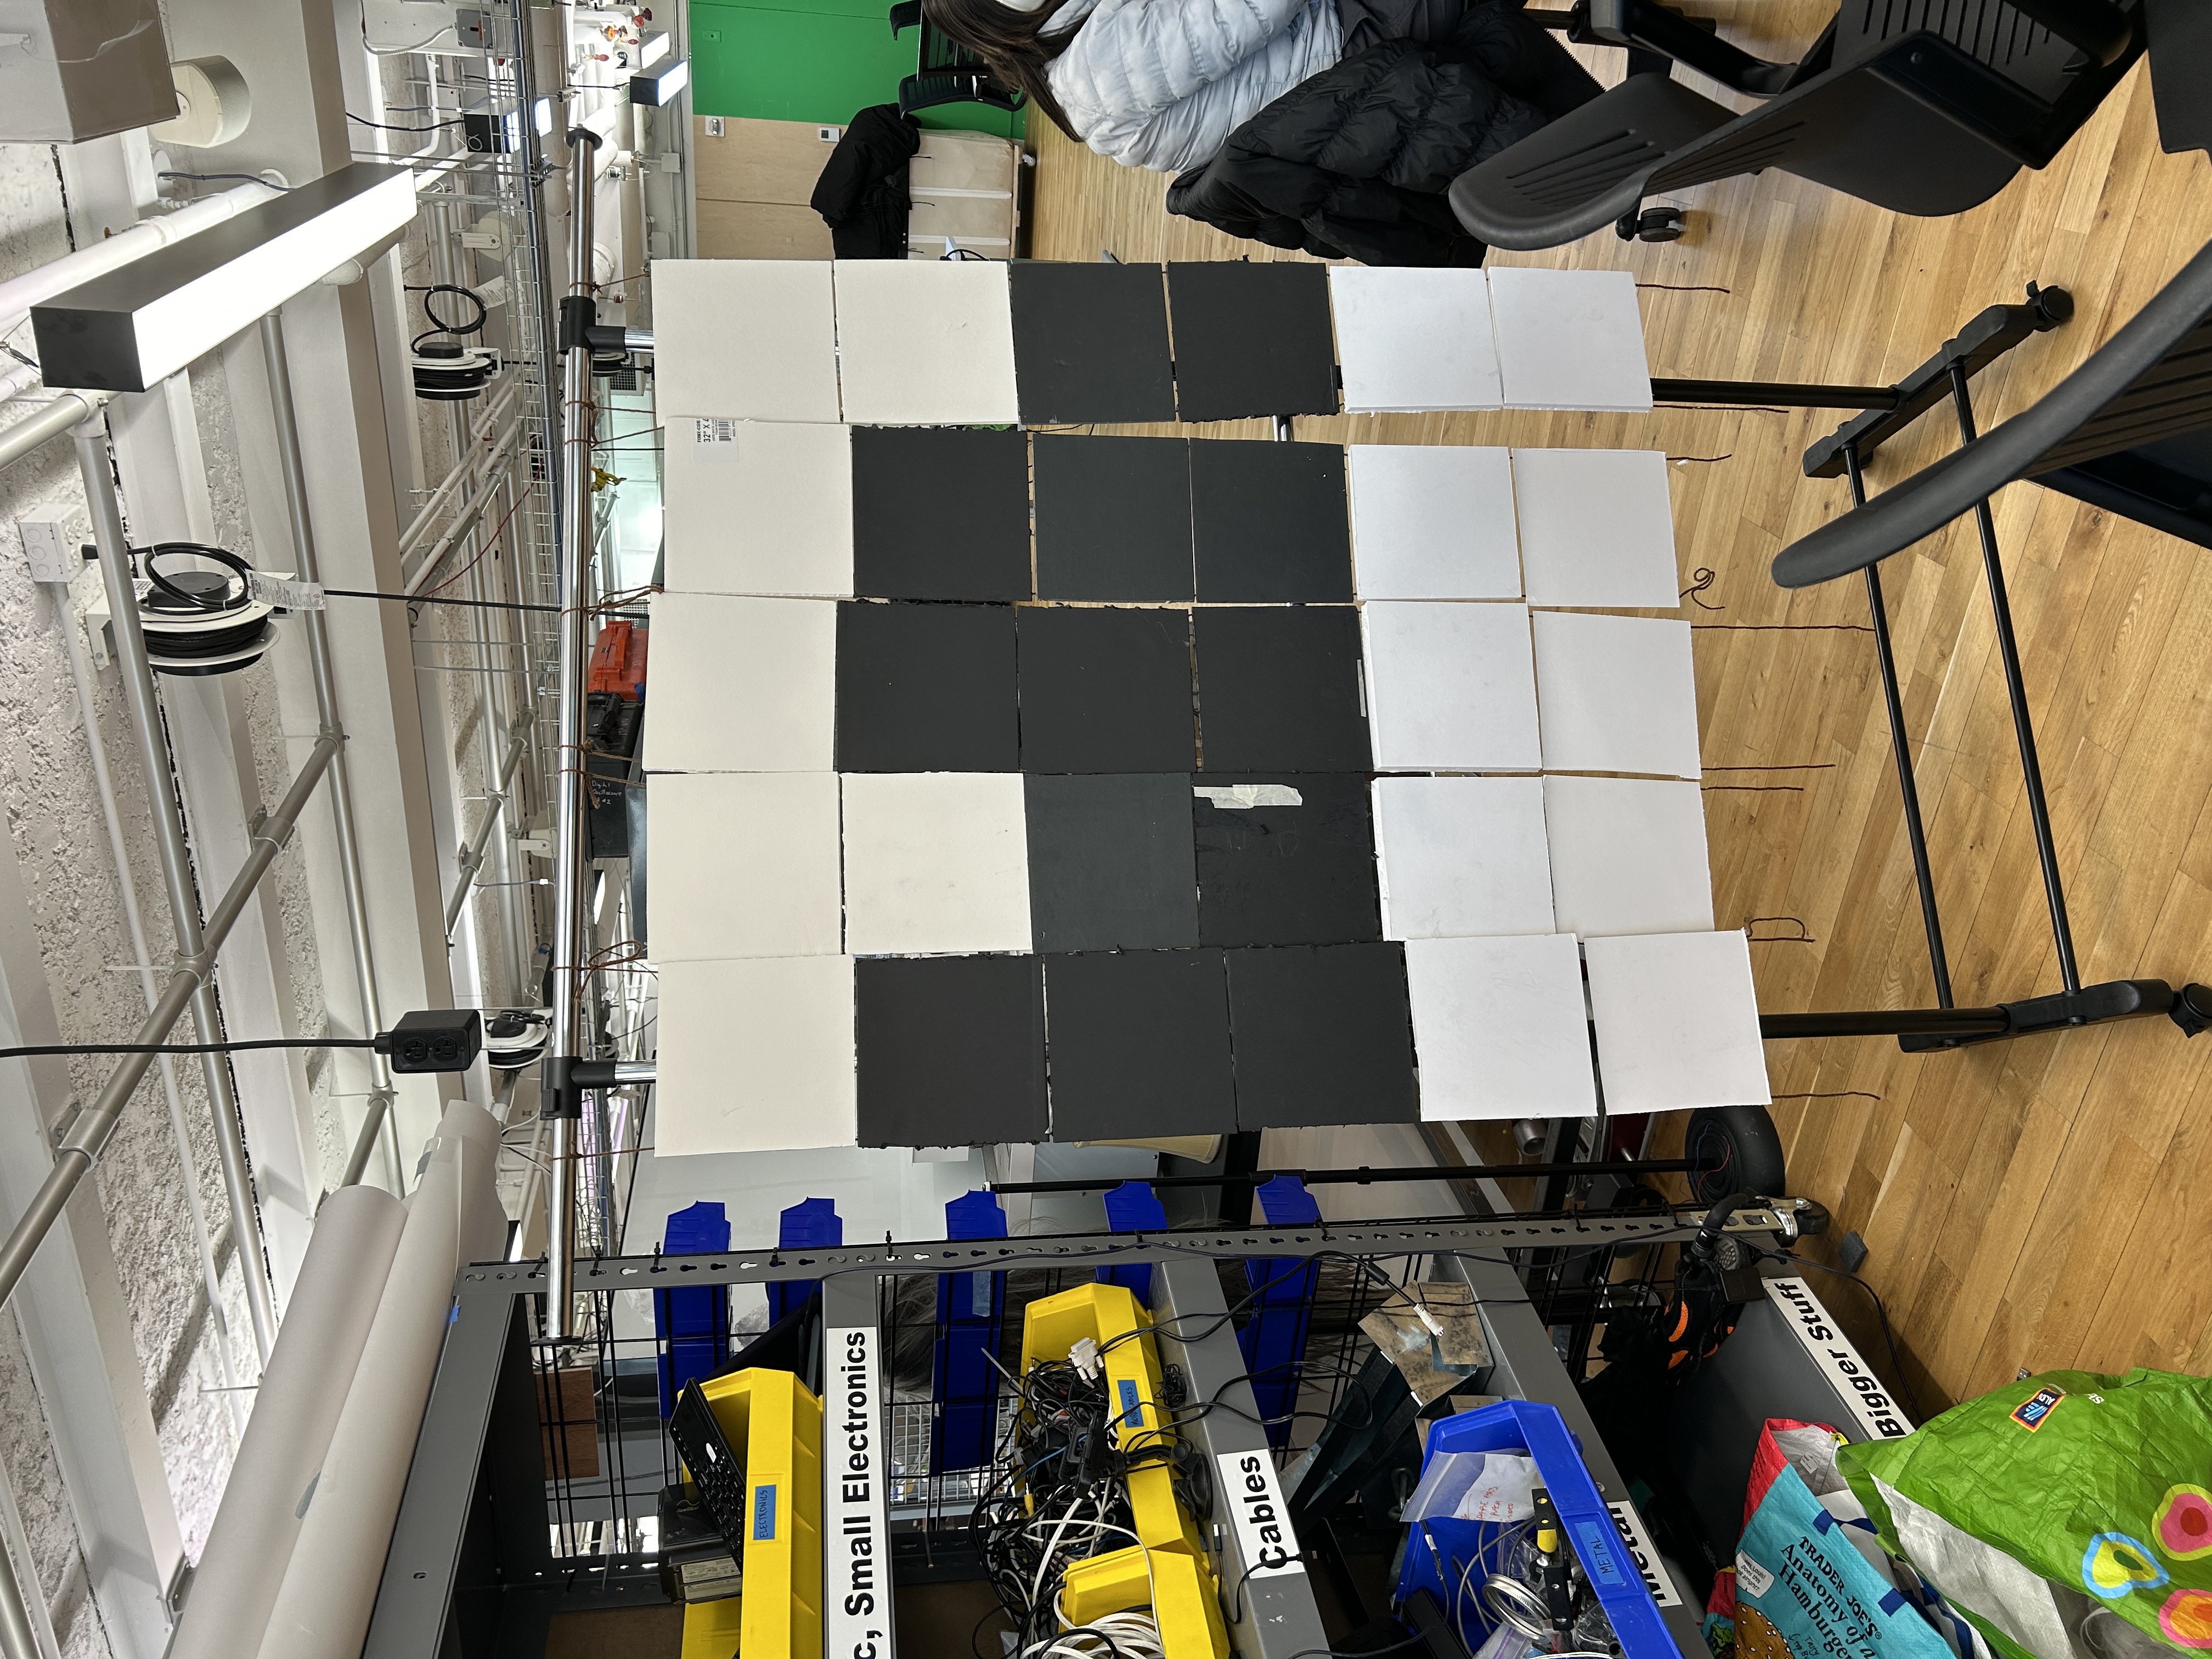
- Cut 8x8 squares out of foam core
Day 21- Feb 26
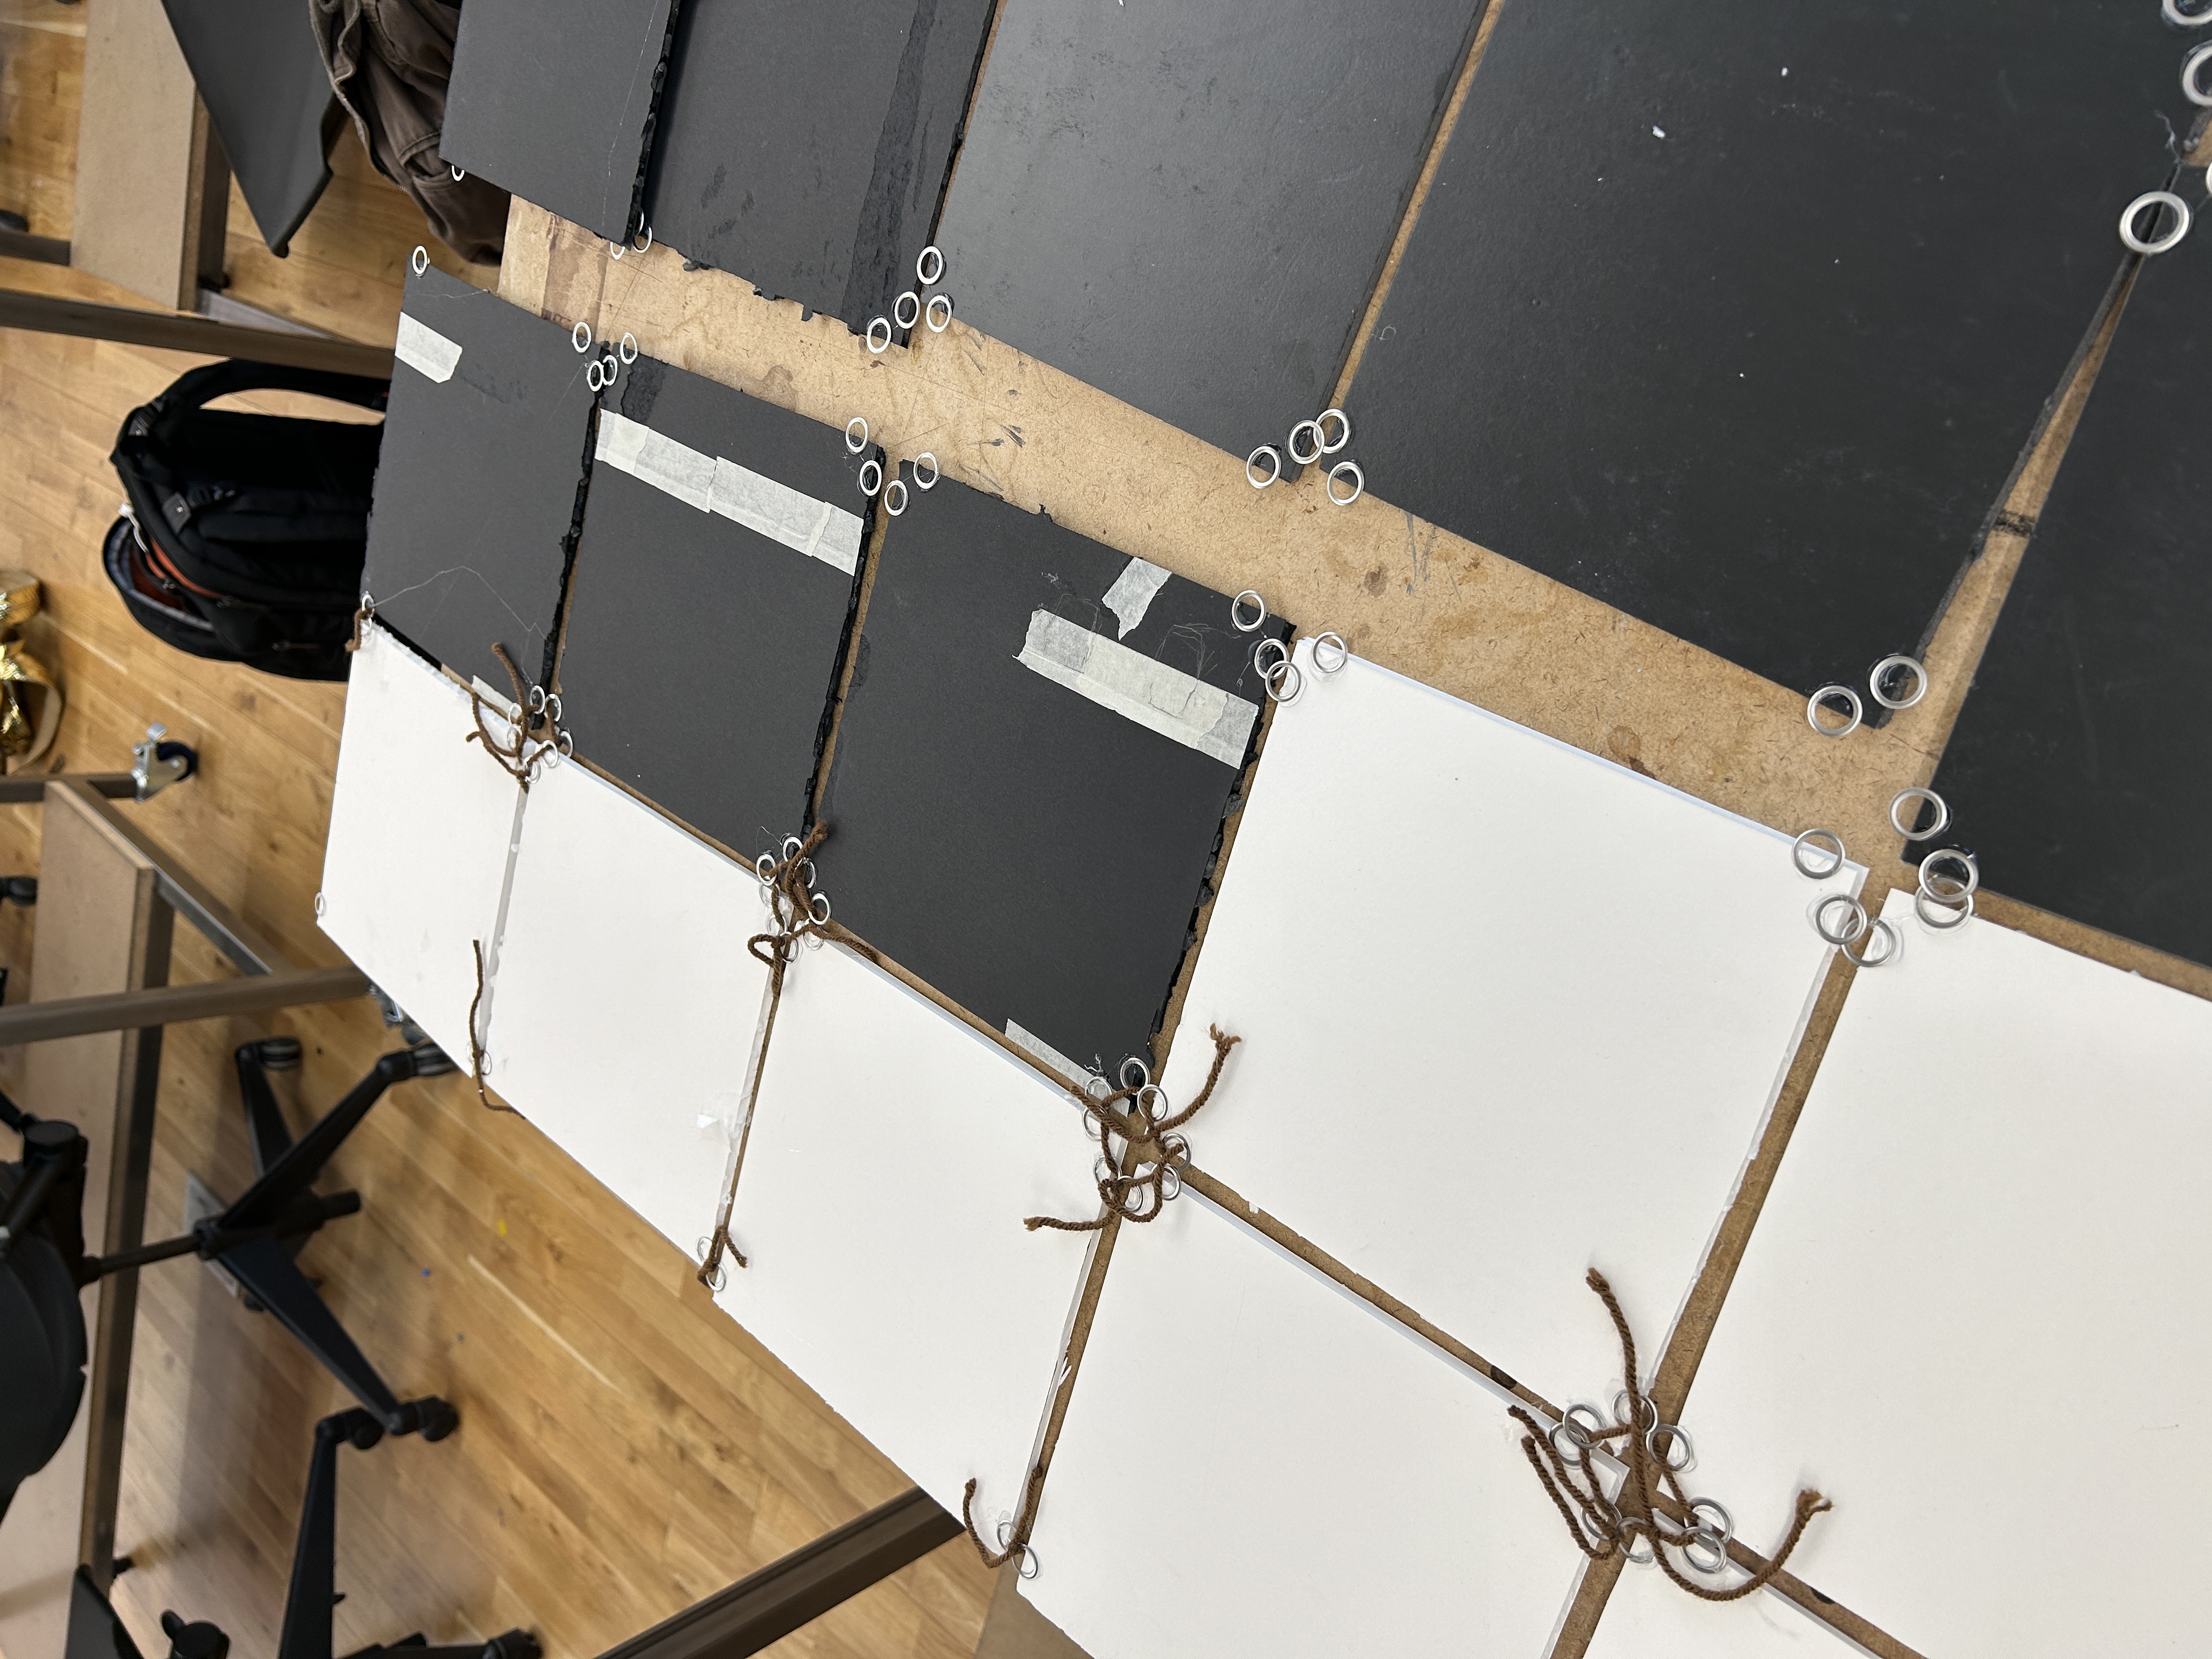
- Made scale version out of foam core: I first glued grommets to the corners of half of the squares which took forever. But then when I held it up, I didn’t really like the hardware look. So I ripped them all out and just glued yarn down like i did for the paper prototype
- Got some scraps from MakerSpace
- Tip from Phil: wash denim after engraving!! Darker washes do better than light wash
- Started making actual digital version


Day 22 - Feb 27
- Added a ton of stuff to the prototype. Getting a feel for layout. None of it feels solid yet.

Day 23 - Feb 28
- Thesis class user testing. I asked: What are you getting from this? What are you confused about? What are you curious about? Can you tell what it’s about?
- Zoe: didn’t know what to open, likes the green fabric, confused about the castle, related to trains and people in photograph, not sure why there is fabric, make interactive parts more obvious, make the story more obvious
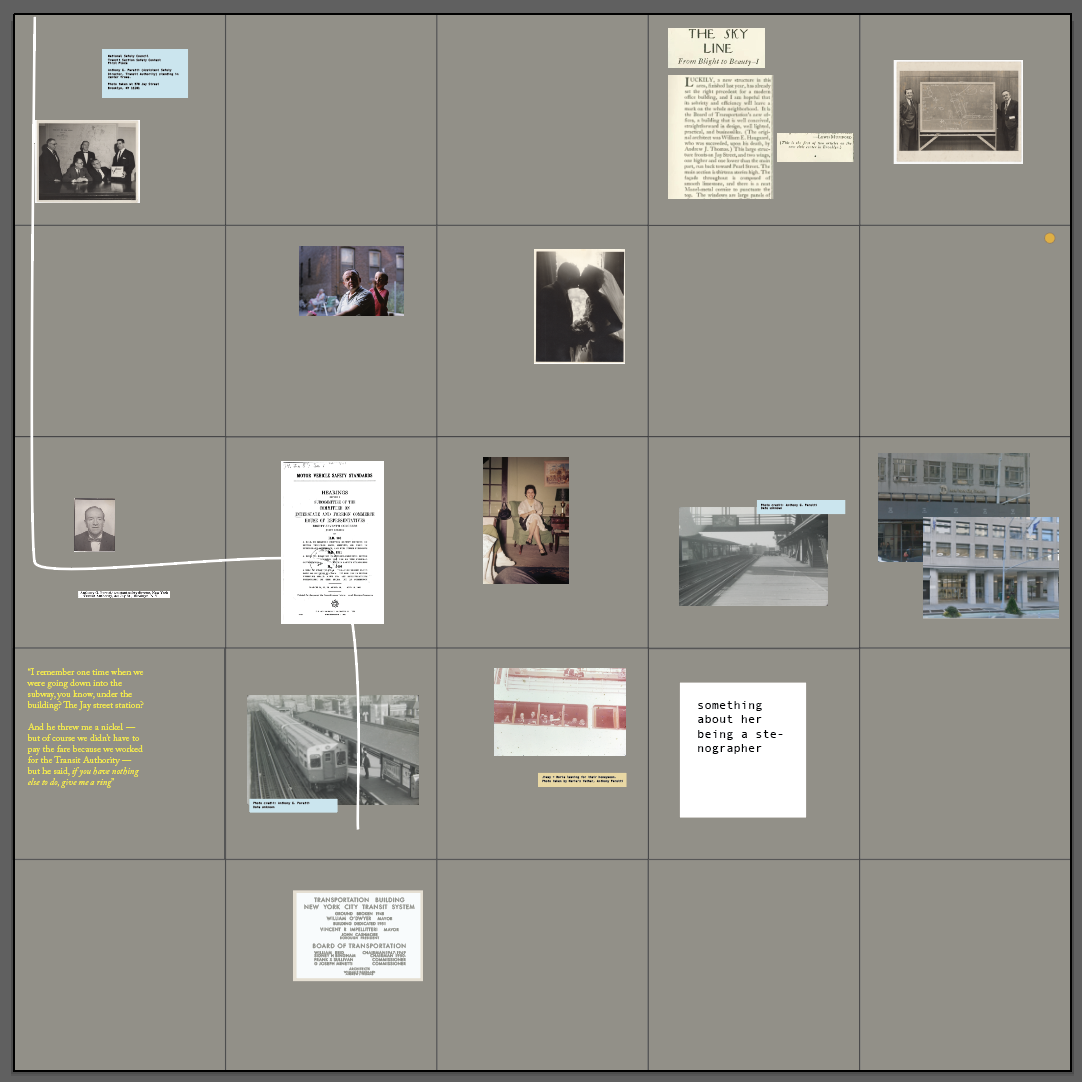
- Sam: wants to read it like a book, eyes drawn to Aunt Marie photo, getting New York and MTA, getting the slides, focus on the jay st section of the map, do tech if it makes sense
- Ken: New York history, transportation, confused about lifestyle photos, safety, make the captions emerge somehow (reveal the significance, open a flap, etc). Sees this as a documentary of family history
- Neeti: wants to touch the fabric, got that it’s about 370 Jay, history of transport in new york, got that it’s family members, everything seems impersonal except for the family photos, subway map takes you more toways just transportation, 370 jay is more personal, wants it to be audio
- Kay: highlight squares that are important visually (color scheme), include text that makes sense, create a color palette, do the subway line over the images, B&Q trimming, capacitive subway tokens,
Day 24 - March 3
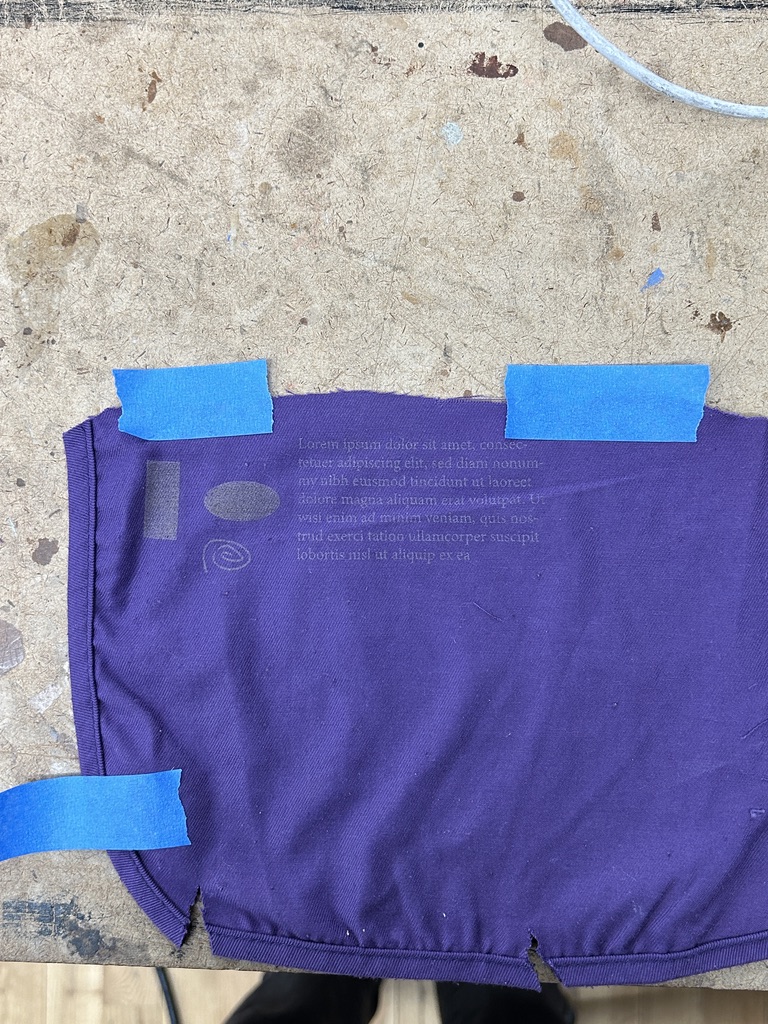
- Did more engraving on velvet. Washed it and now I can’t see what I engraved. Settings top to bottom: 90s/35p, 85s/40p, 80s/45p, 75s/50p
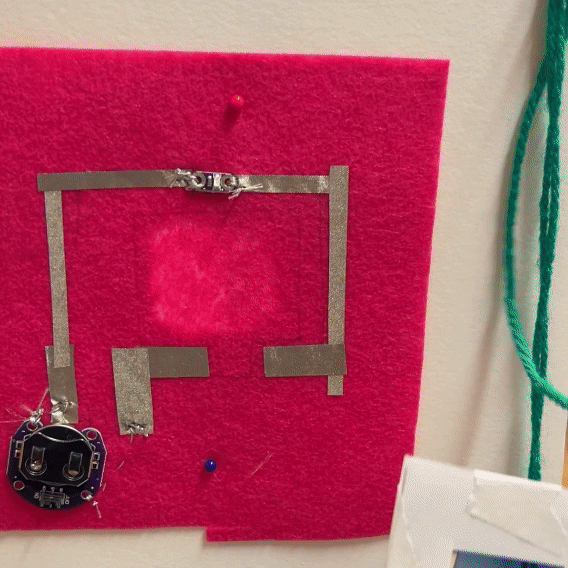
- Quick e-textile square, added conductive tape on the back of one of the slides

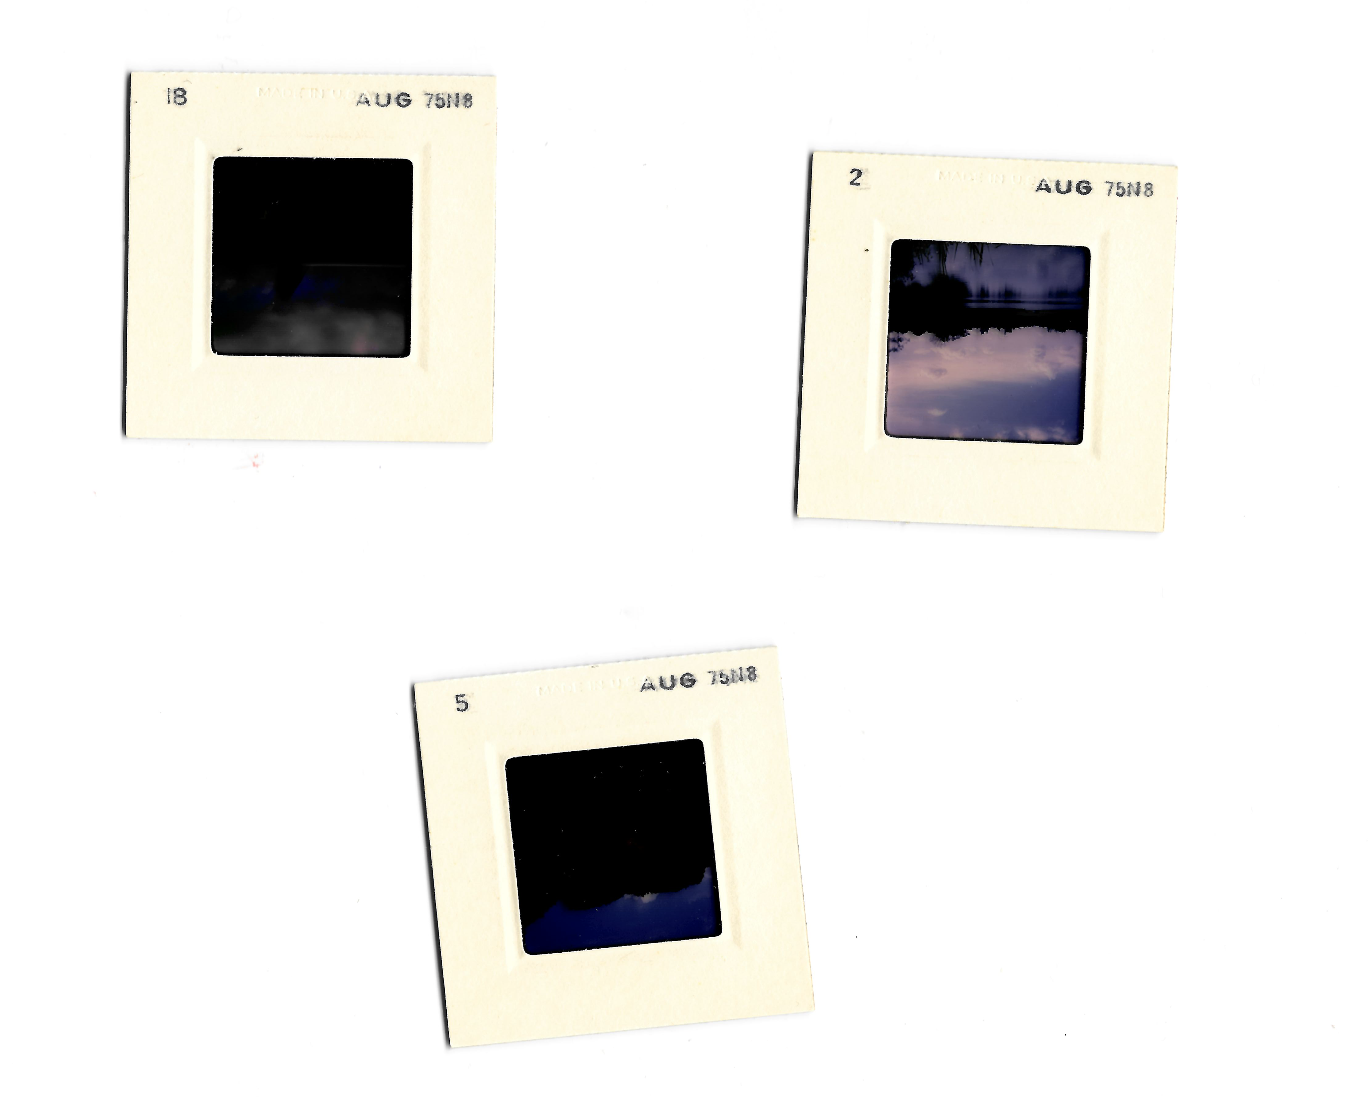
Day 25 - March 4
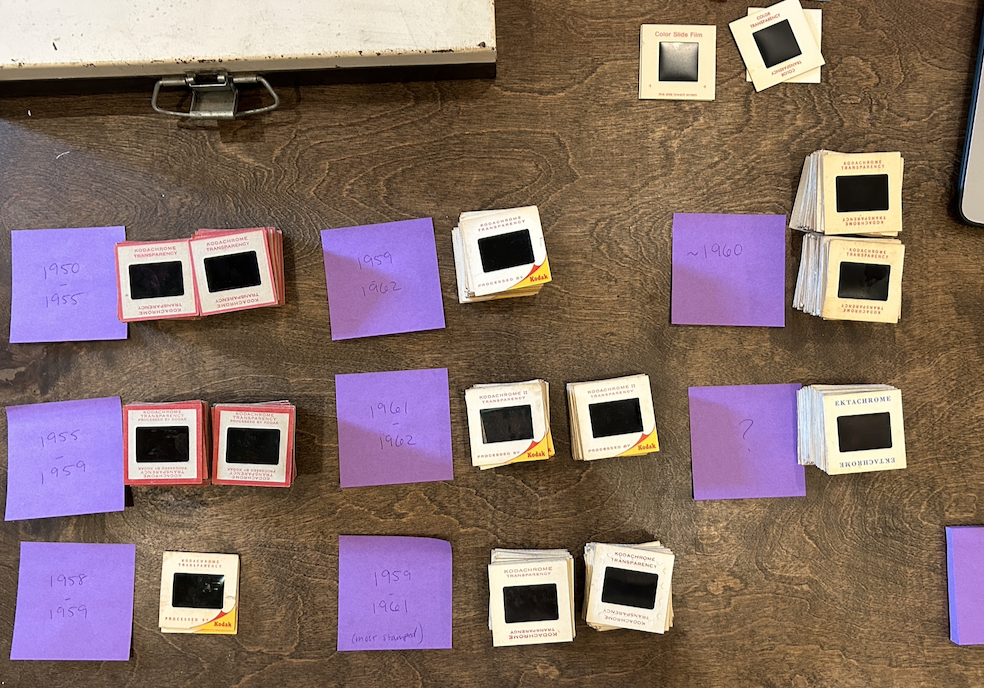
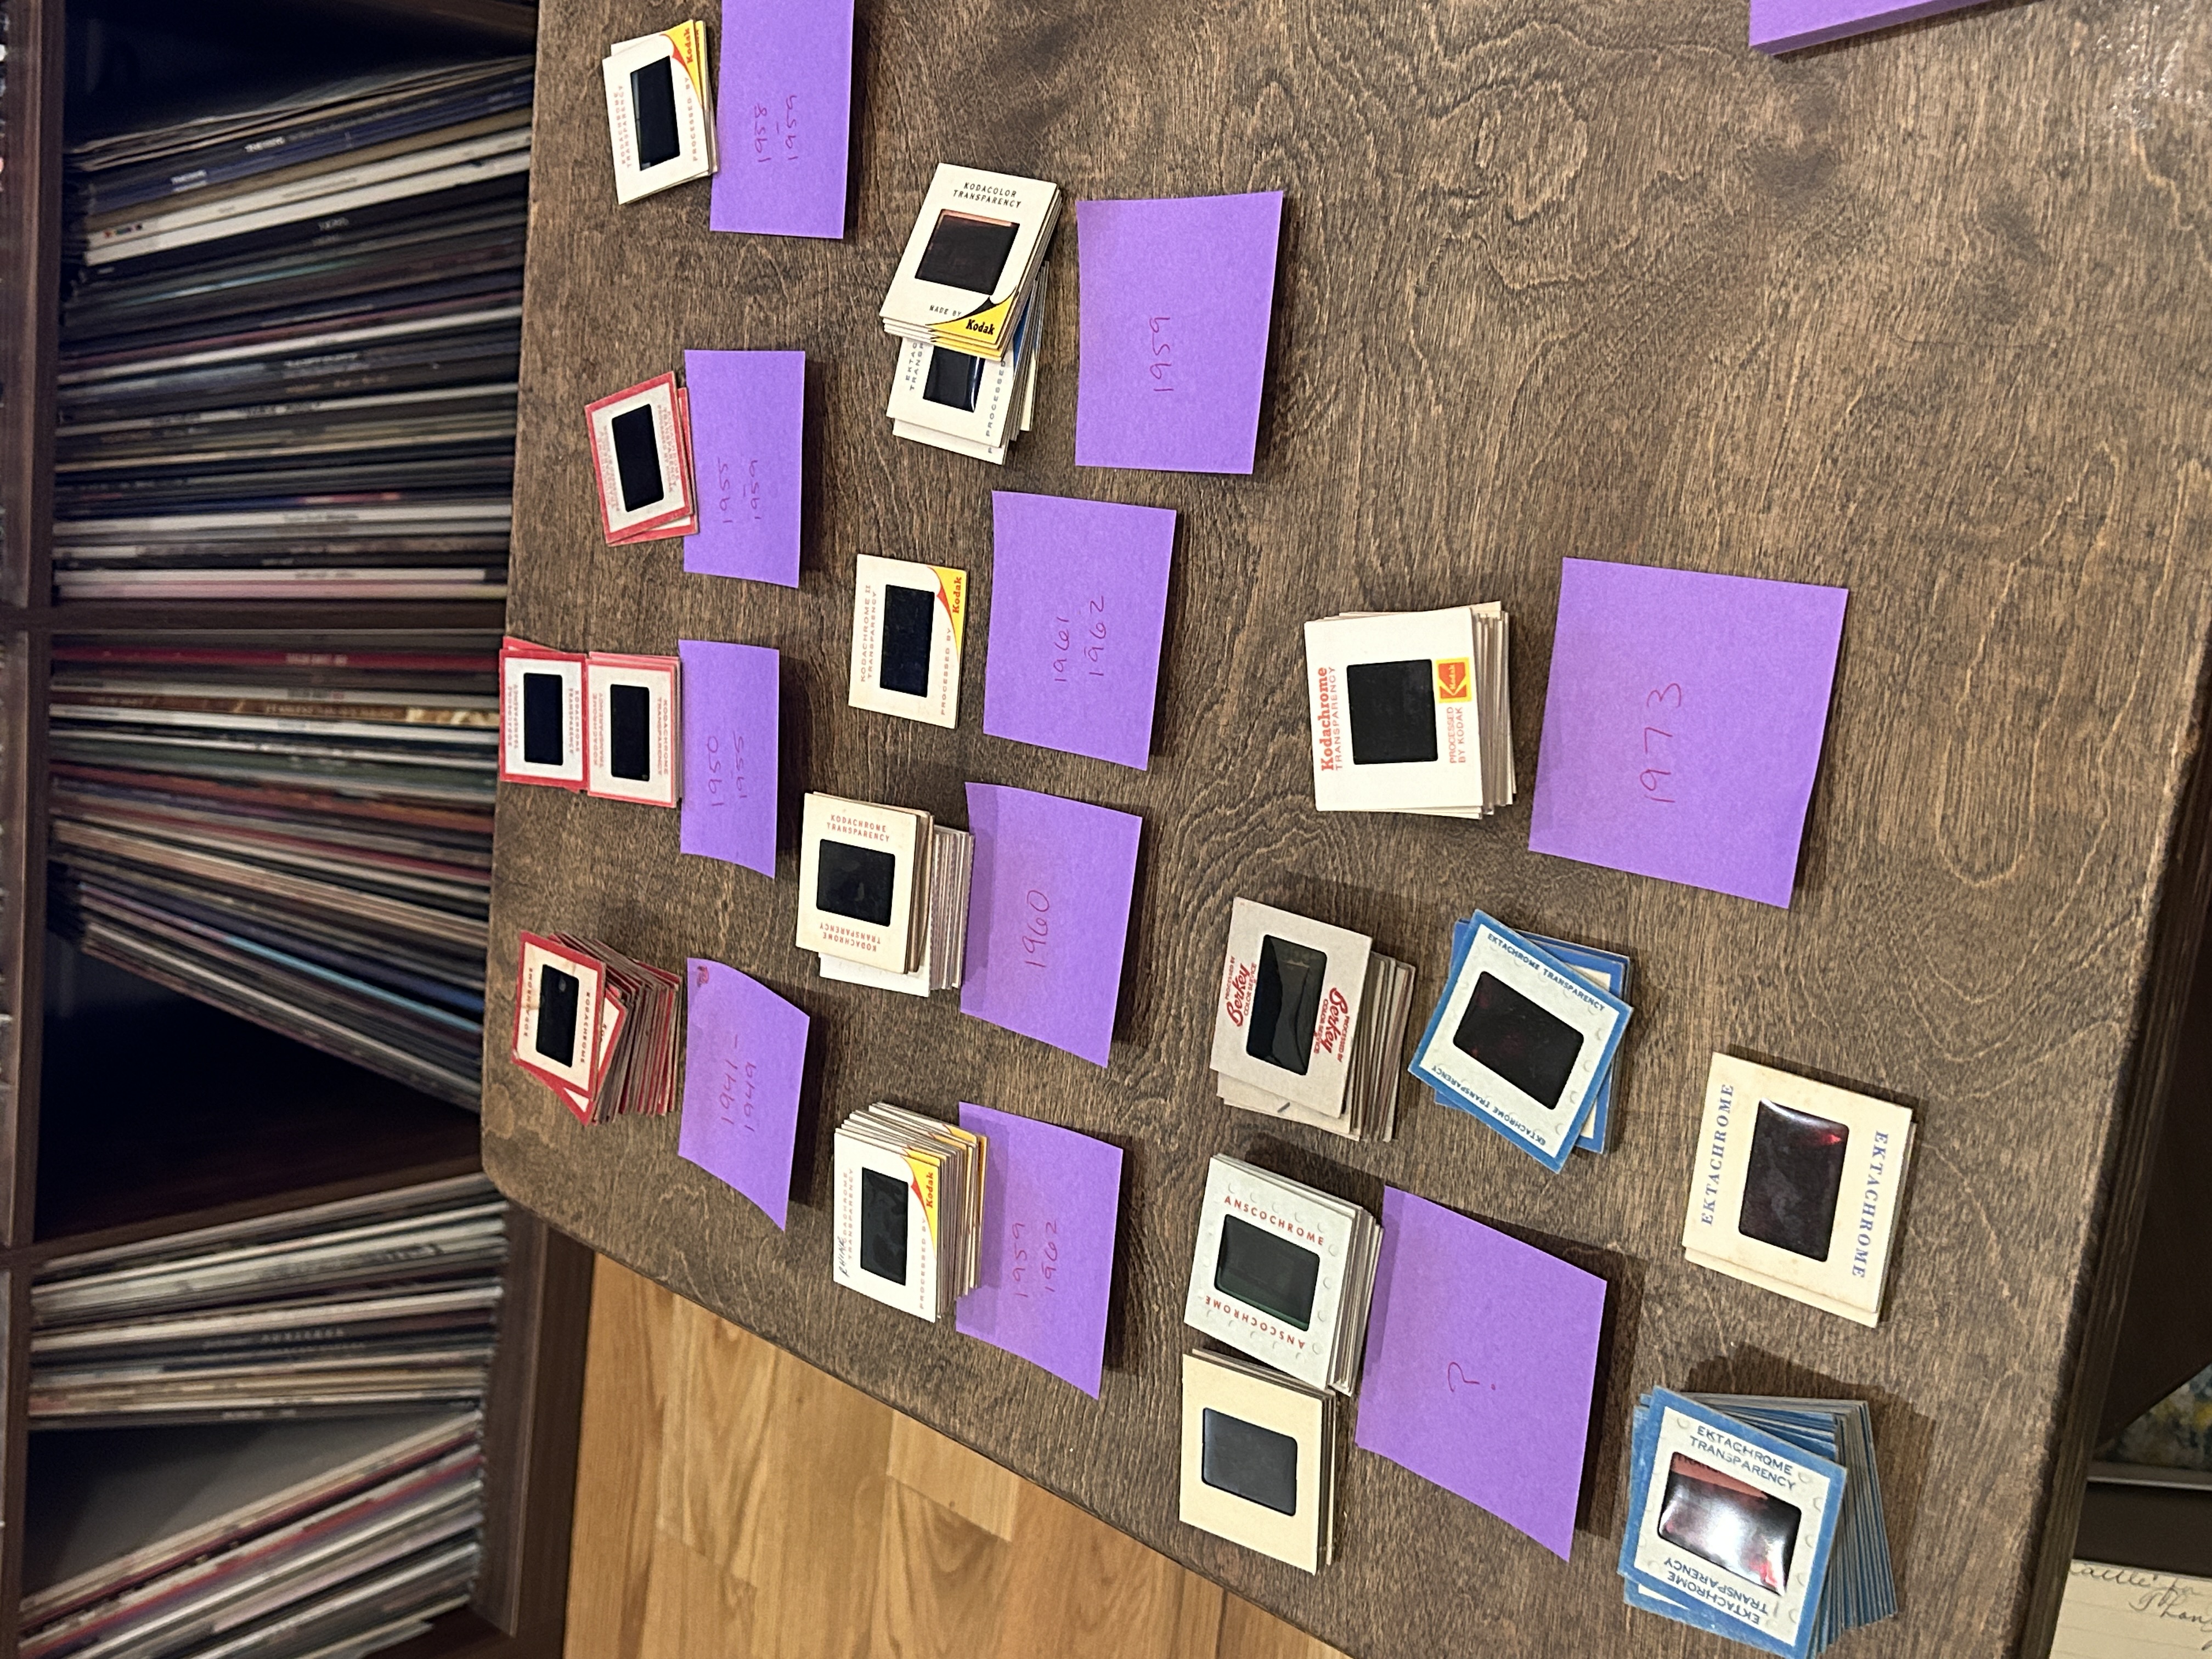
- Continued scanning slides from Aunt Marie’s on Shuang’s scanner. Organized the slides by type to figure out around what year they were taken/developed
- Source: www.zoggavia.com/kodachrome


Day 26 - March 5
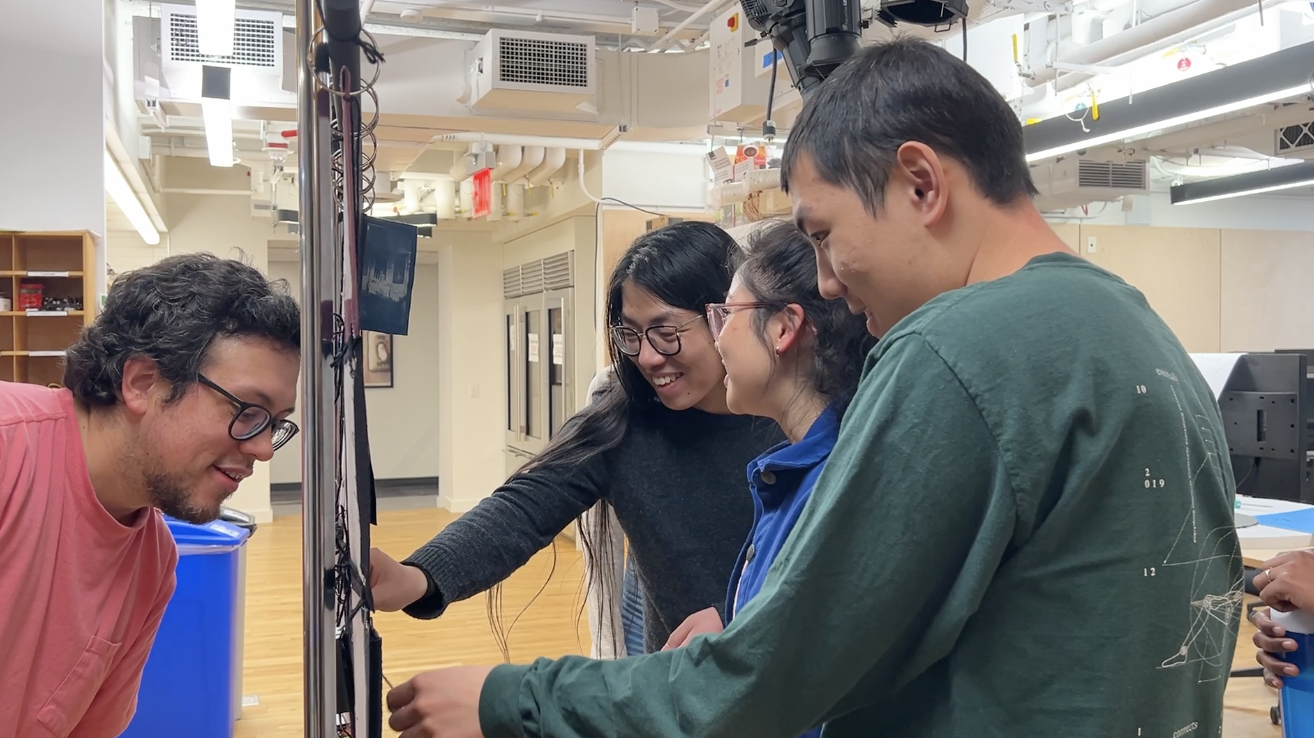
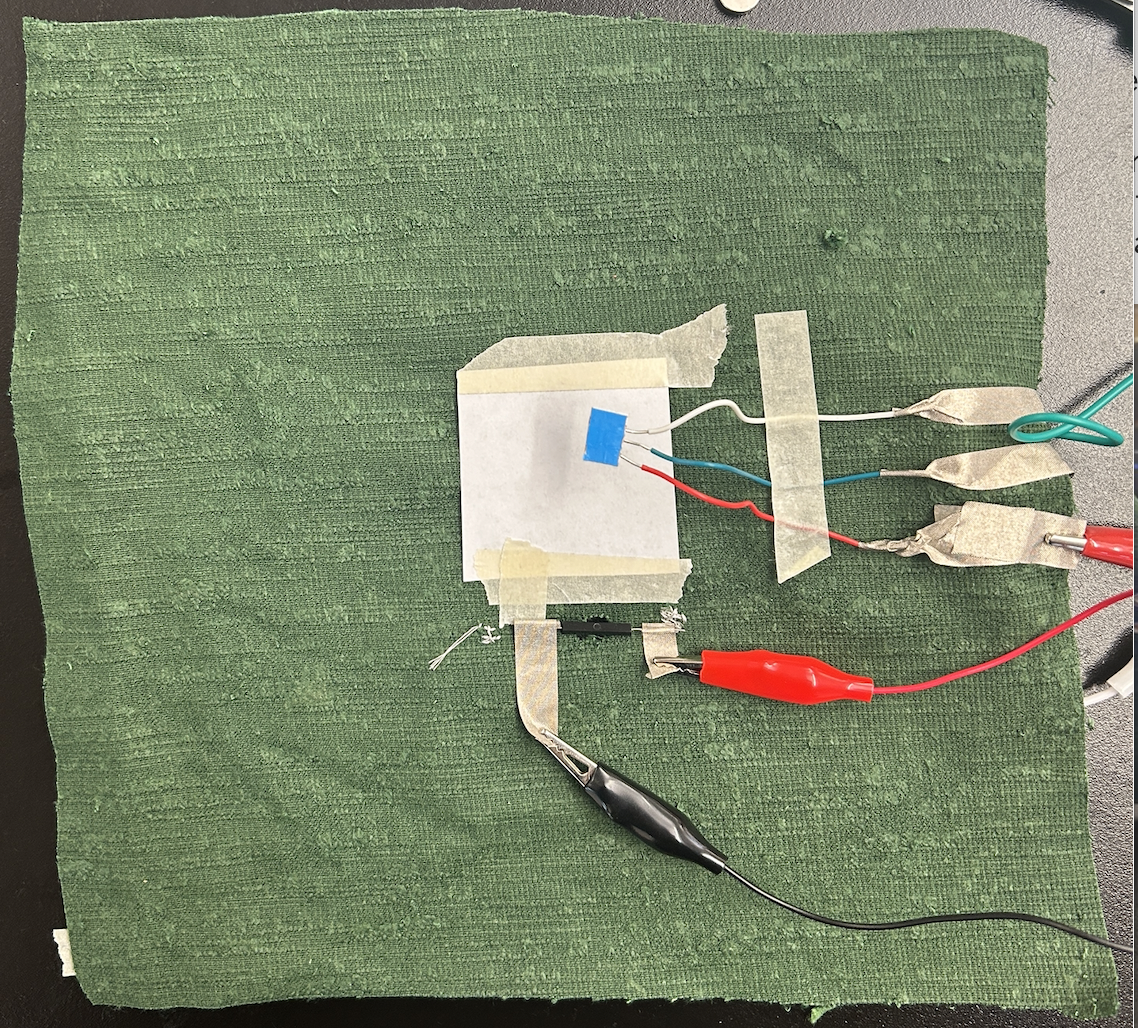
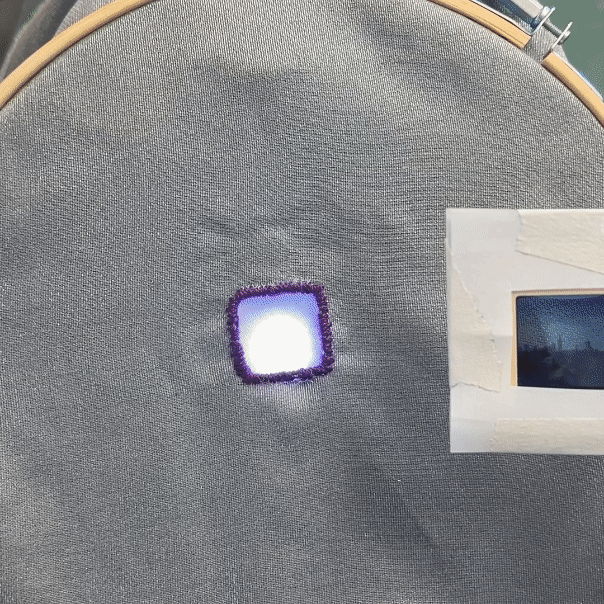
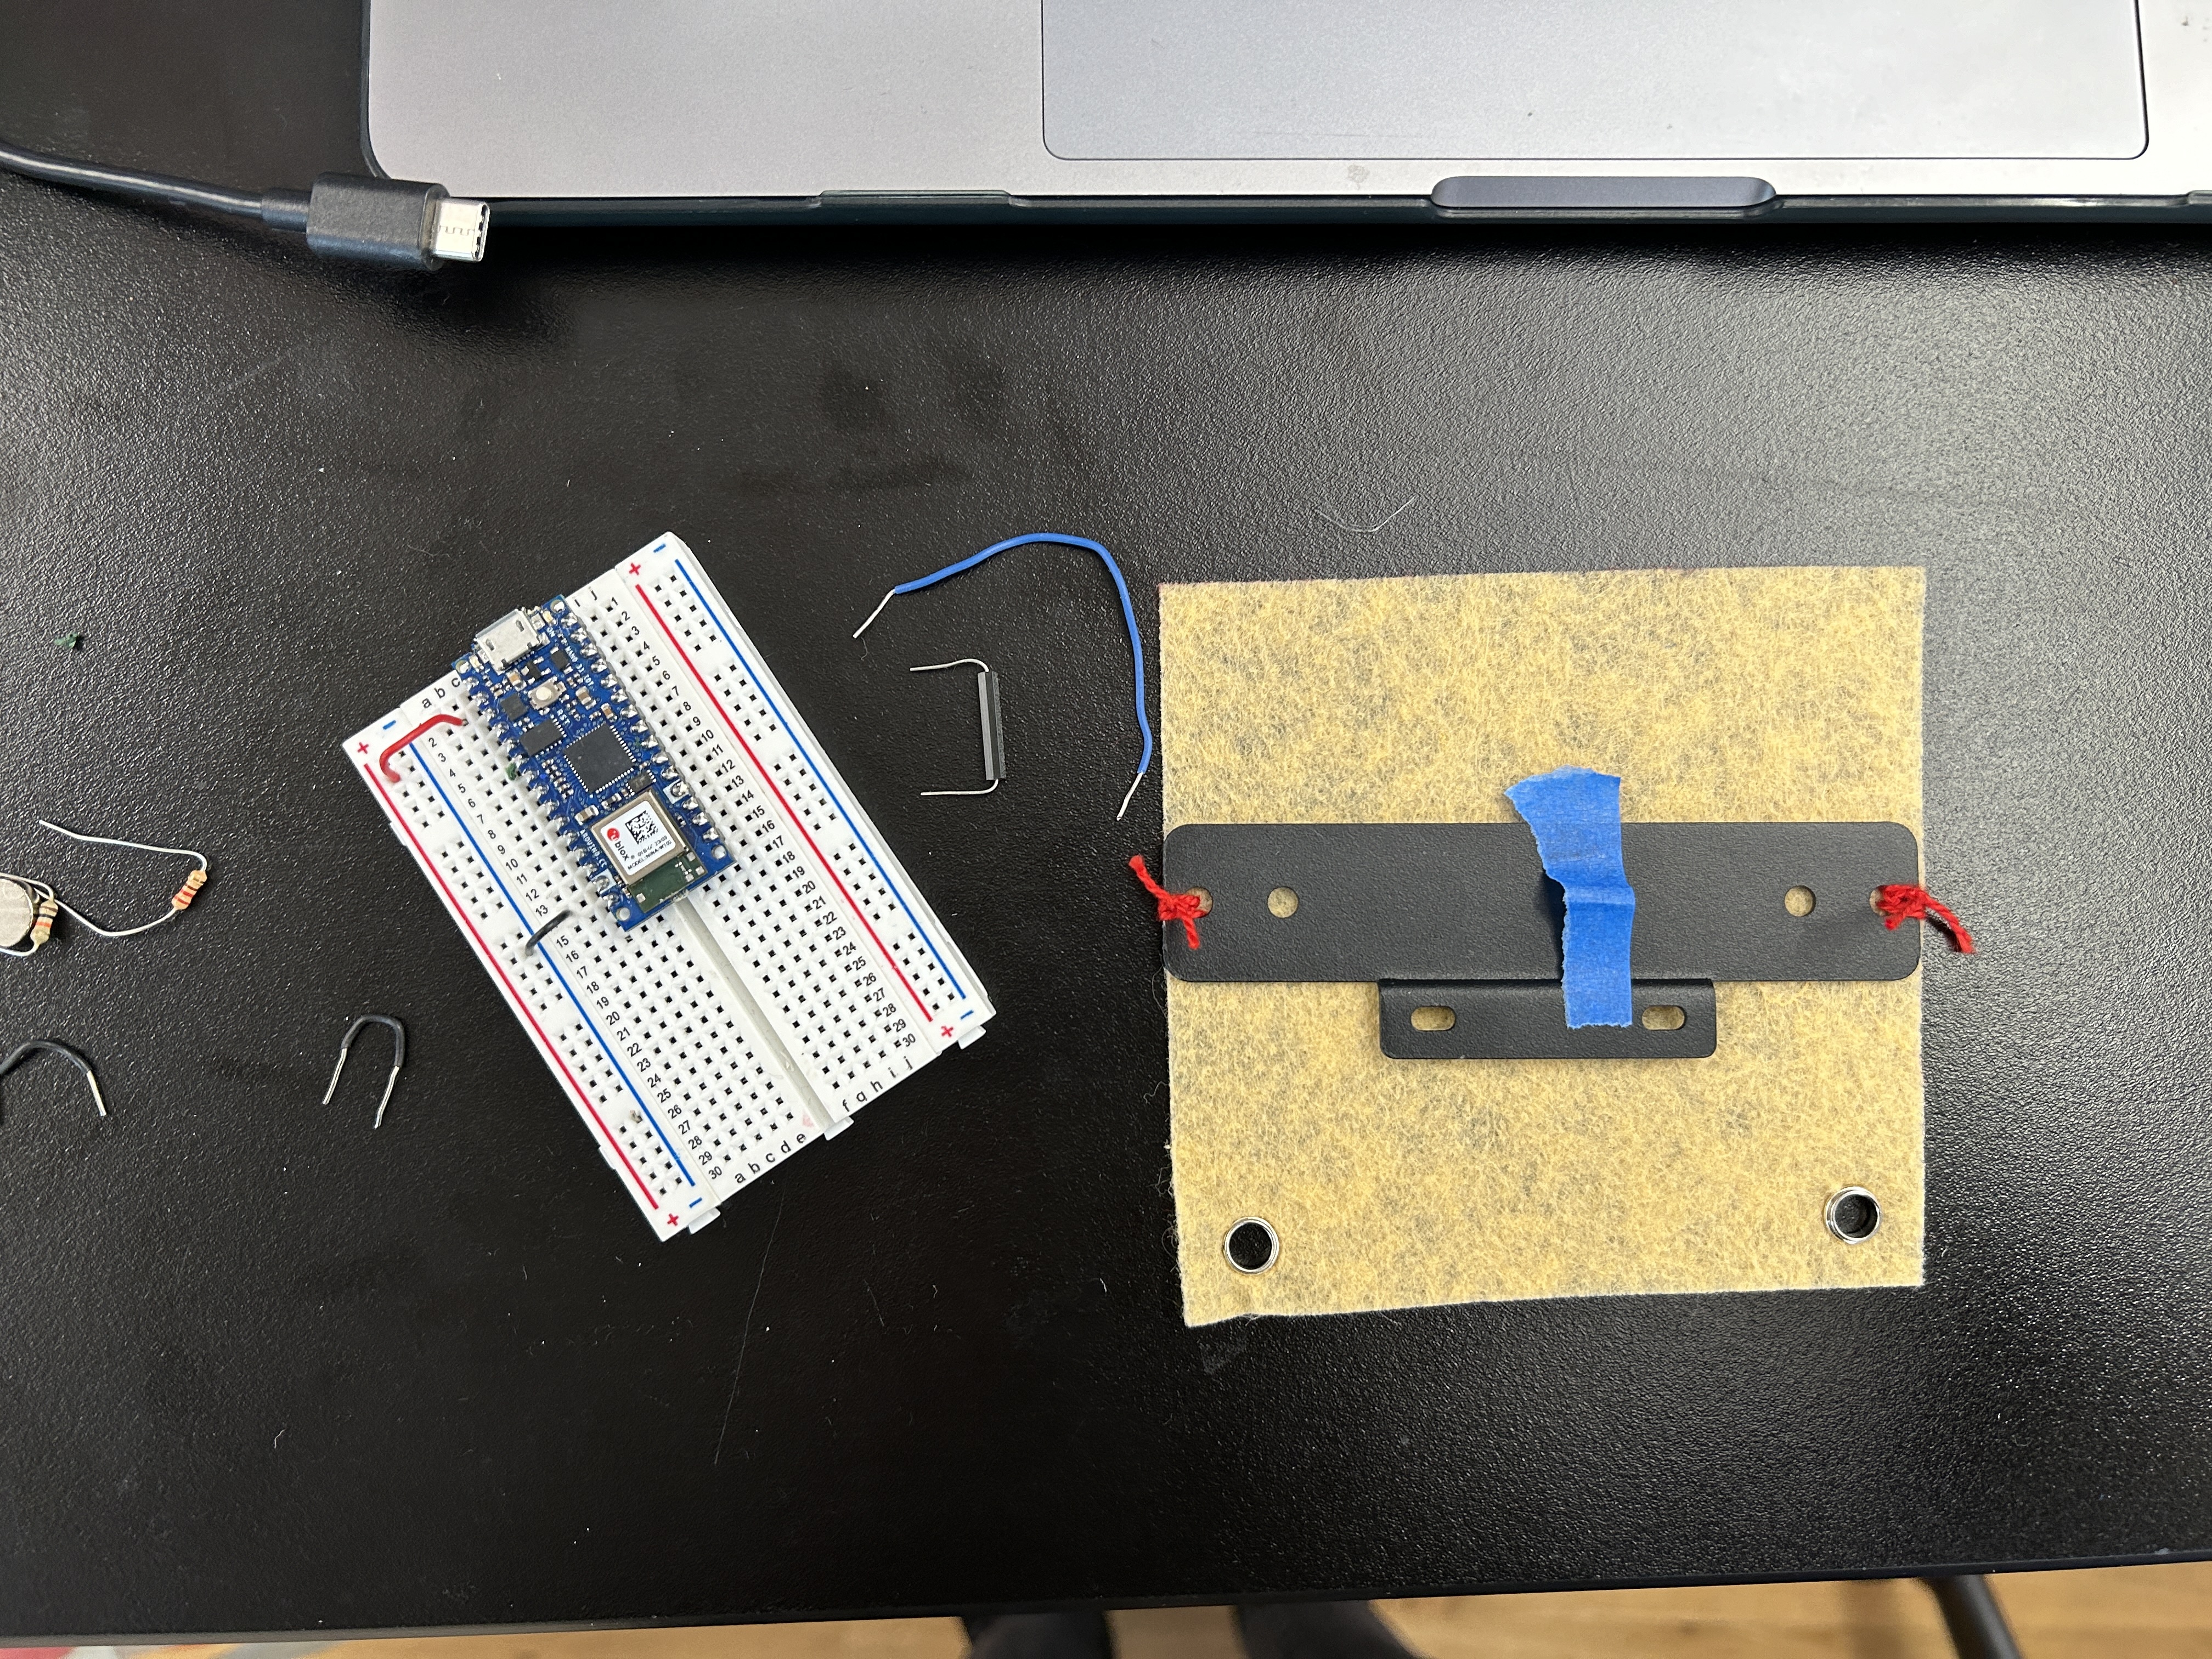
- Made the quilt square with slides, experimented with reed switch (didn’t end up using it). Textiles are hard.
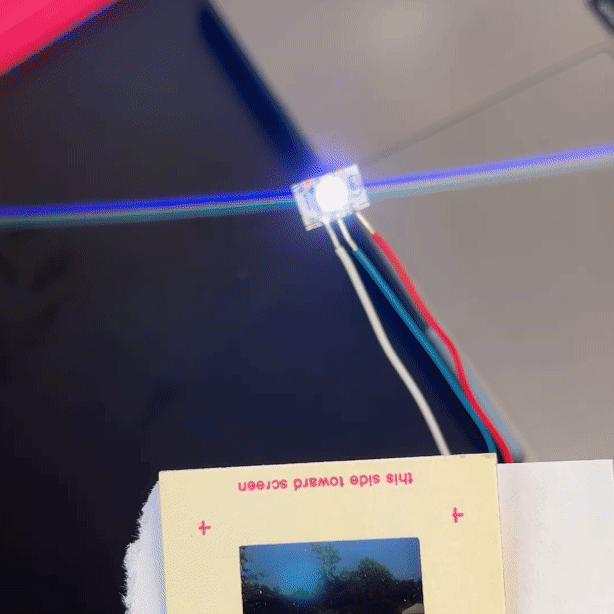
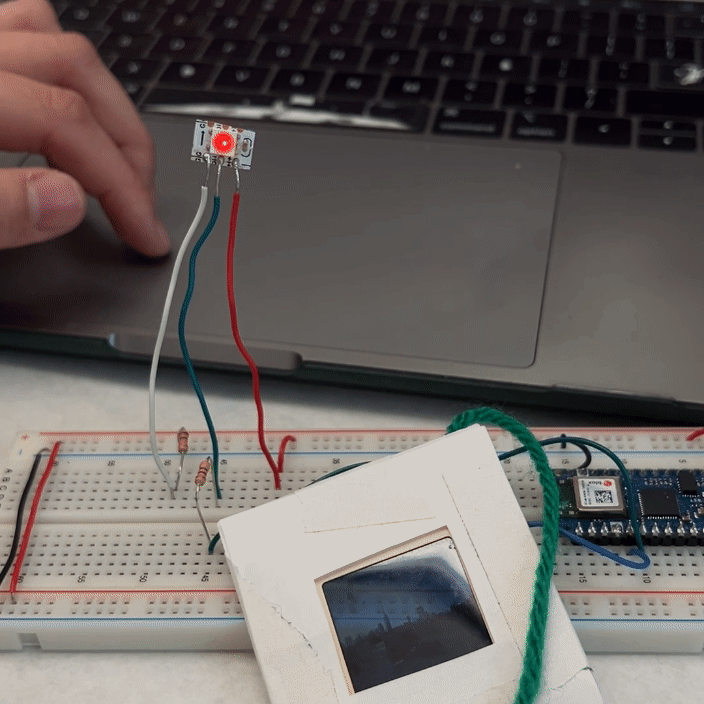
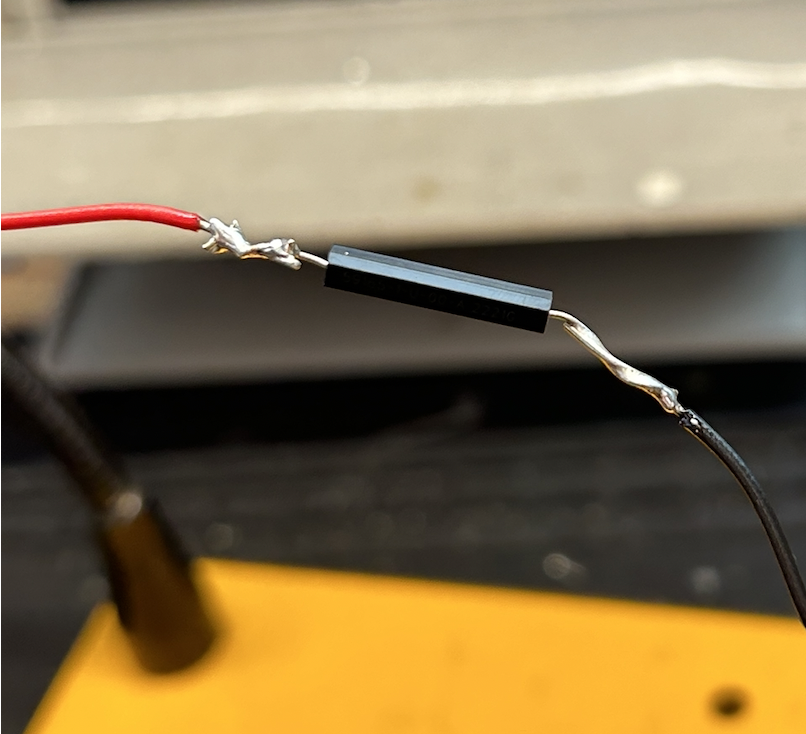
- Got help from Tian for soldering wires to a single neopixel.
- Tried to make the light turn on only when the slide is raised to the light, decided to just keep the light on always


Day 27 - March 6
- Tried engraving on black felt, didn’t really work
- New idea: use tokens as a switch, make lights turn on when placed on different conductive patches all over the quilt. Emailed Stefanie Kossoff to see if she had success with the embroidery machine and conductive thread
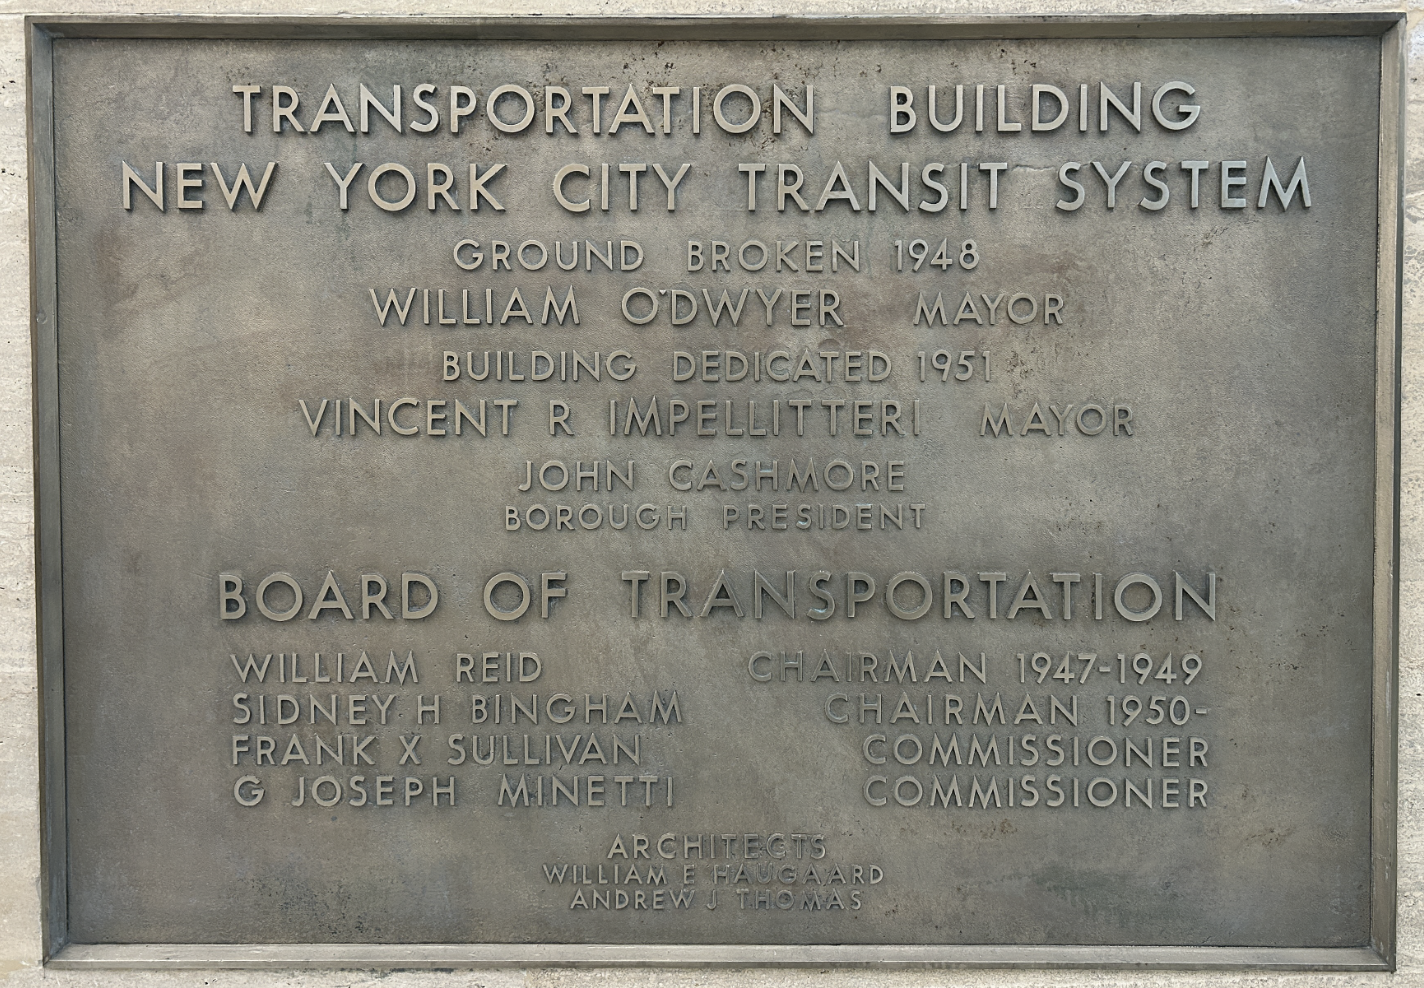
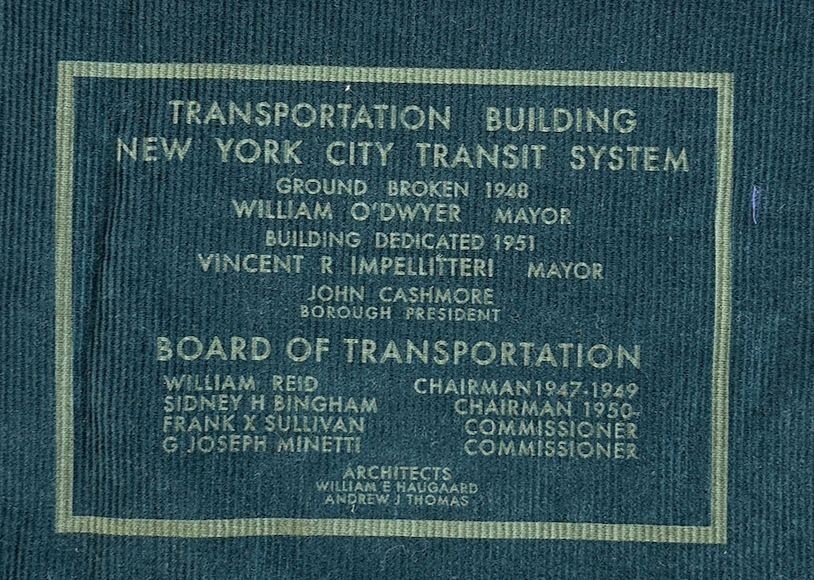
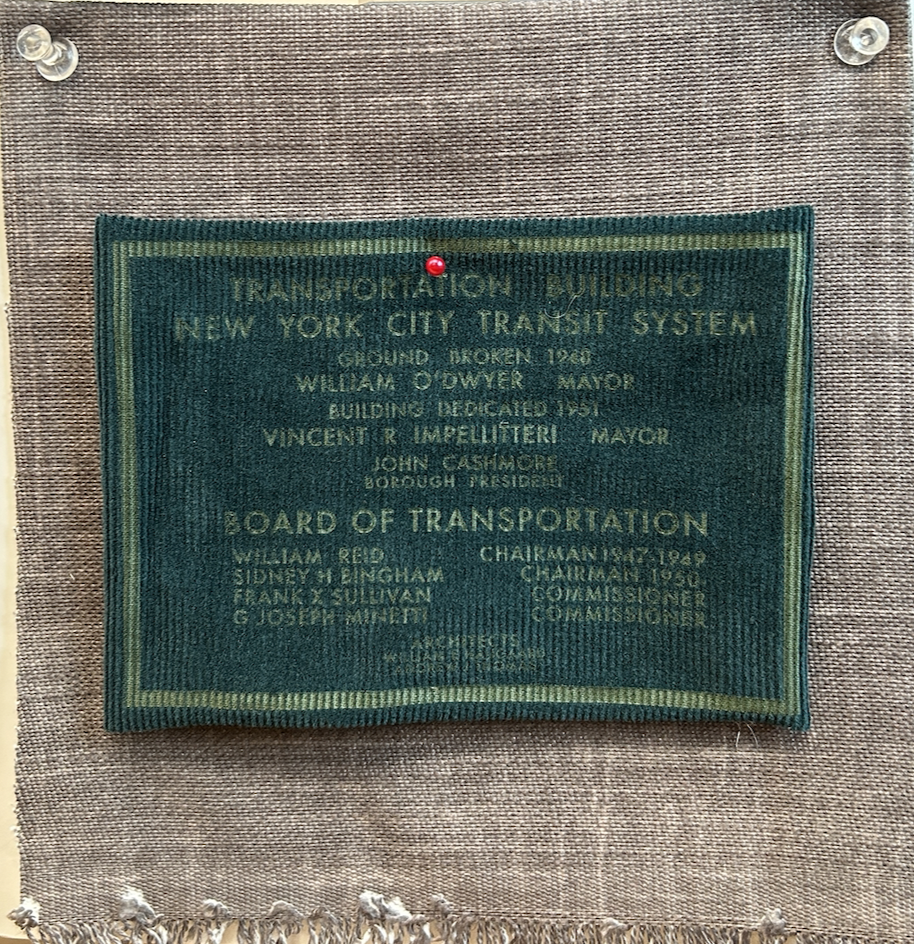
- Made digital version of lobby plaque
- Made digital version - planned out different squares. Going to use the subway lines to connect the different squares
Day 28 - March 7
- Been worried about how to get these images onto fabric in a way that I like - I think I will just print on textured paper and sew them to the fabric. That way I can get the colors I want and it will take less time. And I love how paper + string work together.
Day 29 - March 10
- Working on a new prototype, this time using the design I made the other day to see how the layout looks. I am still trying to figure out the tech part.
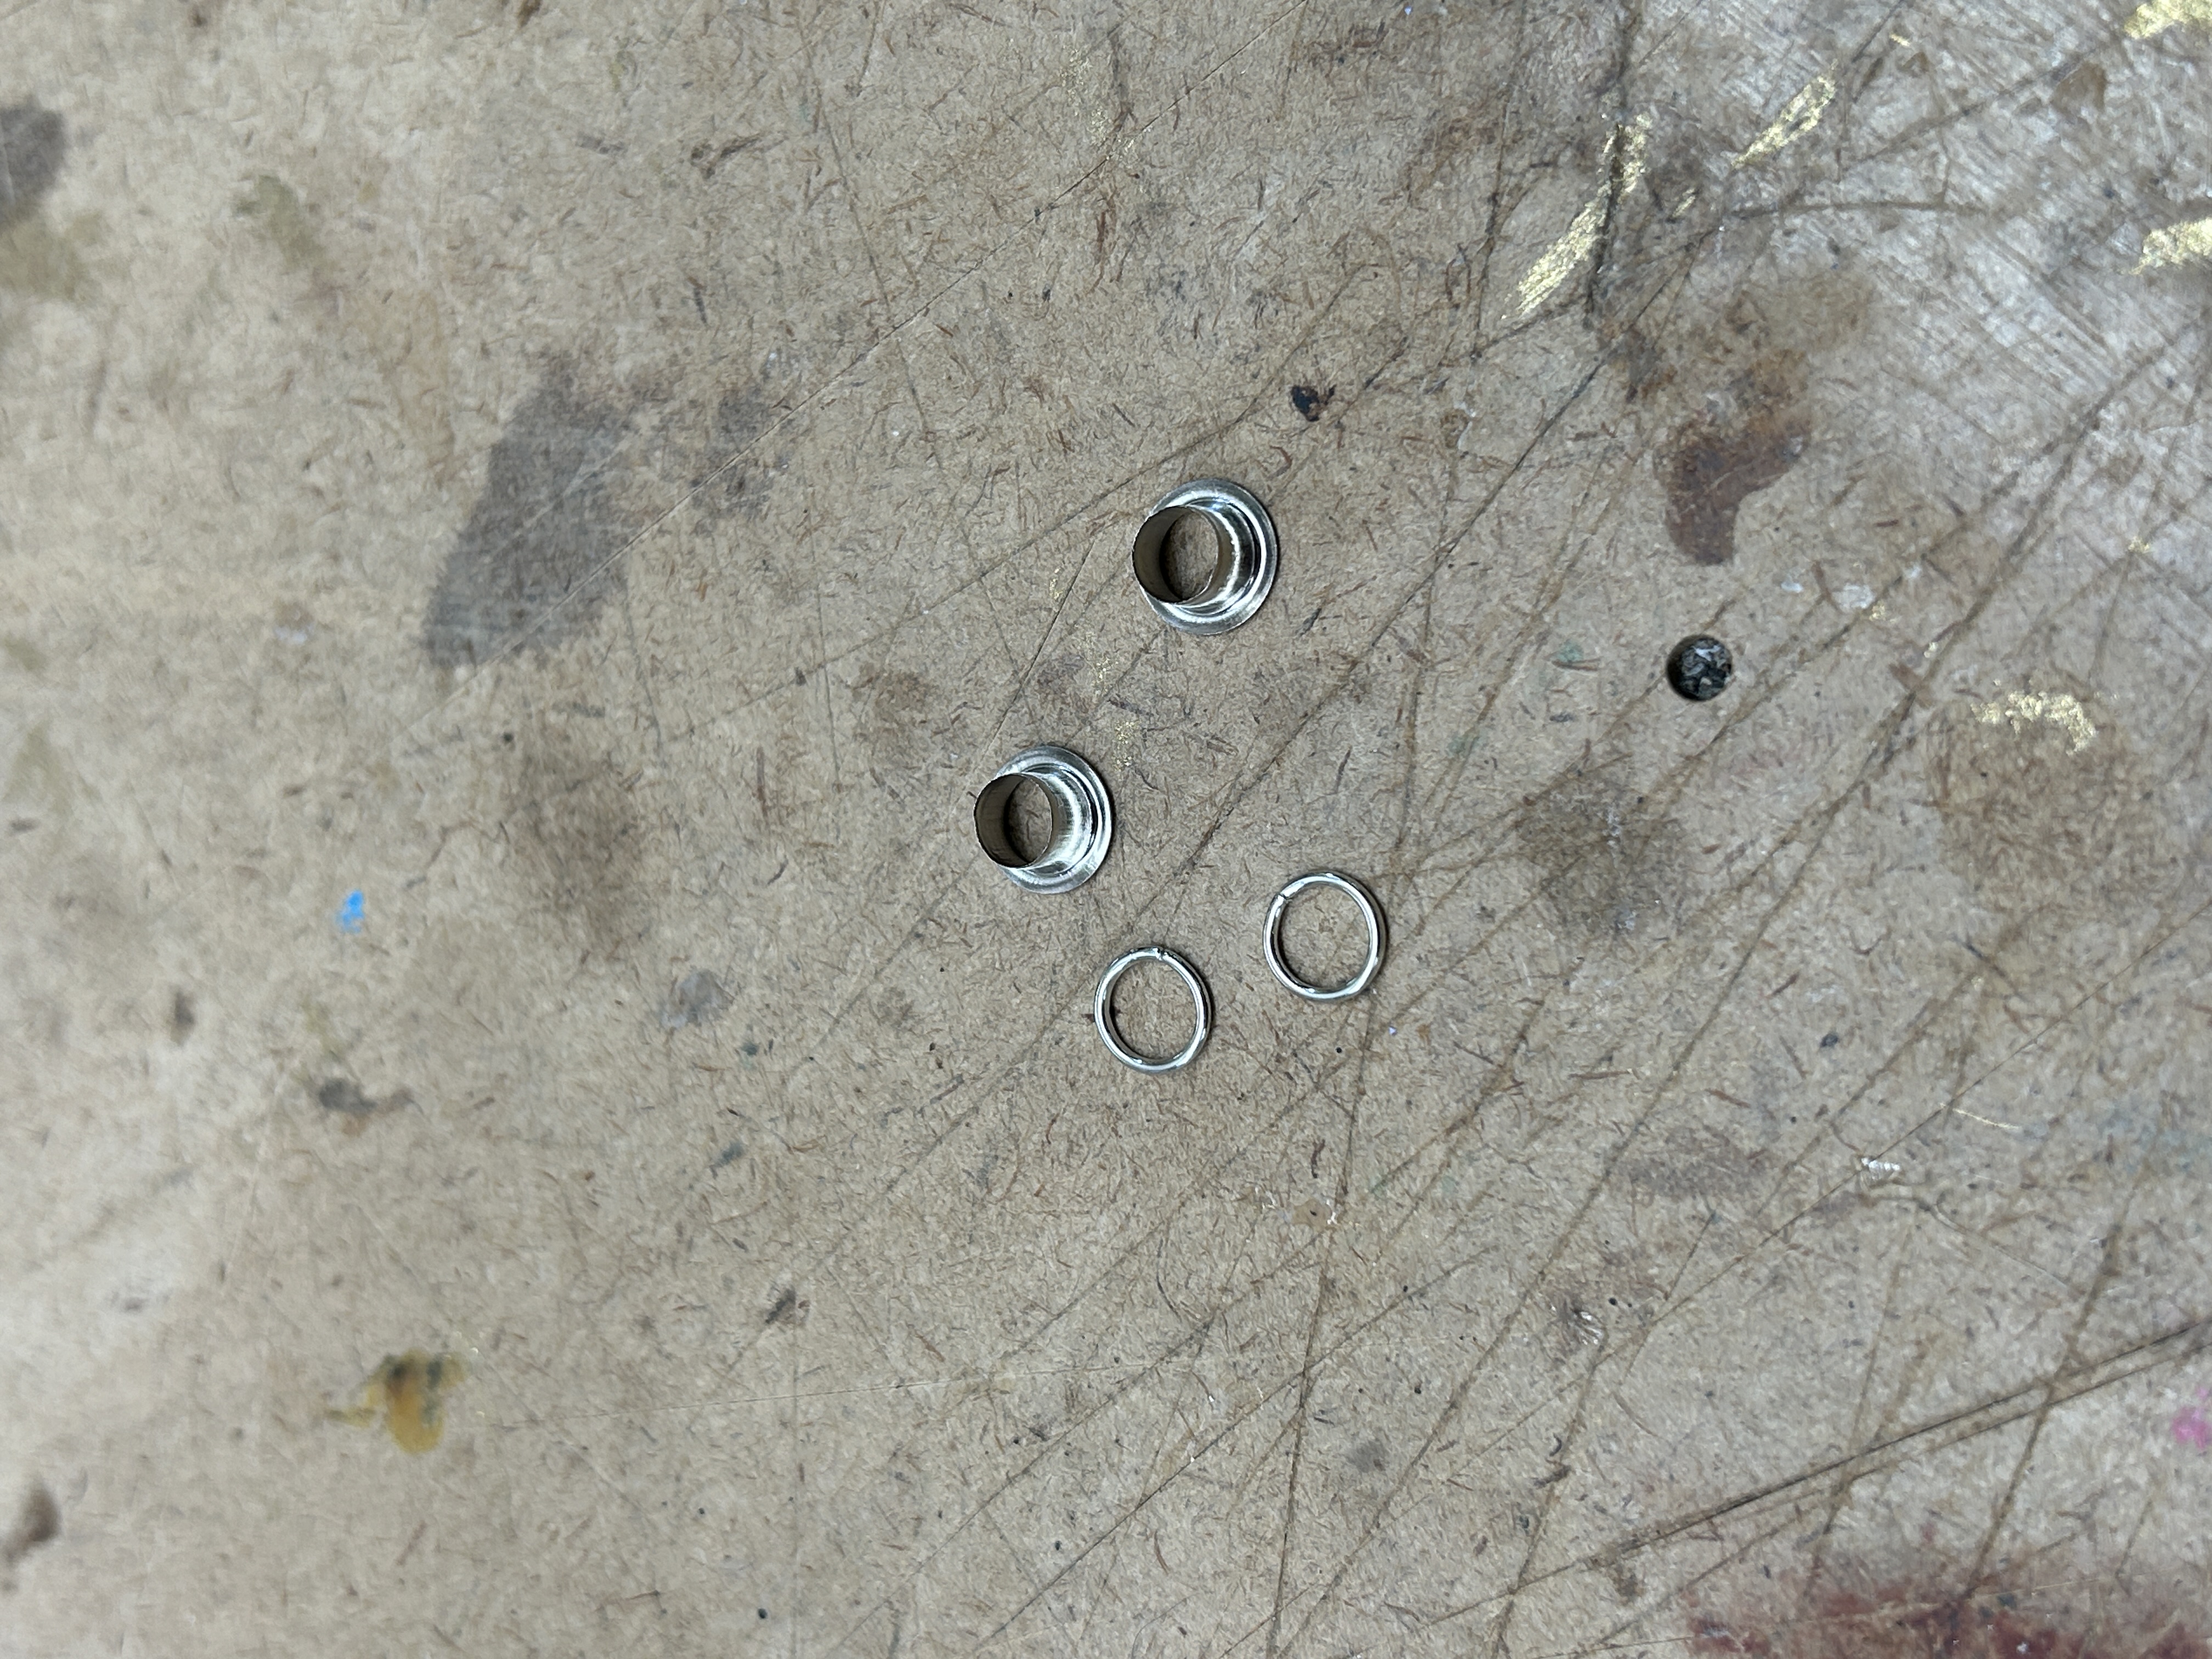
- Used jump rings as the back of a grommet because we don’t have the size I need of tha backs. It worked!
- Wondering if I can incorporate slides in a meaningful way. Need to make this less about looking and more about exploring.
- Need to get fabric!!!
Day 30 - March 11
- Got reed switch to work with ferrous material (learned what ferrous material is)
- Can I make my own slides??
- Put coin on a conductive match, make a whole line of subway stops light up? And illuminate the back of a slide? Or not illuminate whole line - just behind a slide along the track?
- Cut out some MTA tokens to prototype with


Day 31 - March 12
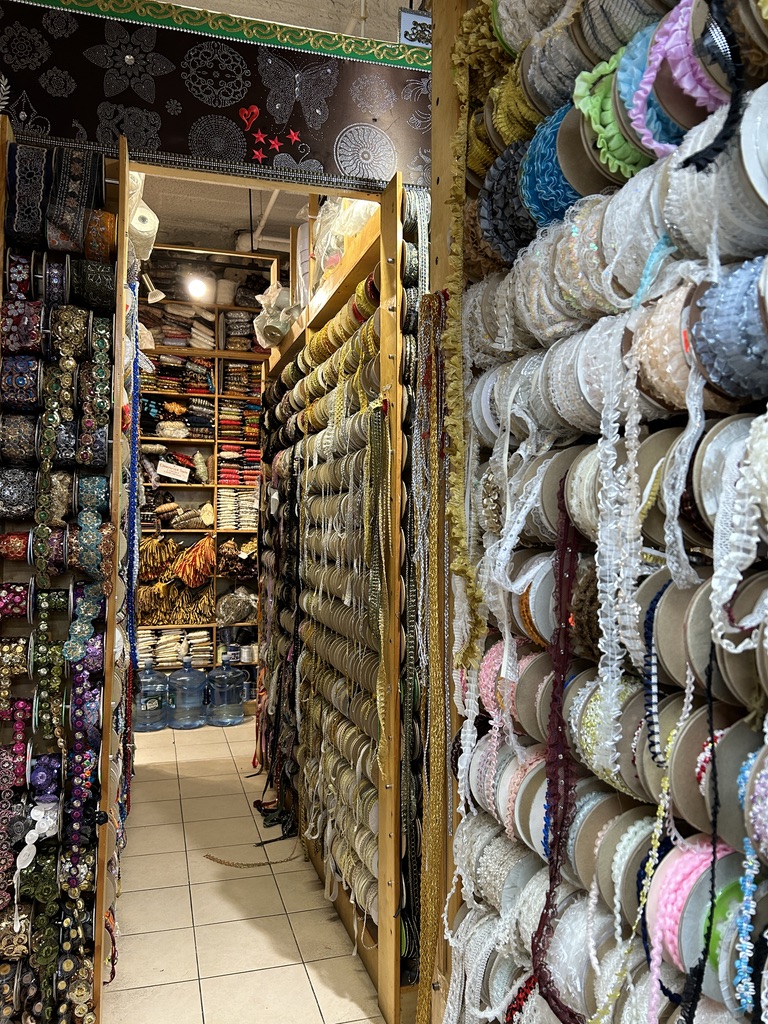
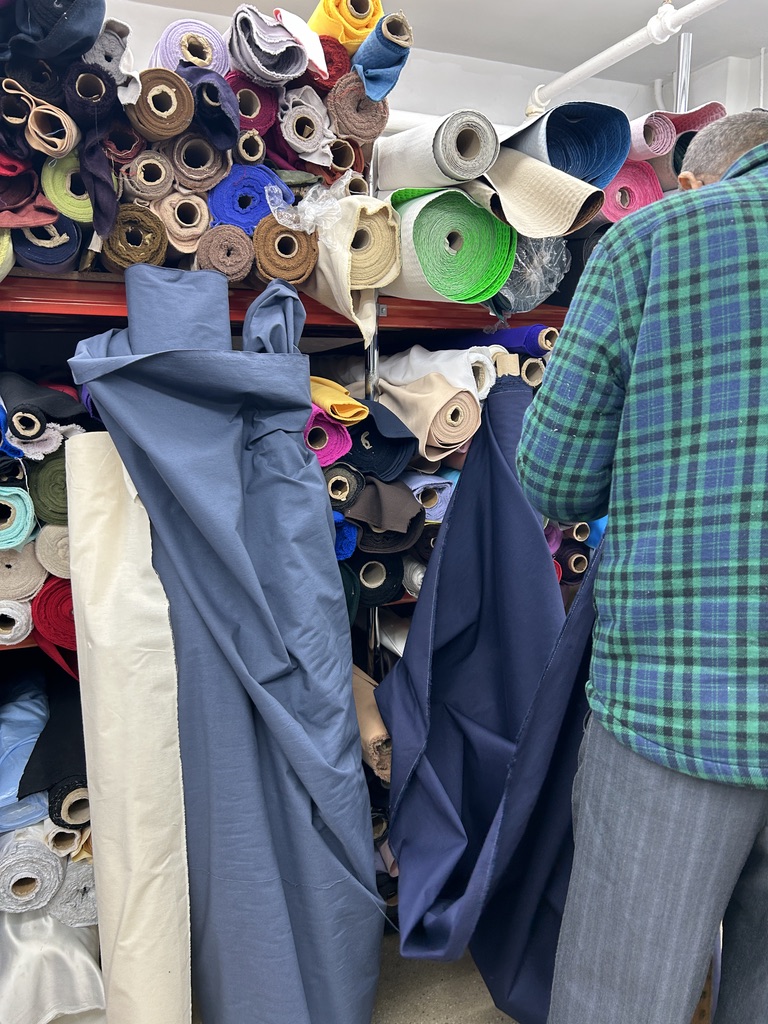
- Went to the Garment District
- B&Q Trimming: loved this place. Didn’t get anything but had fun poking around
- Mood: So much stuff. A little overwhelming. Didn’t get anything
- Fabric House: Super nice and helpful people. I got some navy fabric

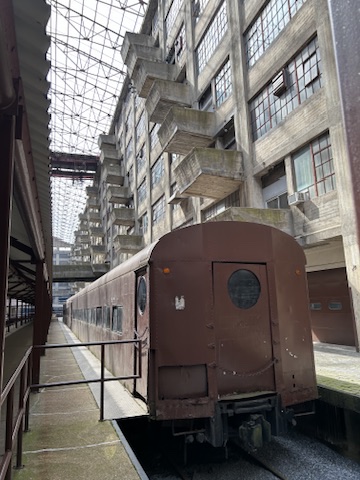
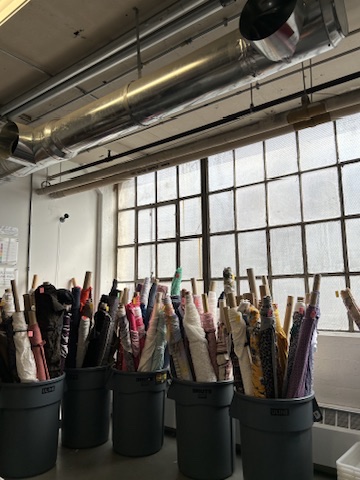
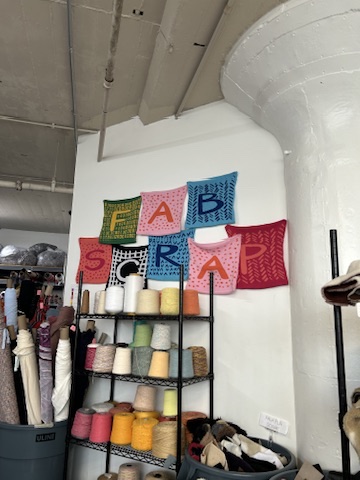
Day 32 - March 13
- Went to Fab Scrap and it was awesome. Perfect for what I needed. I got a ton of stuff including a Madewell sweater with some holes in it for $40. I will be going back there for sure. It used to be a big train + shipping terminal!
- Stefanie Kossoff: used the word “audience” instead of user which I like, choose your own adventure type of thing re: token interaction, loves the photo slide square I made
- Alumni Feedback Night
- Francesca Rodriguez: use the inviting feeling of textiles to get people engaged (capacitive touch sensors, use hand to track something along a path), speak to natural human reactions re:textiles, let the intersections in the subway map guide the narrative
- Christin Lundgren: hide something behind fringe, use a piece of muselin to magnify the slide, make people get up close, haptic response to capacitive touch
- Kevin Cadena: get people to understand how I feel, bring in Aunt Marie’s perspective on documents (does she remember when it was taken? Use her words as captions) References: Cecilia Vicuña and Rebecca Shapass
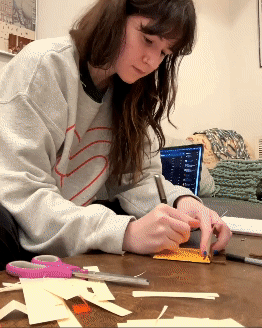
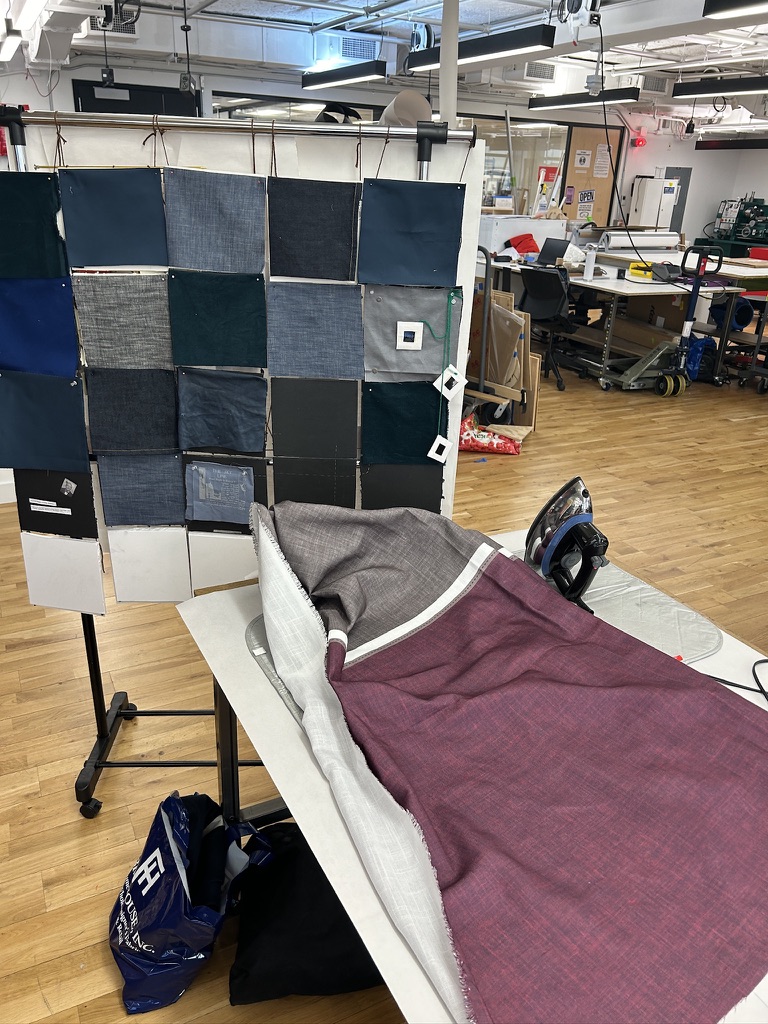
- Started cutting and pinning fabric!

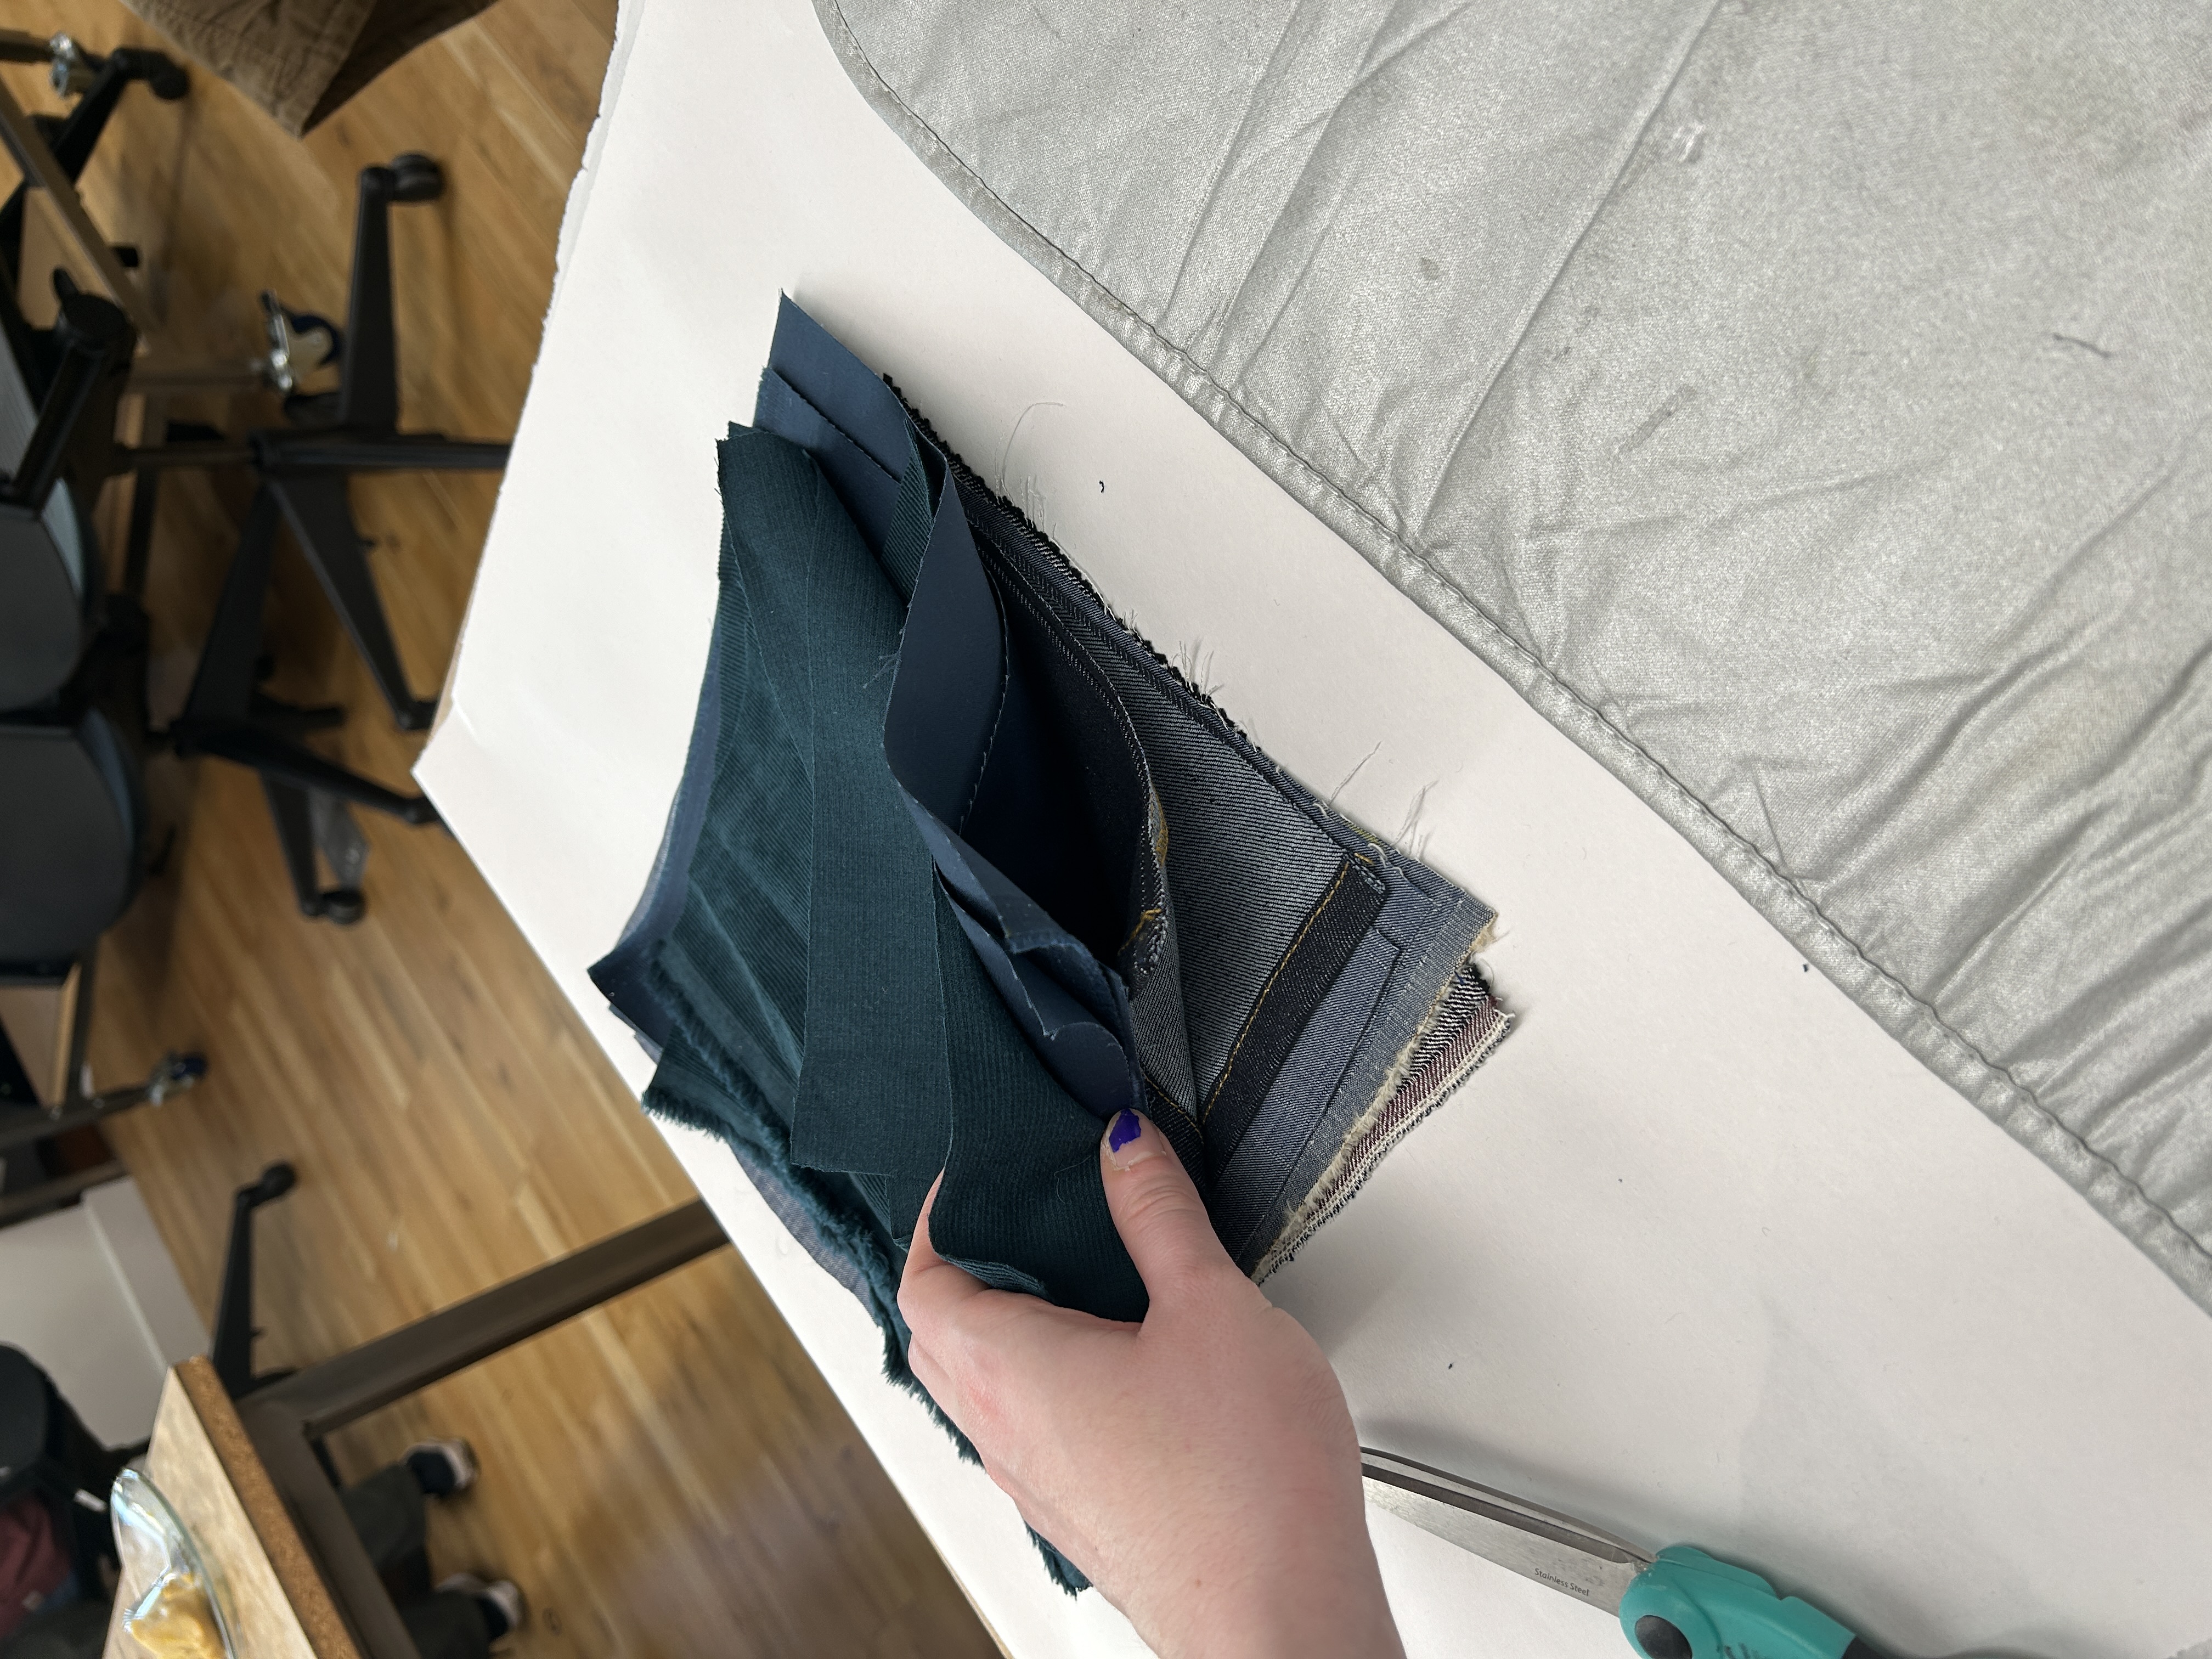
Day 33 - March 14
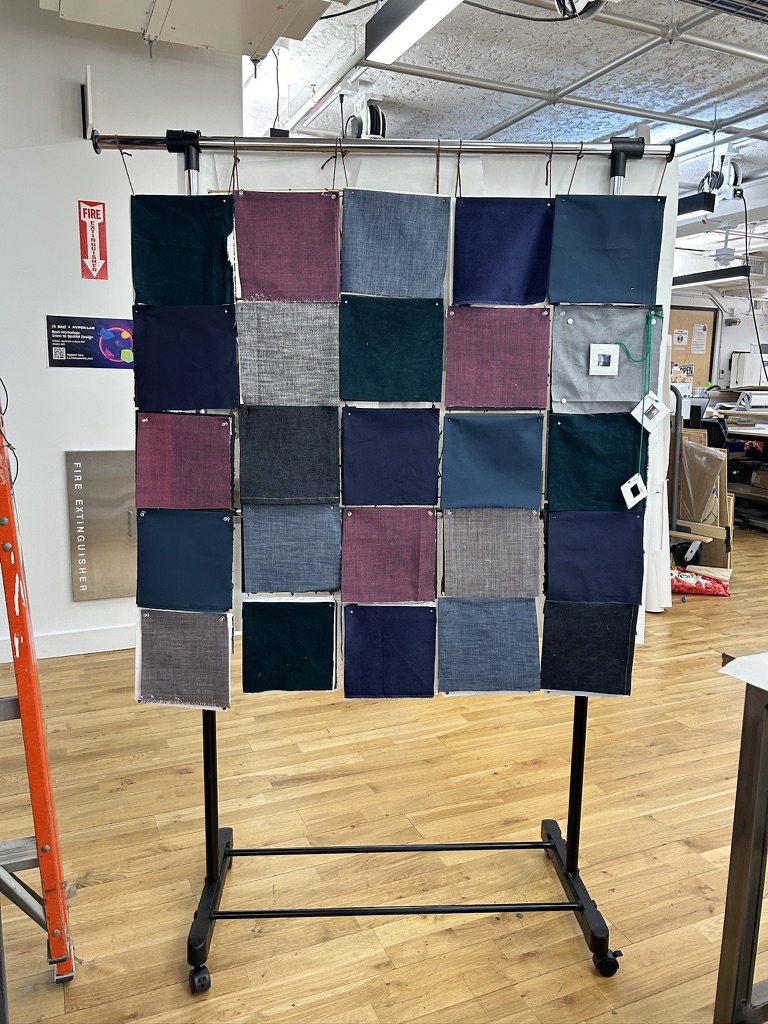
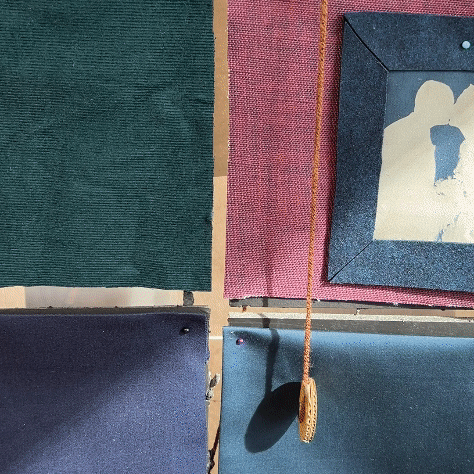
- Finished pinning fabric to my foam core layout. I’m really happy with this color scheme.
Day 34 - March 16
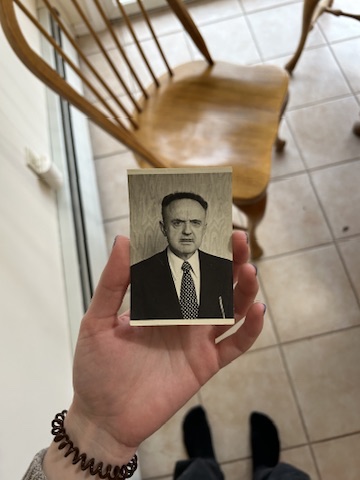
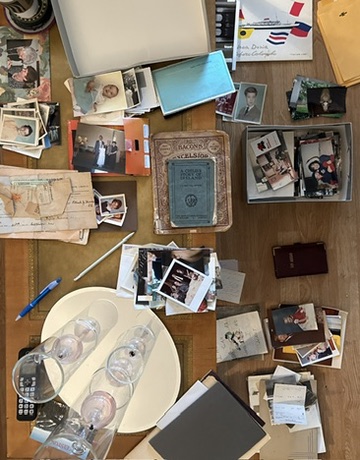
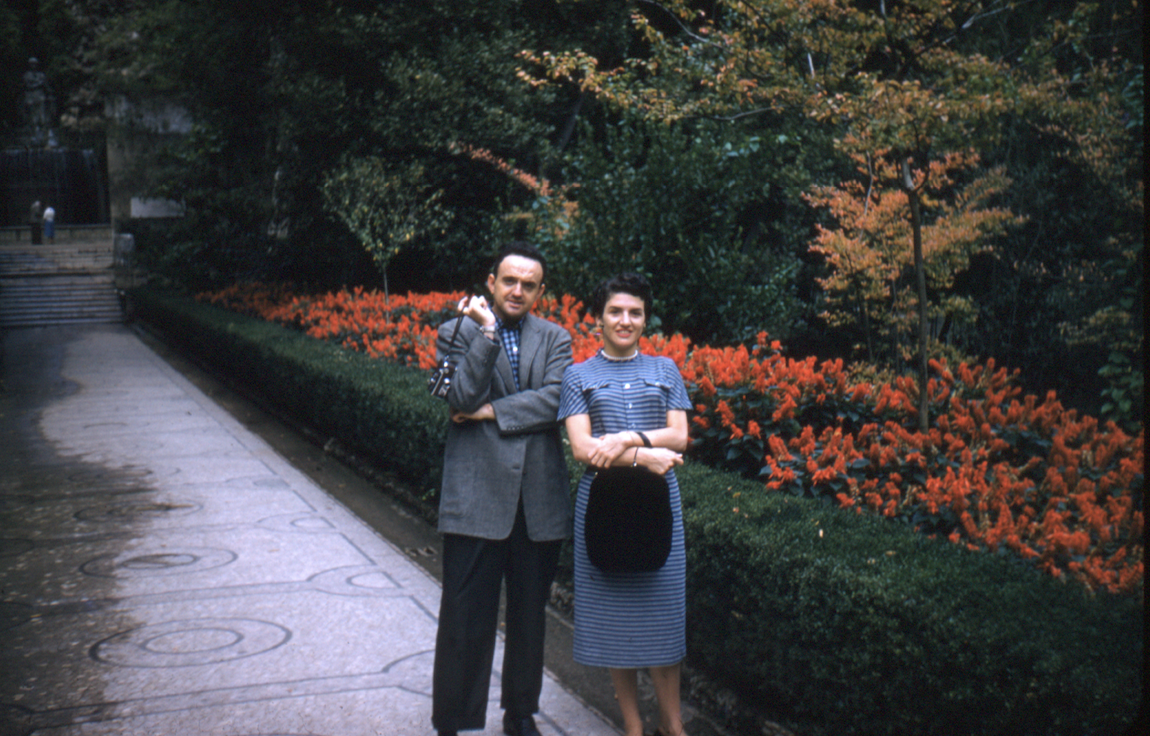
- Visited Aunt Marie and she gave me 5 more boxes of photos / slides / notes and VIDEOS ON FILM! No idea how to view / digitize them but that’s a problem for later.
- Did a first pass through all of the contents of the boxes an separated things that stood out to me.

Day 35 - March 17
- Organzied slides by year and started scanning the oldest ones first to see if there was any MTA stuff. There wasn’t, but I found some other cool photos.


Day 36 - March 18
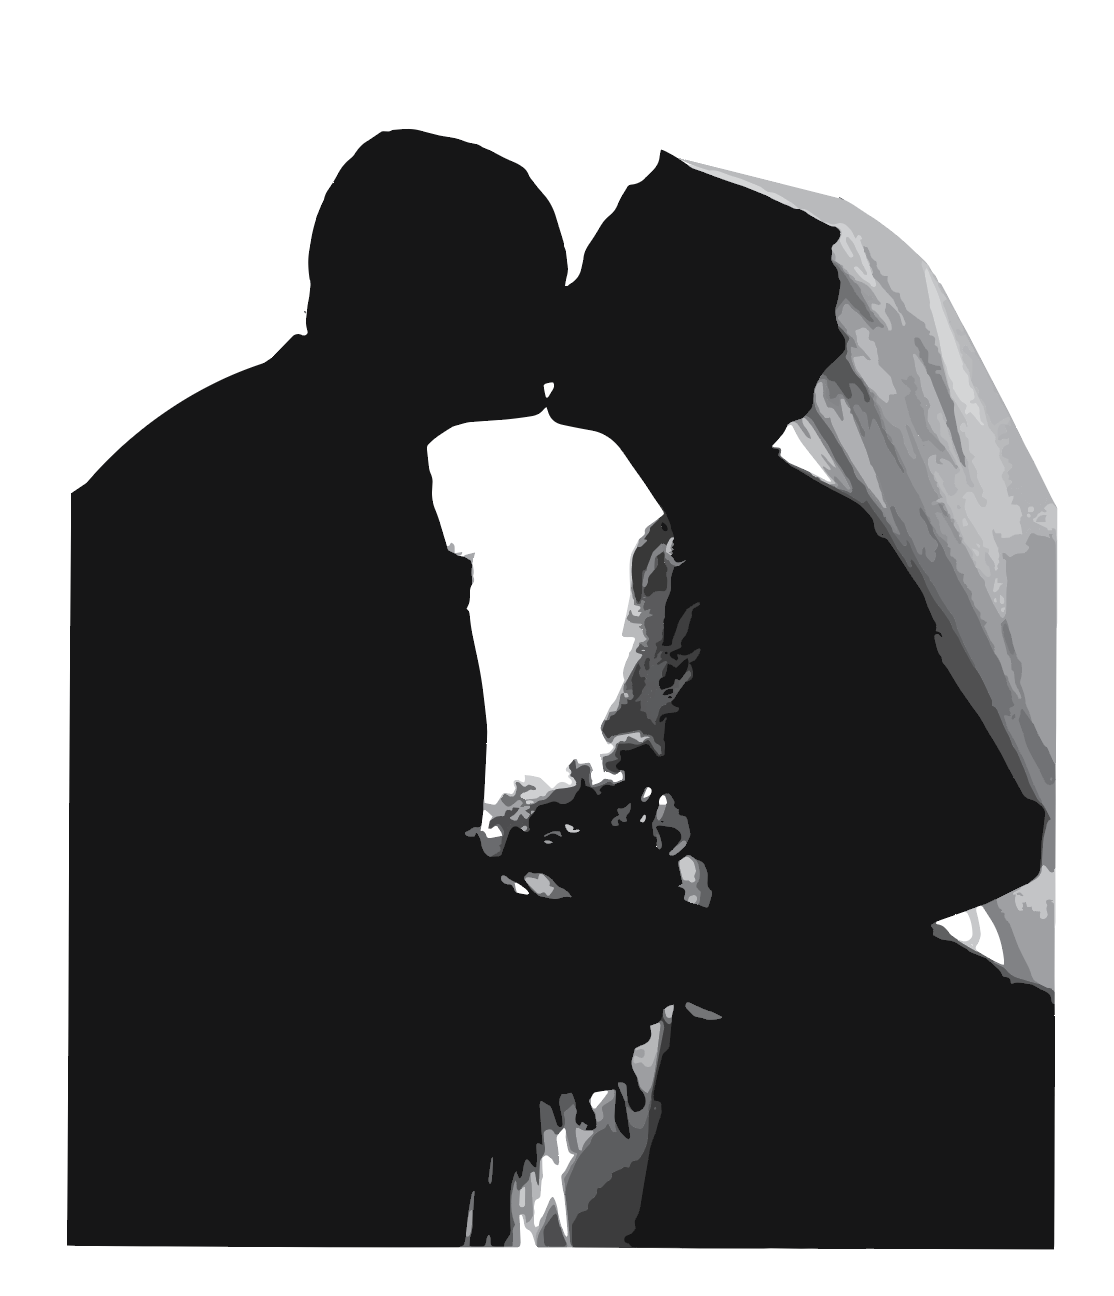
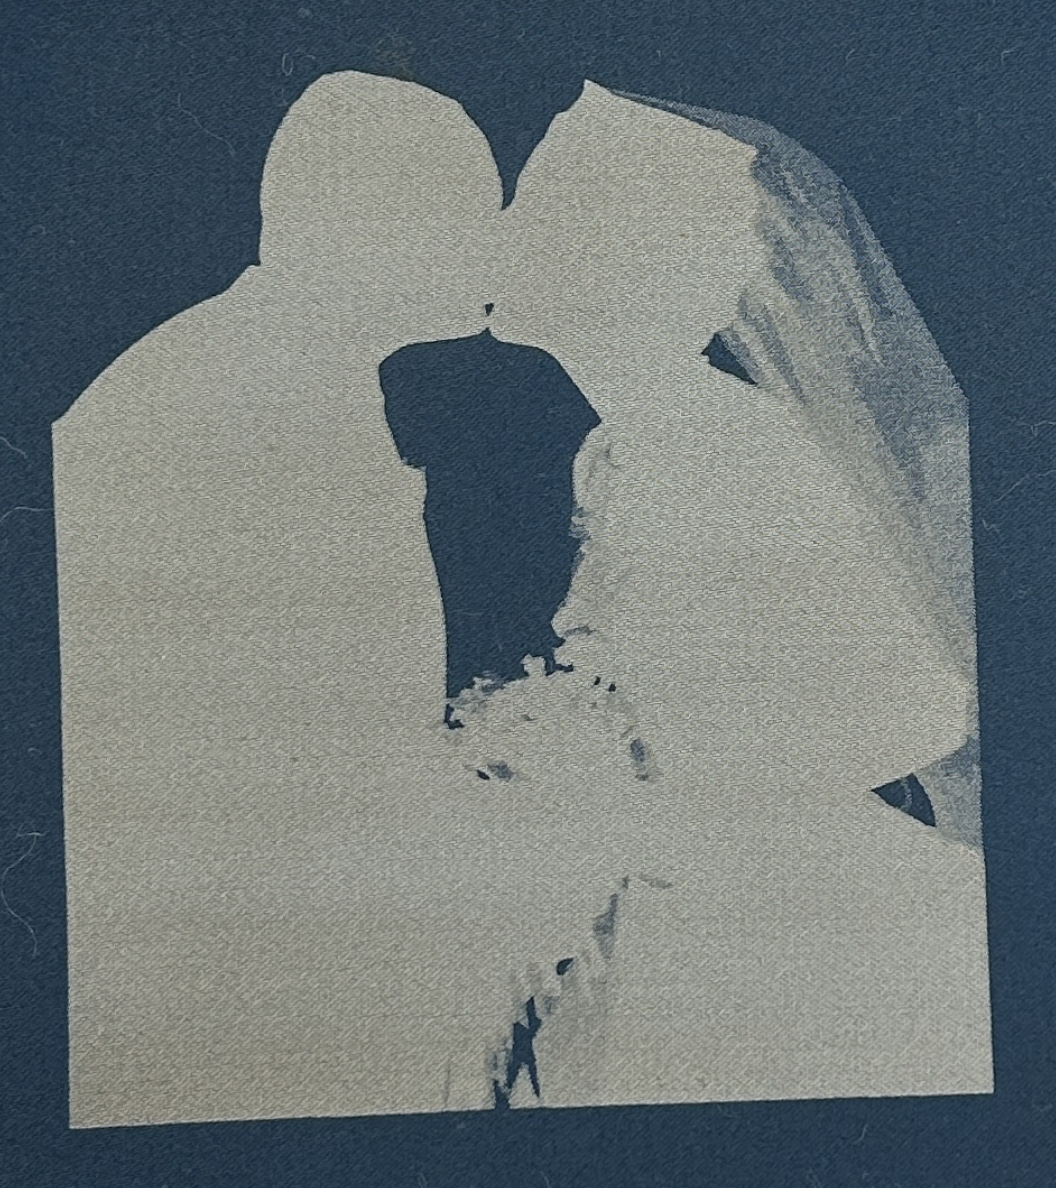
- Experimented with laser engraving images! Began with the wedding one of Aunt Marie + Uncle Jimmy. Turned out pretty well. I also engraved some text on fabric that came out really well.
- Met with Kim from the Makerspace. She gave me some advices for hemming the edges + joining the squares:
- Hemming edges: bias / binding tape, “bag” each one
- Joining: magnetic snaps (Star Snaps in Garment District, Jonathan Embroidery Plus)
- Use hooks for the string that runs paths across the quilt, make it easier to move around.


Day 37 - March 19
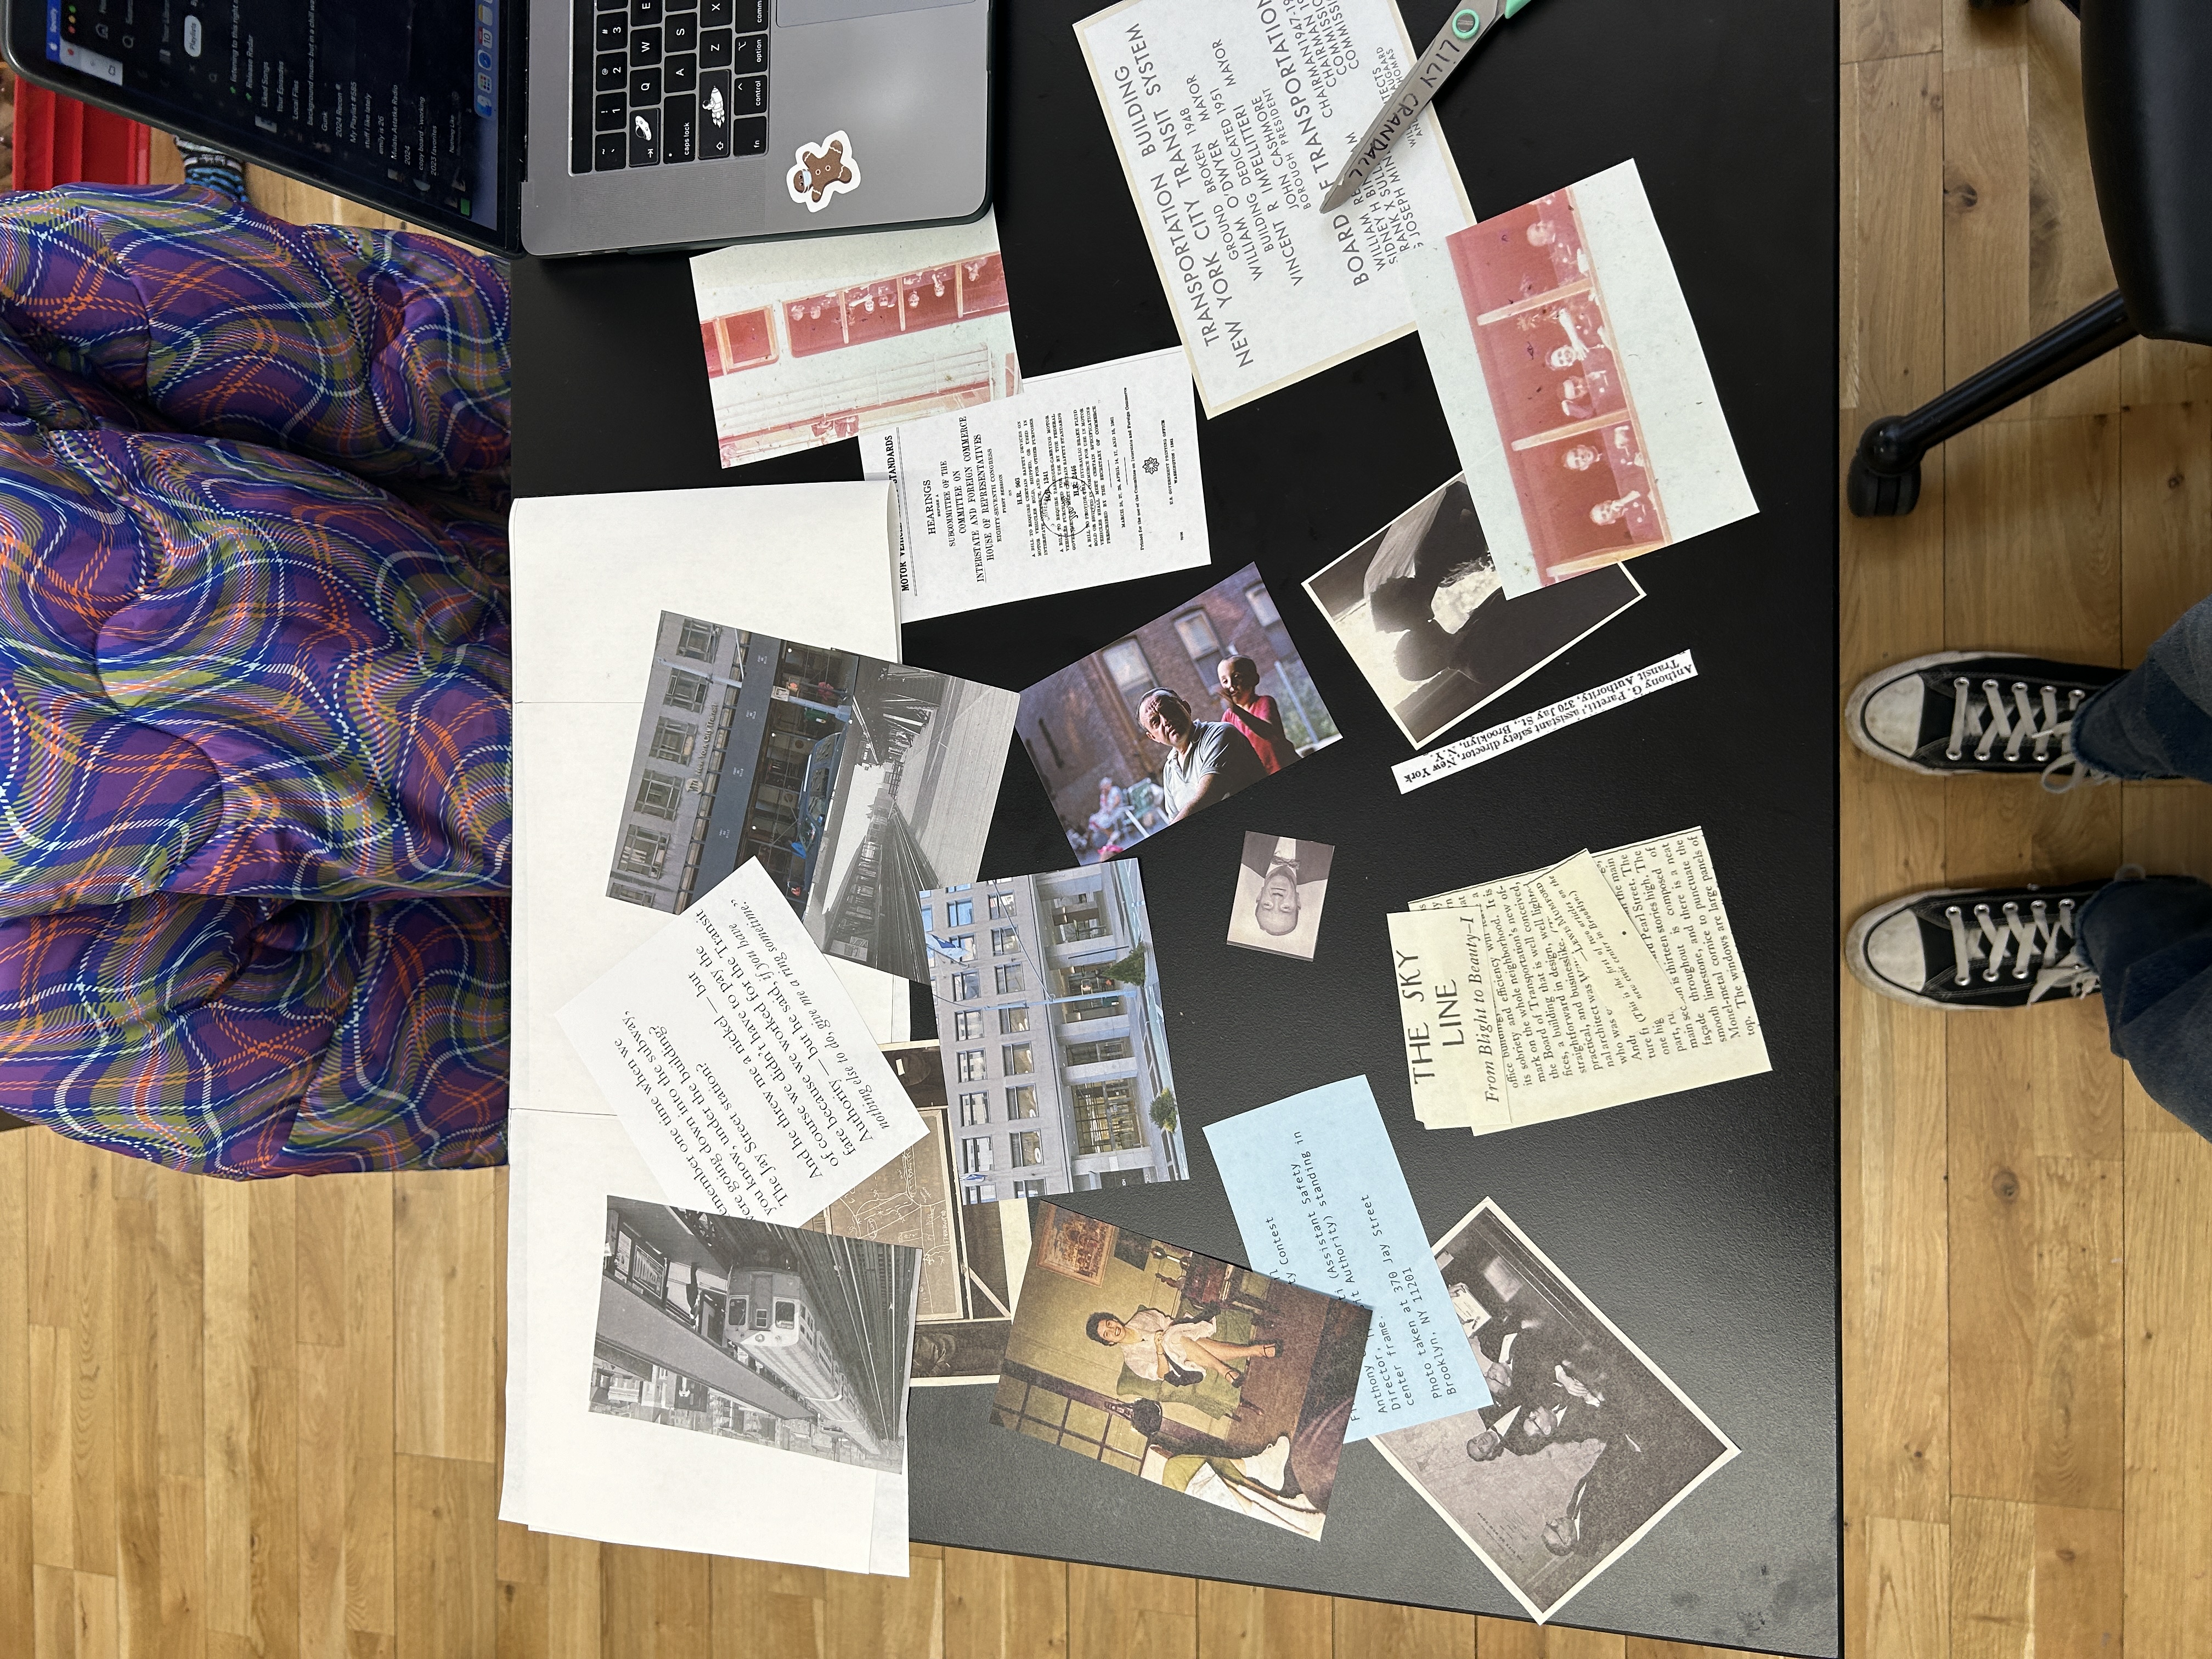
- Got a few squares done today
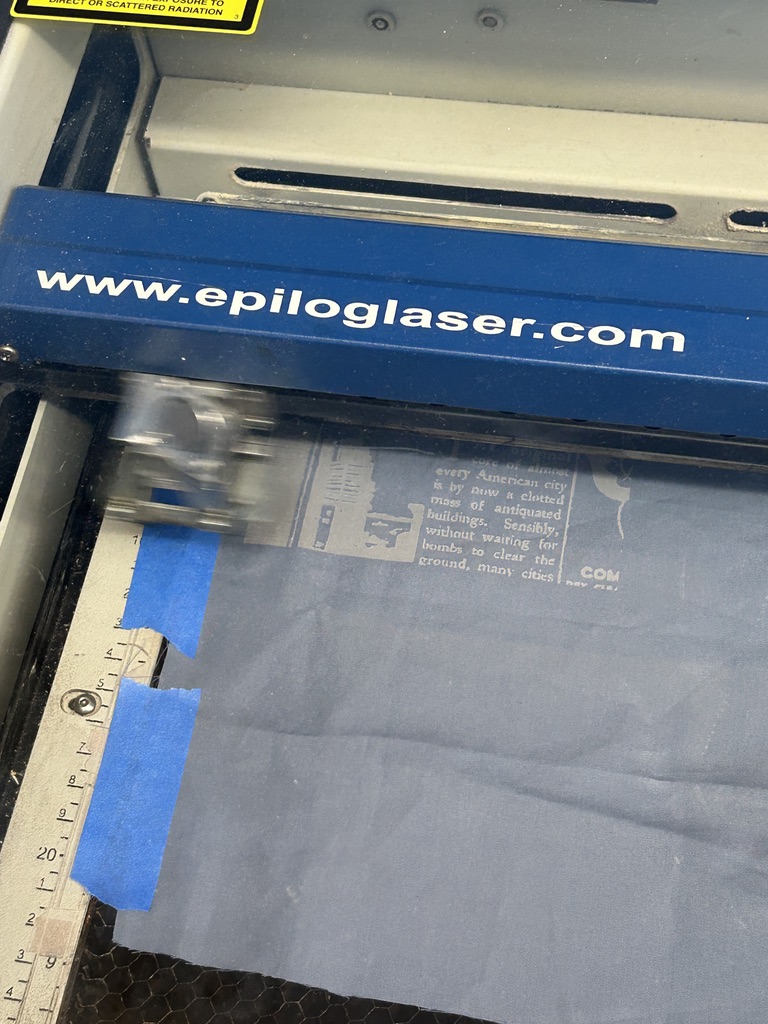
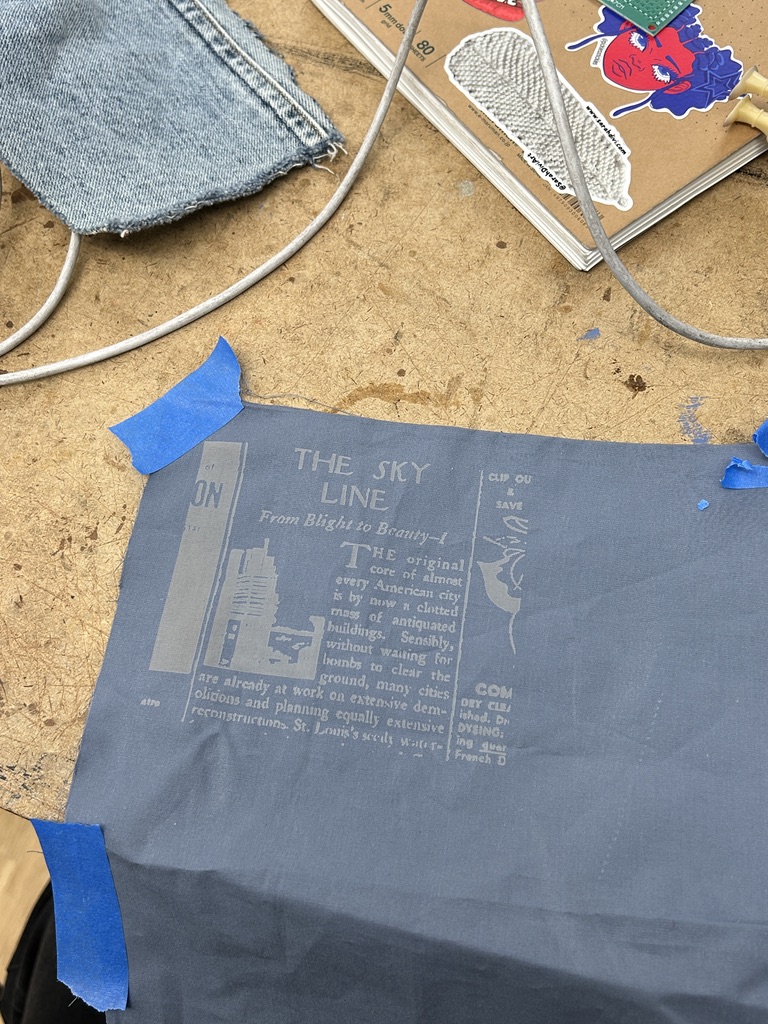
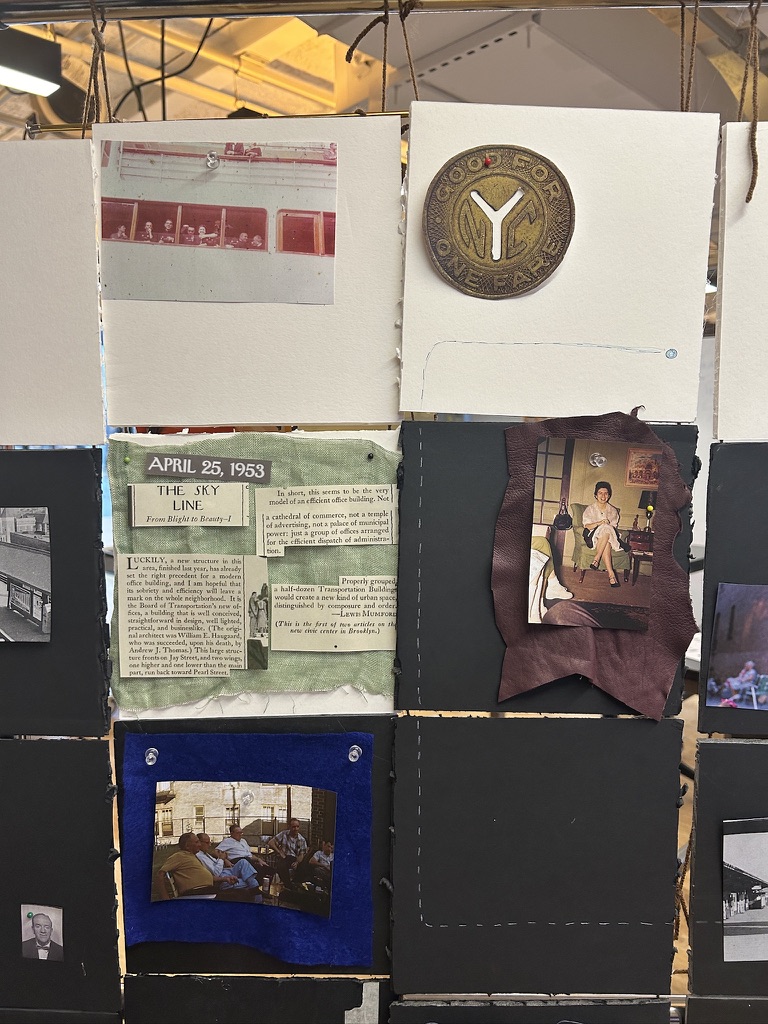
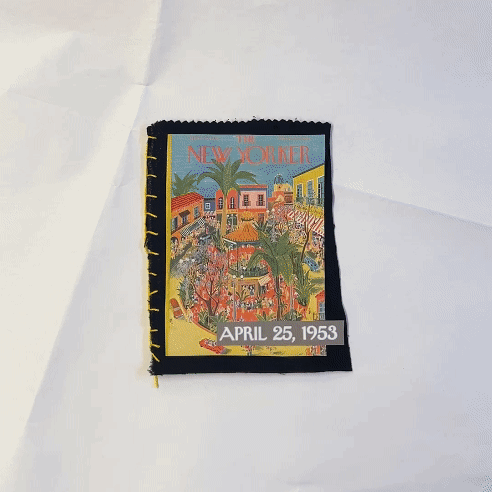
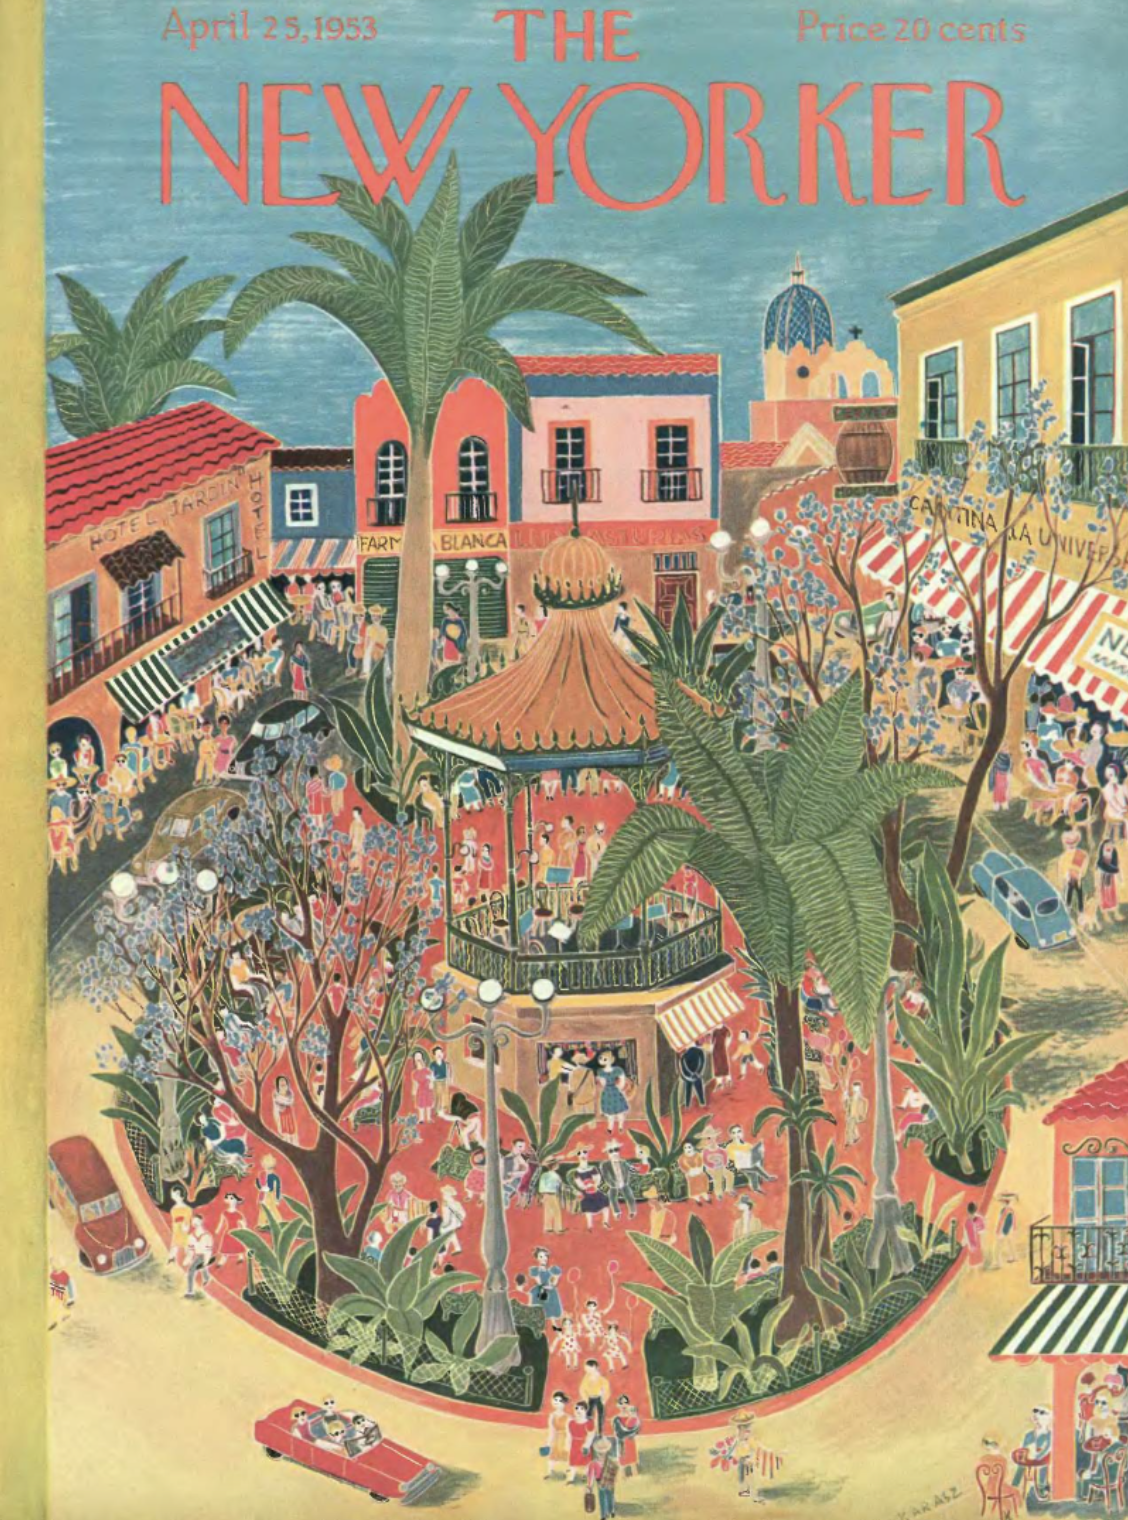
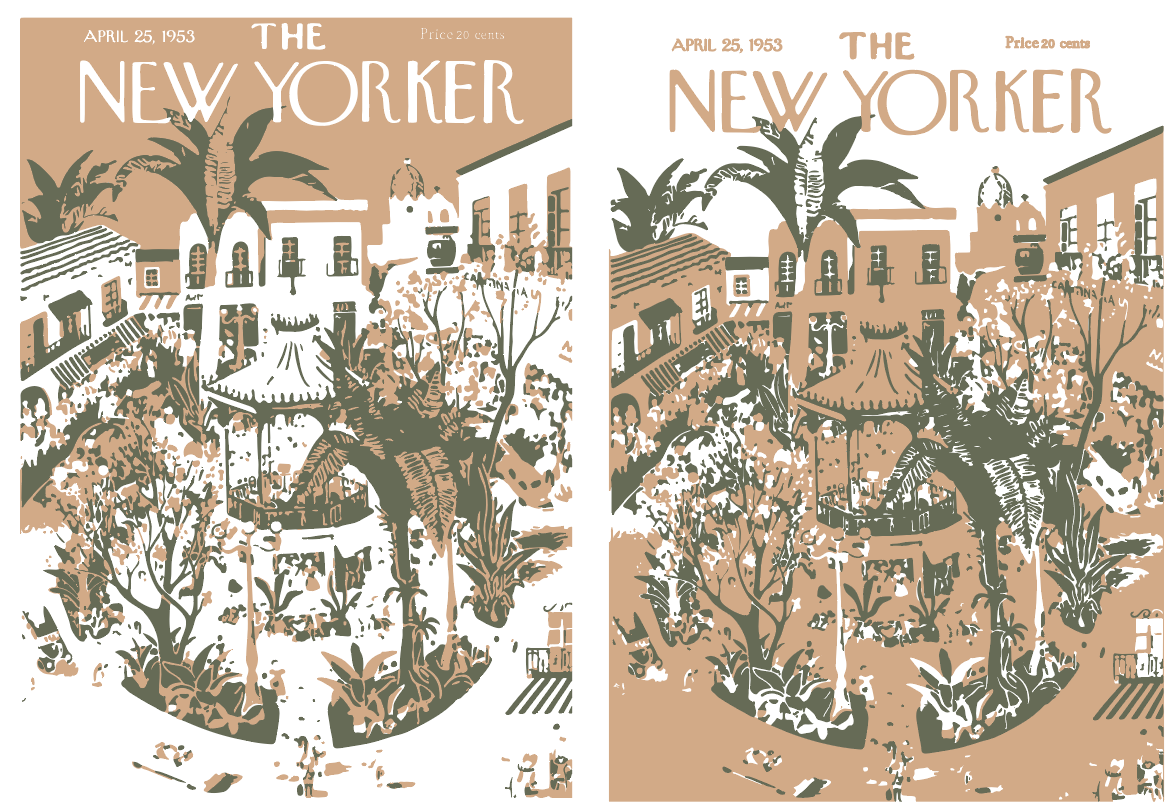
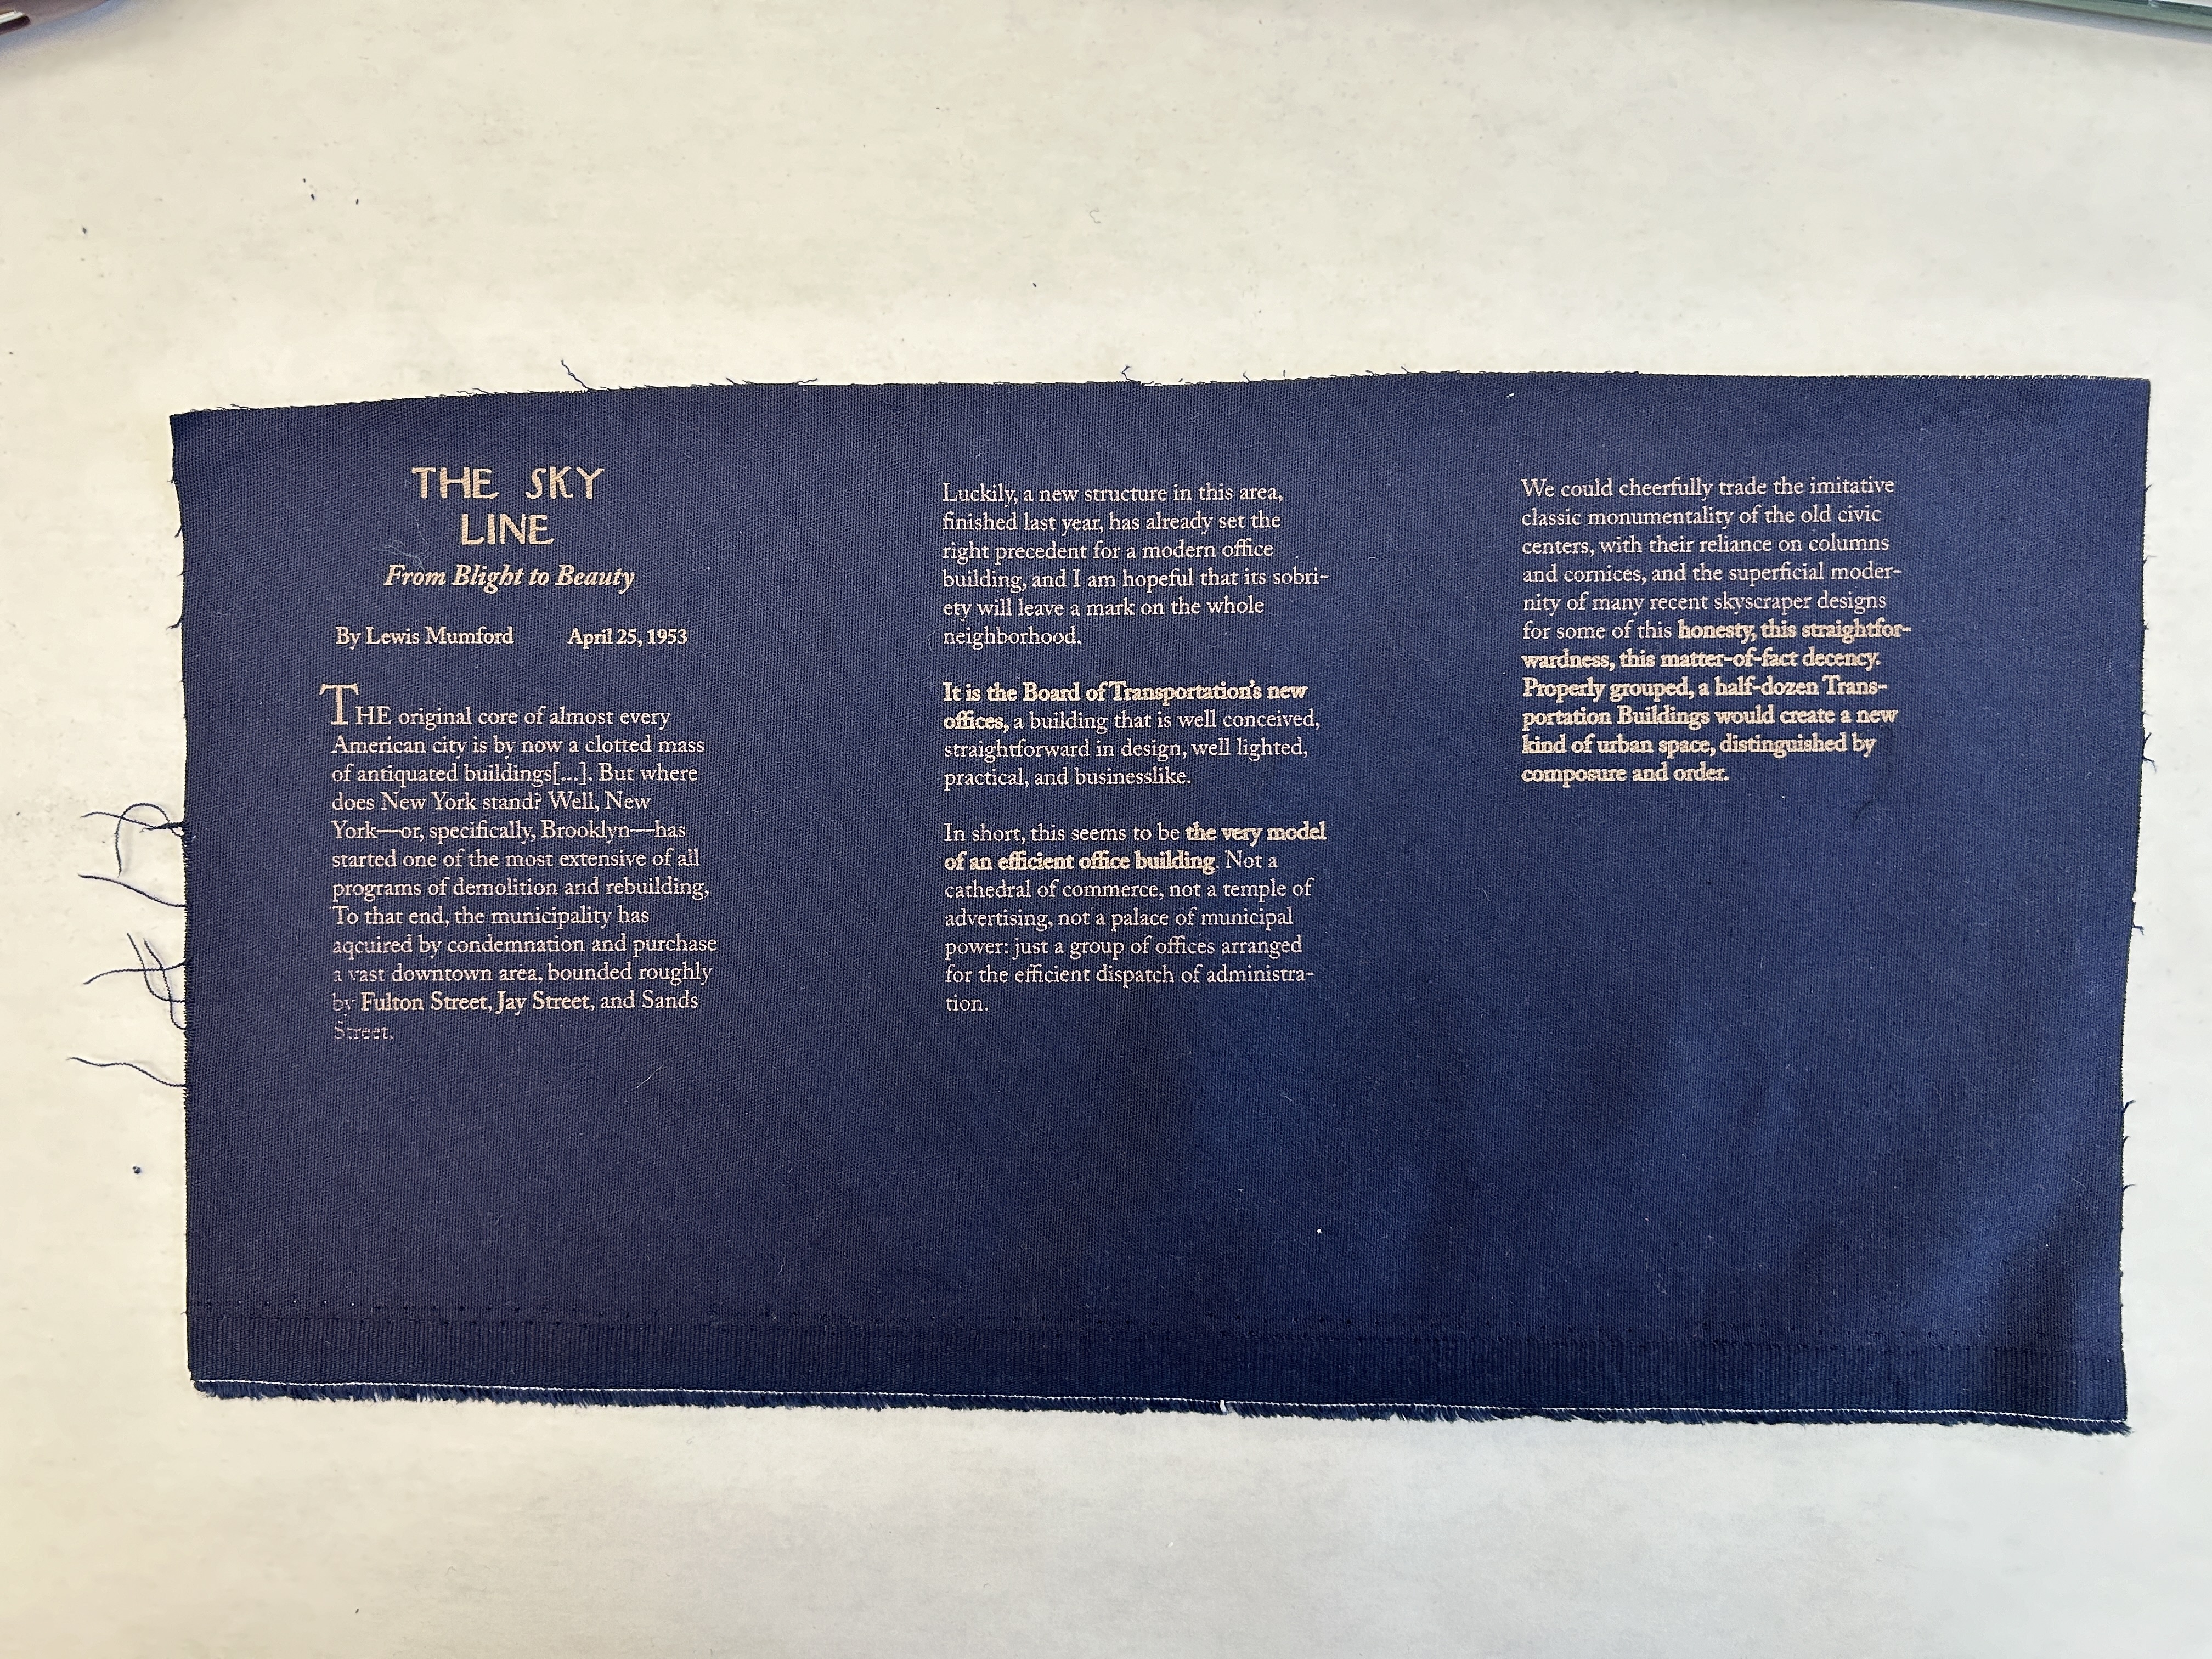
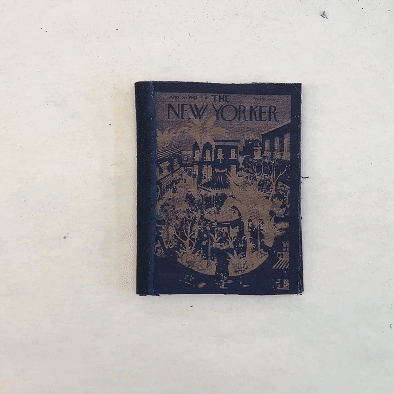
- New Yorker: Engraved two versions of the cover. Went with one of them because the title was more pronounced. I really like how it turned out - the color of the fabric really enhances it. Engraved some pull quotes from the article and added a stroke around some of the text to make it look bold. Mounted each piece on the felt-ish fabric I got from Fab Scrap and glued it all together. I was going to make a pocket to put it in, but it was already heavy so I just glued it to the square. I put a magnet in the front cover and on the back so it doesn’t stay open when it’s hanging up.
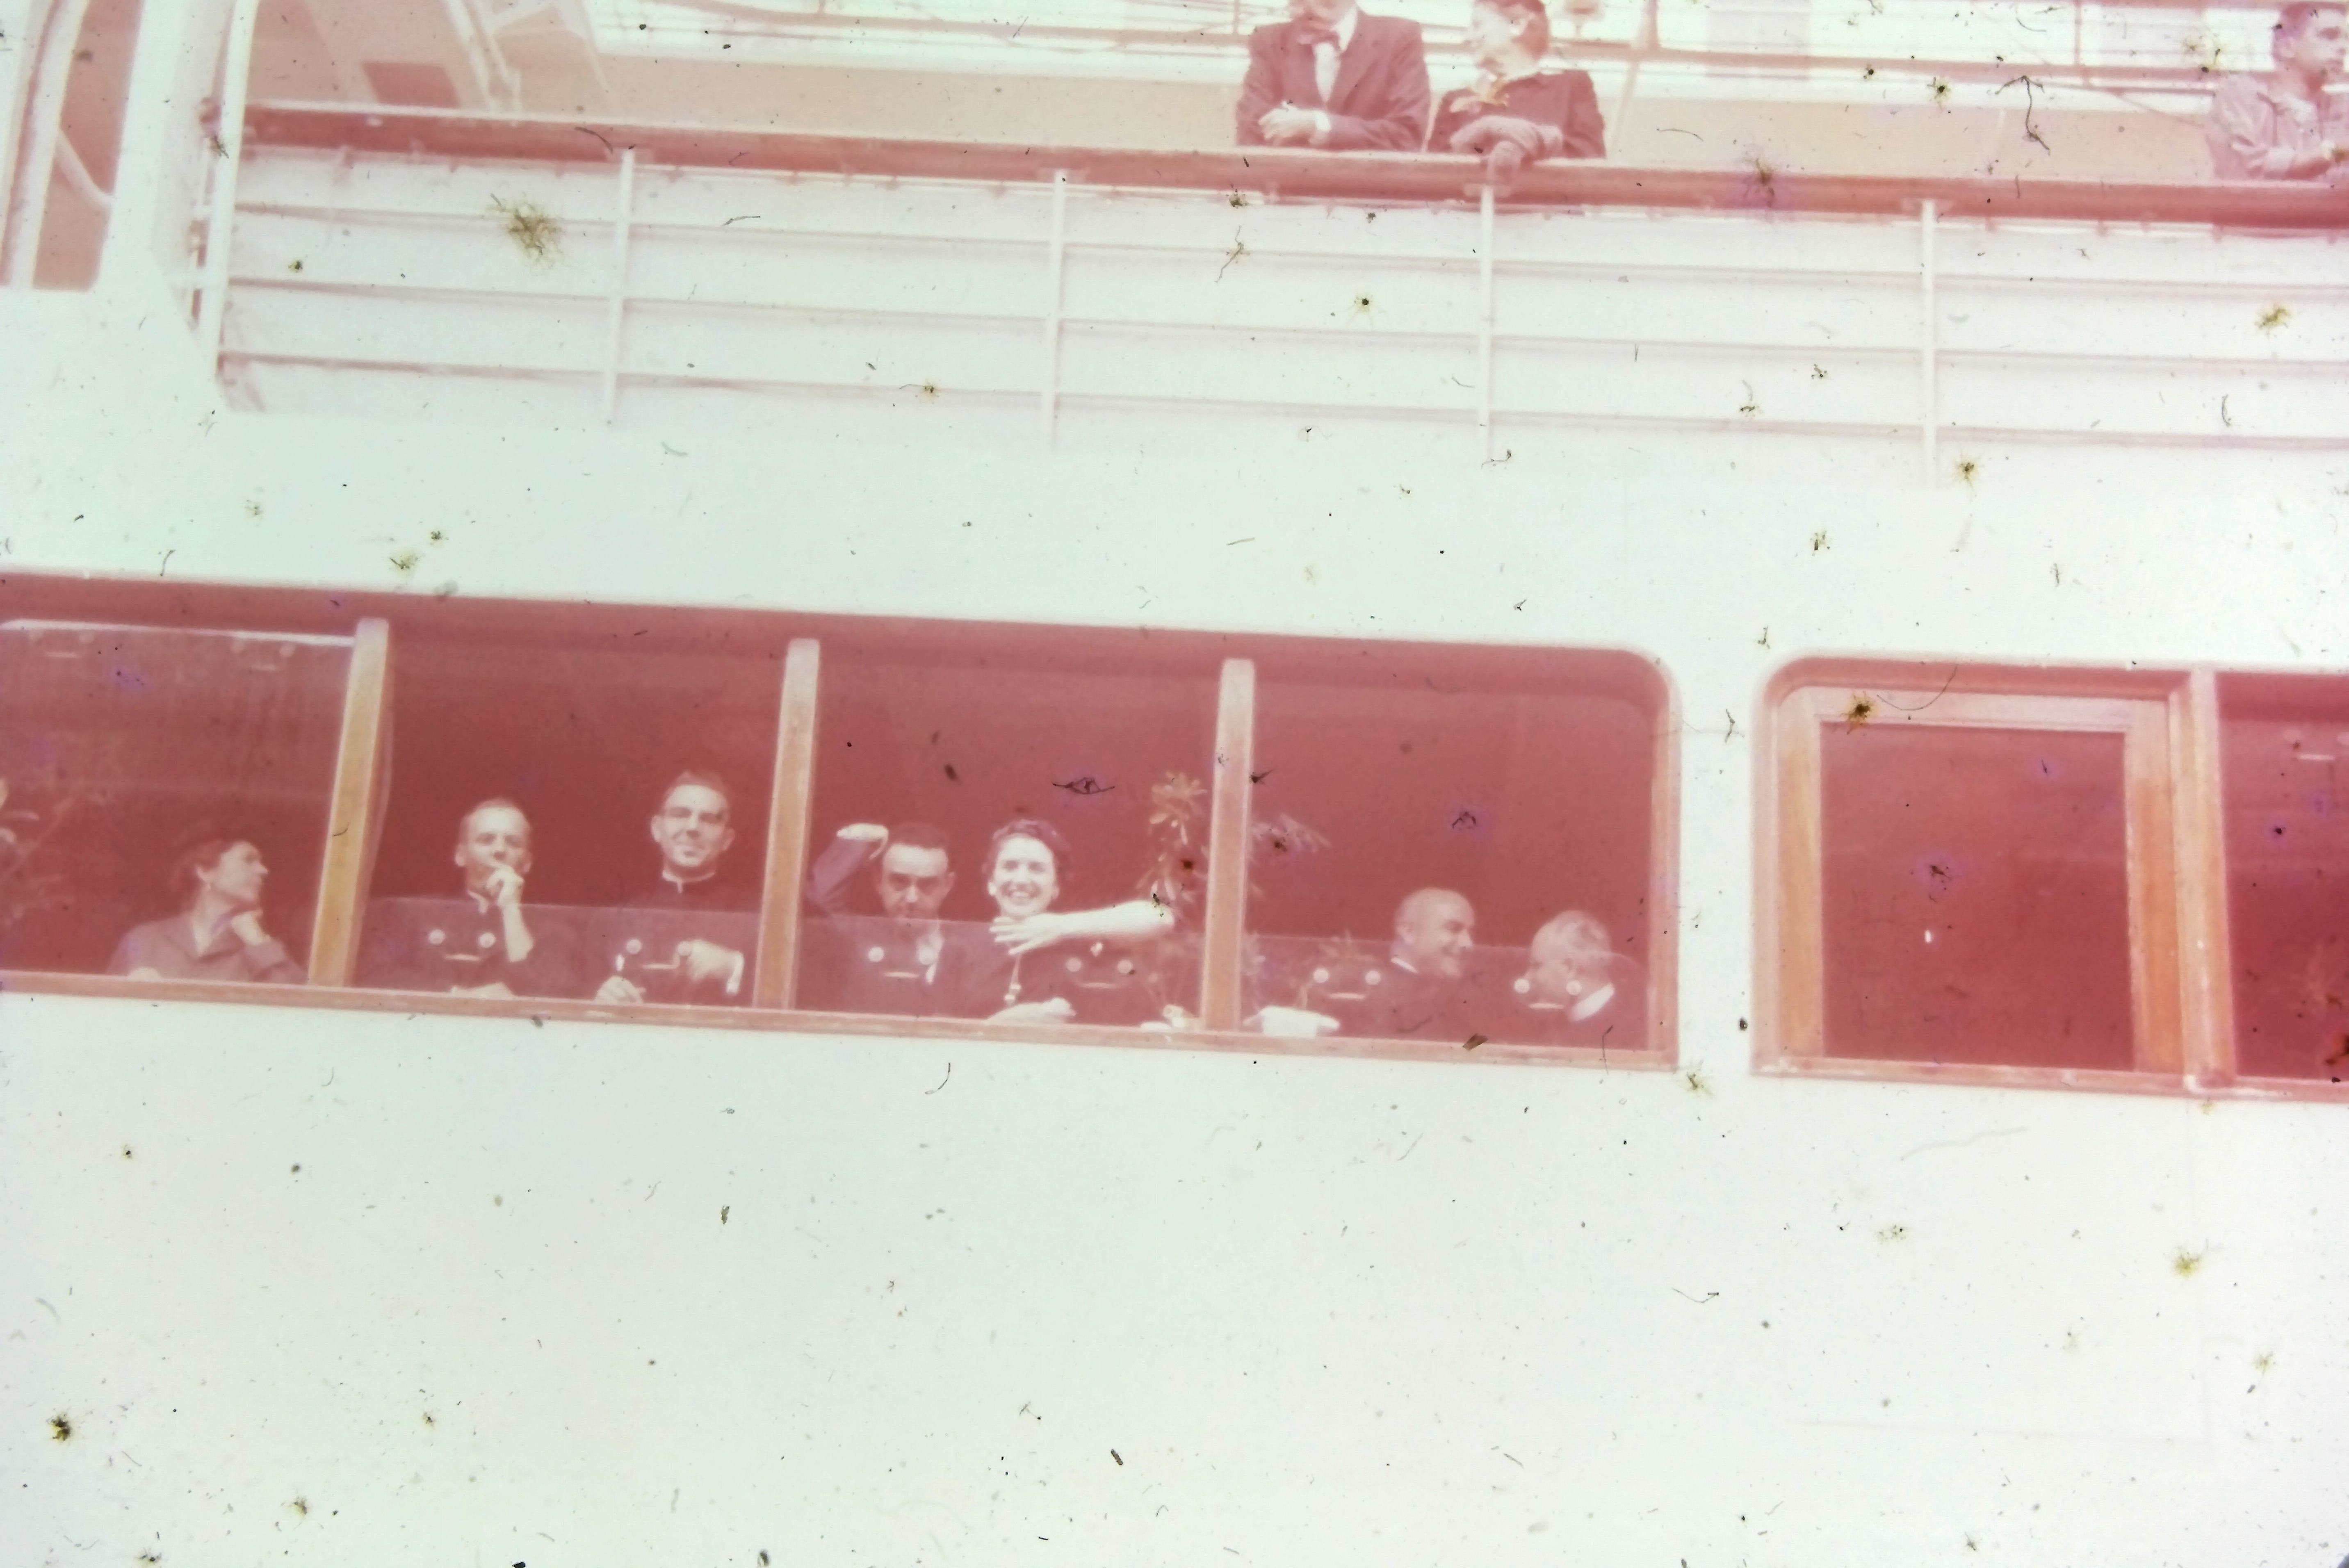
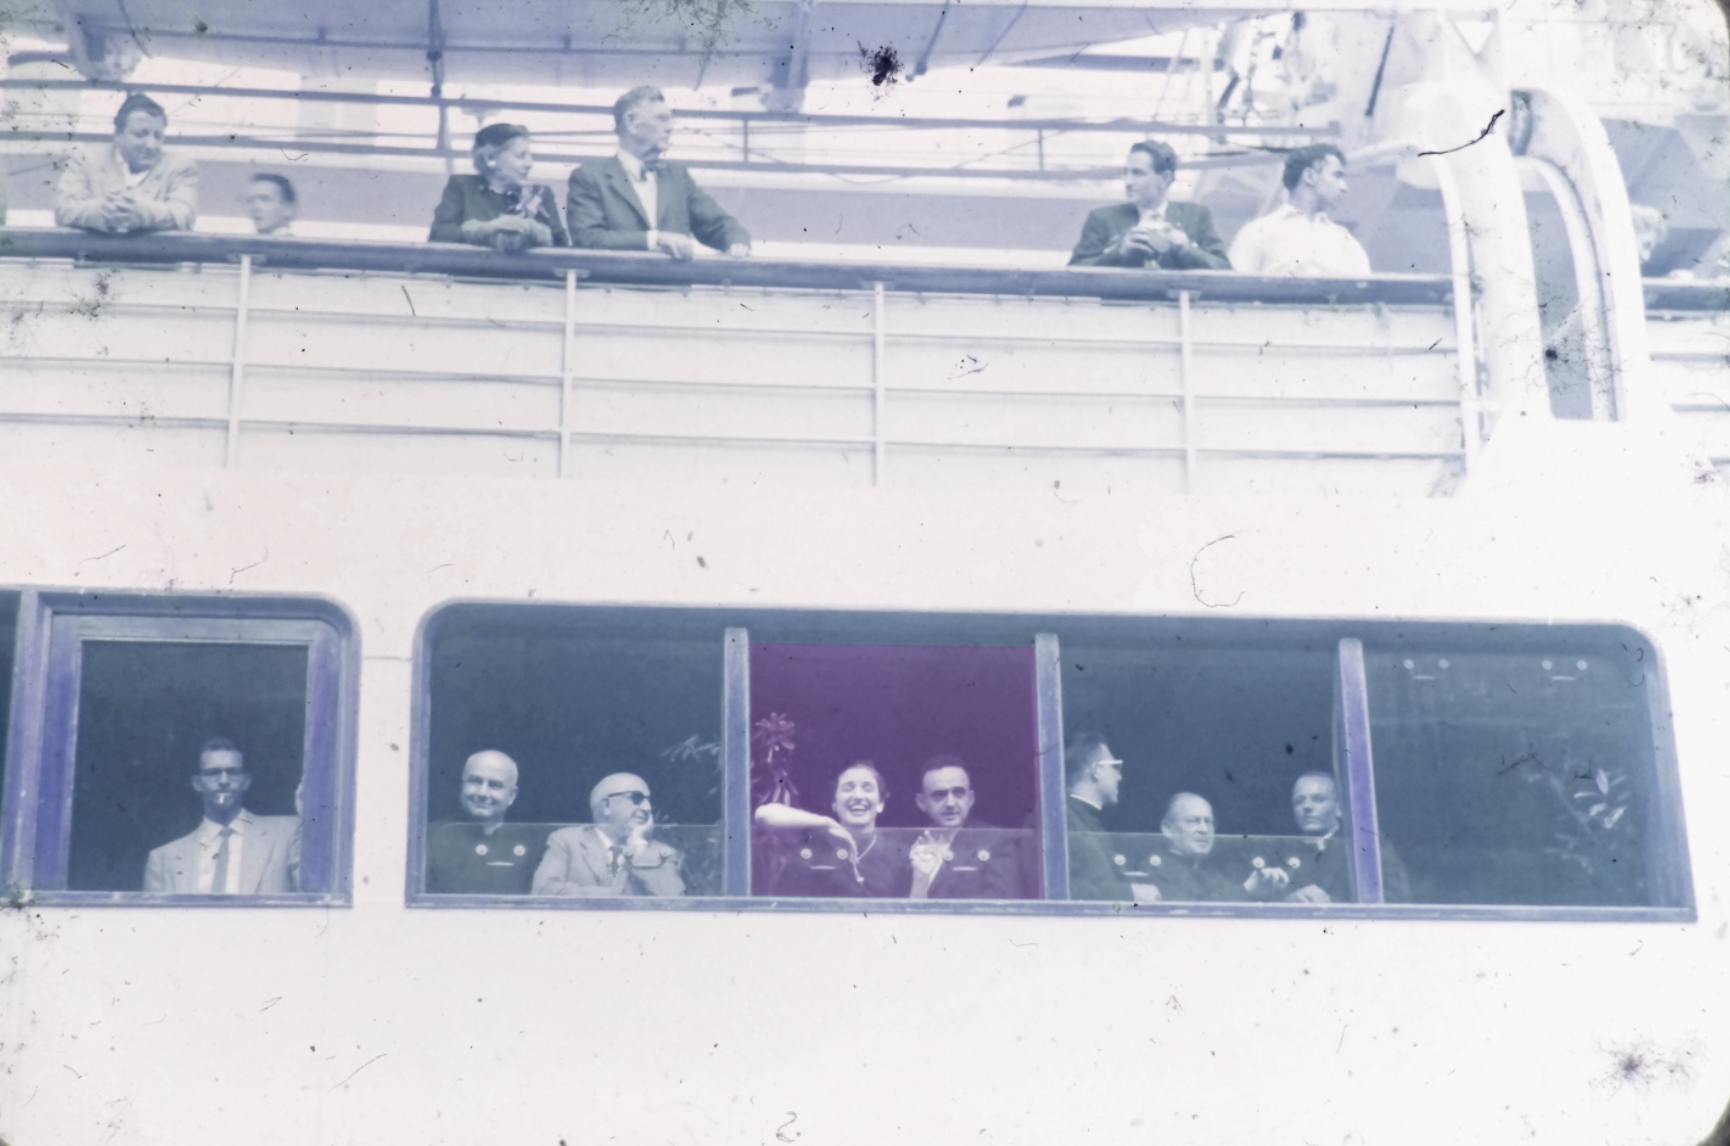
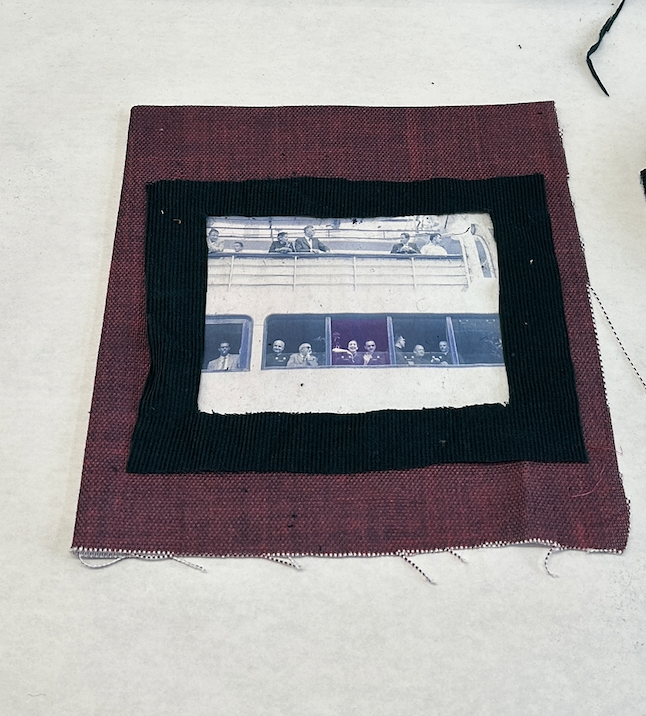
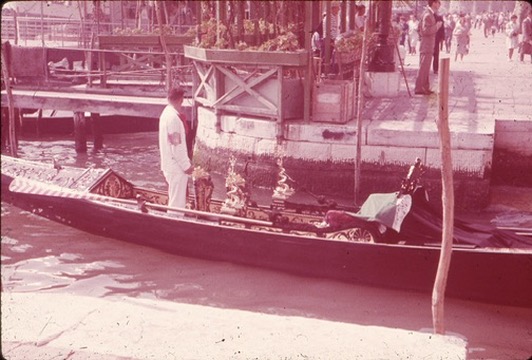
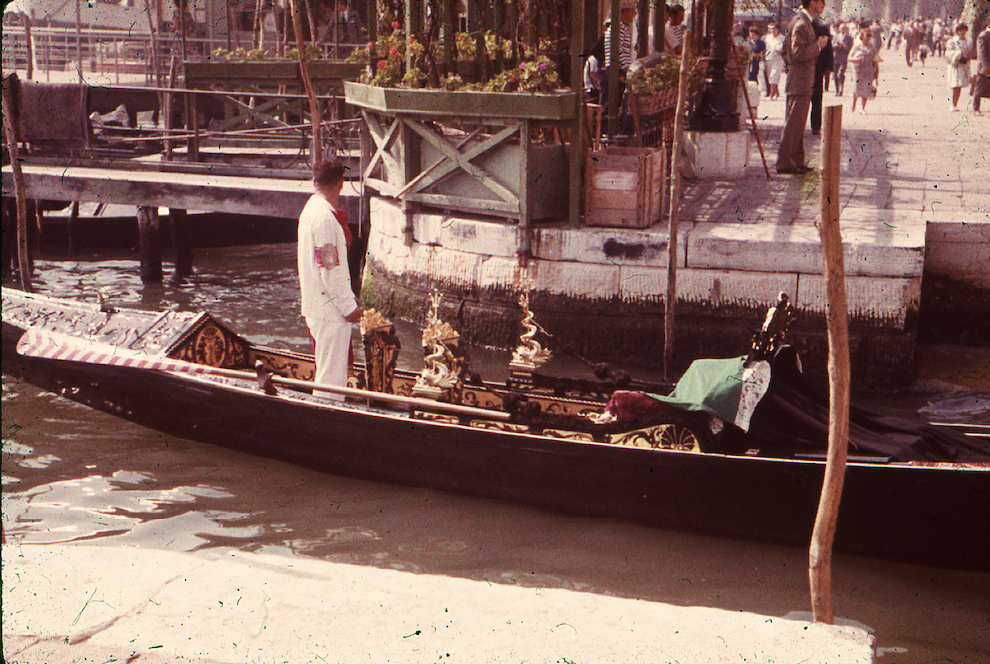
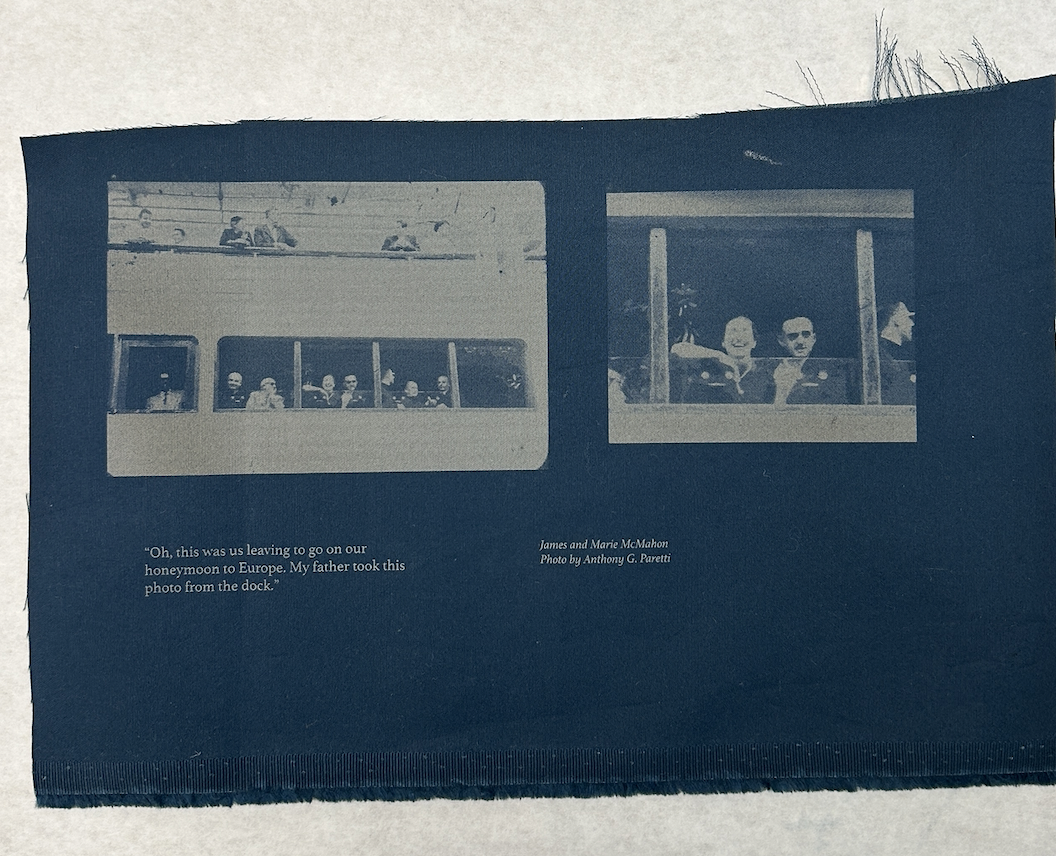
- Honeymoon boat photo: I was going to engrave this on fabric but the Image Trace options all came out weird. I adjusted the tint to make it more in line with the color scheme, printed it on regular paper, glued it down and glued a corduroy “frame”. Might return to this one later.
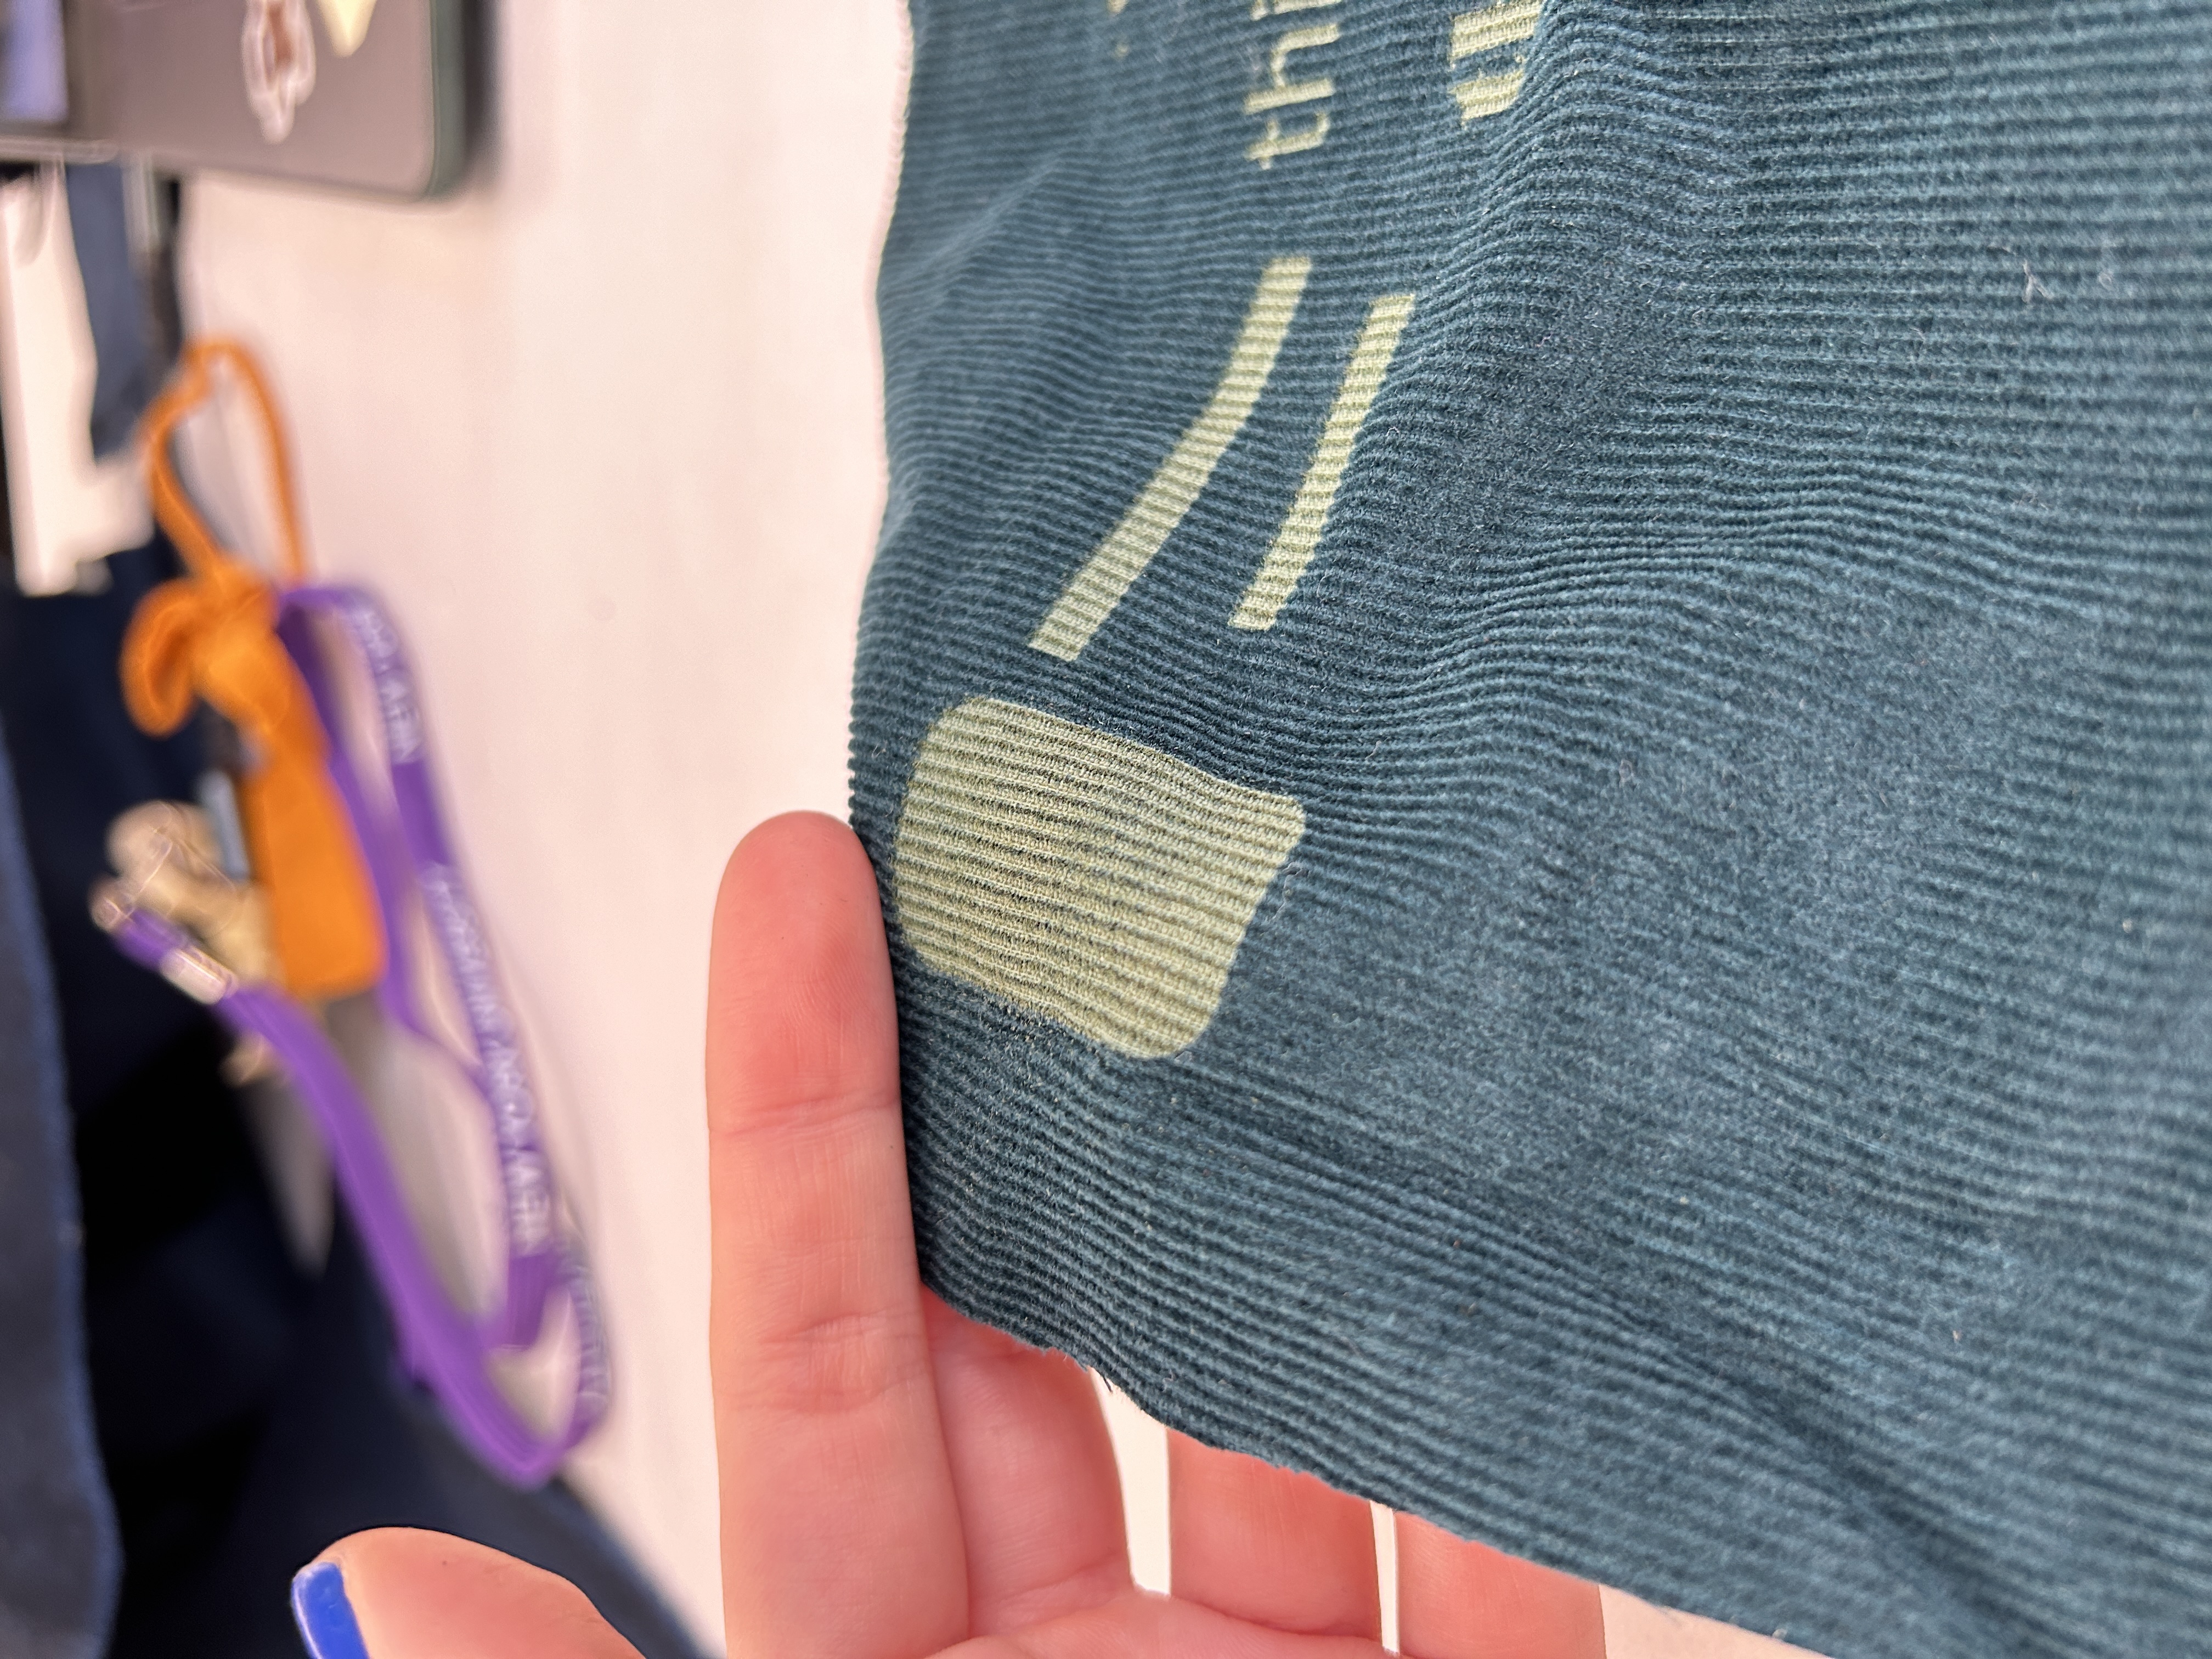
- Lobby plaque: I tested out engraving on corduroy and it turned out really well! I used my regular 90s / 20p settings and it took off the top layer of fuzz. I engraved the lobby plaque and put it on a square. Might return to this one too. We’ll see.
- Started thinking more about the interaction - the more I work on this the more I realize how much work just finishing the tiles will be - without the electronic parts. I think I am going to keep that stuff simple - I still like the token idea so I played with magnets and lasercut cardboard tokens. I think that could be a fun interaction, especially if I make patches that look like the tokens. I have that training next week so we’ll see.


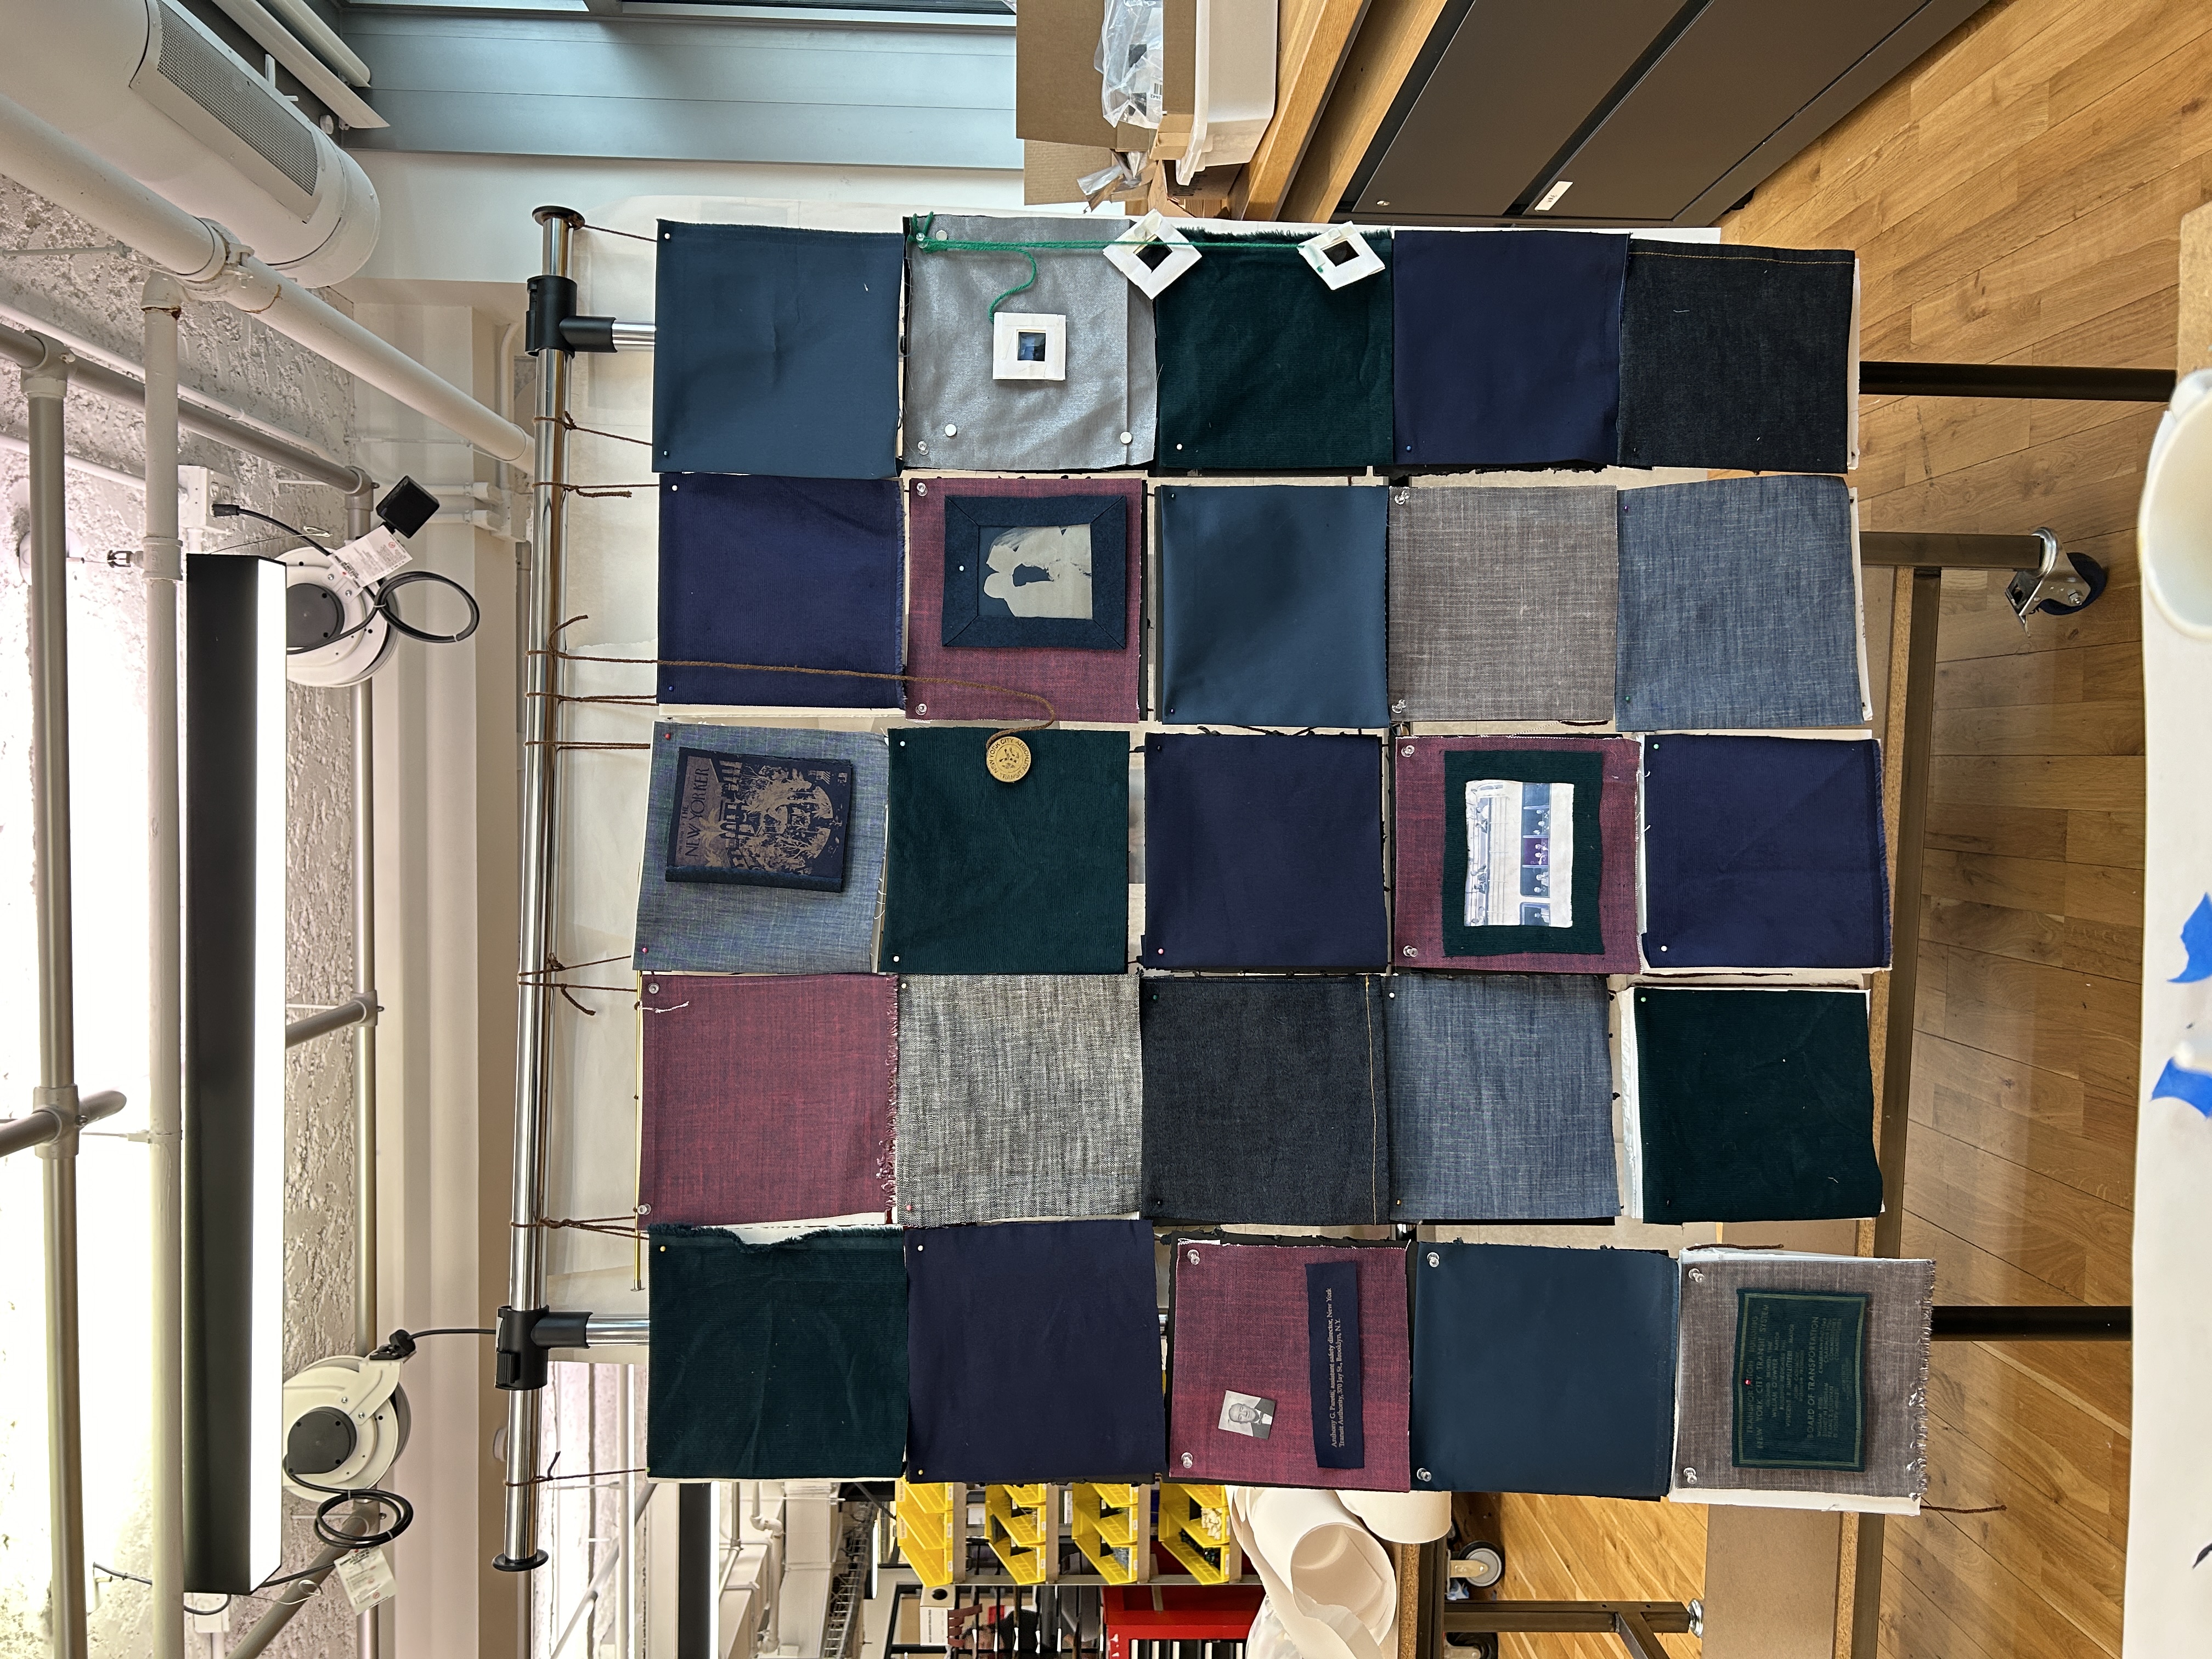
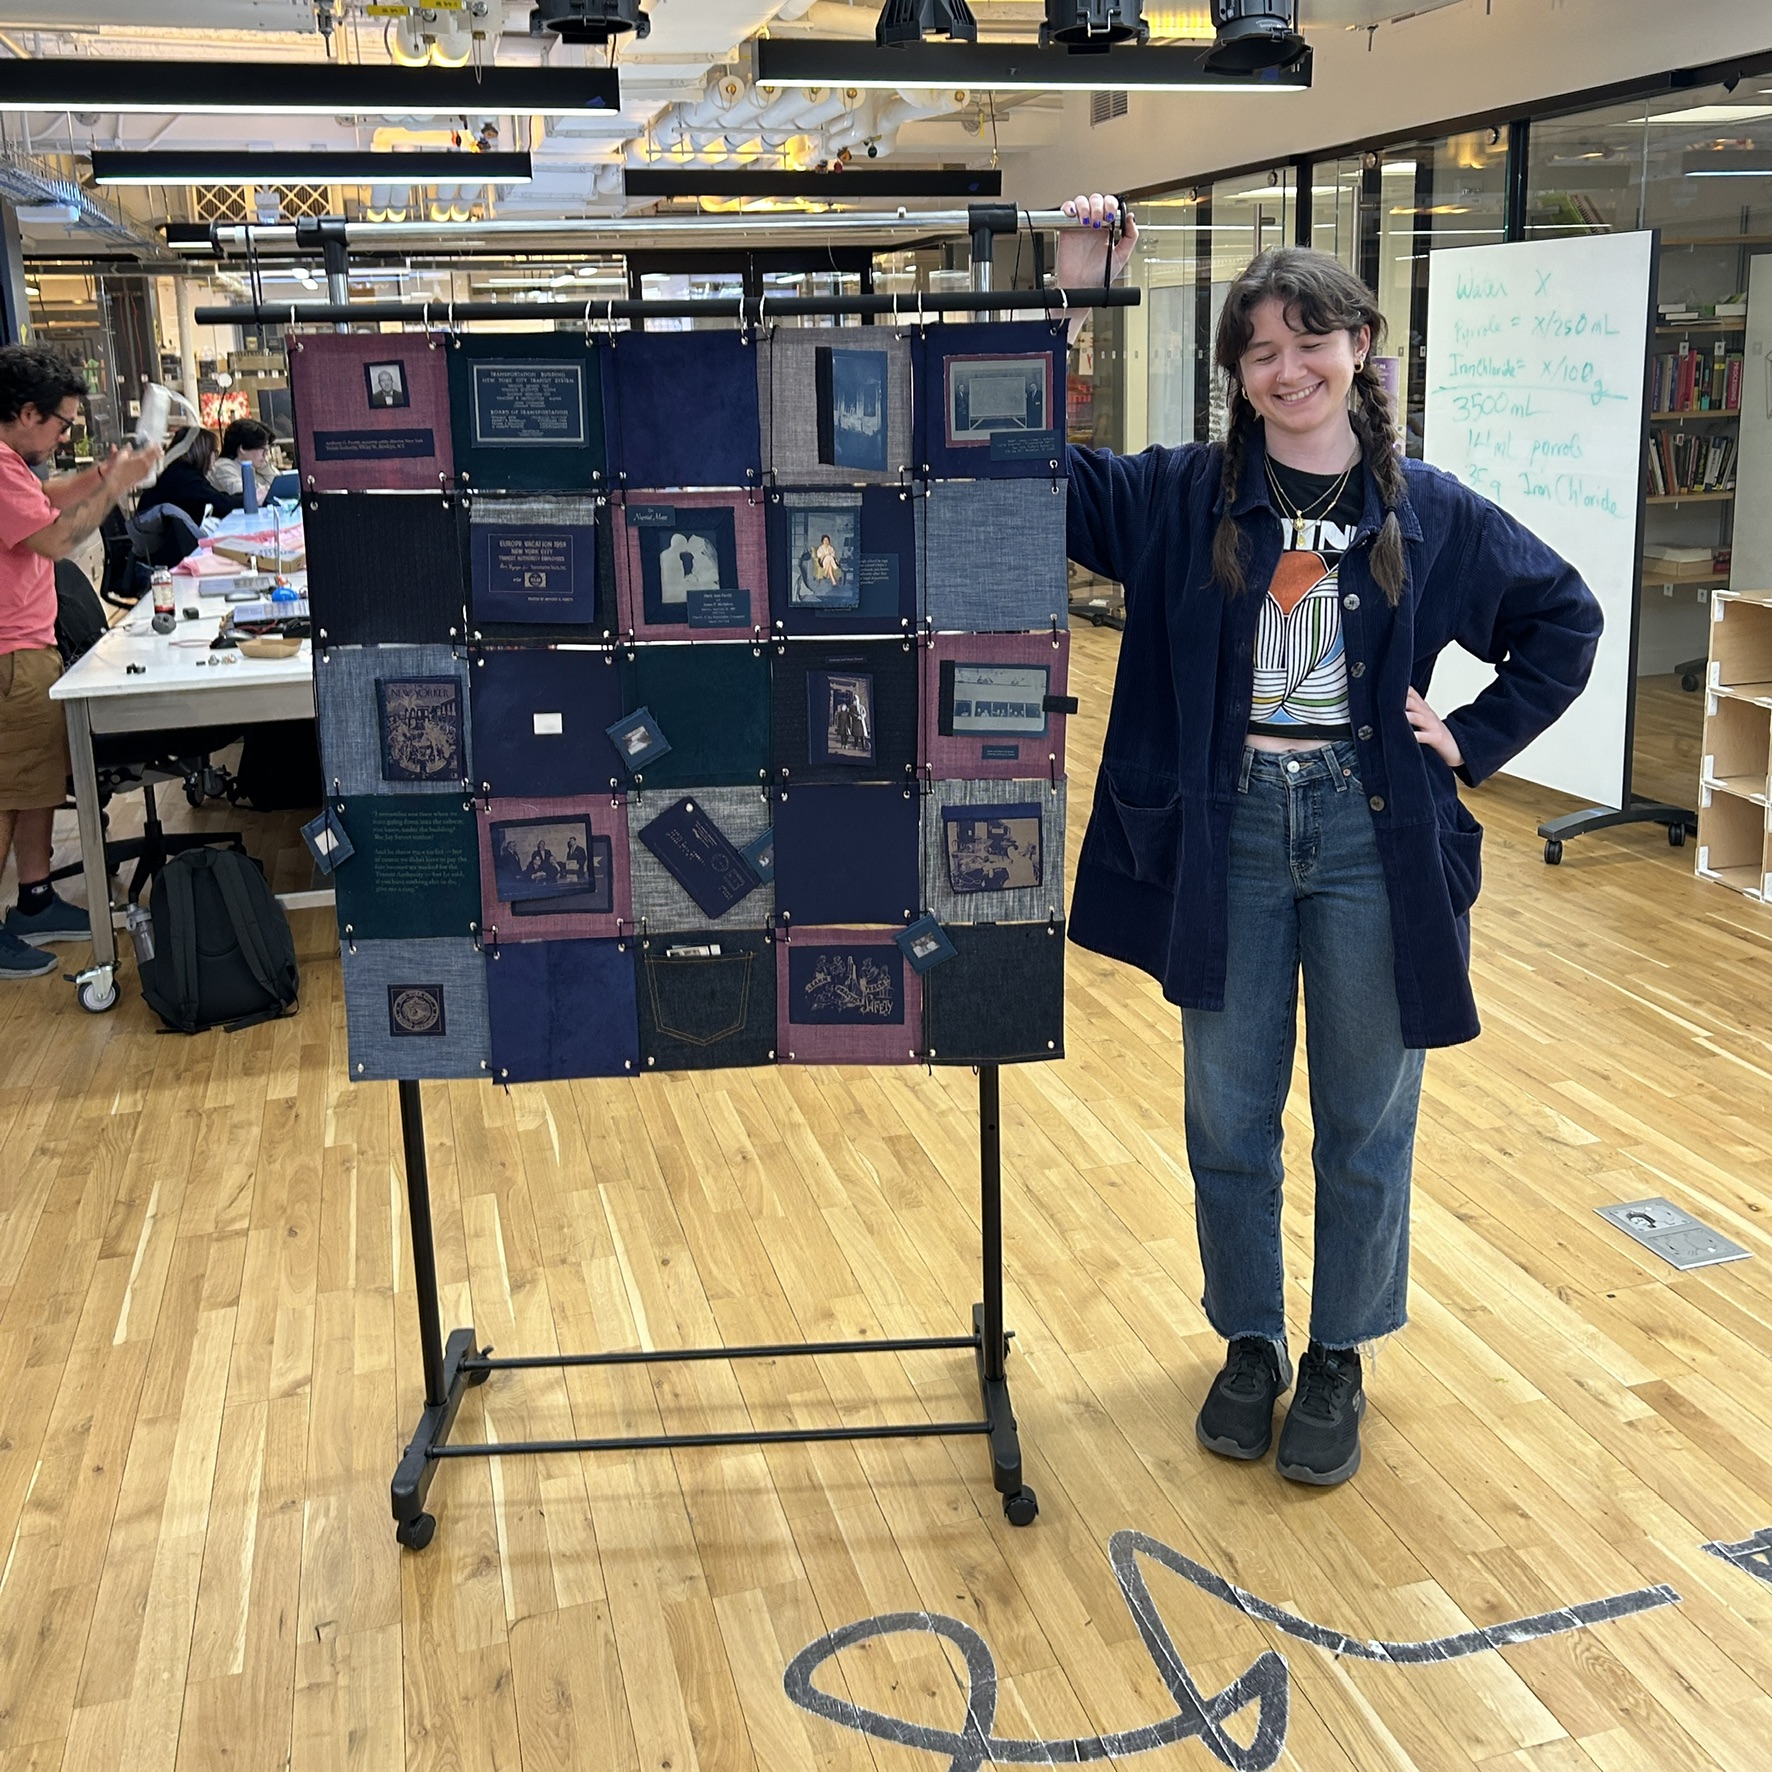
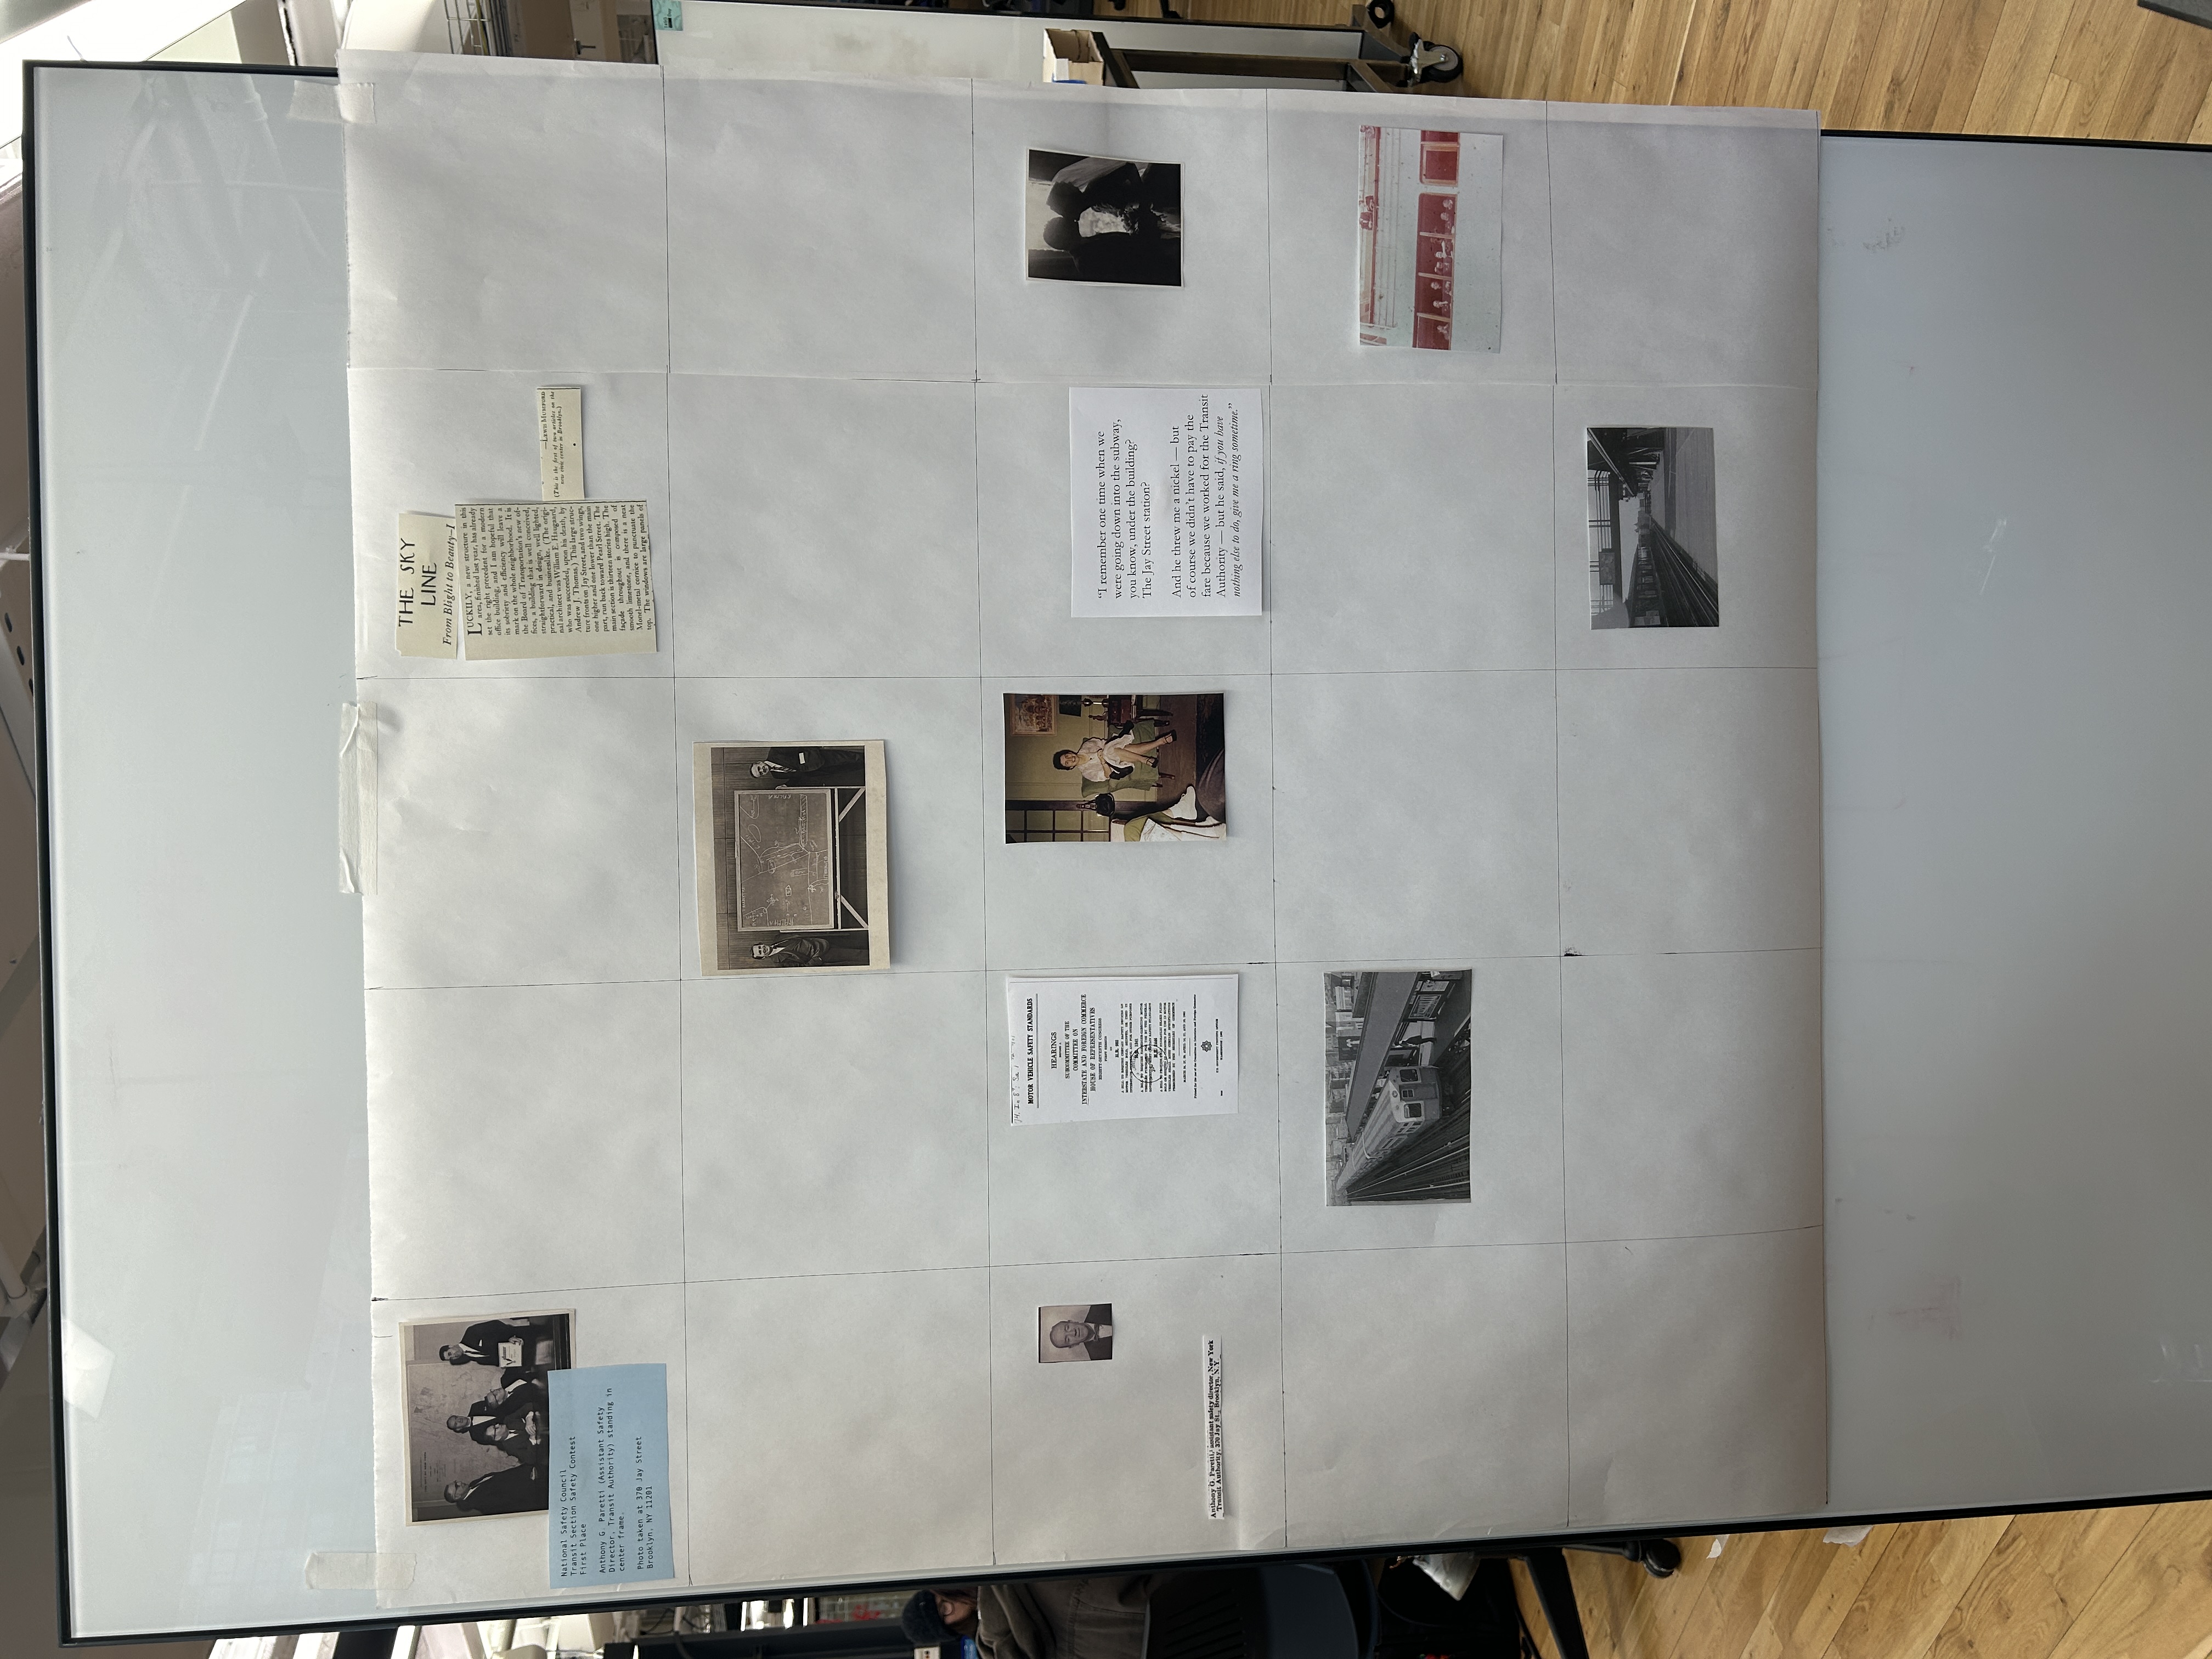
Squares assembled so far:


Day 38 - March 20
- Found out NYC zip codes used to be one number
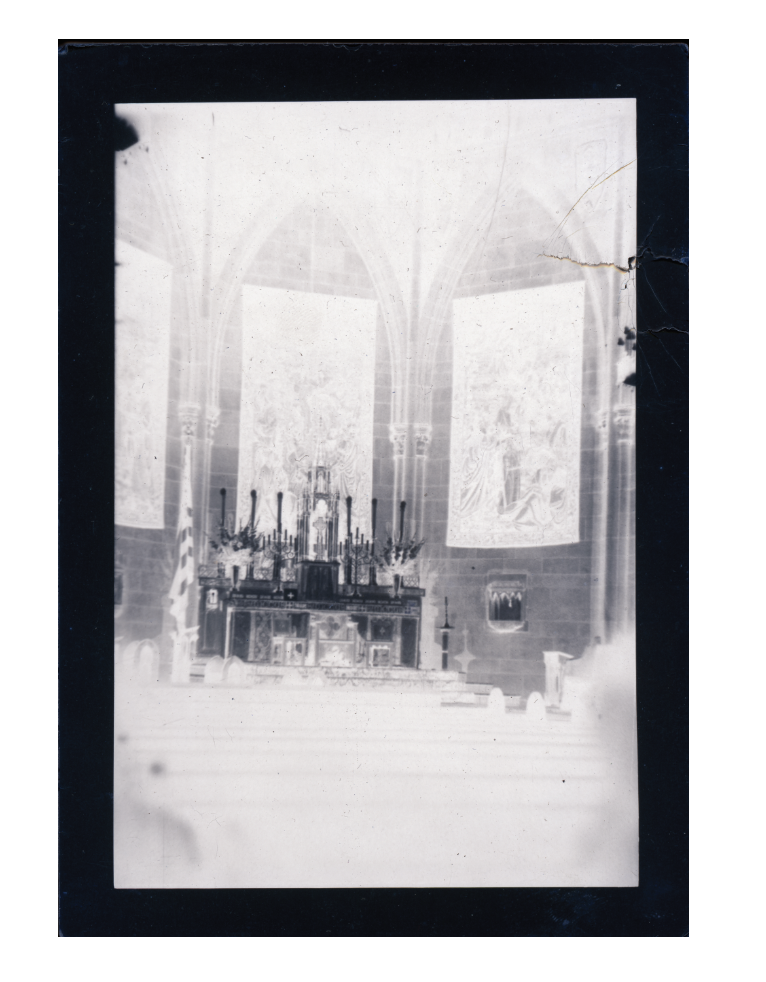
- Figured out a pretty solid workflow for engraving images. First, bring image in Photoshop and increase the contrast, then bring into Illustrator and invert the colors so the lightest parts of the image are engraved while the dark parts are not (so the color of the fabric is shown). Then, I have been using either the 3 color or 6 color Image Trace options, expanding, and editing some of the paths.
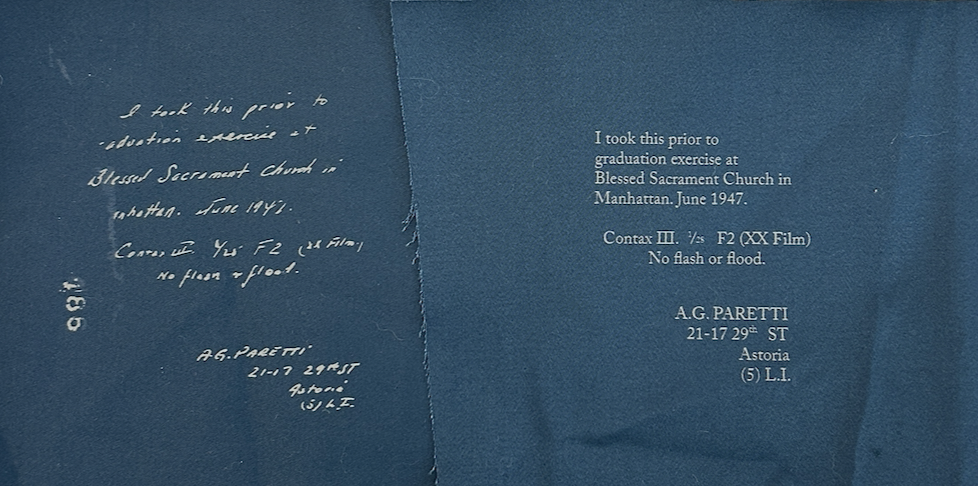
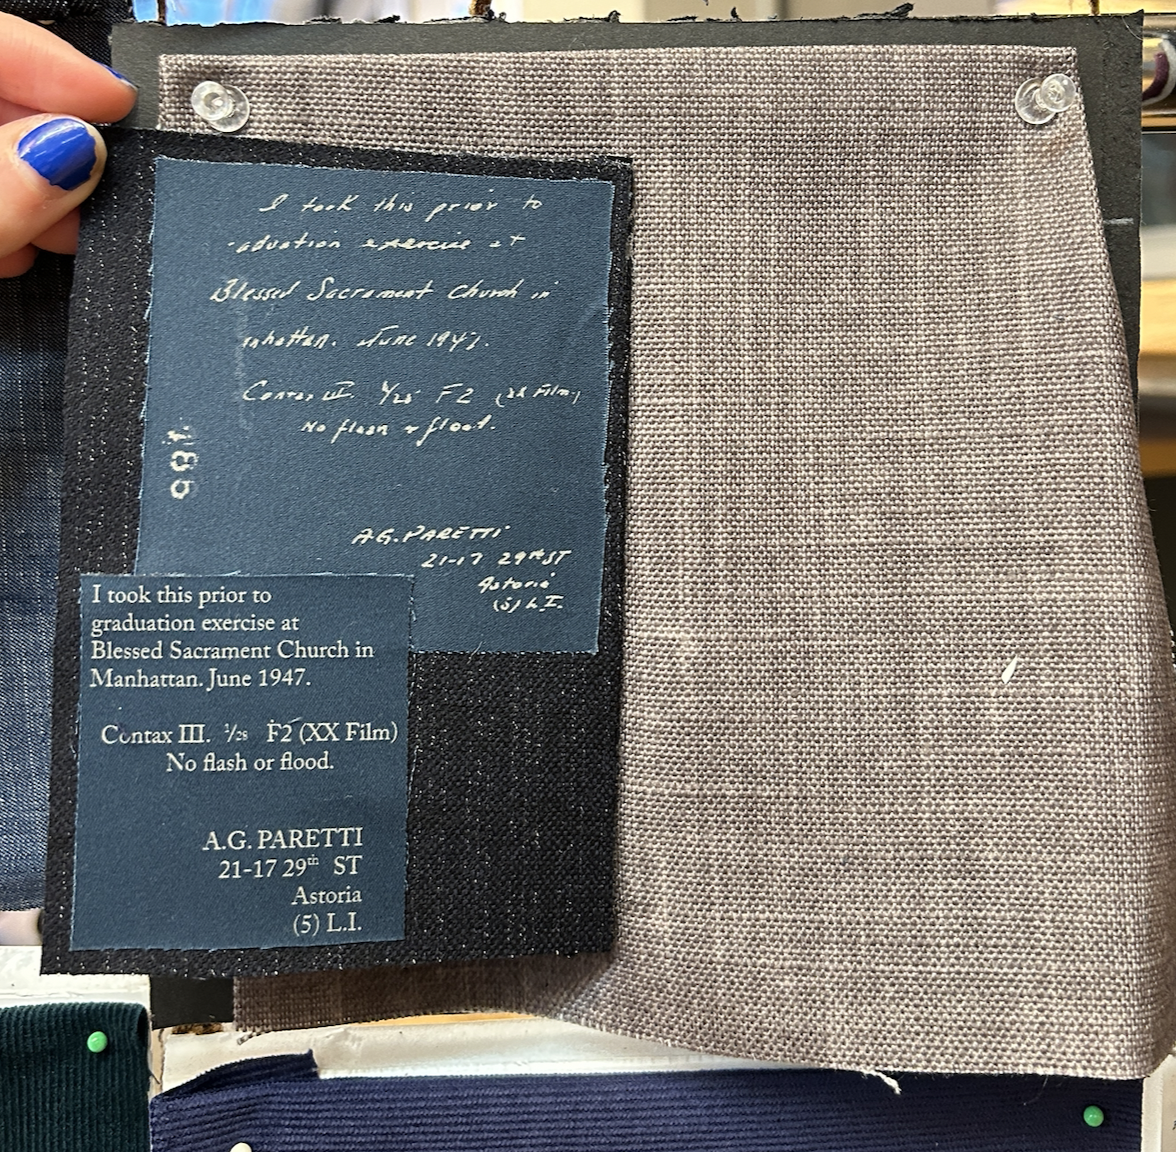
- I did this for the church image, and also for the handwriting on the back.
- Edited and engraved the safety sketchbook image. I didn’t increase the contrast enough on the first go on corduroy so it didn’t turn out so well. On try #2 I used the navy cotton fabric that engraves with a nice bronze color and it turned out well.
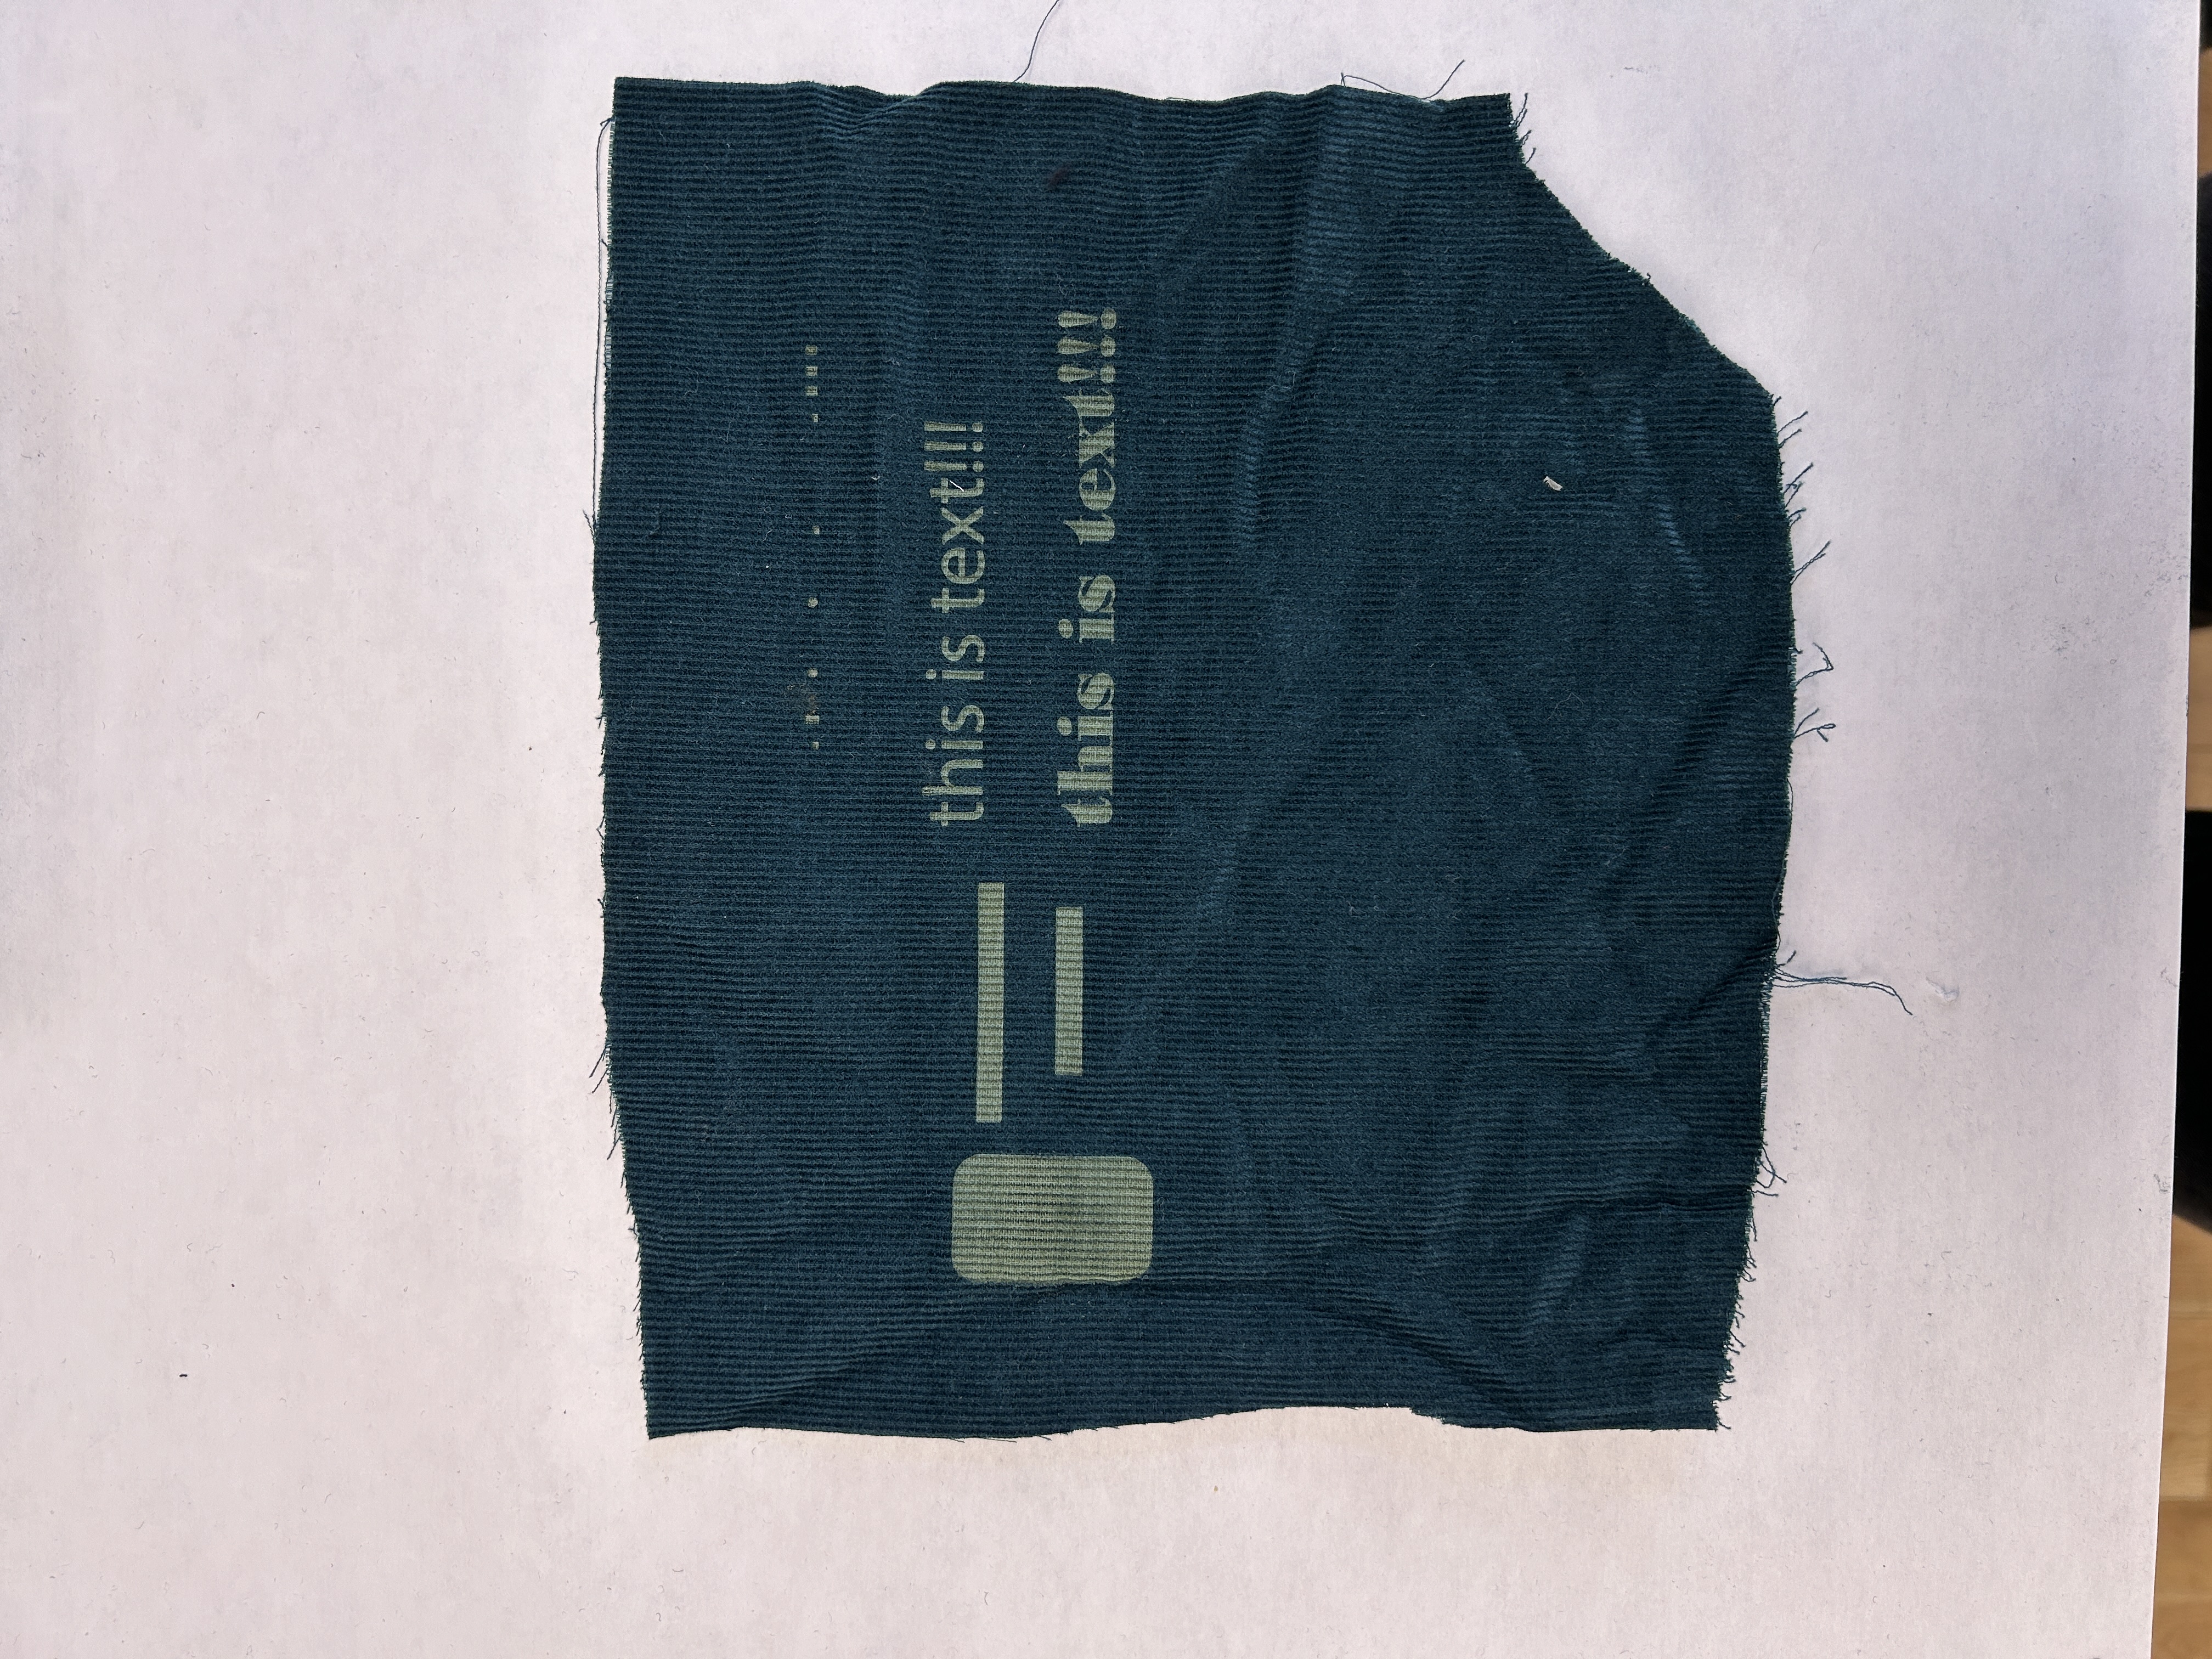
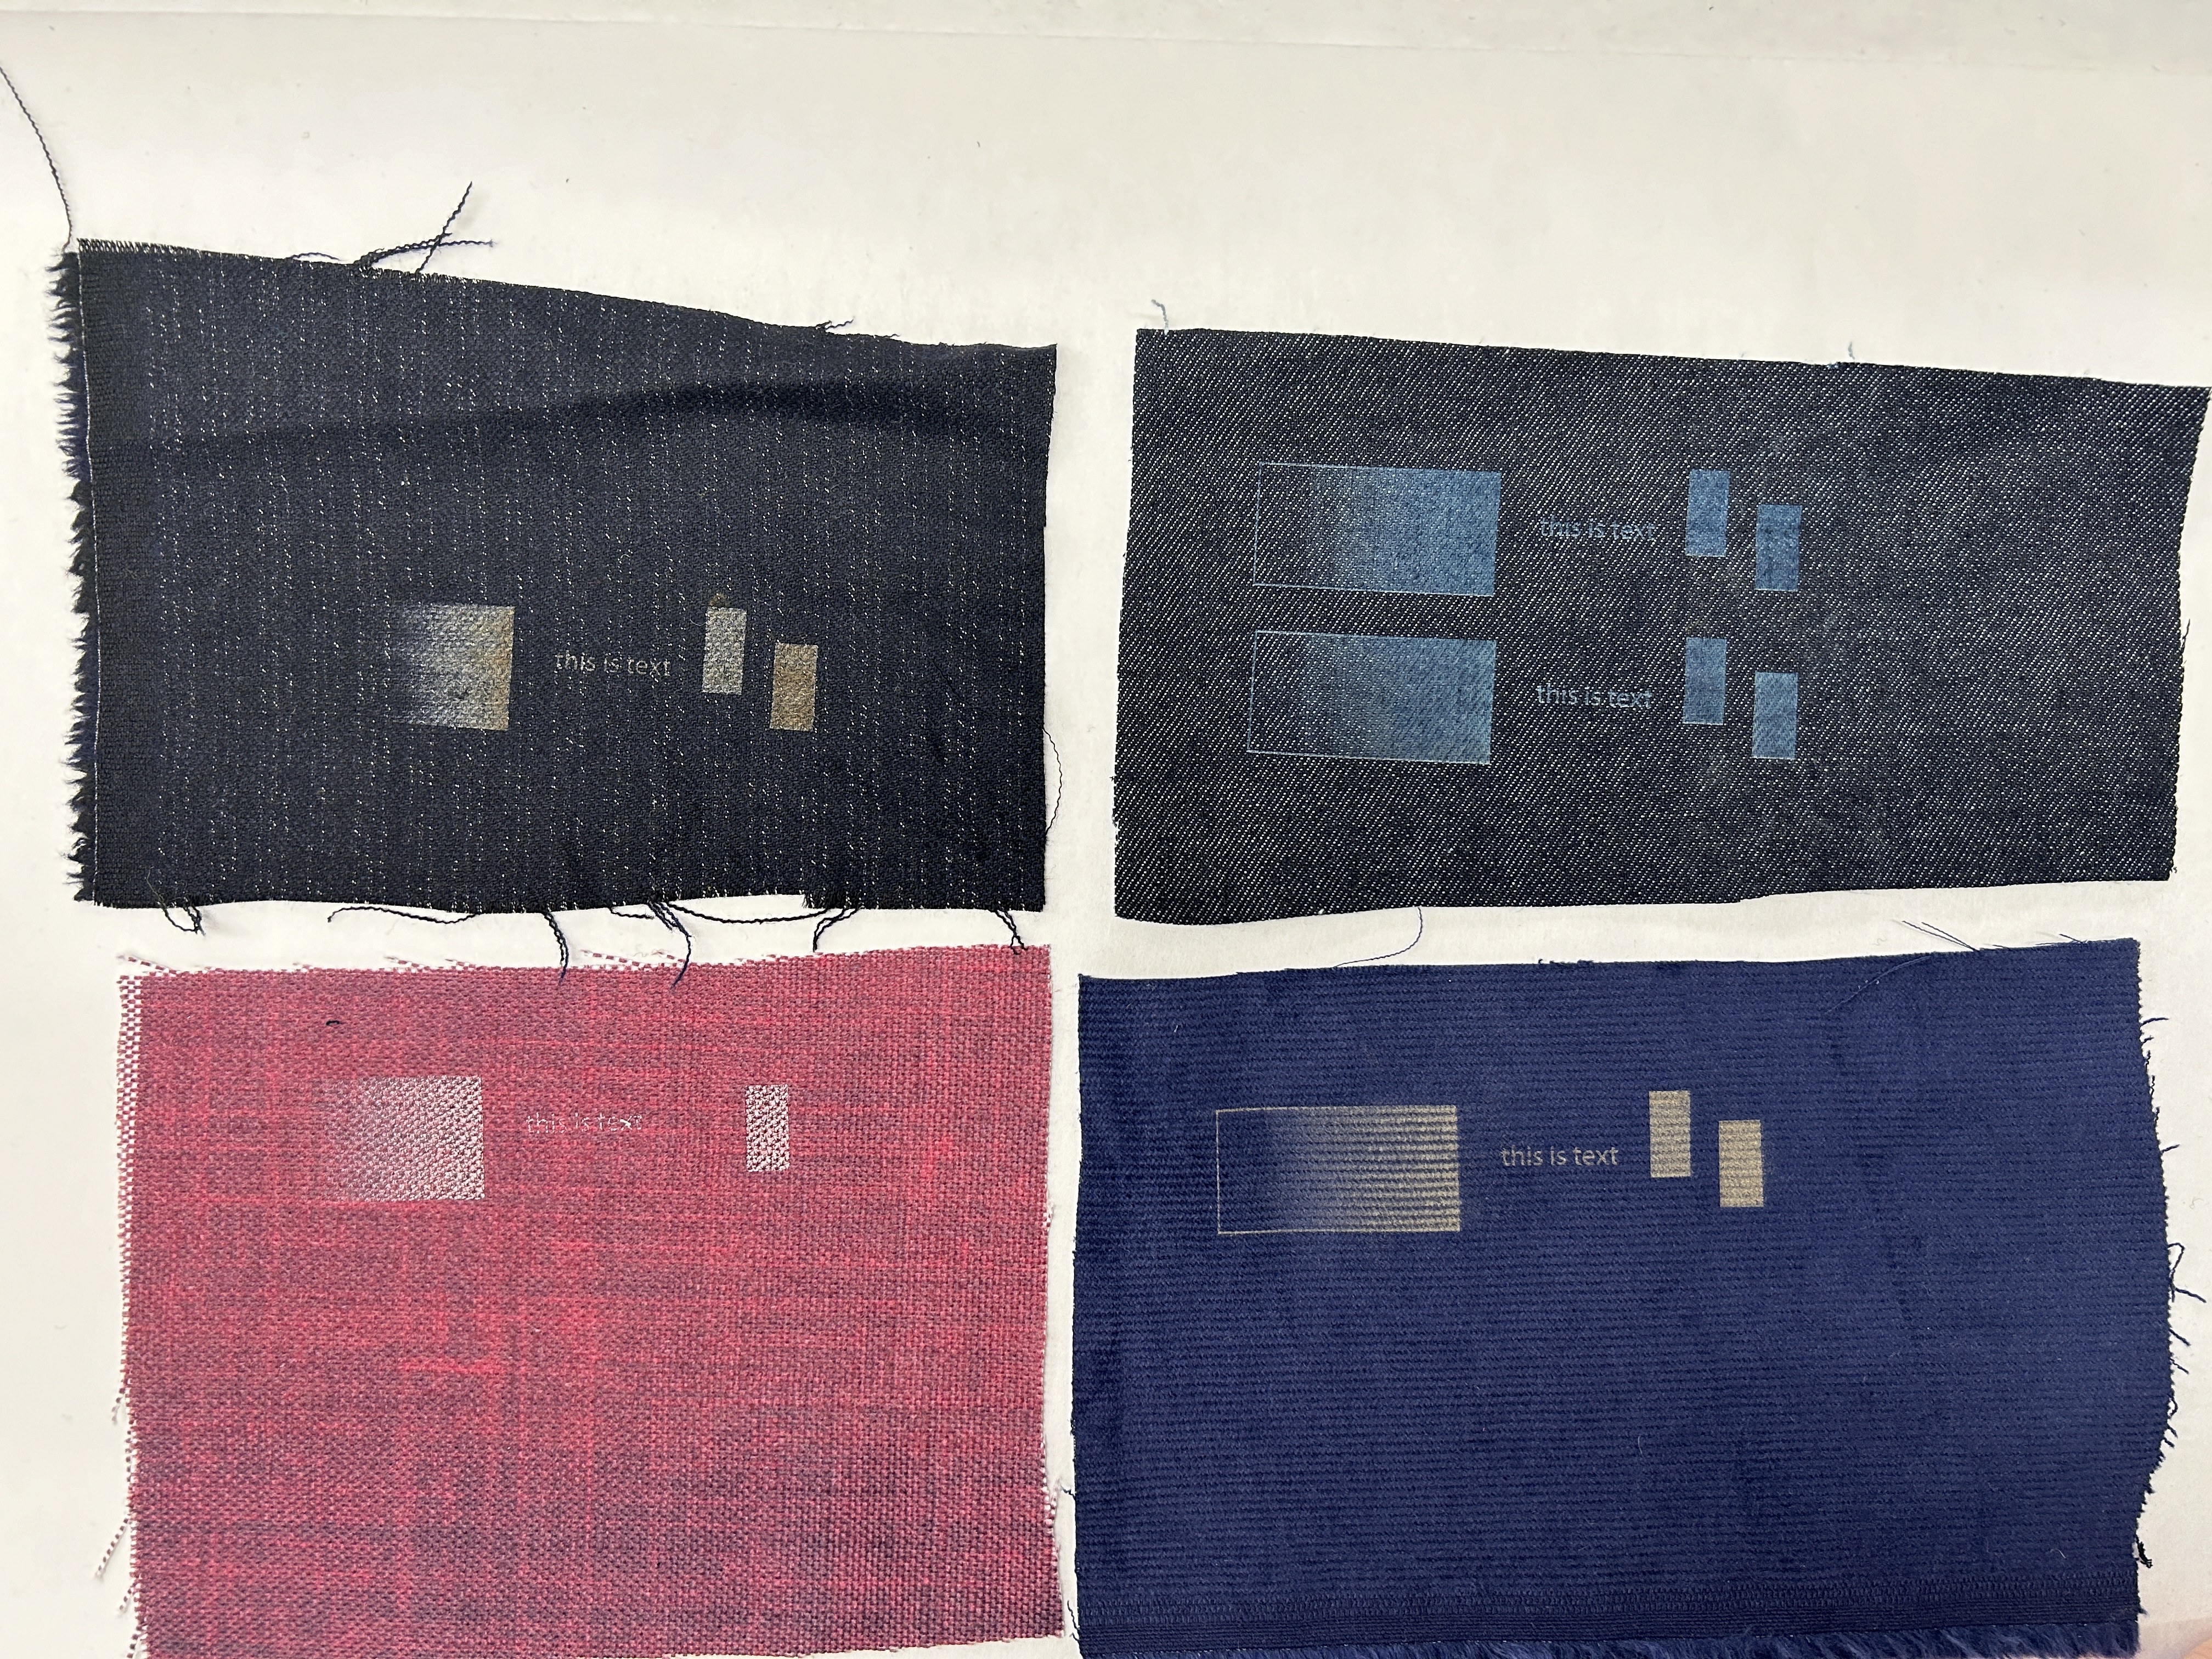
- I did some engraving tests on other fabrics I have. None of them turned out well for text, but can be used for patterns and possibly some images.


Day 39 - March 21
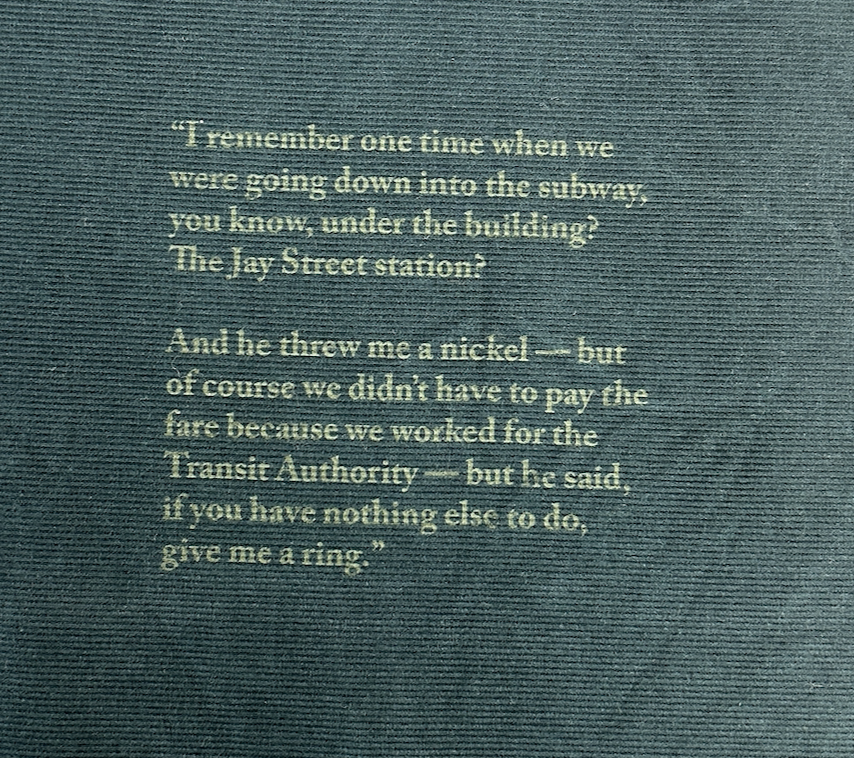
- Engraved Aunt Marie’s story about when Uncle Jimmy told her to call him.
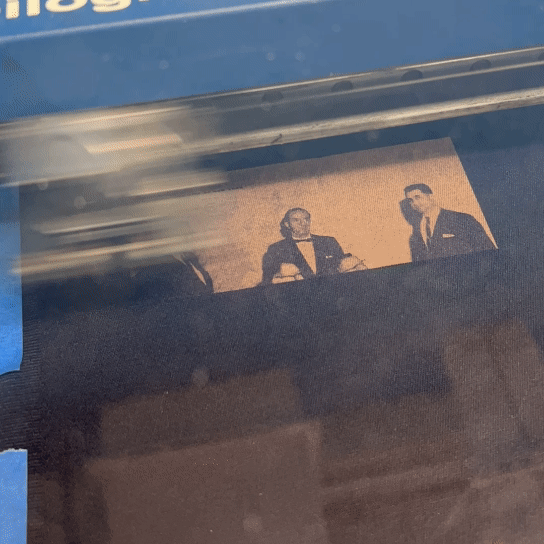
- Engraved the photo of Tony with the safety award. This one required a lot of editing in Illustrator.
Day 40 - March 22
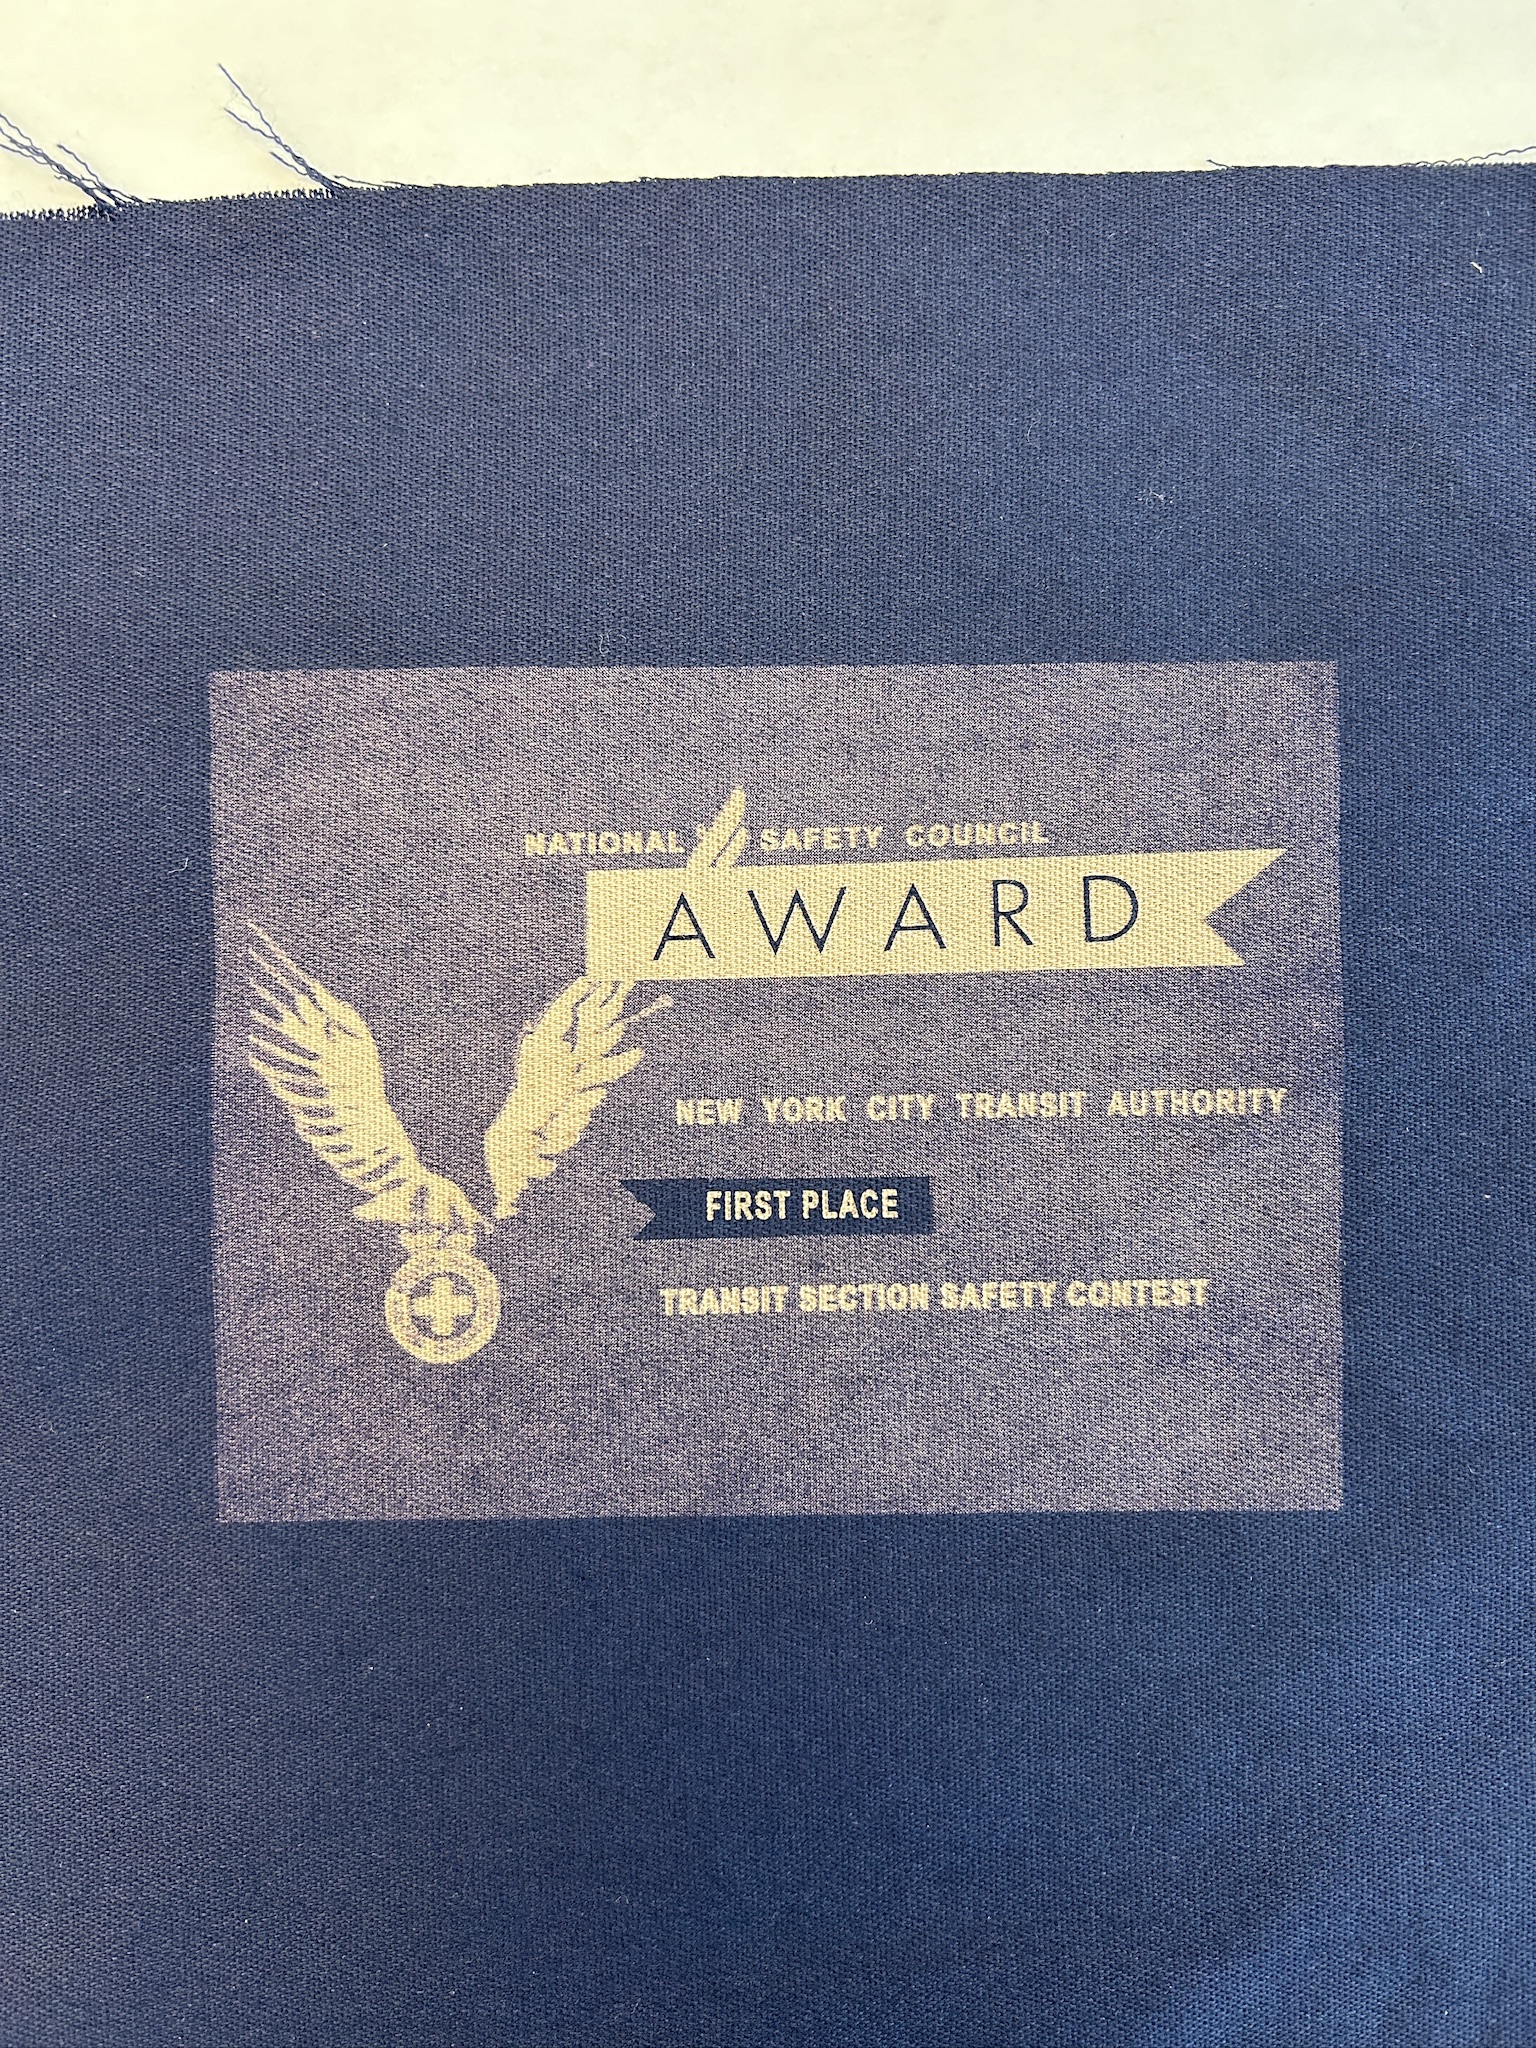
- I recreated the award from what I could decipher and also engraved that. I tried to get in touch with the National Safety Council to see what info they could give me about the award, but didn’t hear back.
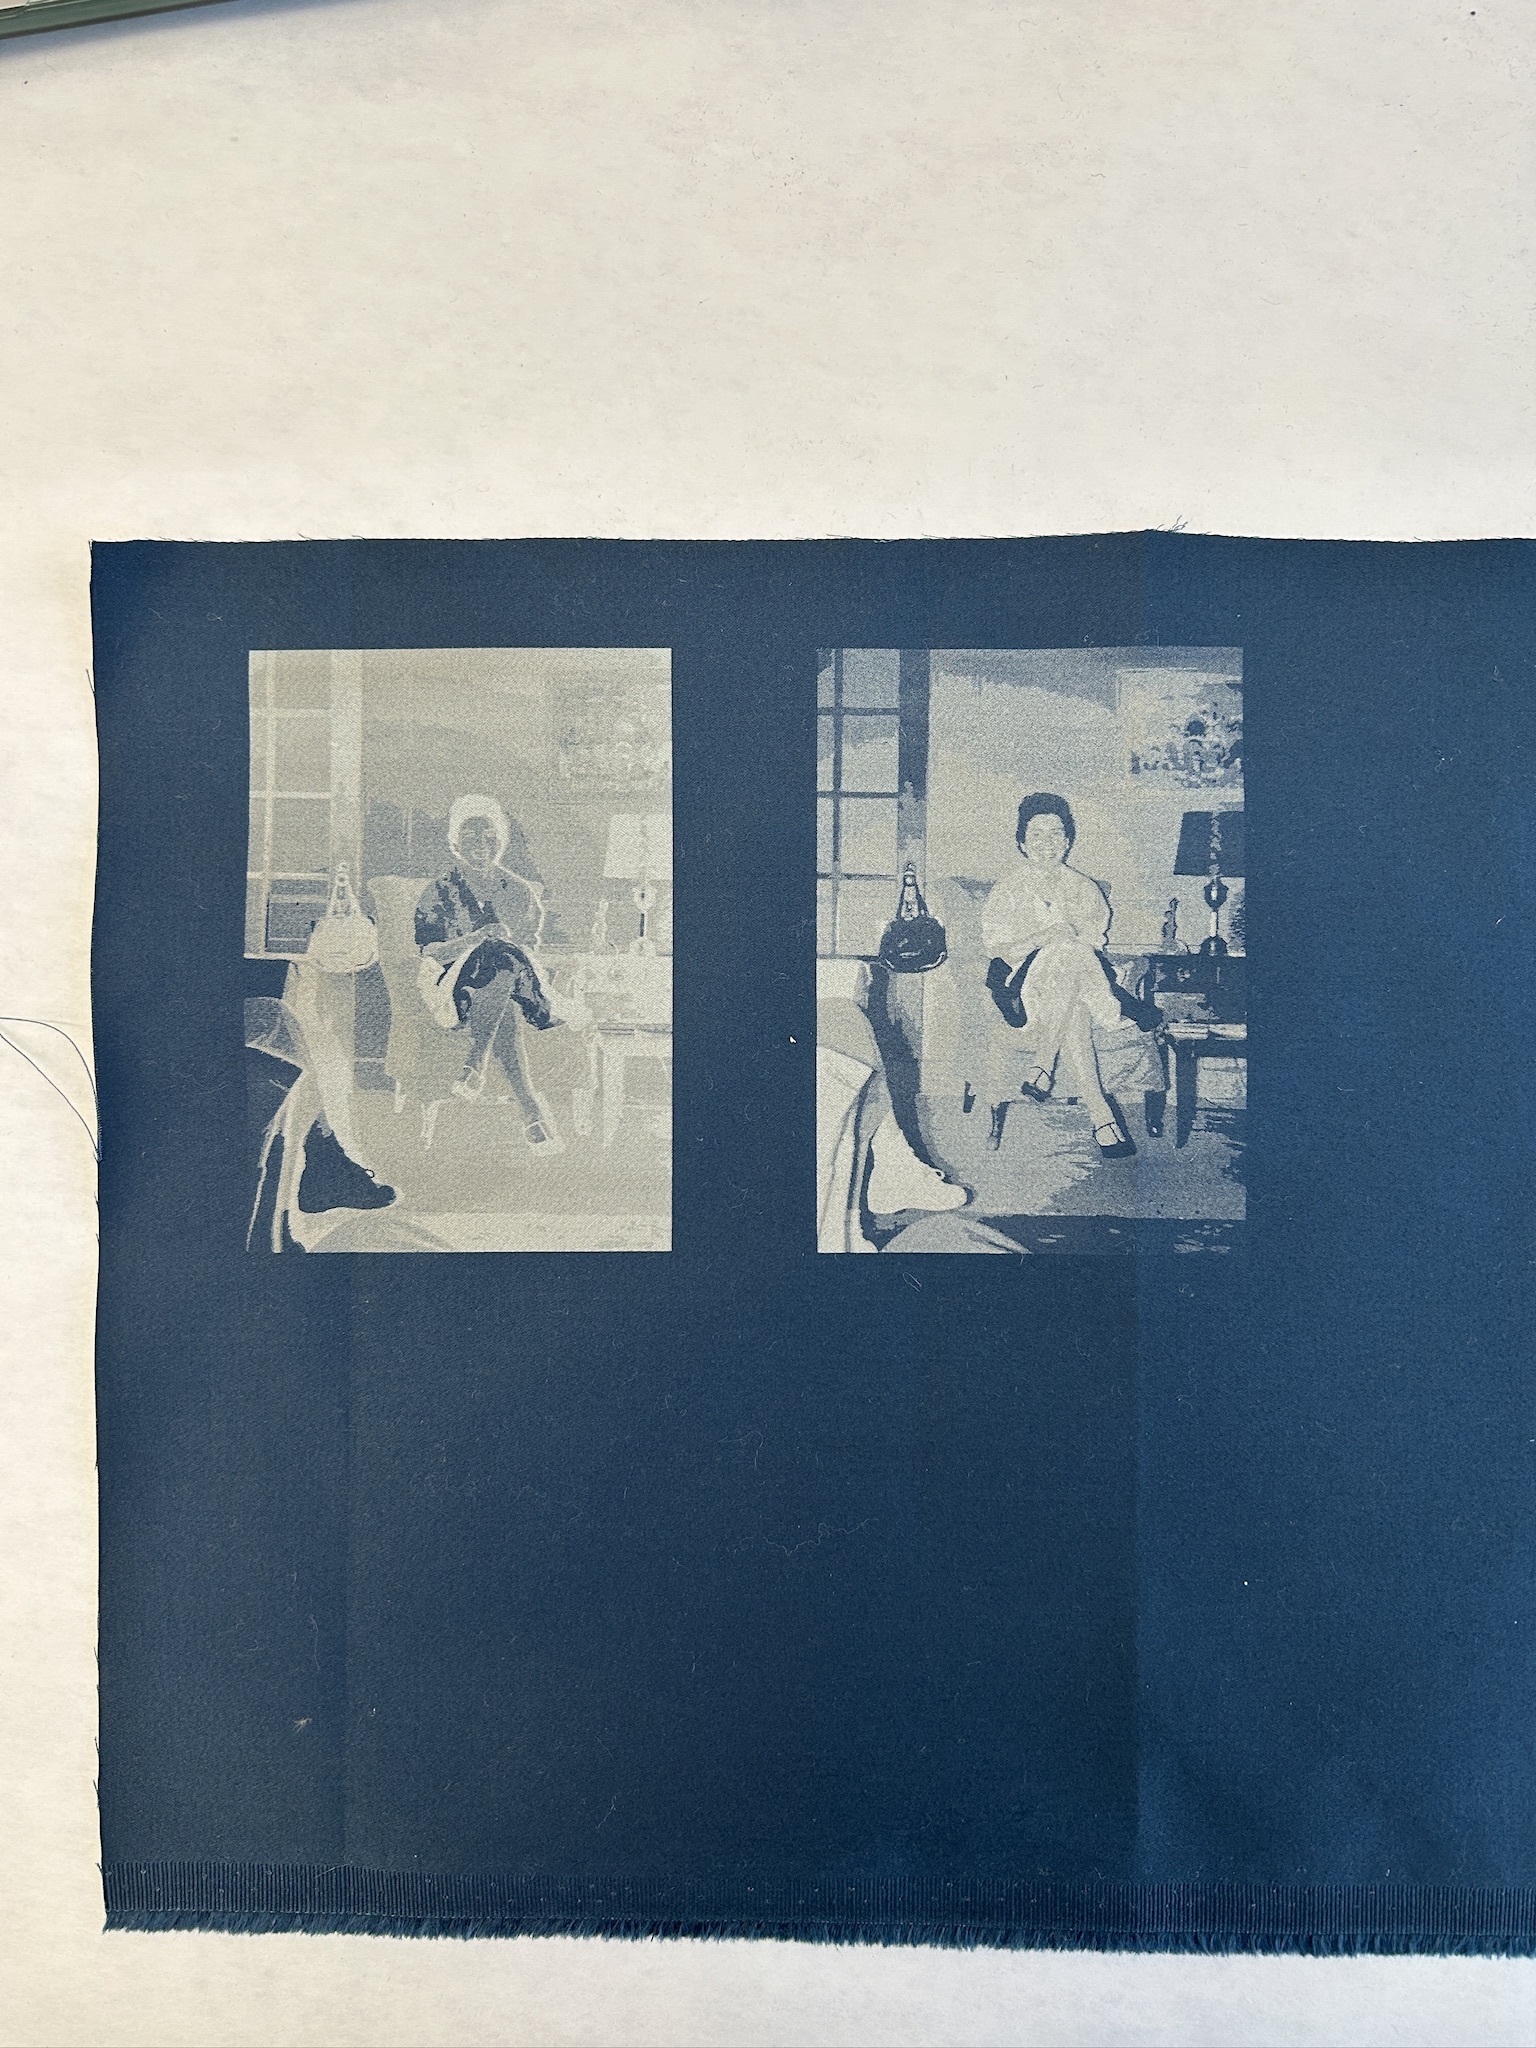
- Engraved the photo of Aunt Marie in the green chair. I tried two versions, one with the colors inverted and one without. The inverted colors one turned out better, but her face didn’t have as much contrast as I would have liked.
- My fusible interfacing arrived but it was just single sided :(

Day 41 - March 24
- I printed out the photo of Aunt Marie on regular paper and cut it out. I like the contrast of the fabric with the bright colors of the paper.
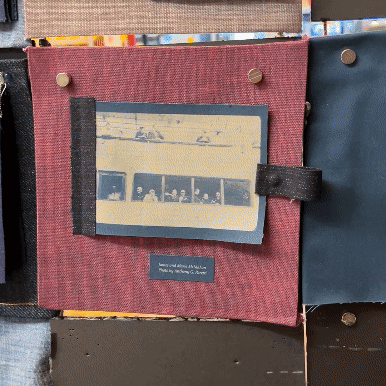
- Engraved the image of Uncle Jimmy at 370 Jay
- Made the square with the jean pocket - printed out recently scanned images and glued them to the felt fabric
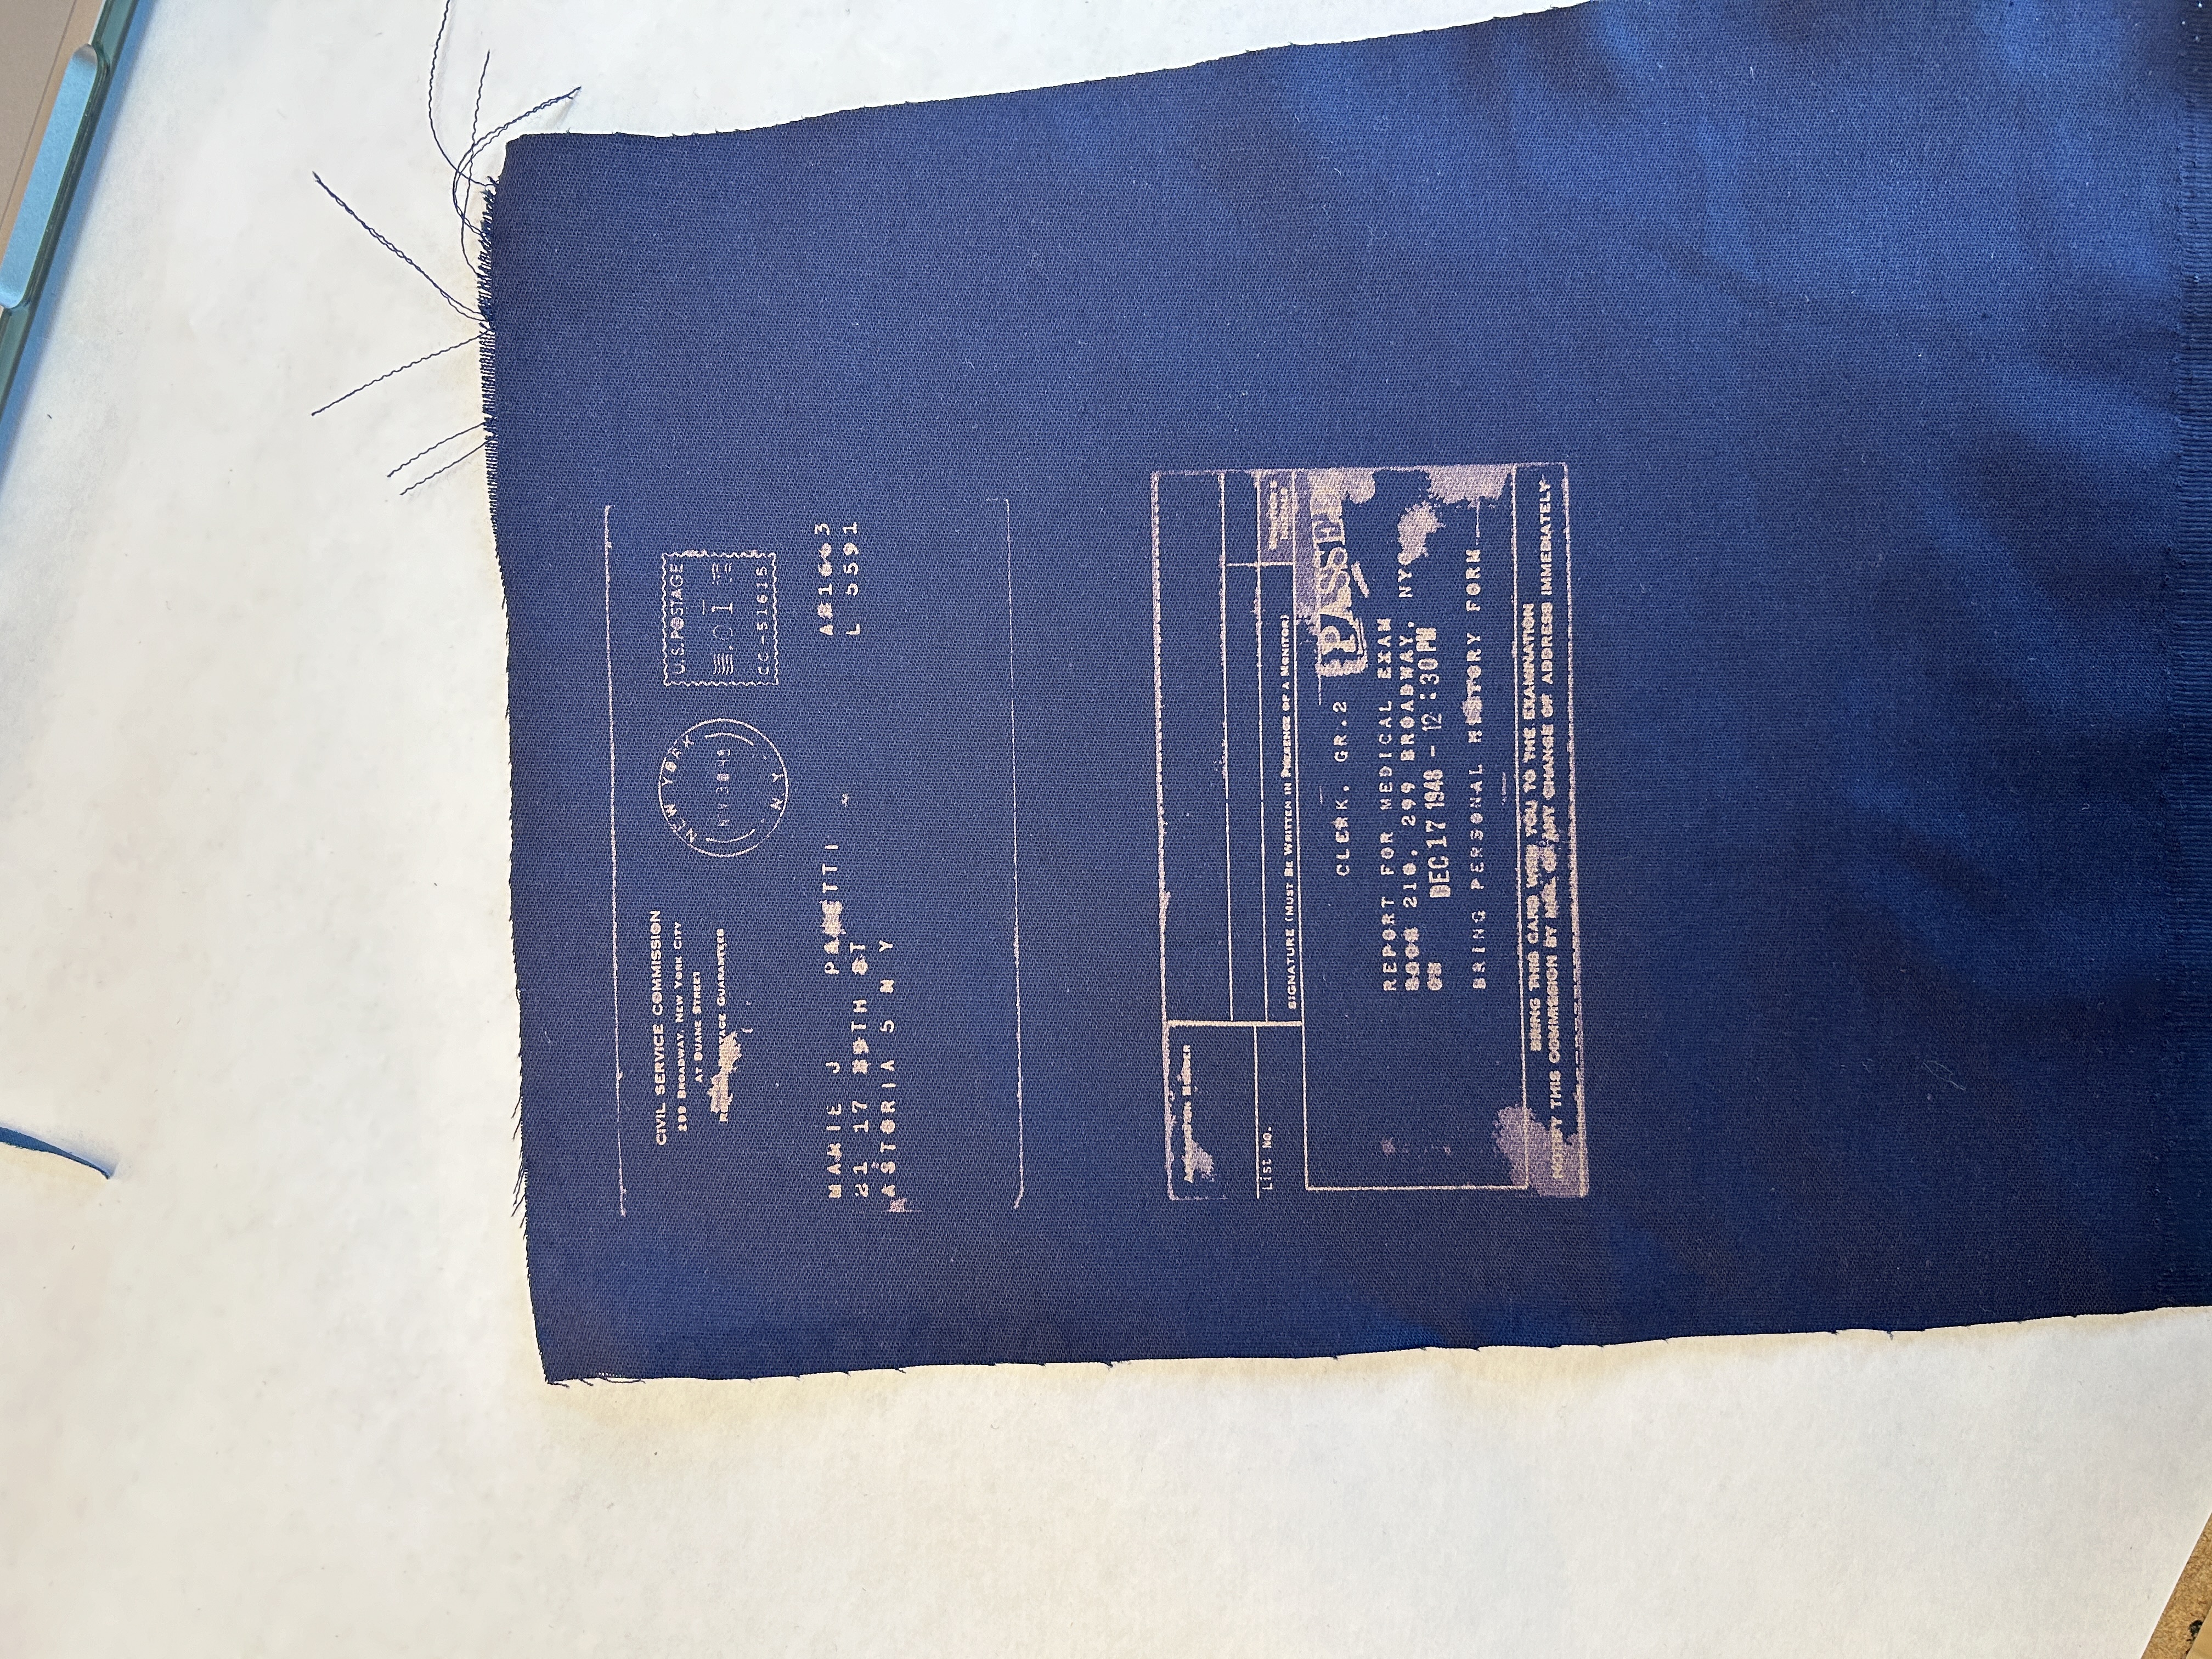
- Engraved Aunt Marie’s civil service physical certification card
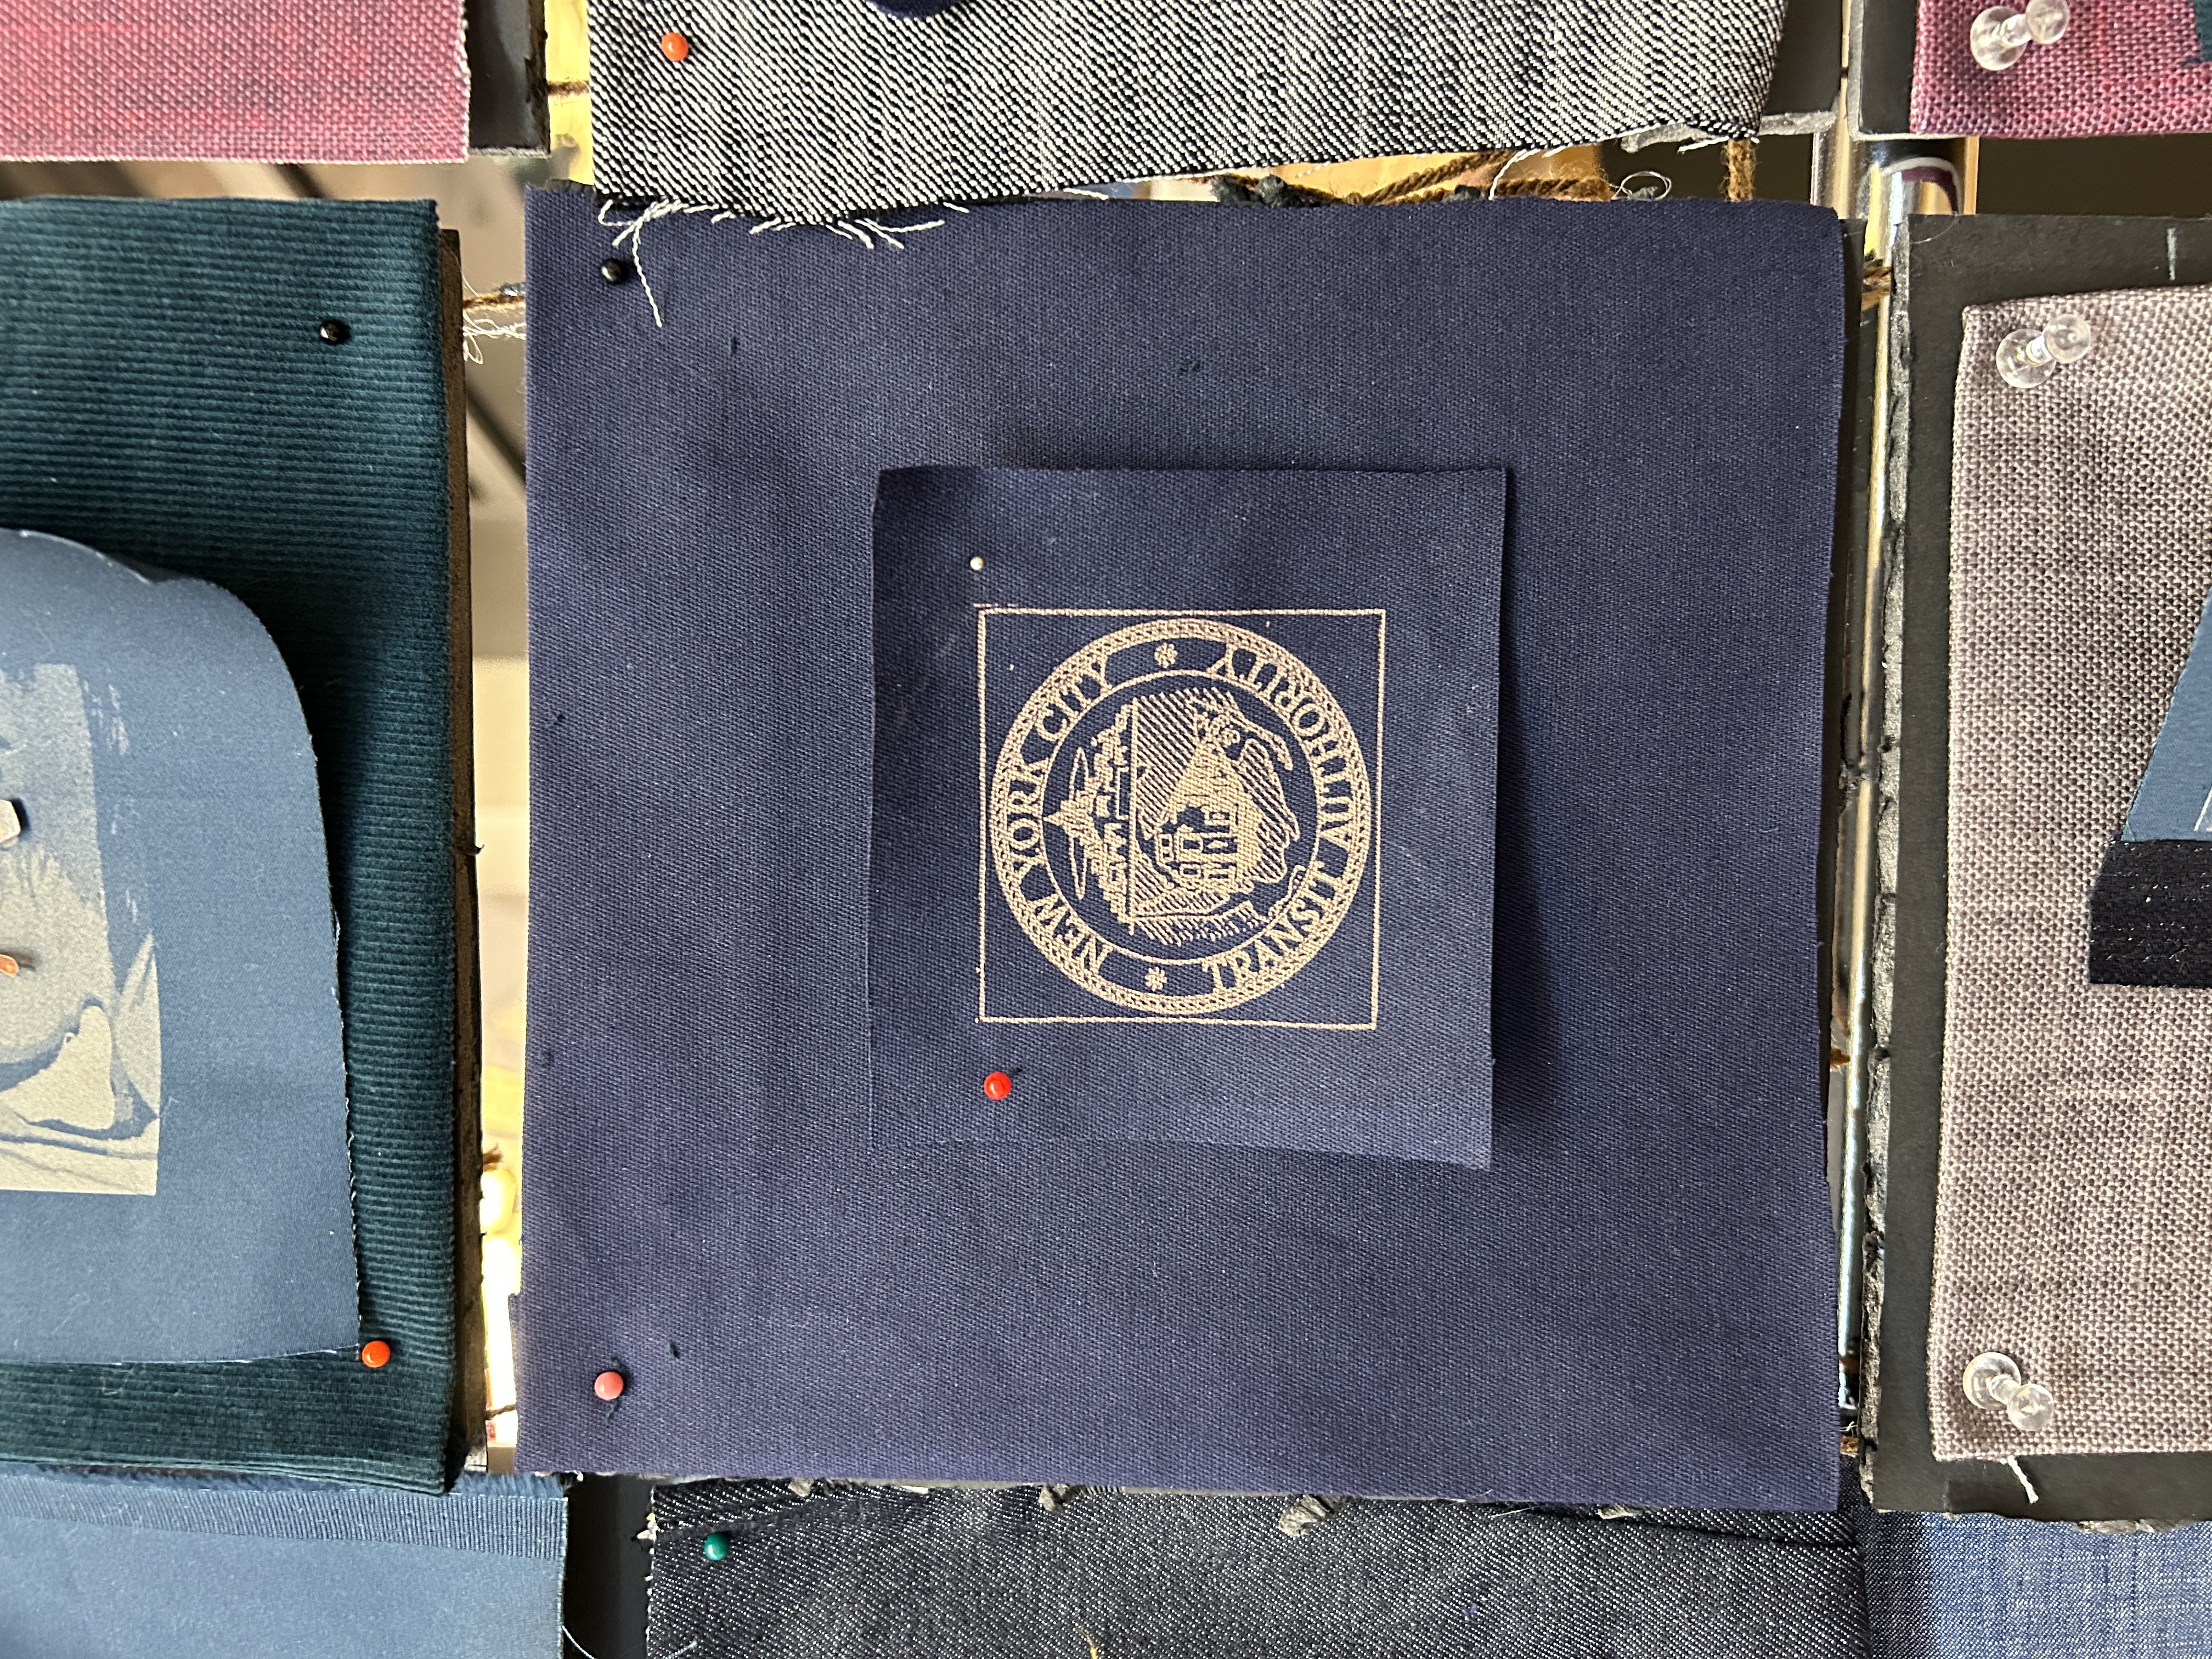
- Engraved the old transit authority logo
- Printed a new picture of Tony. The one I have been using has a hole in it from the pin


Day 42 - March 25
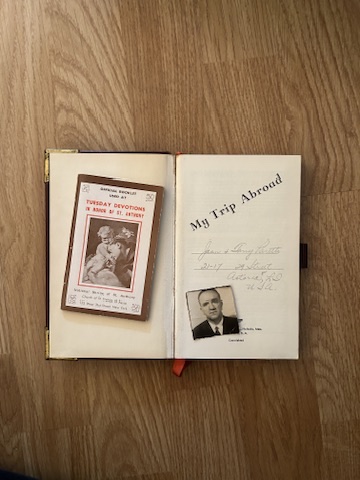
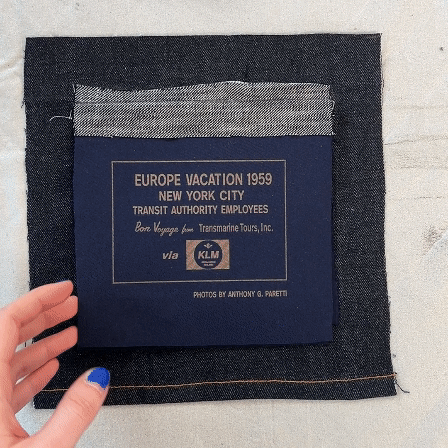
- Made the Europe Vacation book. Recreated the poster in Illustrator and printed the photos. But first I figured out to get the color back which is cool!!


Day 43 - March 26
- Finished the award photo by using a blanket stitch around the edges. I like that it keeps its flexibility but the edges won’t fray.
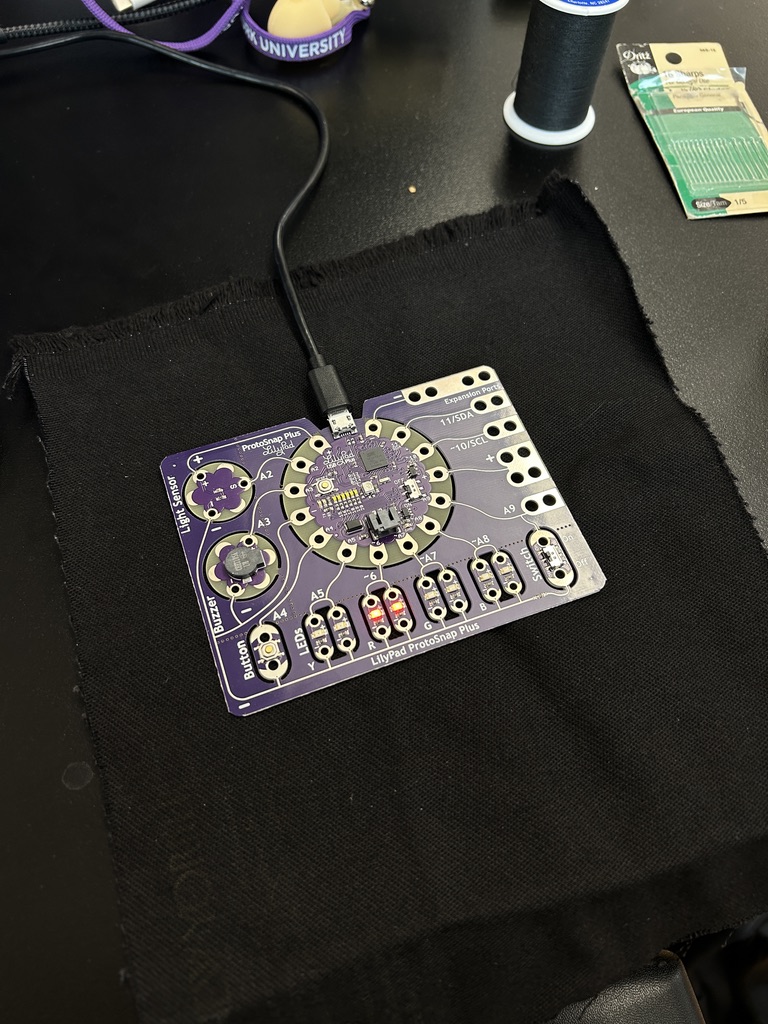
- Started experimenting with the LilyPad snap board. Don’t know if I’ll use it but was easy to set up.
- Did training for the embroidery maching at the MakerSpace. Don’t know if I’ll use it for this project but glad I know what it can be used for now. It was annoying to set up.

Day 44 - March 27
- Met with Daniel to talk about how to join these squares together. They recommended using embroidery maching stabilizer (the squares at the shop are the same size as my tiles which is convenient). I think I am going to go with grommets.
- Need to figure out the tech asap!!!
- Worked more on the thesis show prep at Resistor. Lots to do in the next 2 weeks.
- Going to experiment with making visual connections between tiles.
Day 45 - March 29
- Started using the fusible interfacing to stabilize the tiles.

Day 46 - March 30
- Worked on the Aunt Marie tile + made some blank ones.
- Scanned a lot of photos
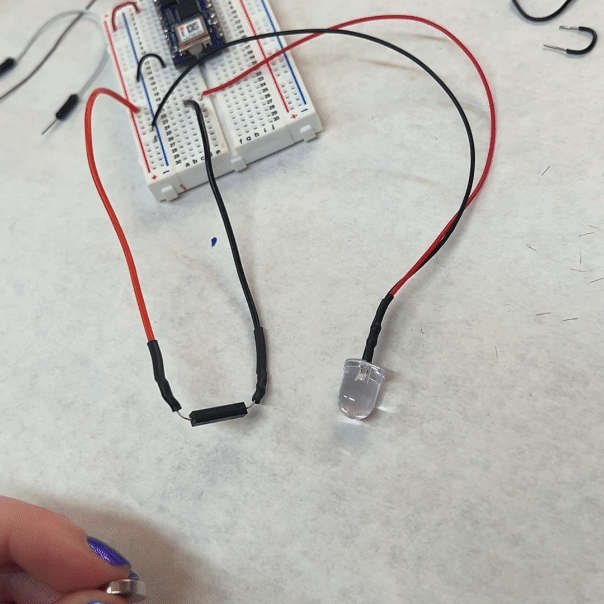
Day 47 - April 1
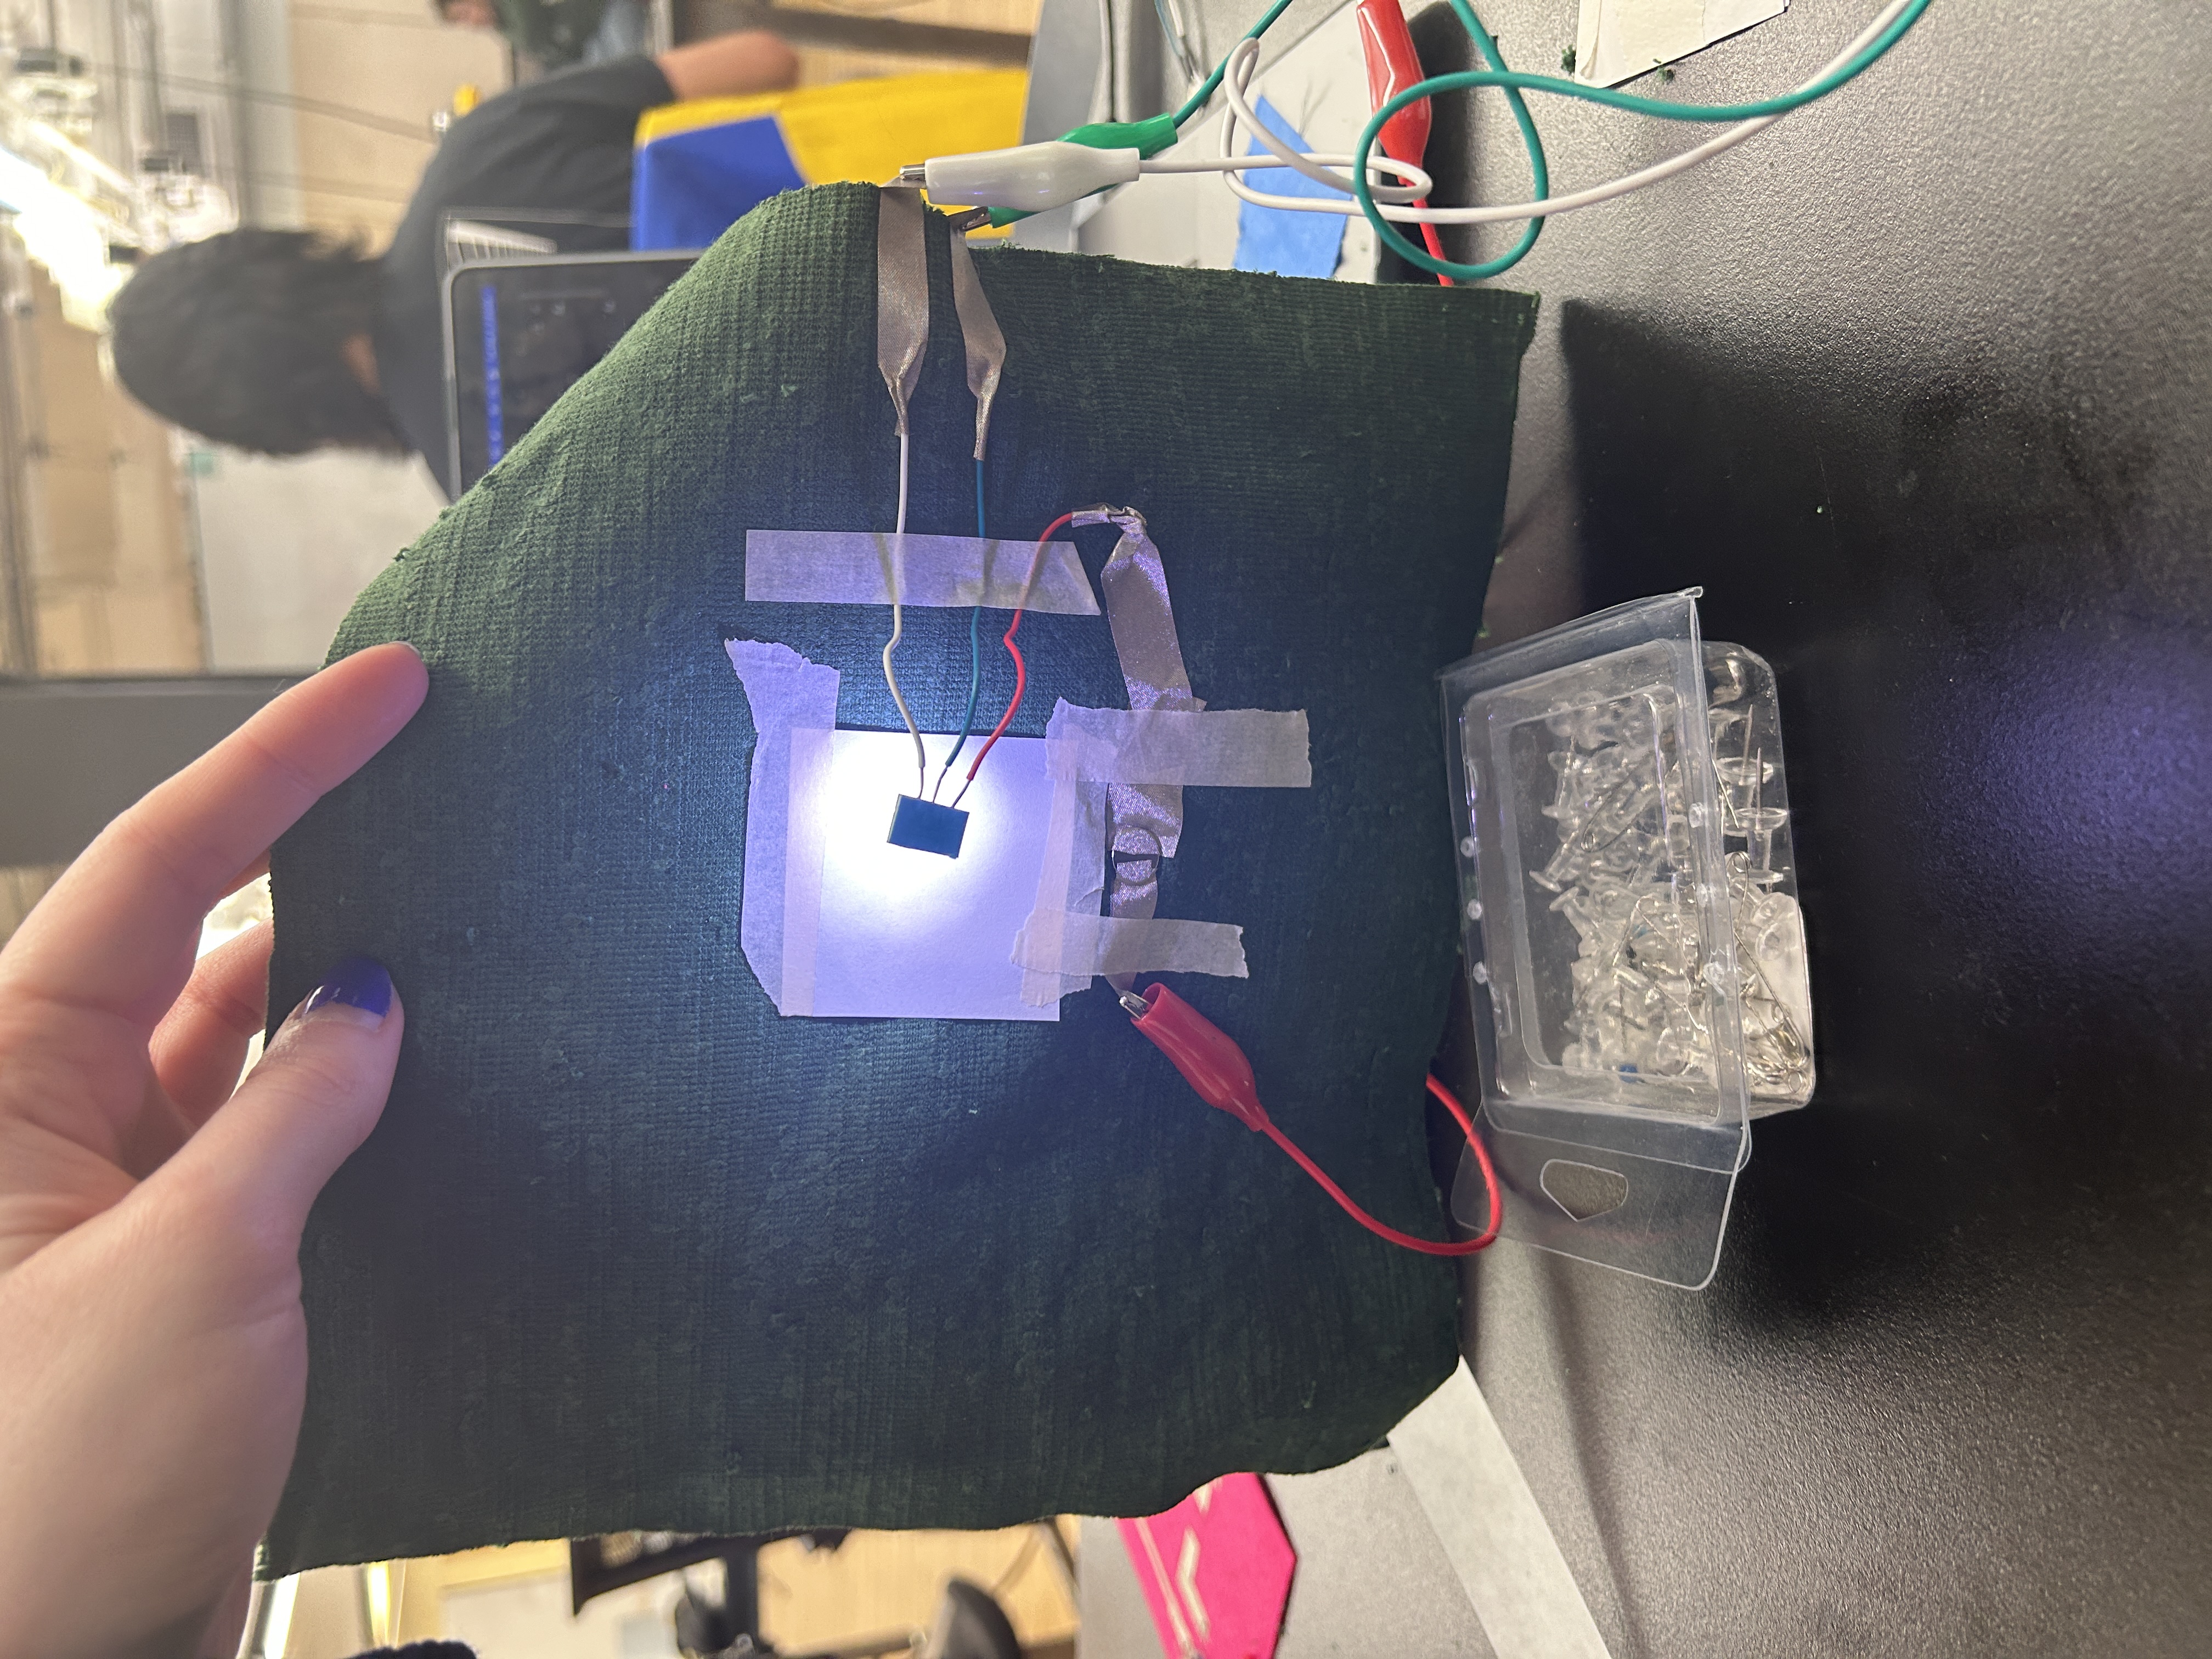
- Got a neopixel to work with the reed switch. Did a lot of troubleshooting and found out the reed switch I was using was broken. Ugh. Then there was some weirdness with the neopixel - flashing red and green? Not sure.
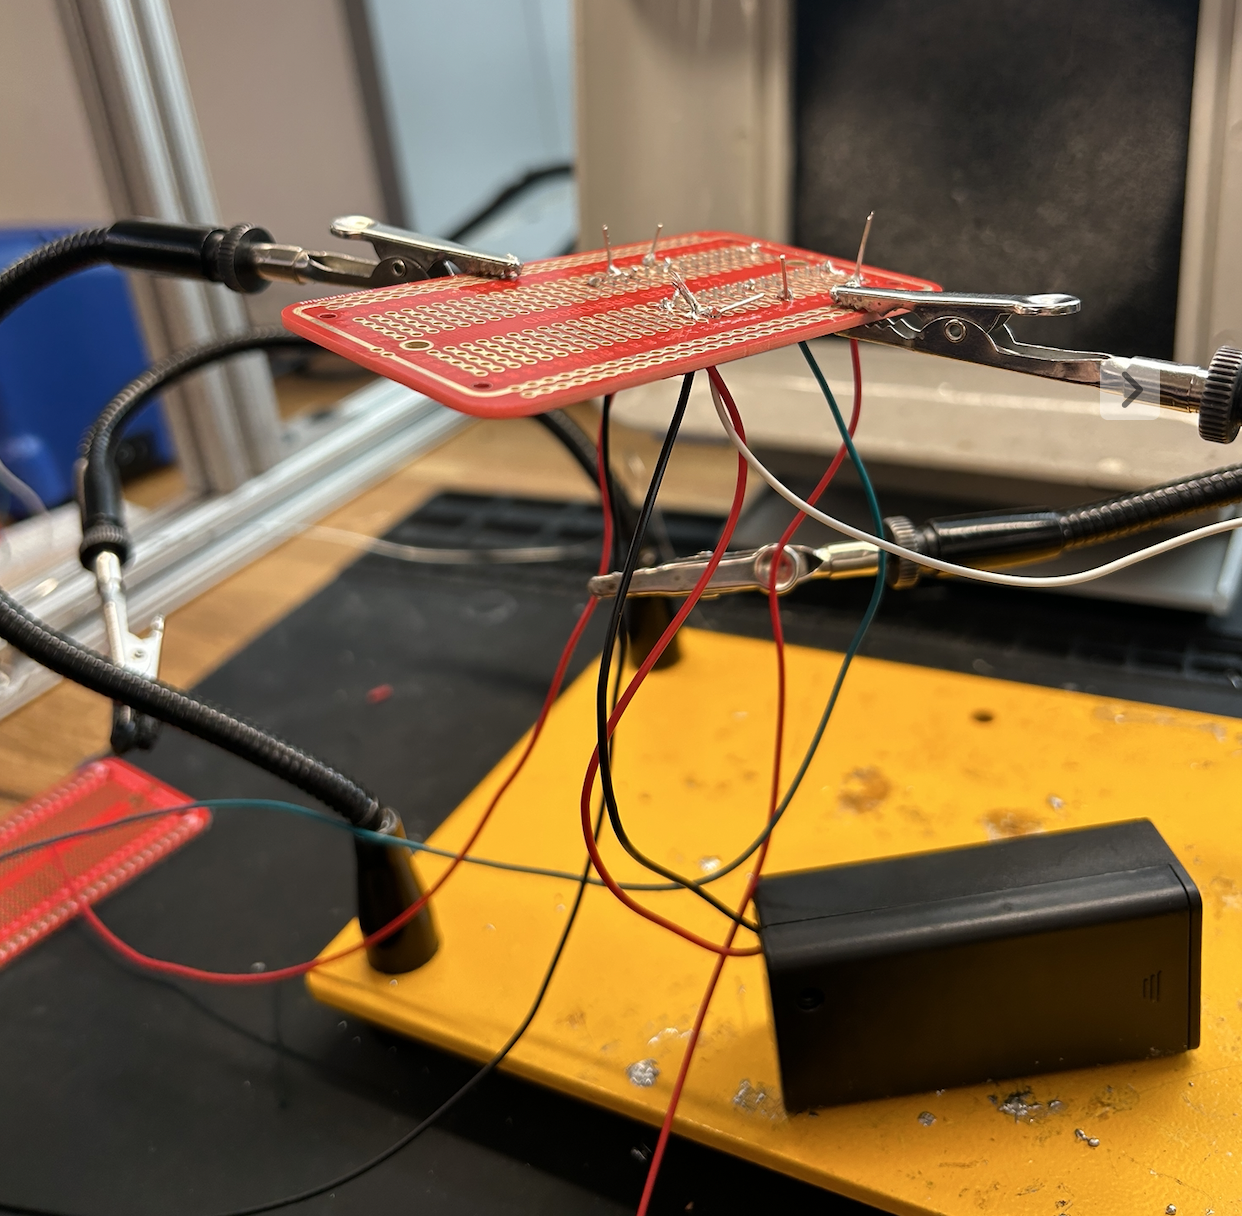
- Jess gave me some single neopixels to use that are meant for wearables. It was way easier to solder
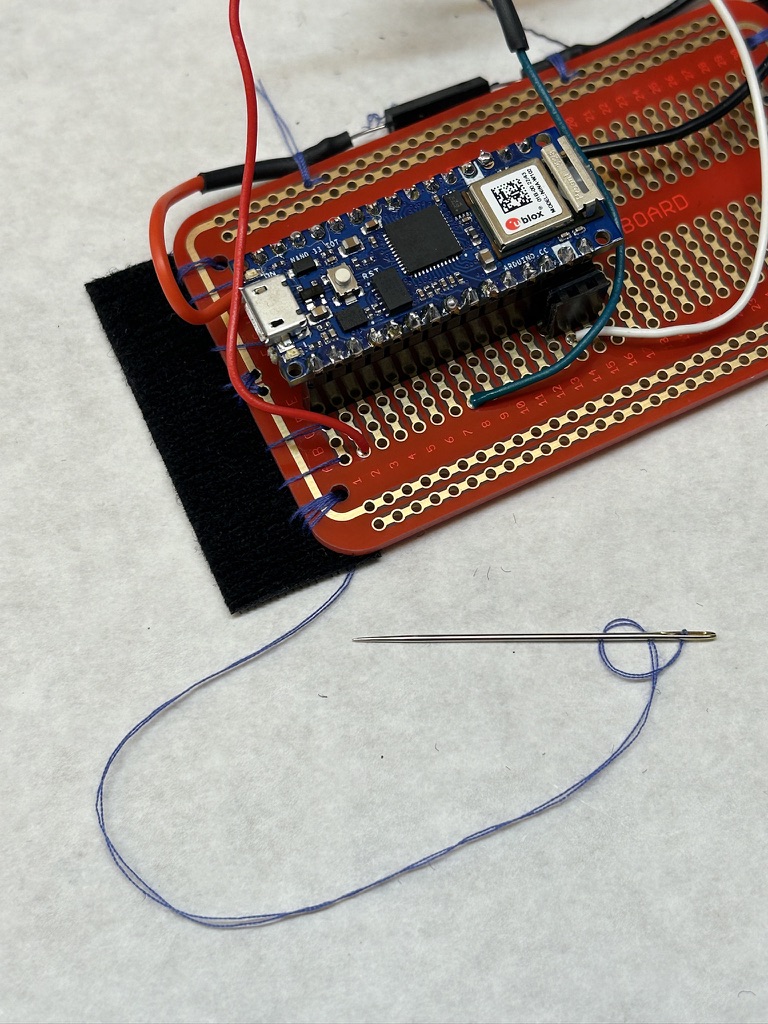
- Bianca helped me get the circuit onto protoboard - first time using it for me. It was hard to wrap my head around the upside-down-and-backwards of it all.
- It looks a little crazy but it works. Think I want to switch out the solid core wire for something more flexible. I’m worried it will snap.
- Added the wedding program text to the wedding photo tile.


Day 48 - April 2
- Finished the Aunt Marie tile - I redid the caption and added a quote from her from one of my recordings. I like it a lot more. I was trying to find a way to make it more about our conversations - and how so much of this project is because of the time I have spent with her recently.
- I redid the honeymoon photo and added another quote from her. With this one, there’s a tab that has a magnet inside so it stays shut. It’s satisfying to open and close. Their faces didn’t come out well in the engraving so I just printed the black and white image and glued it down.
- I spent a lot of time rearranging the tiles. Every time I move one I have to move 3 more.
- Redid the lobby plaque tile. I don’t love the colors together but it will do for now.
- Jess showed me an amazing zine she found on the train, “Public Transport Magazine”


Day 49 - April 3
- Redid the sketchbook tile - the image trace part was really annoying. I did 2 versions with the background in it but nothing came out how I wanted it to. I did a third version with just the sketchbook but still didn’t love it. I added another magnetic cover thing but I really hate the colors. I think I’m gonna get rid of it.
- I ended up going with the original version.

Day 50 (!!!) - April 4
- Cleaned my desk :)
Day 51 - April 5
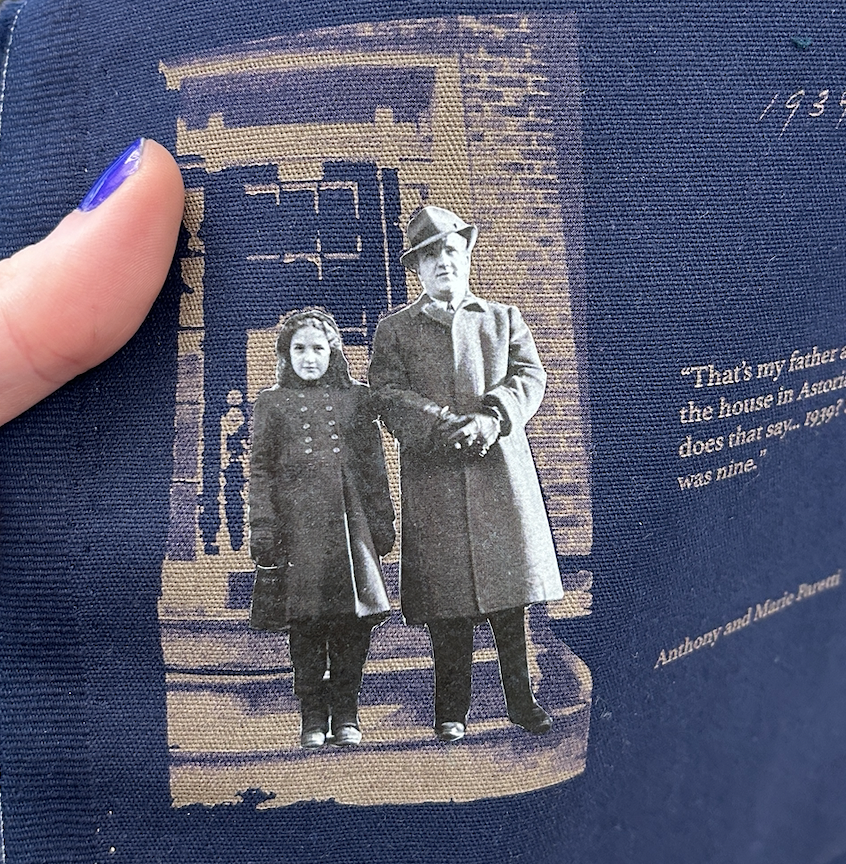
- Made the tile with Aunt Marie and Tony on the steps of the Astoria house. I really love how this one came out - the colors are really nice. I am happy with the visual effect of the black and white photo on the background.
- I learned from the Aunt Marie tile and streamlined my process. First I printed the image on regular paper, then ironed on some of the fusible interfacing - a piece larger than what I was going to cut out. Then I cut out the people with the glue on the back already attached, so then I just peeled off the wax paper and ironed it on. It was also easier to cut out the shapes with more structure.


Day 52 - April 6
- I tried the cutout technique with the photos of Tony and Jimmy. Both turned out super weird. I think it works best for full shapes - not individual people in a group. Ended up leaving both as is.
- Redid the caption on the Jimmy photo to include the full title.
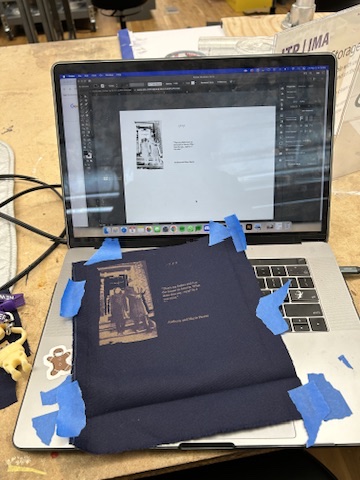
- Engraved 2 versions of the desk image with Tony’s name in the background. Neither turned out particularly well. It’s really hard to tell how something will come out. I tried to make the second version have more definition in the man’s face + clothing but he came out super creepy.
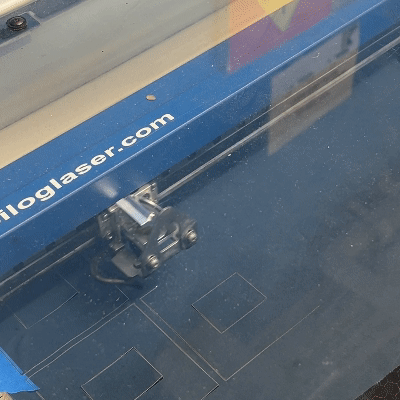
- Lasercut holes in all of the corners of the squares!! I was so scared to do this but it was so easy. As per Phil’s recommendation, I took a piece of cardboard and cut out an 8x8 square, then put by tiles in the that “stencil” I just made to ensure it would be aligned even with whatever weird random offset the laser cutter has. I used the settings for cutting ⅛” wood which was maybe a little too much but it worked very well. I was worried that I would have to change the settings depending on the different fabrics but they all cut pretty easily.
- The only snafu was for the honeymoon photo tile - the laser got caught on the tab so it moved it out of place and one of the holes was cut in the wrong place. That was really disappointing because it’s my favorite tile - I want it to be in the middle. After consulting Josh, Tres, and Elif, I decided to just leave it and fix it later if it really bothers me.
- I added grommets! I did all 4 on most of them then got tired so I just did on the top 2 holes. This didn’t take as long as expected, and I’m happy with the look of them.
- I put 2 sewing pins on each foam core tile so I could hang the squares, which made it easier for me to move them around.
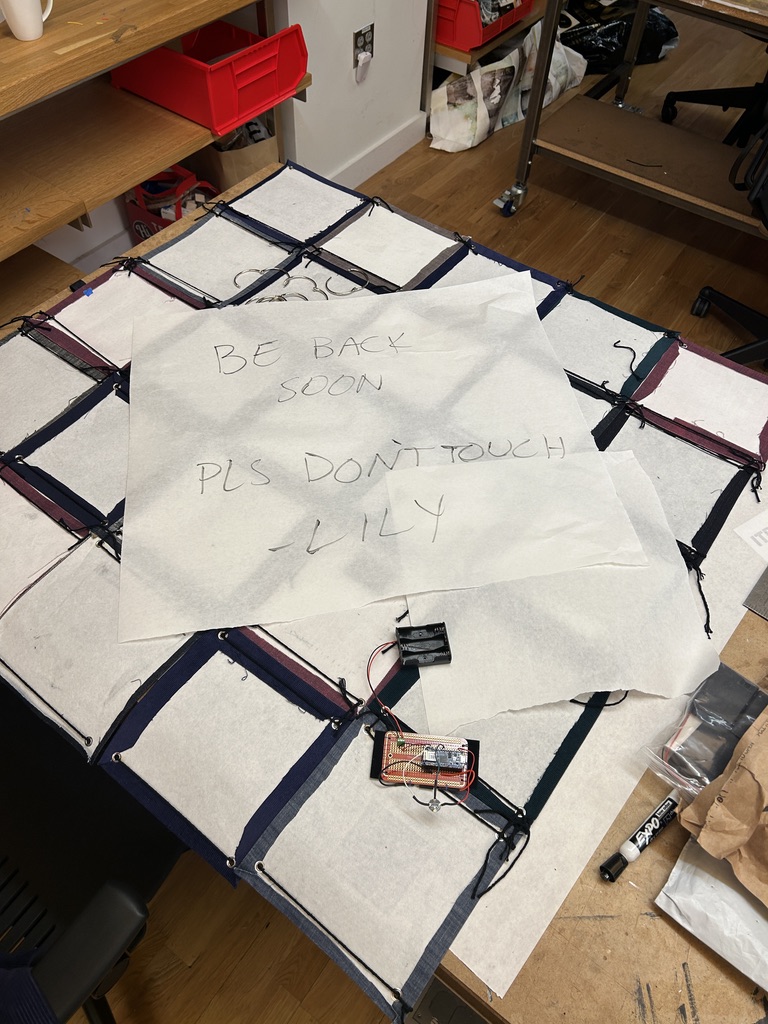
- I went back to the tech part but when I tried to change the color from a bright white to a softer yellow, it stopped working. I got the multimeter out and everything. Then I realized I edited the wrong code. I had uploaded “quilt” instead of “quiltReal”. Of course.
- I then tried making it into an analog switch. To be honest I didn’t really know how to do this - I don’t remember doing many analog circuits in pcomp. I used the new LEDs I got and played around with wires until I got it to work. Again, I used a broken reed switch by accident. I got it to work, but now I need to figure out how to diffuse the light better.
- Feeling good about the next few days - I like the direction I’m taking it with including more quotes from Aunt Marie. I am still wondering how / if I should include something about me in there - a photo of me and Aunt Marie? Something about ITP? I don’t know.
- Also still torn on the whole do-I-even-want-tech-in-this thing. I love the slides but I don’t want it to be distracting.
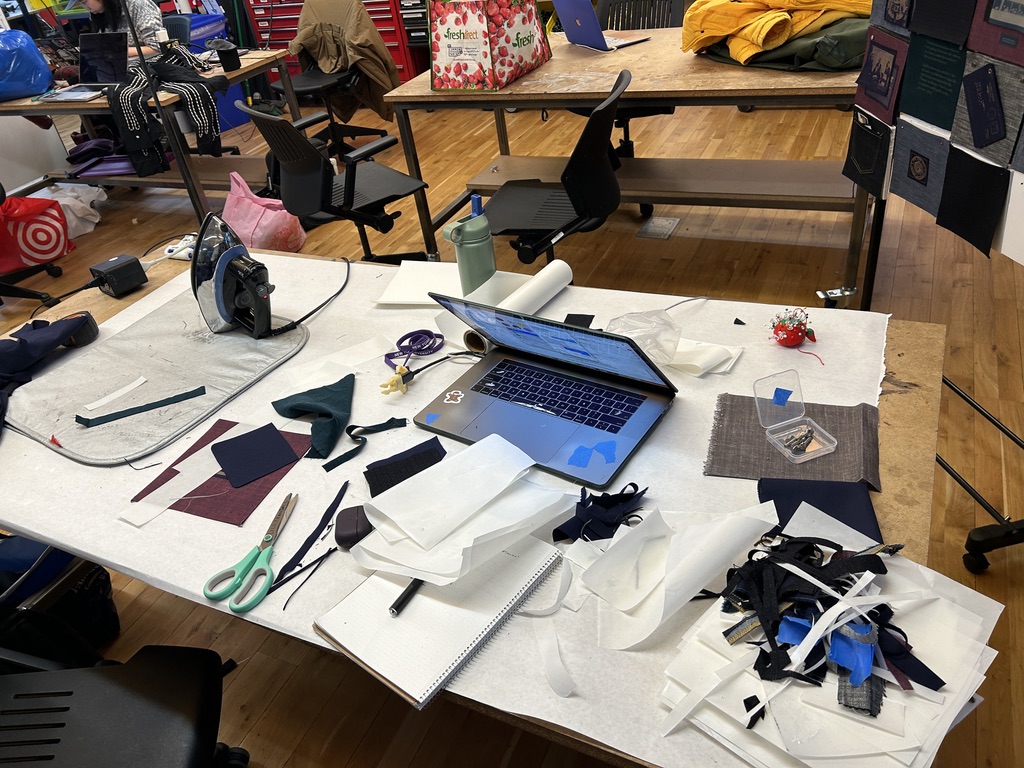
- Caught up on documentation from the last week.
- Woooo busy day!!! 5 days til Resistor show. Also at some point over the last week I got the title (from my aunt) - A Familial Juncture. It’s weird and poetic and also sweet.


Day 53 - April 7
- Office hour with Shuang to see what kind of battery I need.
- Finished grommet-ing and moved the tiles around.
Day 54 - April 8
- Eclipse day 🙂
- Took photos of all of the tiles and brought into Illustrator to move them around. Can’t stop moving them around.
- Redid the protoboard with silicone wire for the reed switch instead of solid core. Sewed it to velcro using the holes on the board. This was fun.
- Went to Michaels to get rings to put this thing together but didn’t find anything. A little worried about how I’m going to connect these tiles given the small grommets I am using. Oh well.

Day 55 - April 9
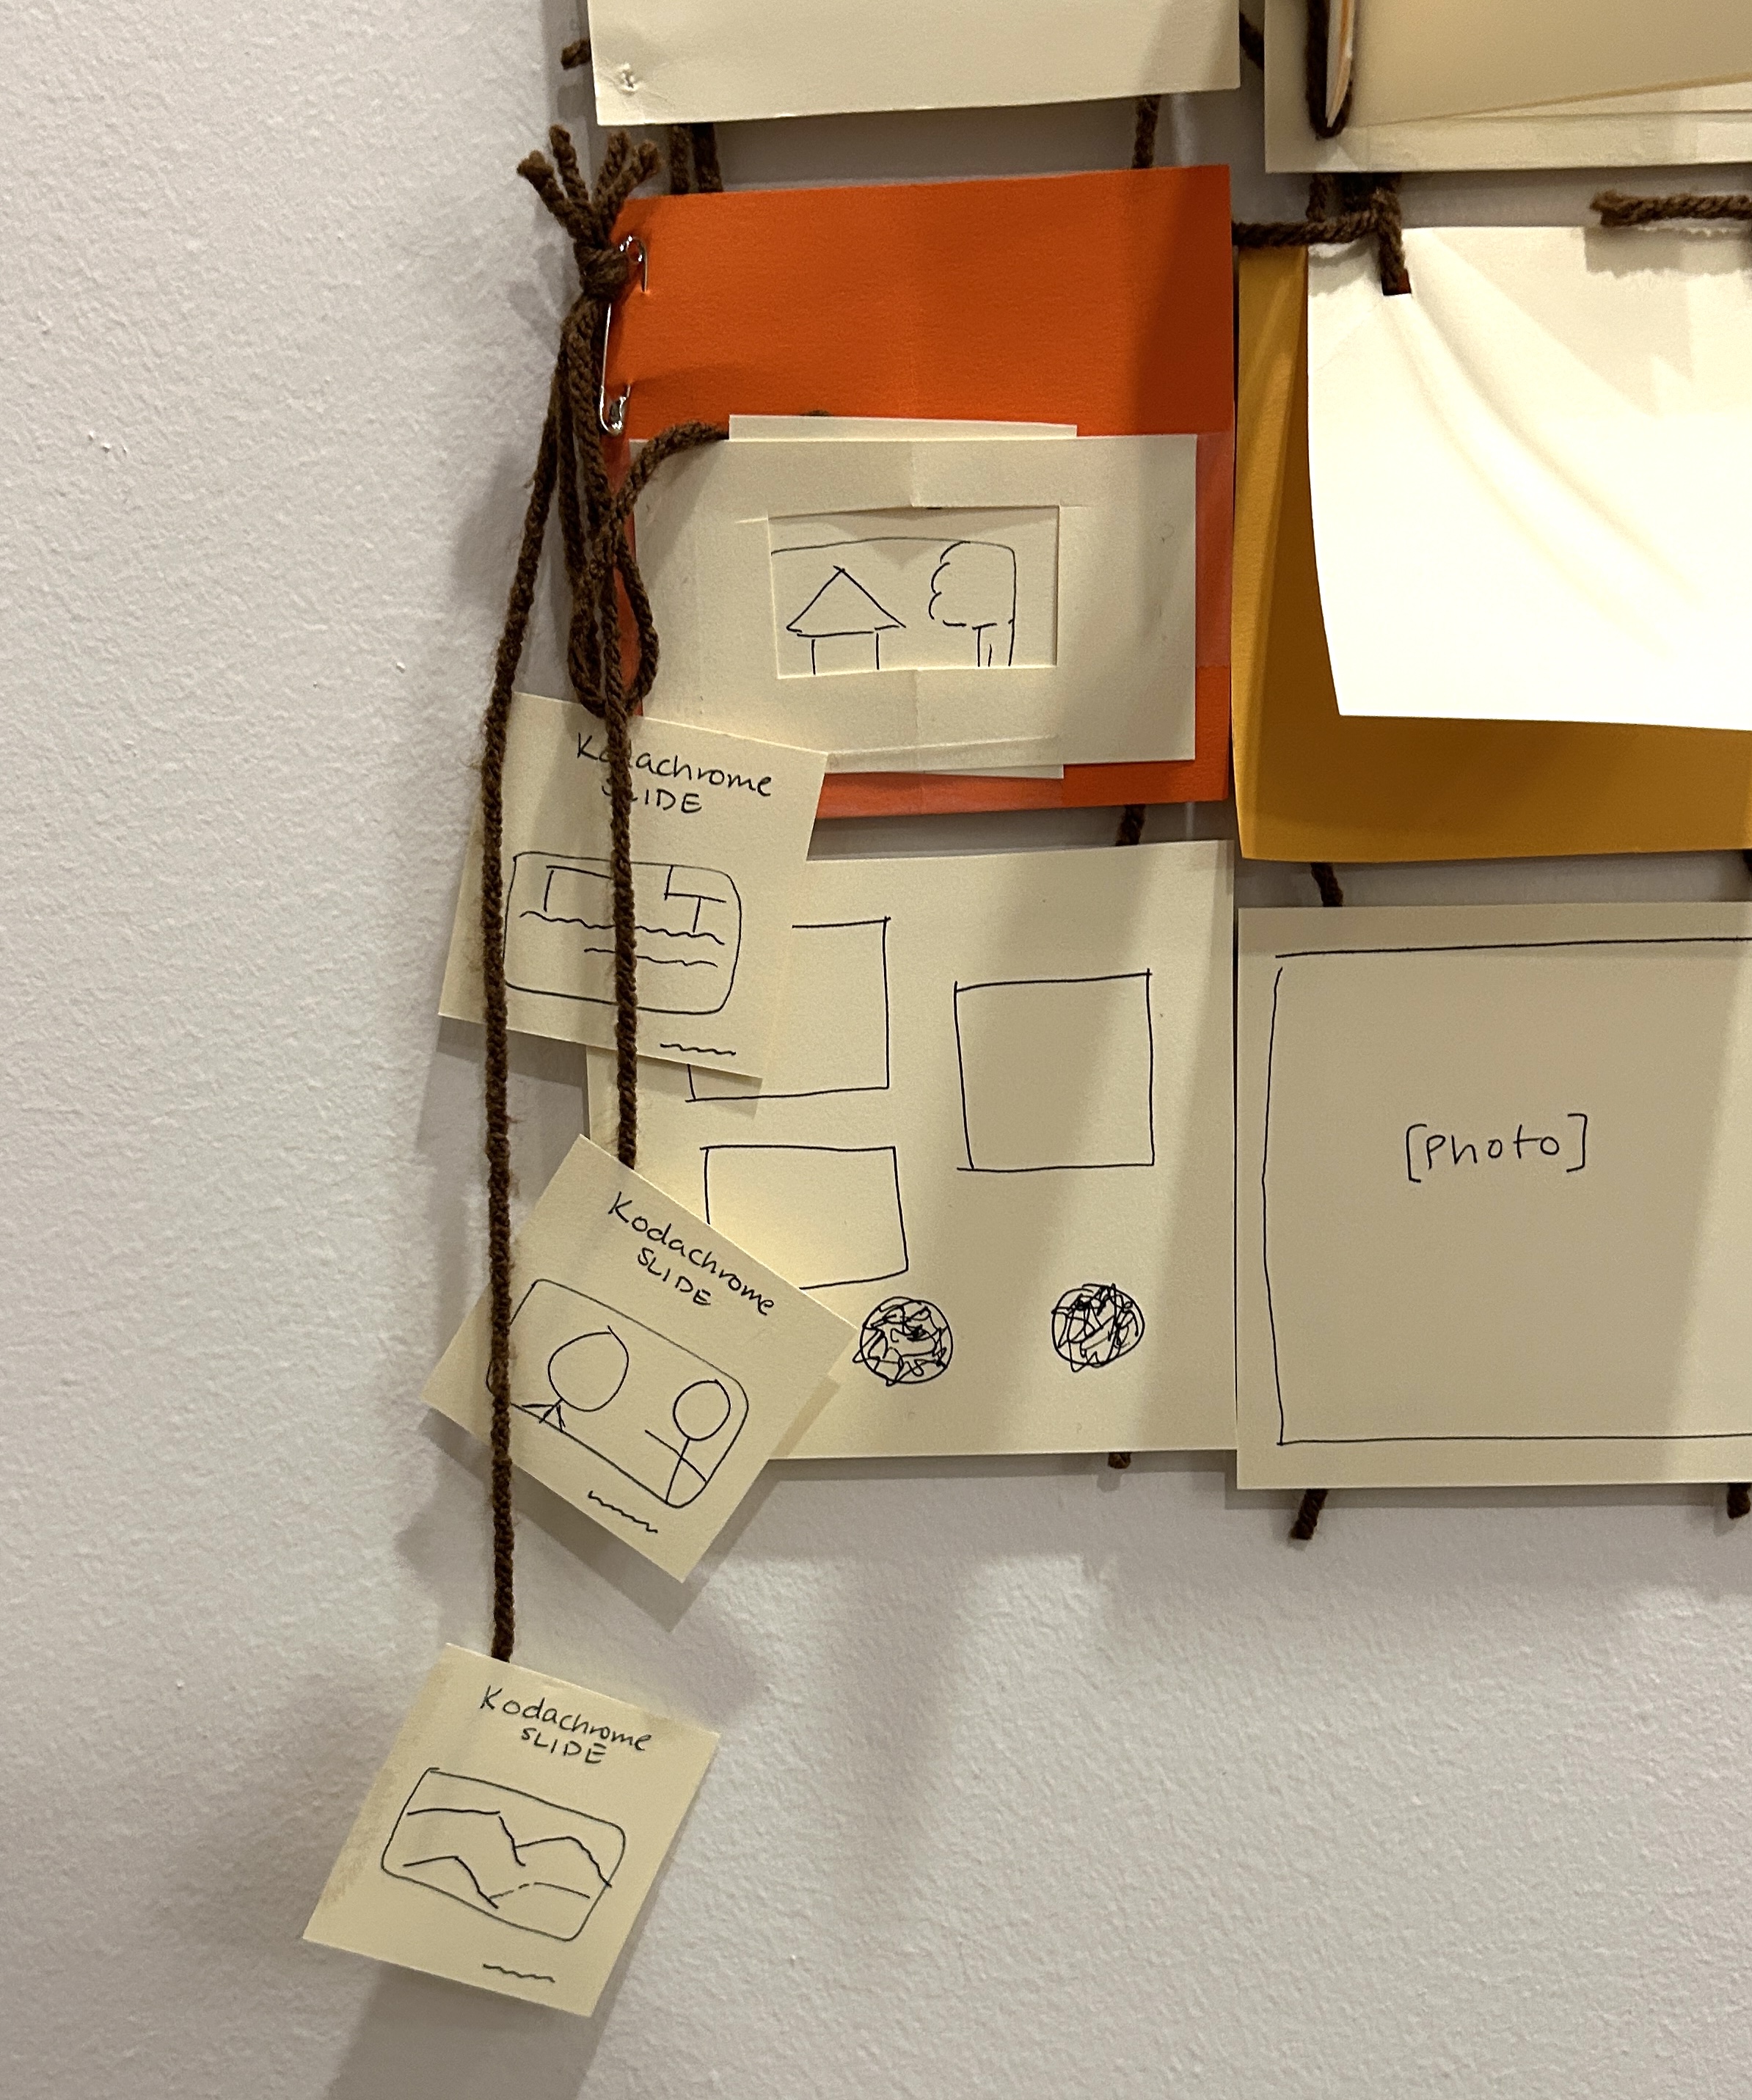
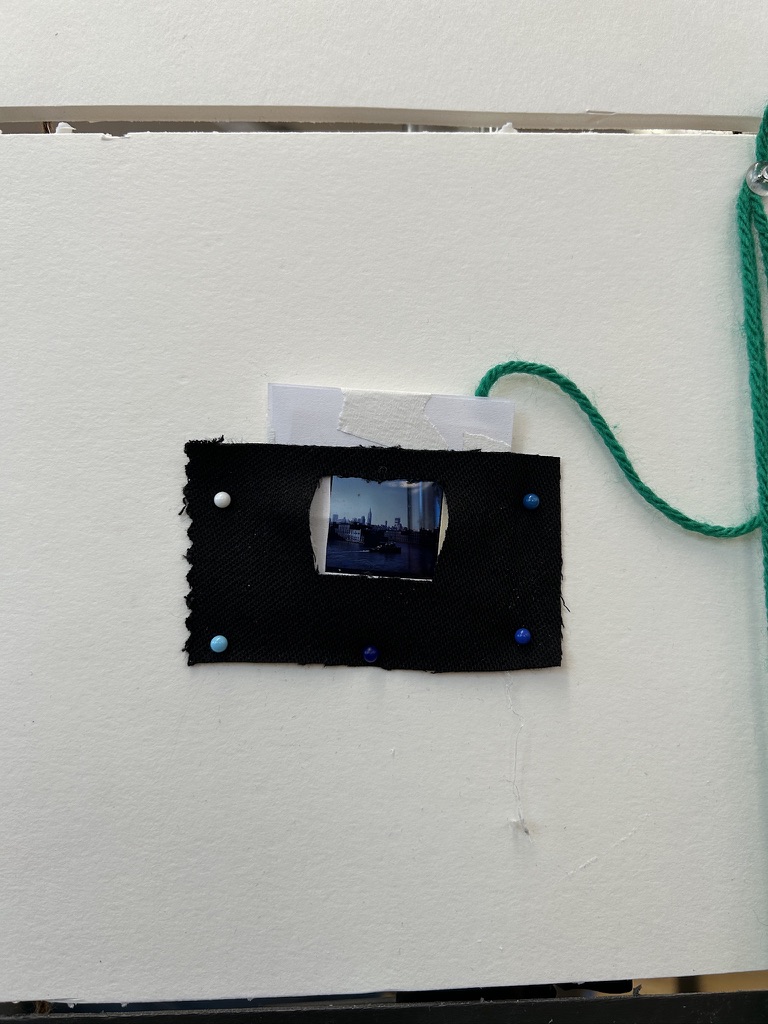
- Made the slides out of cardboard, printed vellum paper, magnets, fabric, and hot glue. I’m not thrilled with how these came out - I wish they looked more like real film. Maybe for the spring show.
- Started tying everything together with black cotton yarn. My first try was to weave them together to try to save time but this didn’t work well - which I already knew from running into the same problem with the Camp Quilt last summer. I hoped I could save time but I ended up going back to square one and tying all of them together individually.
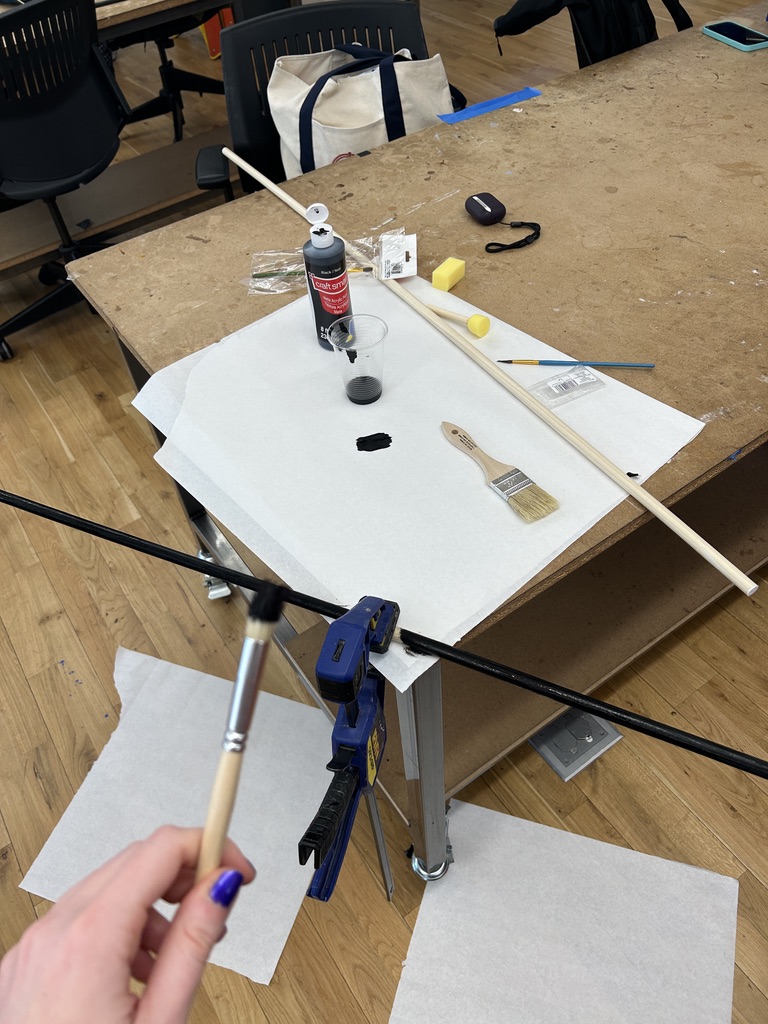
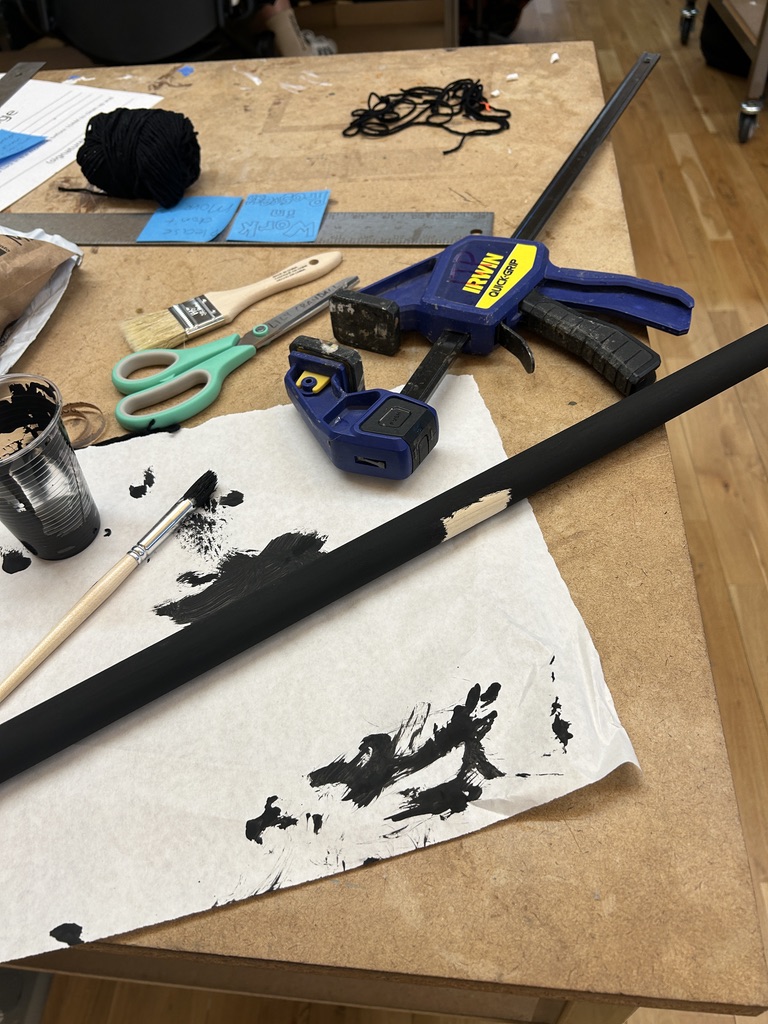
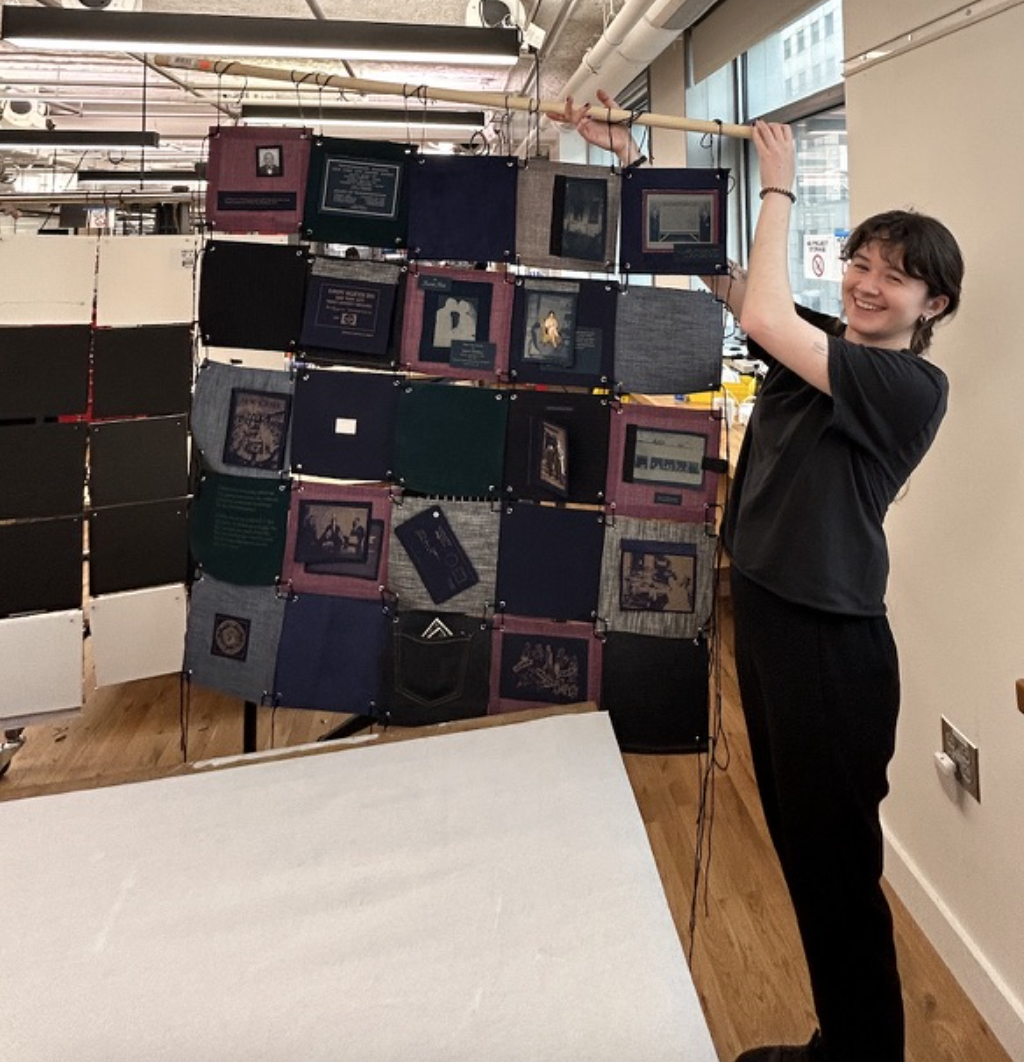
- I got a dowel from Bruno’s and held it up for the first time.


Day 56 - April 10
- I switched my battery holder to use one with a switch. Glad I used a terminal wire thing on my protoboard.
- Got 2 towels from Brunos and painted them black.
- My binder rings arrived and used them to hold the top tiles up - that way the heights of the tiles are identical. That was making it look a little clunky yesterday. I thought about using them to bind the whole thing together but I like the look of the yarn more.
- Tied the rest of the tiles together and took out the long strange I weaved yesterday.
- Didn’t like the look of the smaller dowel - the scale was wrong. So I went back to the original large one I bought and painted it black.
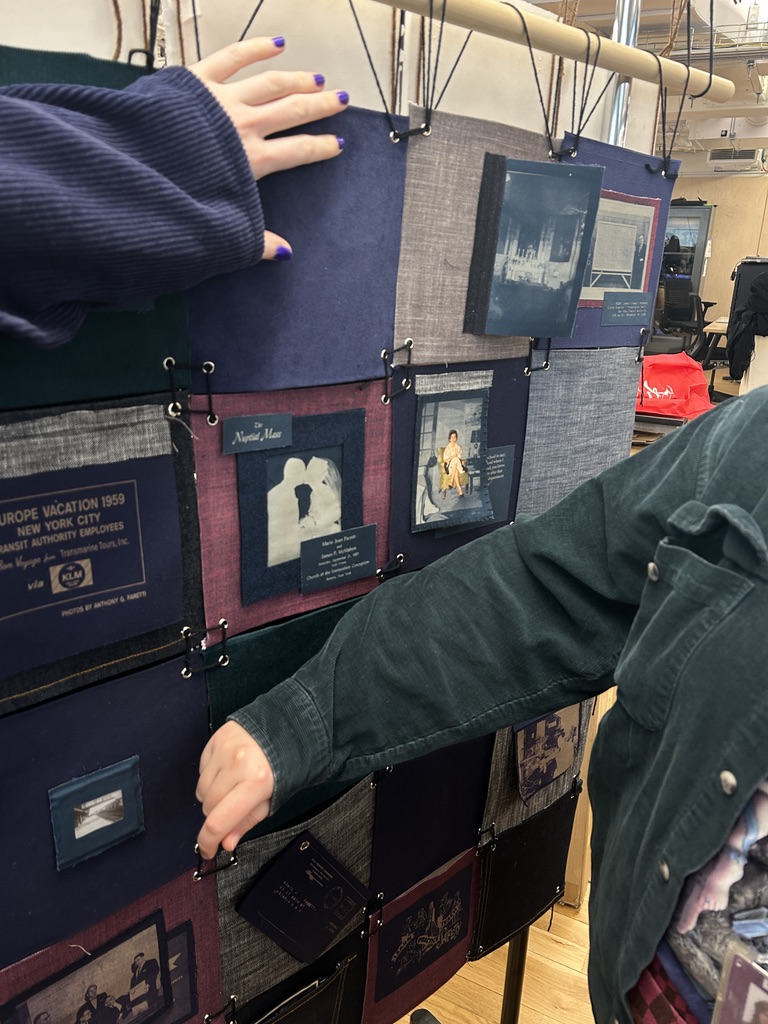
- Instead of attaching the slides to the one tile, I hung them from the top across the quilt. I like how this looks.
- I wanted to have some kind of train map look so I tried weaving yarn through some of the grommets but it didn’t work well. Just looked messy.
- The tech part works 80% of the time, but when it works it really works. I am glad I incorporated it.
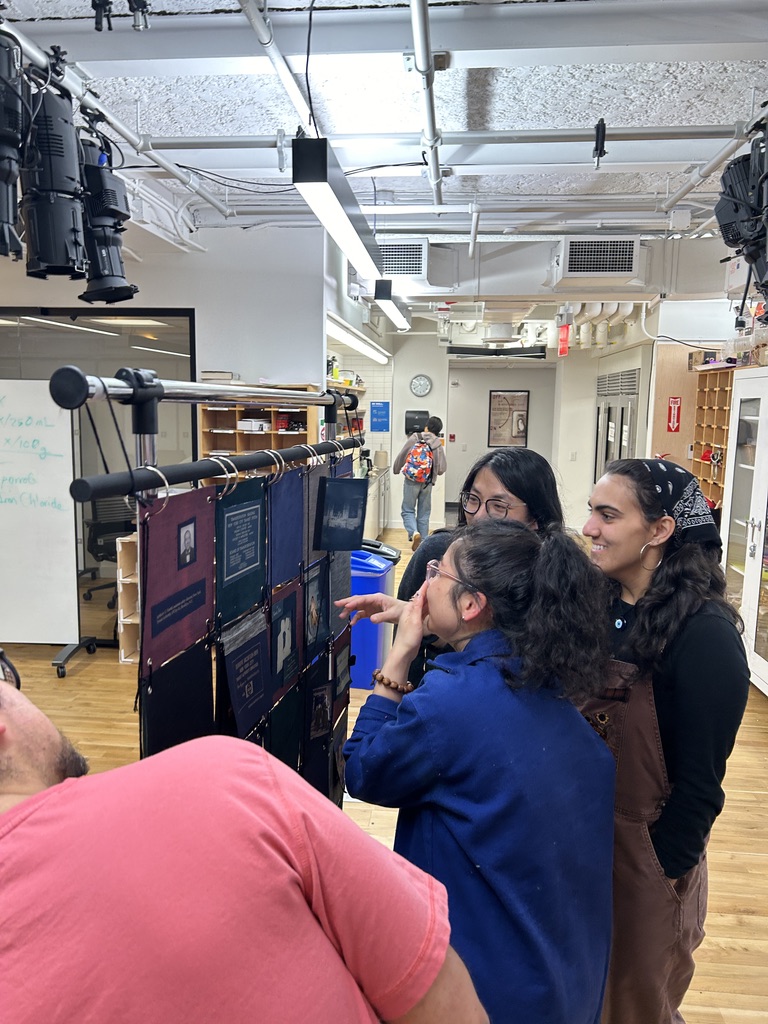
- Done :) for now. Showed my friends on the floor.