

WEEK 9: Nested Objects
I haven’t used any CAD software since a class I took in undergrad in spring of 2020 (we used Rhino in that class). Needless to say I am a little rusty, so I wanted to go with an object that is relatively uniform in size and wouldn’t require much fancy modeling.
My first idea was to make a holder for this battery operated tea light:

I was able to model something in Fusion 360 that I thought would fit it perfectly. But then when I showed it to a friend on the floor, he pointed out that the candle is actually tapered, and the base is not the same width as the top of it. Ugh. Back to square one.
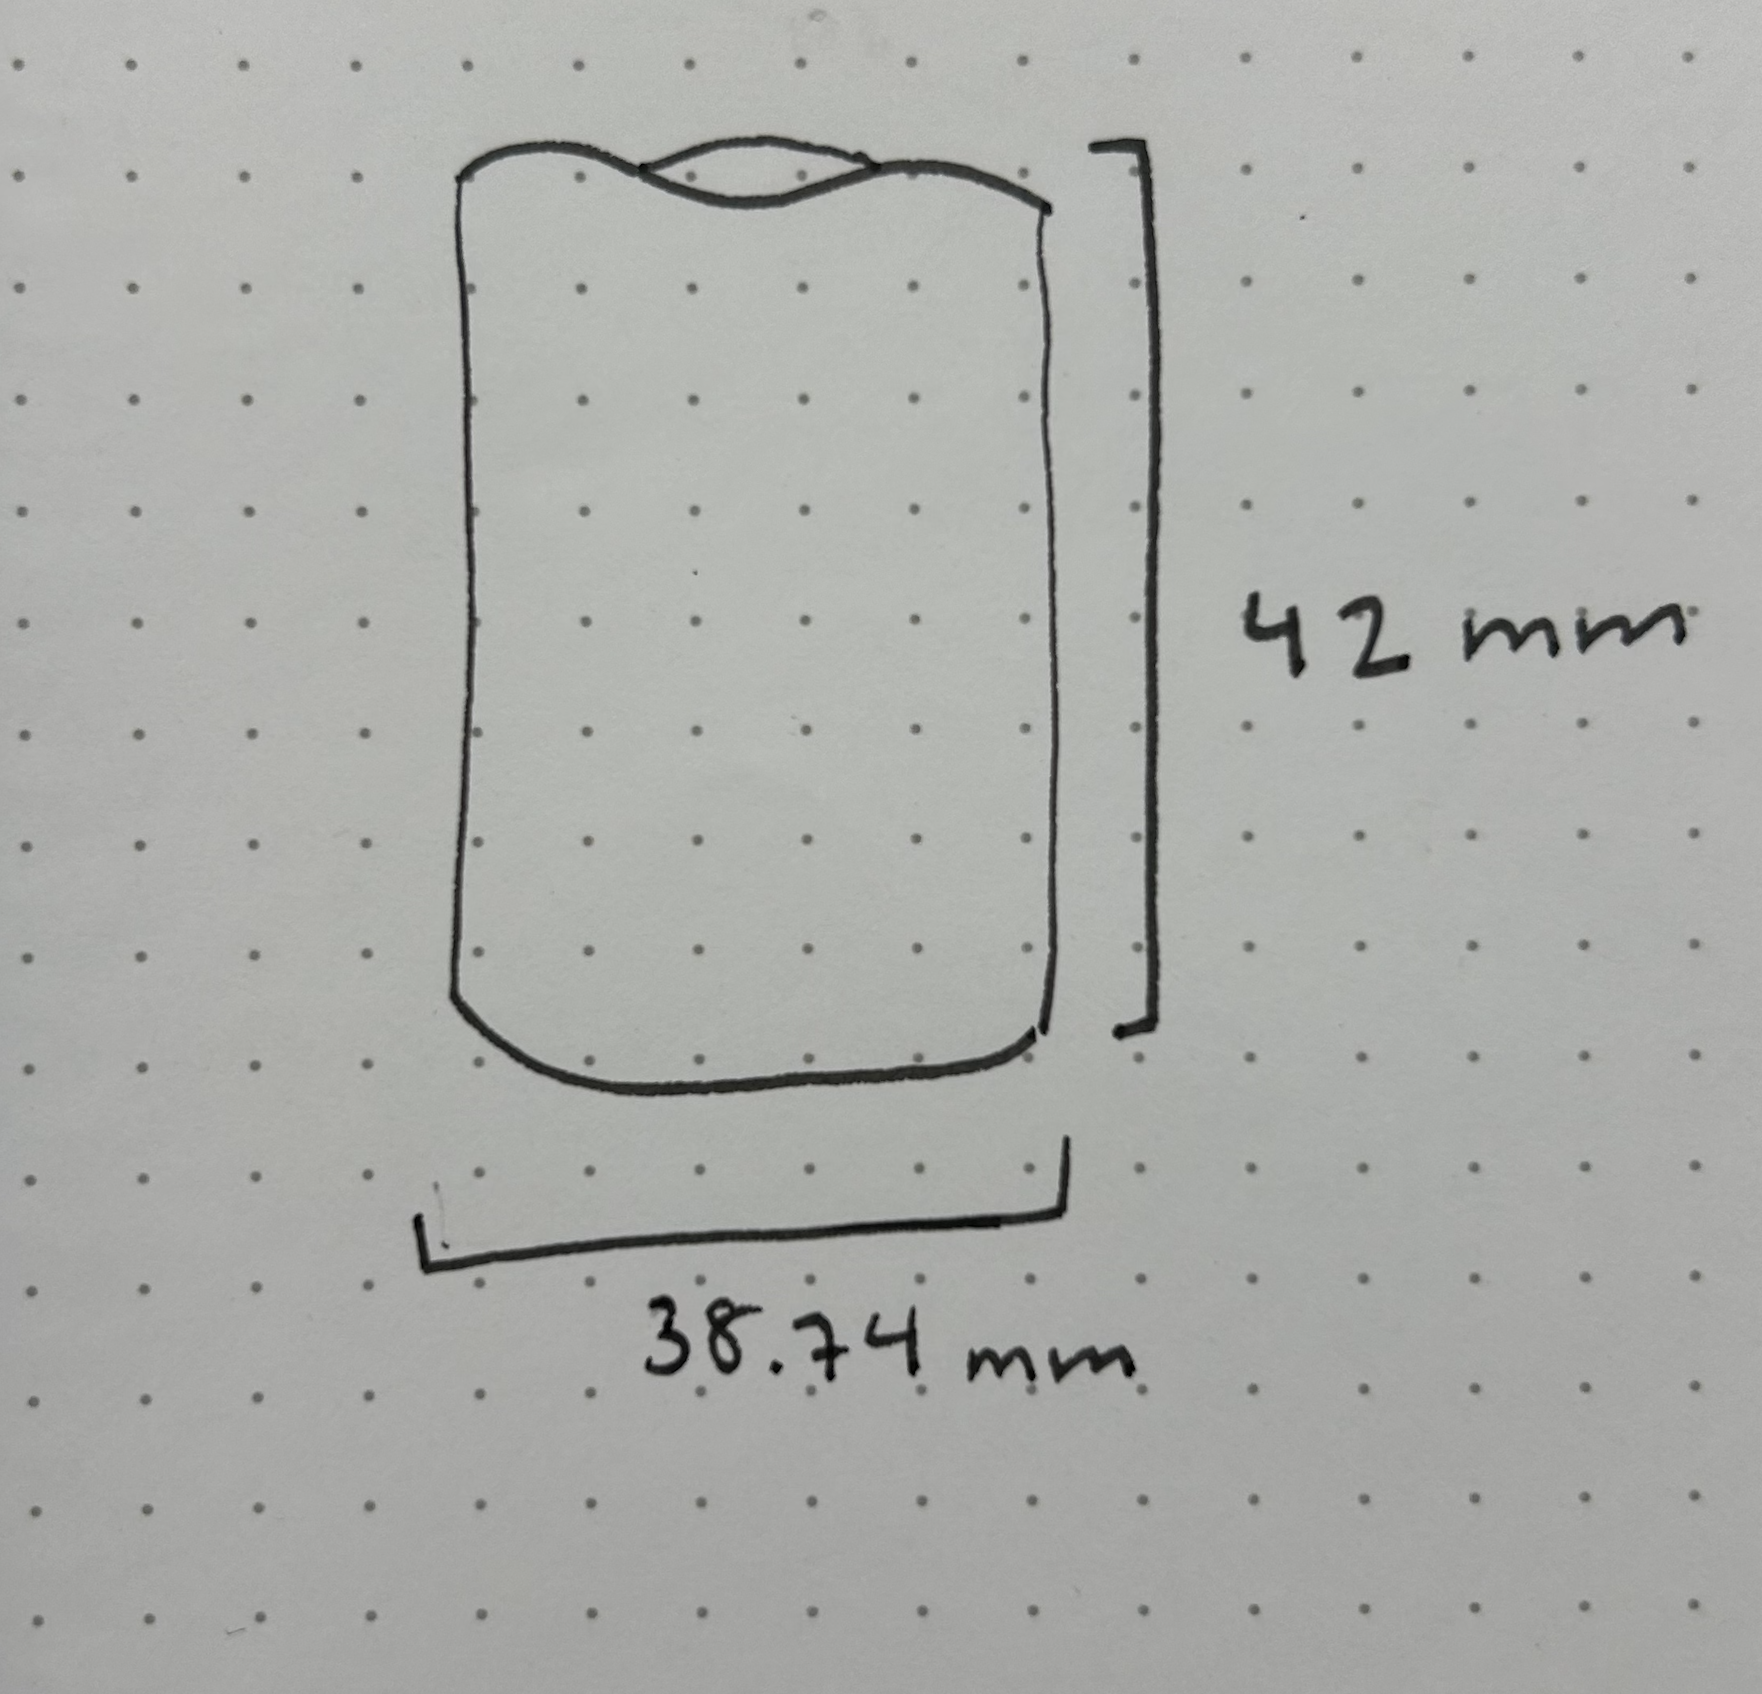
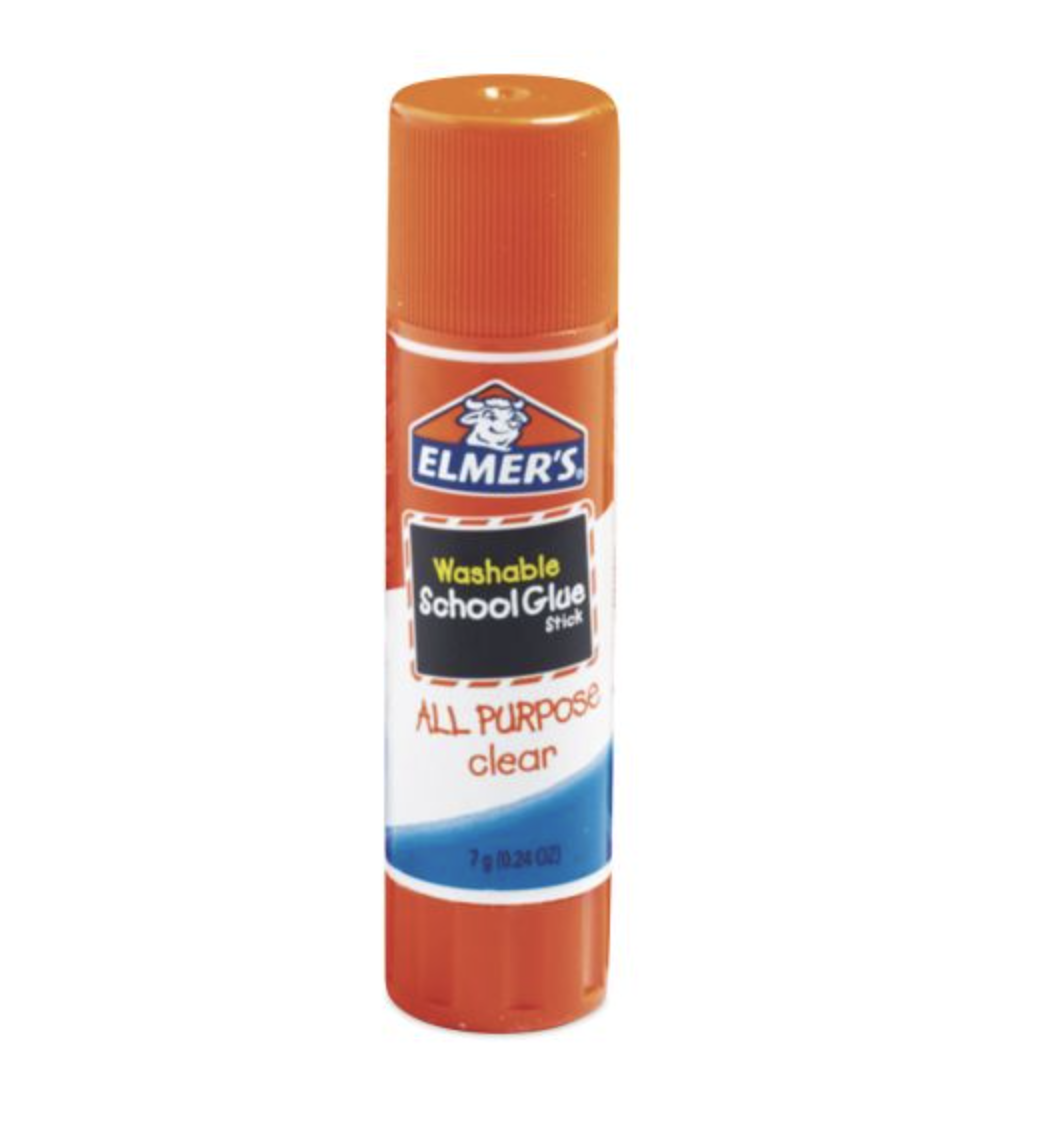
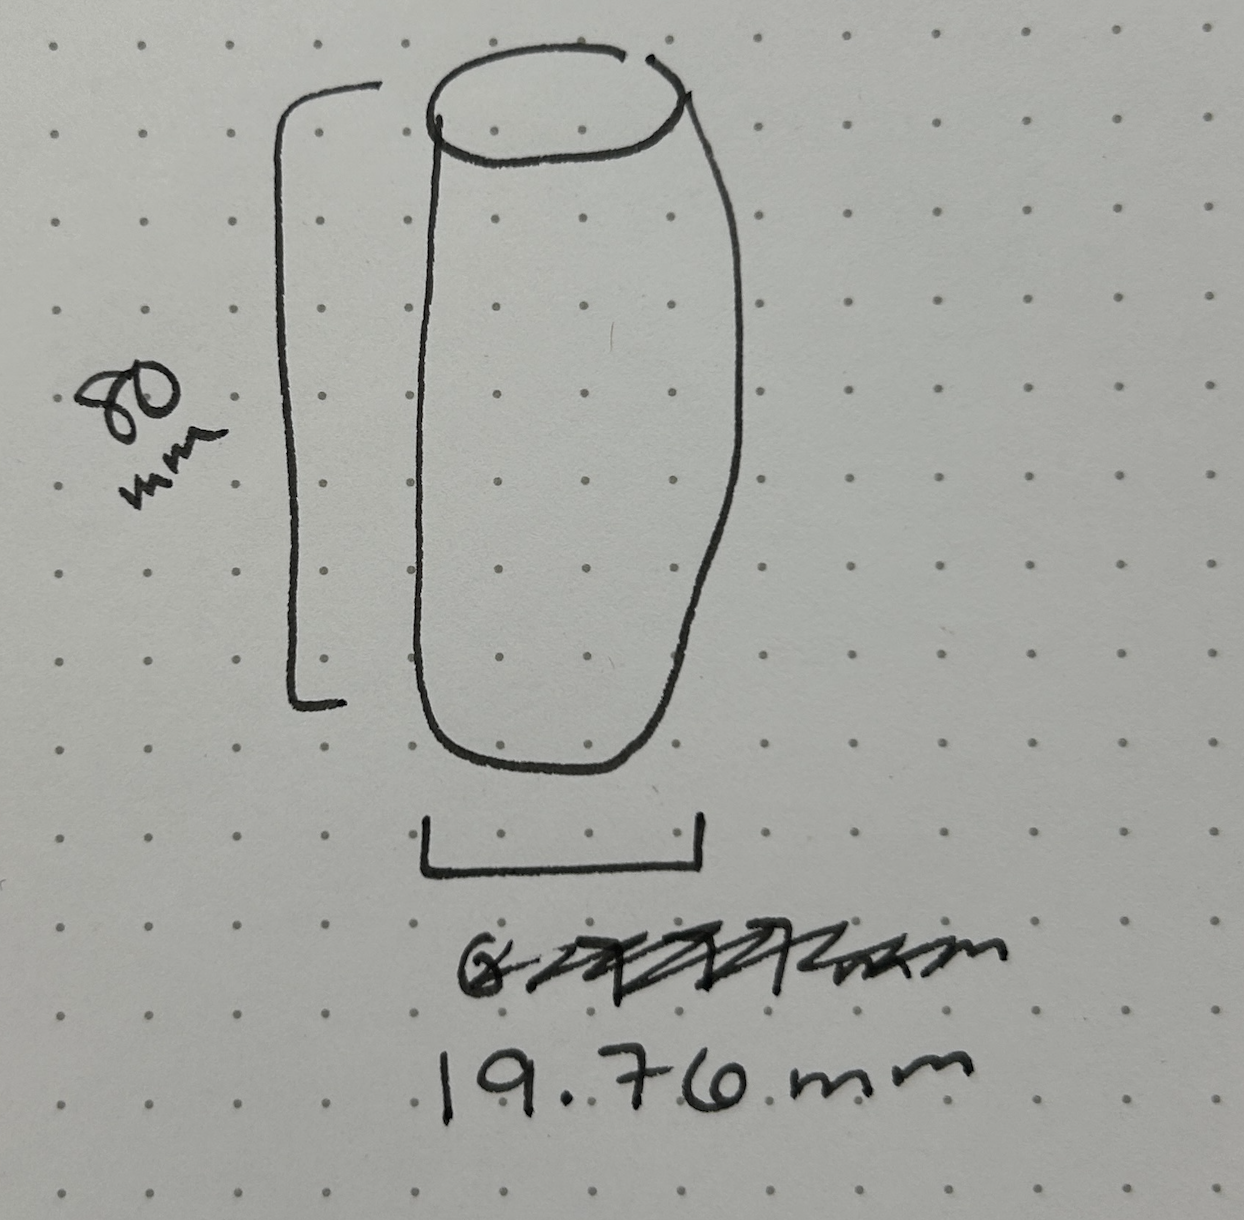
I started fresh with a glue stick. I checked, and it is the same diameter from top to bottom. Nice.
I drew a terrible sketch of it and measured the diameter and height:
I decided to switch from a circular case to a rectangular one, just for fun. My plan was:
- Draw a square & extrude
-
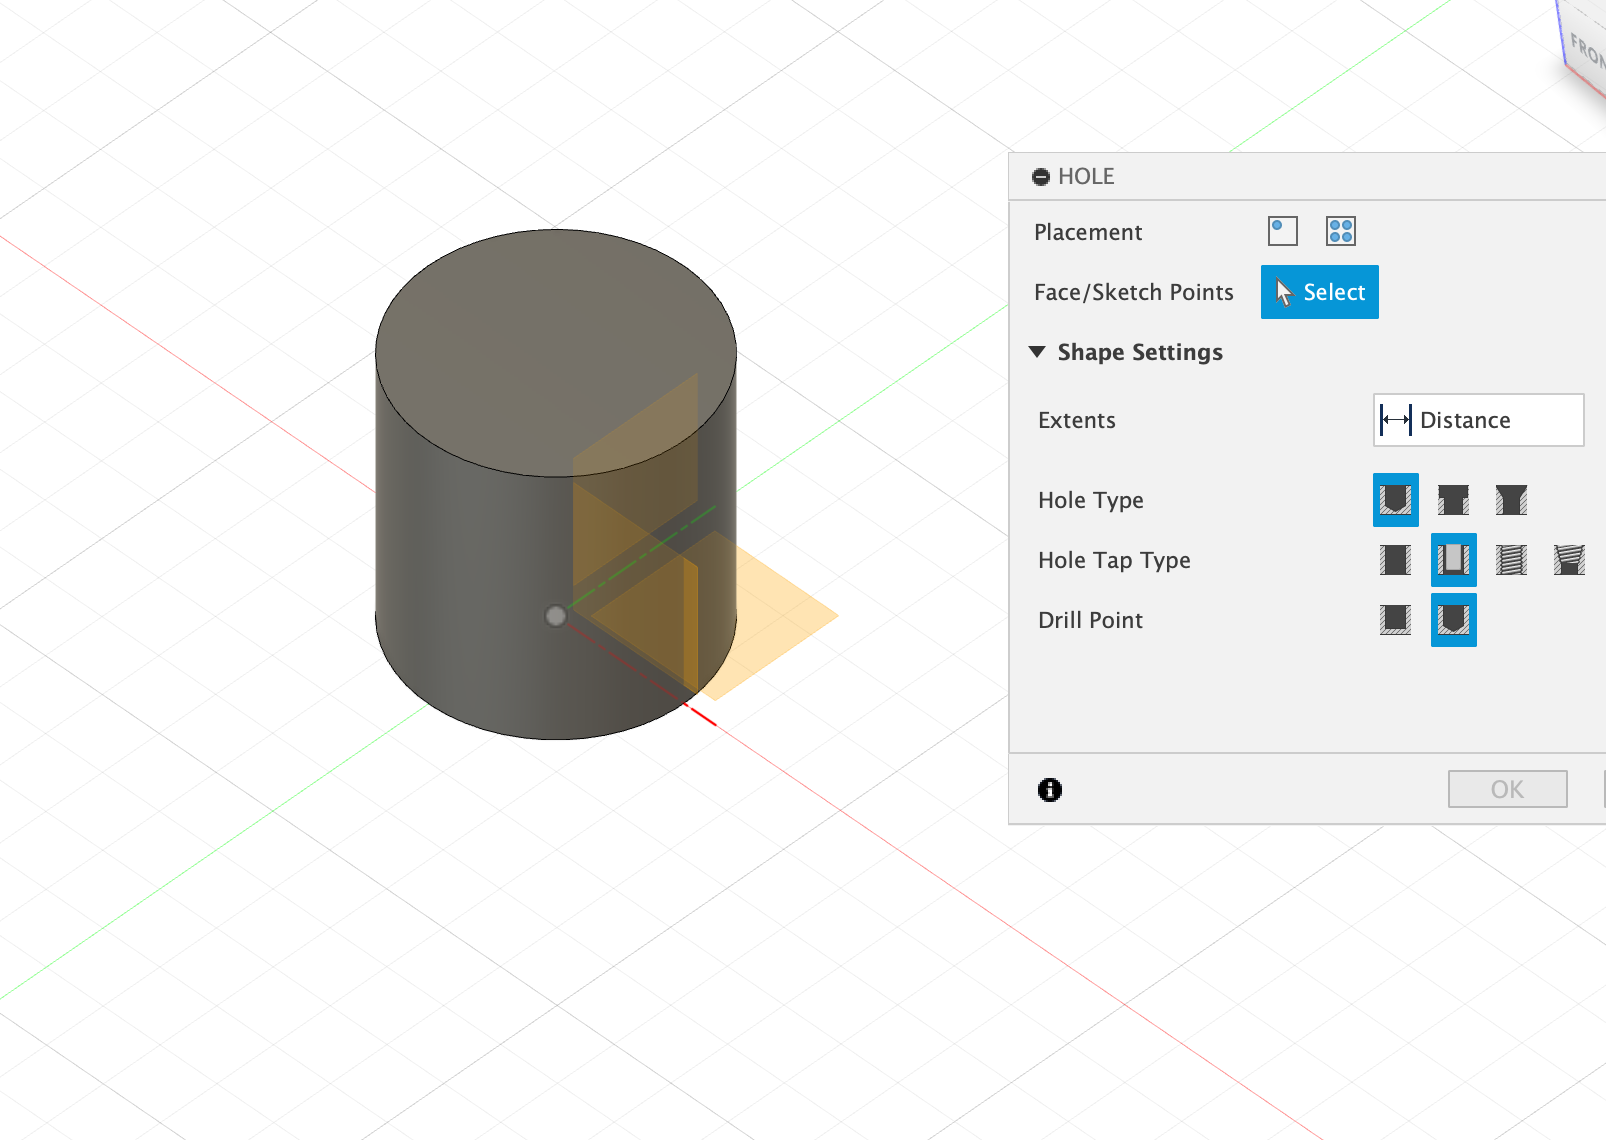
Draw a circle on the top face of the cube and extrude down (cut through). I made the diameter of the circle 20mm (the diameter of the glue stick is 19.76mm)
-
Done
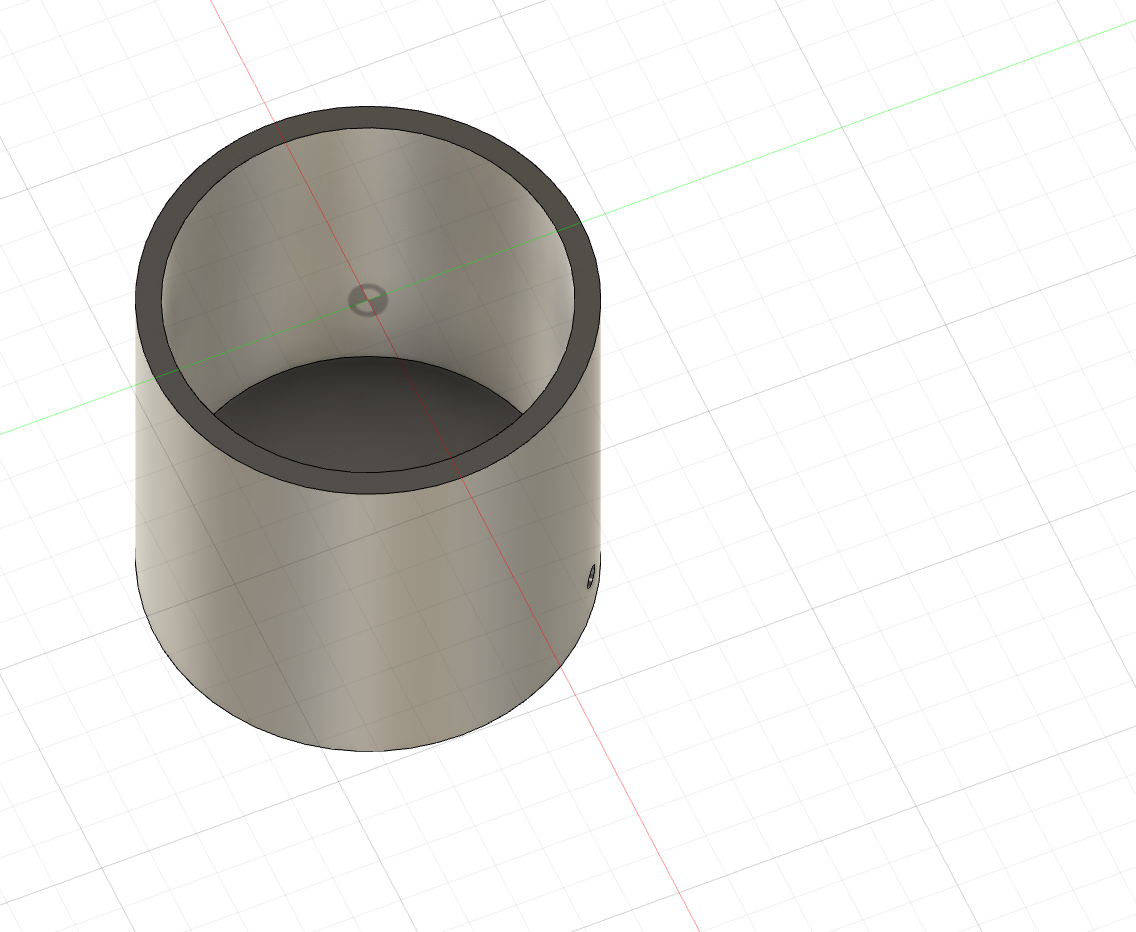
This worked pretty well -- I ran into some problems with drawing the circle on the correct face but figured it out. My first plan was to create a holder that would completely cover the height of the glue stick, but then I learned that it would take almost 3 hours to print. Because I didn’t yet know if the diameter of the tube would be correct, I just printed it to be half the height of the glue stick:


It took 1 hr 45 min to print:


I tried to set the glue stick in cap-first, which didn’t work. It was waaay too tight and I (with the help of Mat) had to twist pretty hard to get it out. I think the cap’s ridges made it difficult.

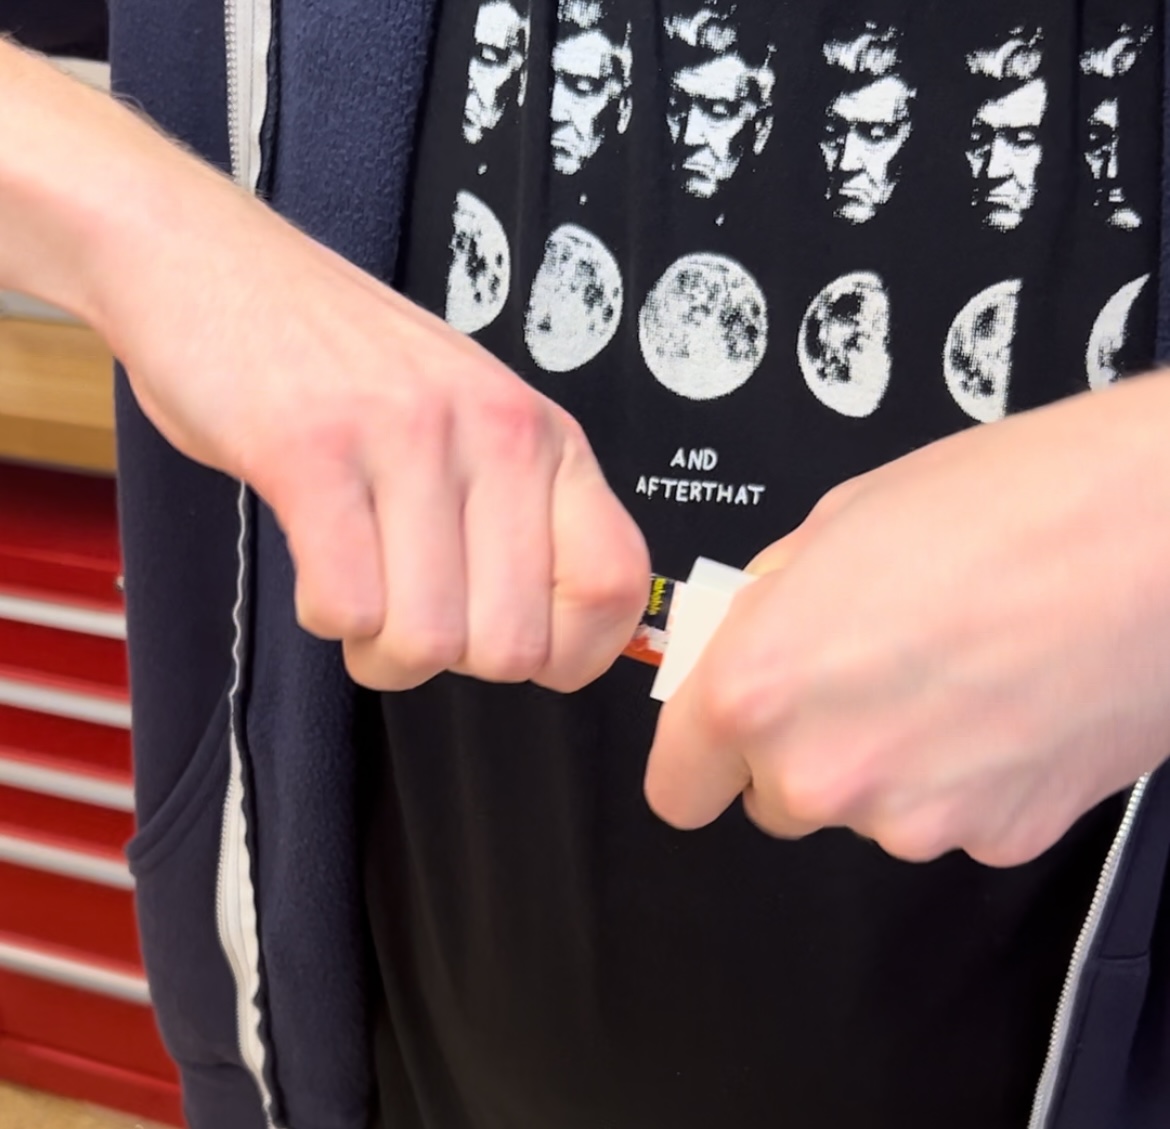
But then - to my complete & absolute shock - it works perfectly if I put it in the other way:
