Honey by the Numbers - Process
An educational toy & curiosity portal

PROCESS
Goal
Create an educational toy that teaches farmers market customers about bees and honey.Brainstorming
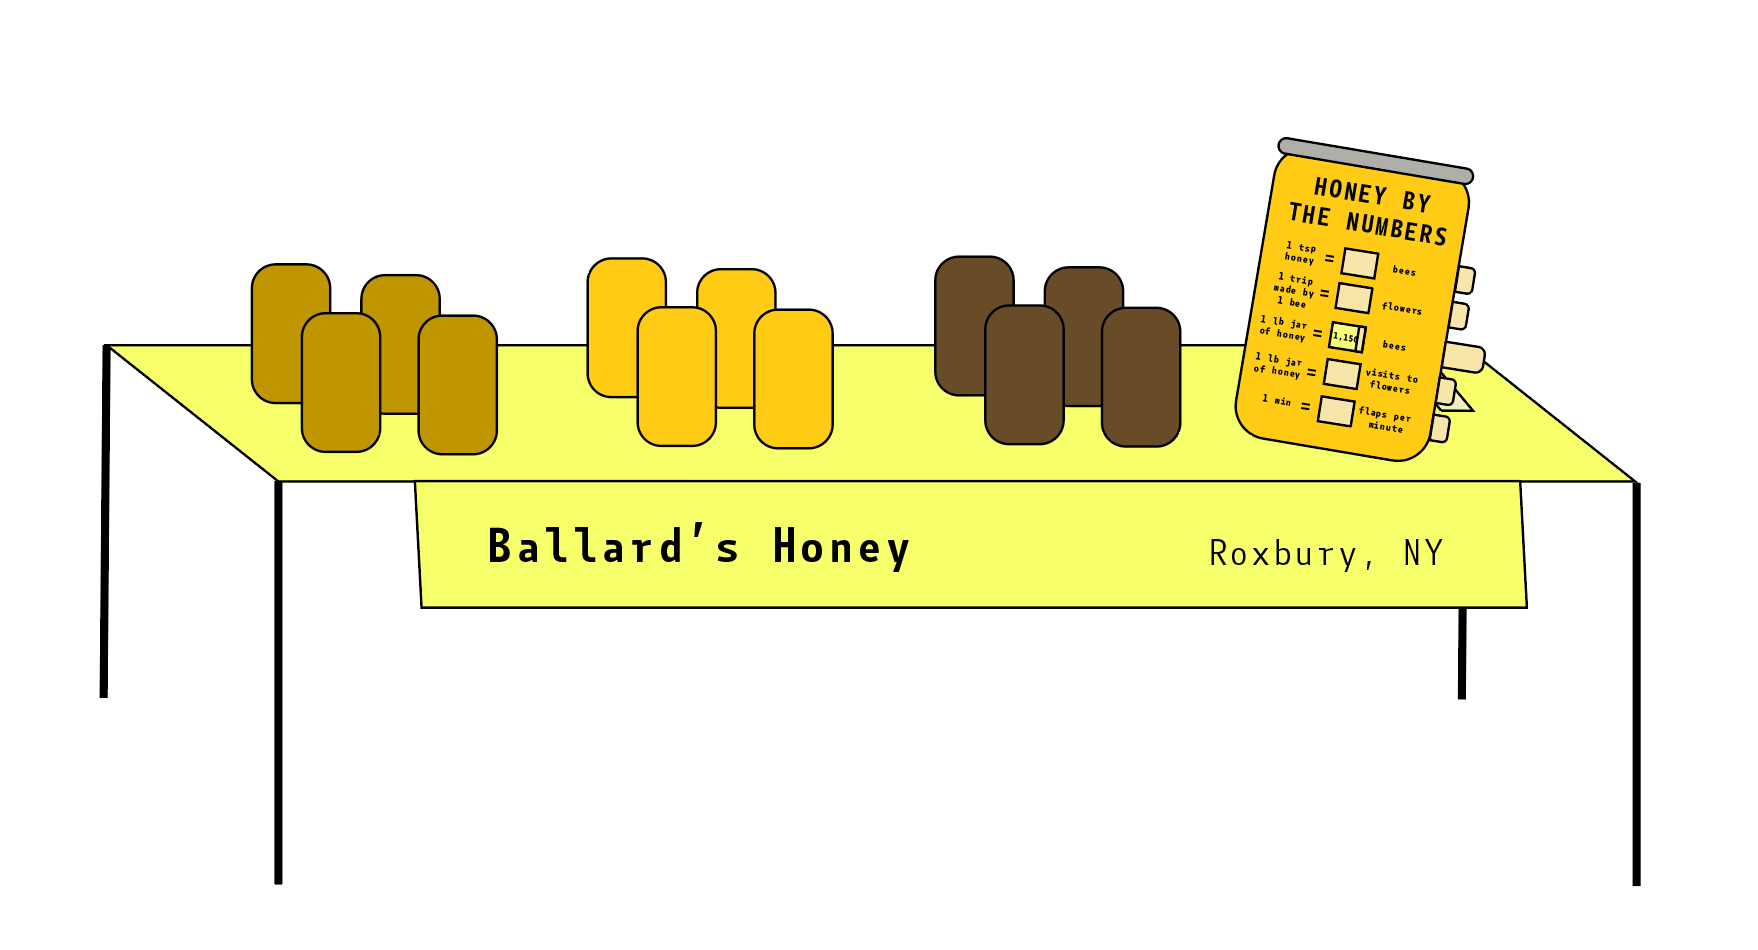
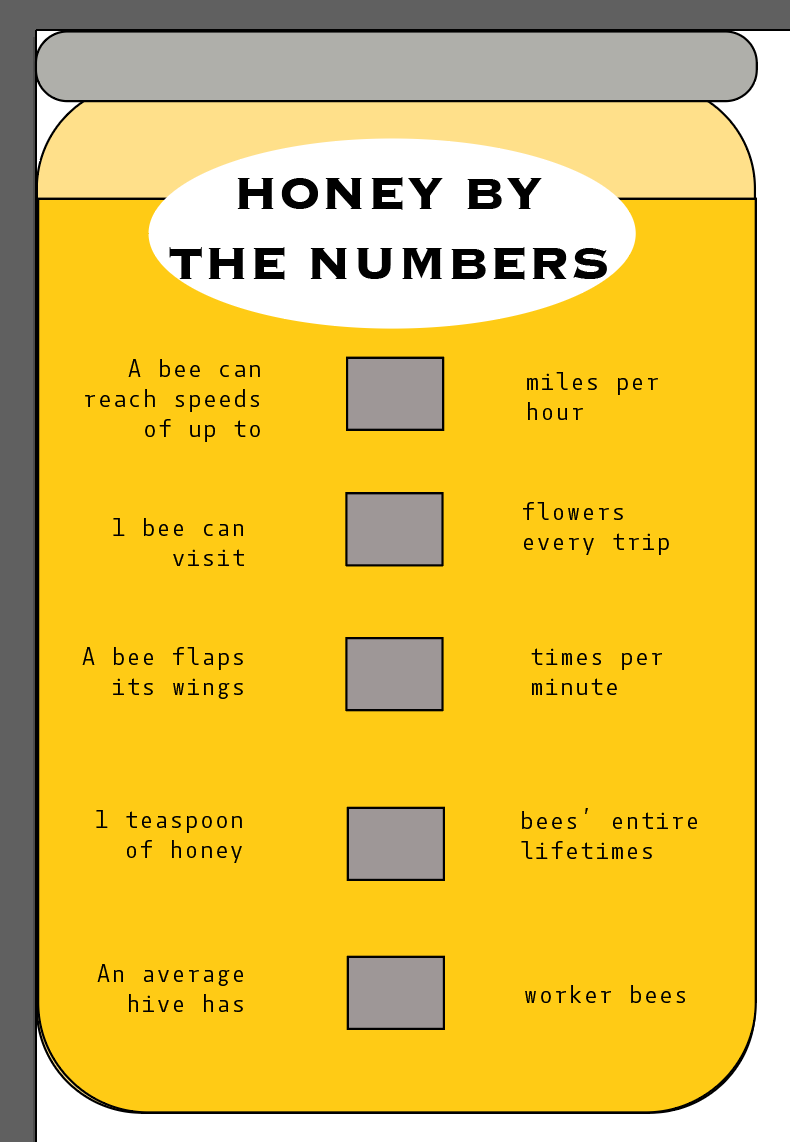
For my curiosity portal, I wanted to create something that would live at the farmers market where I work, selling honey for a farm in upstate New York. I get a lot of questions from customers about how the honey is made, how many bees are at the farm, and how long it takes to make the honey. I created Honey by the Numbers to answer some of these questions. I also wanted it to act as a way for people to reflect on how much work goes into getting this jar of honey all the way from the flowers to the market in Downtown Brooklyn. I did some research and learned some really interesting facts, and then had the idea to create a toy that invited people to guess the missing number, and then pull a tab to learn the answer.


Prototypes
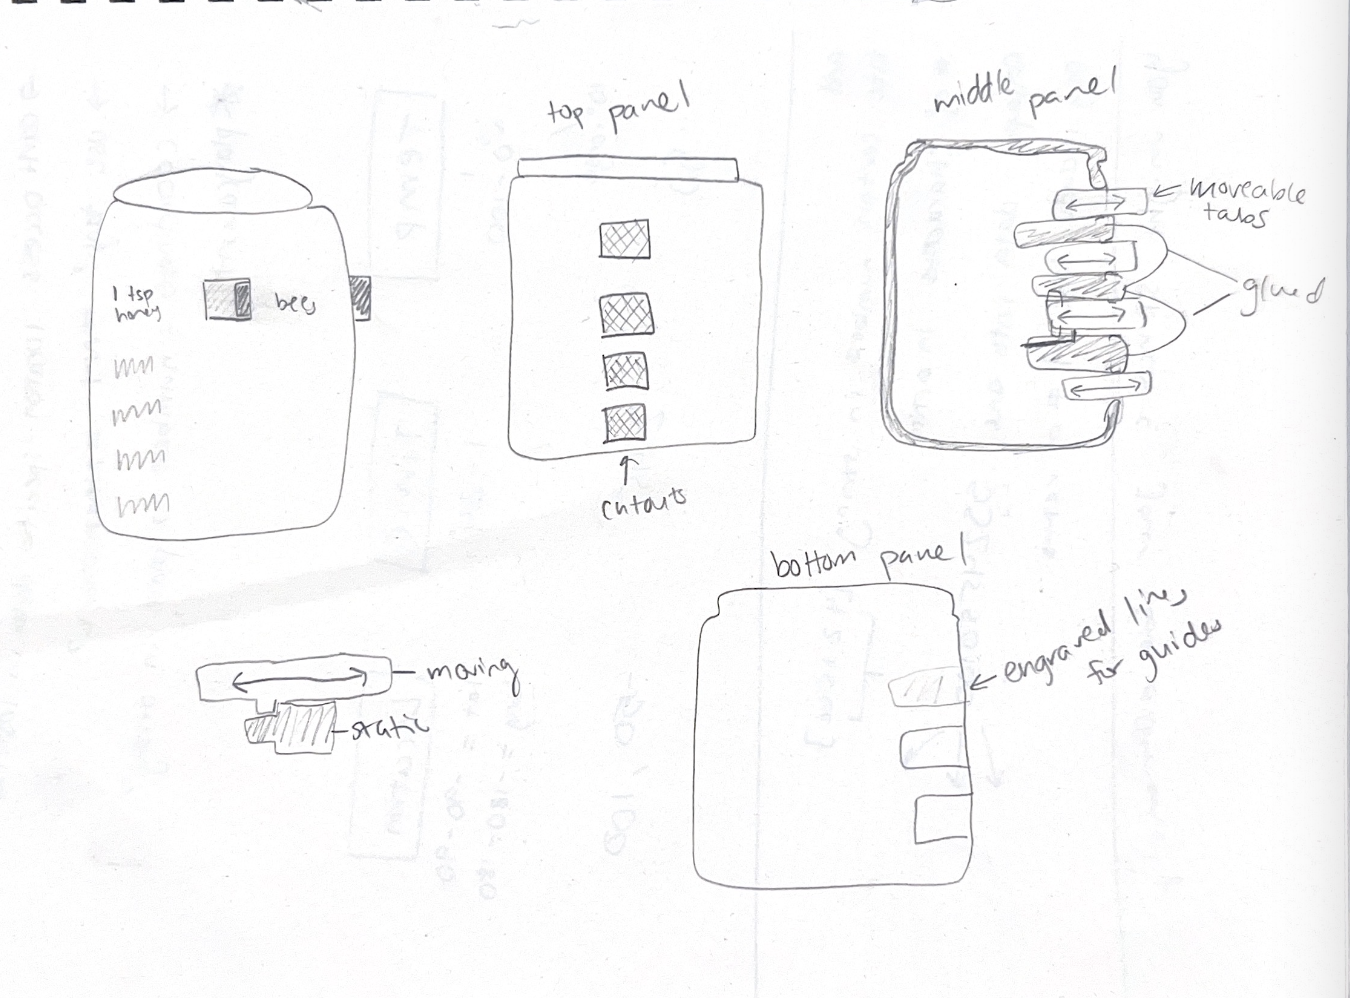
I created this prototype out of paper to get an idea for size


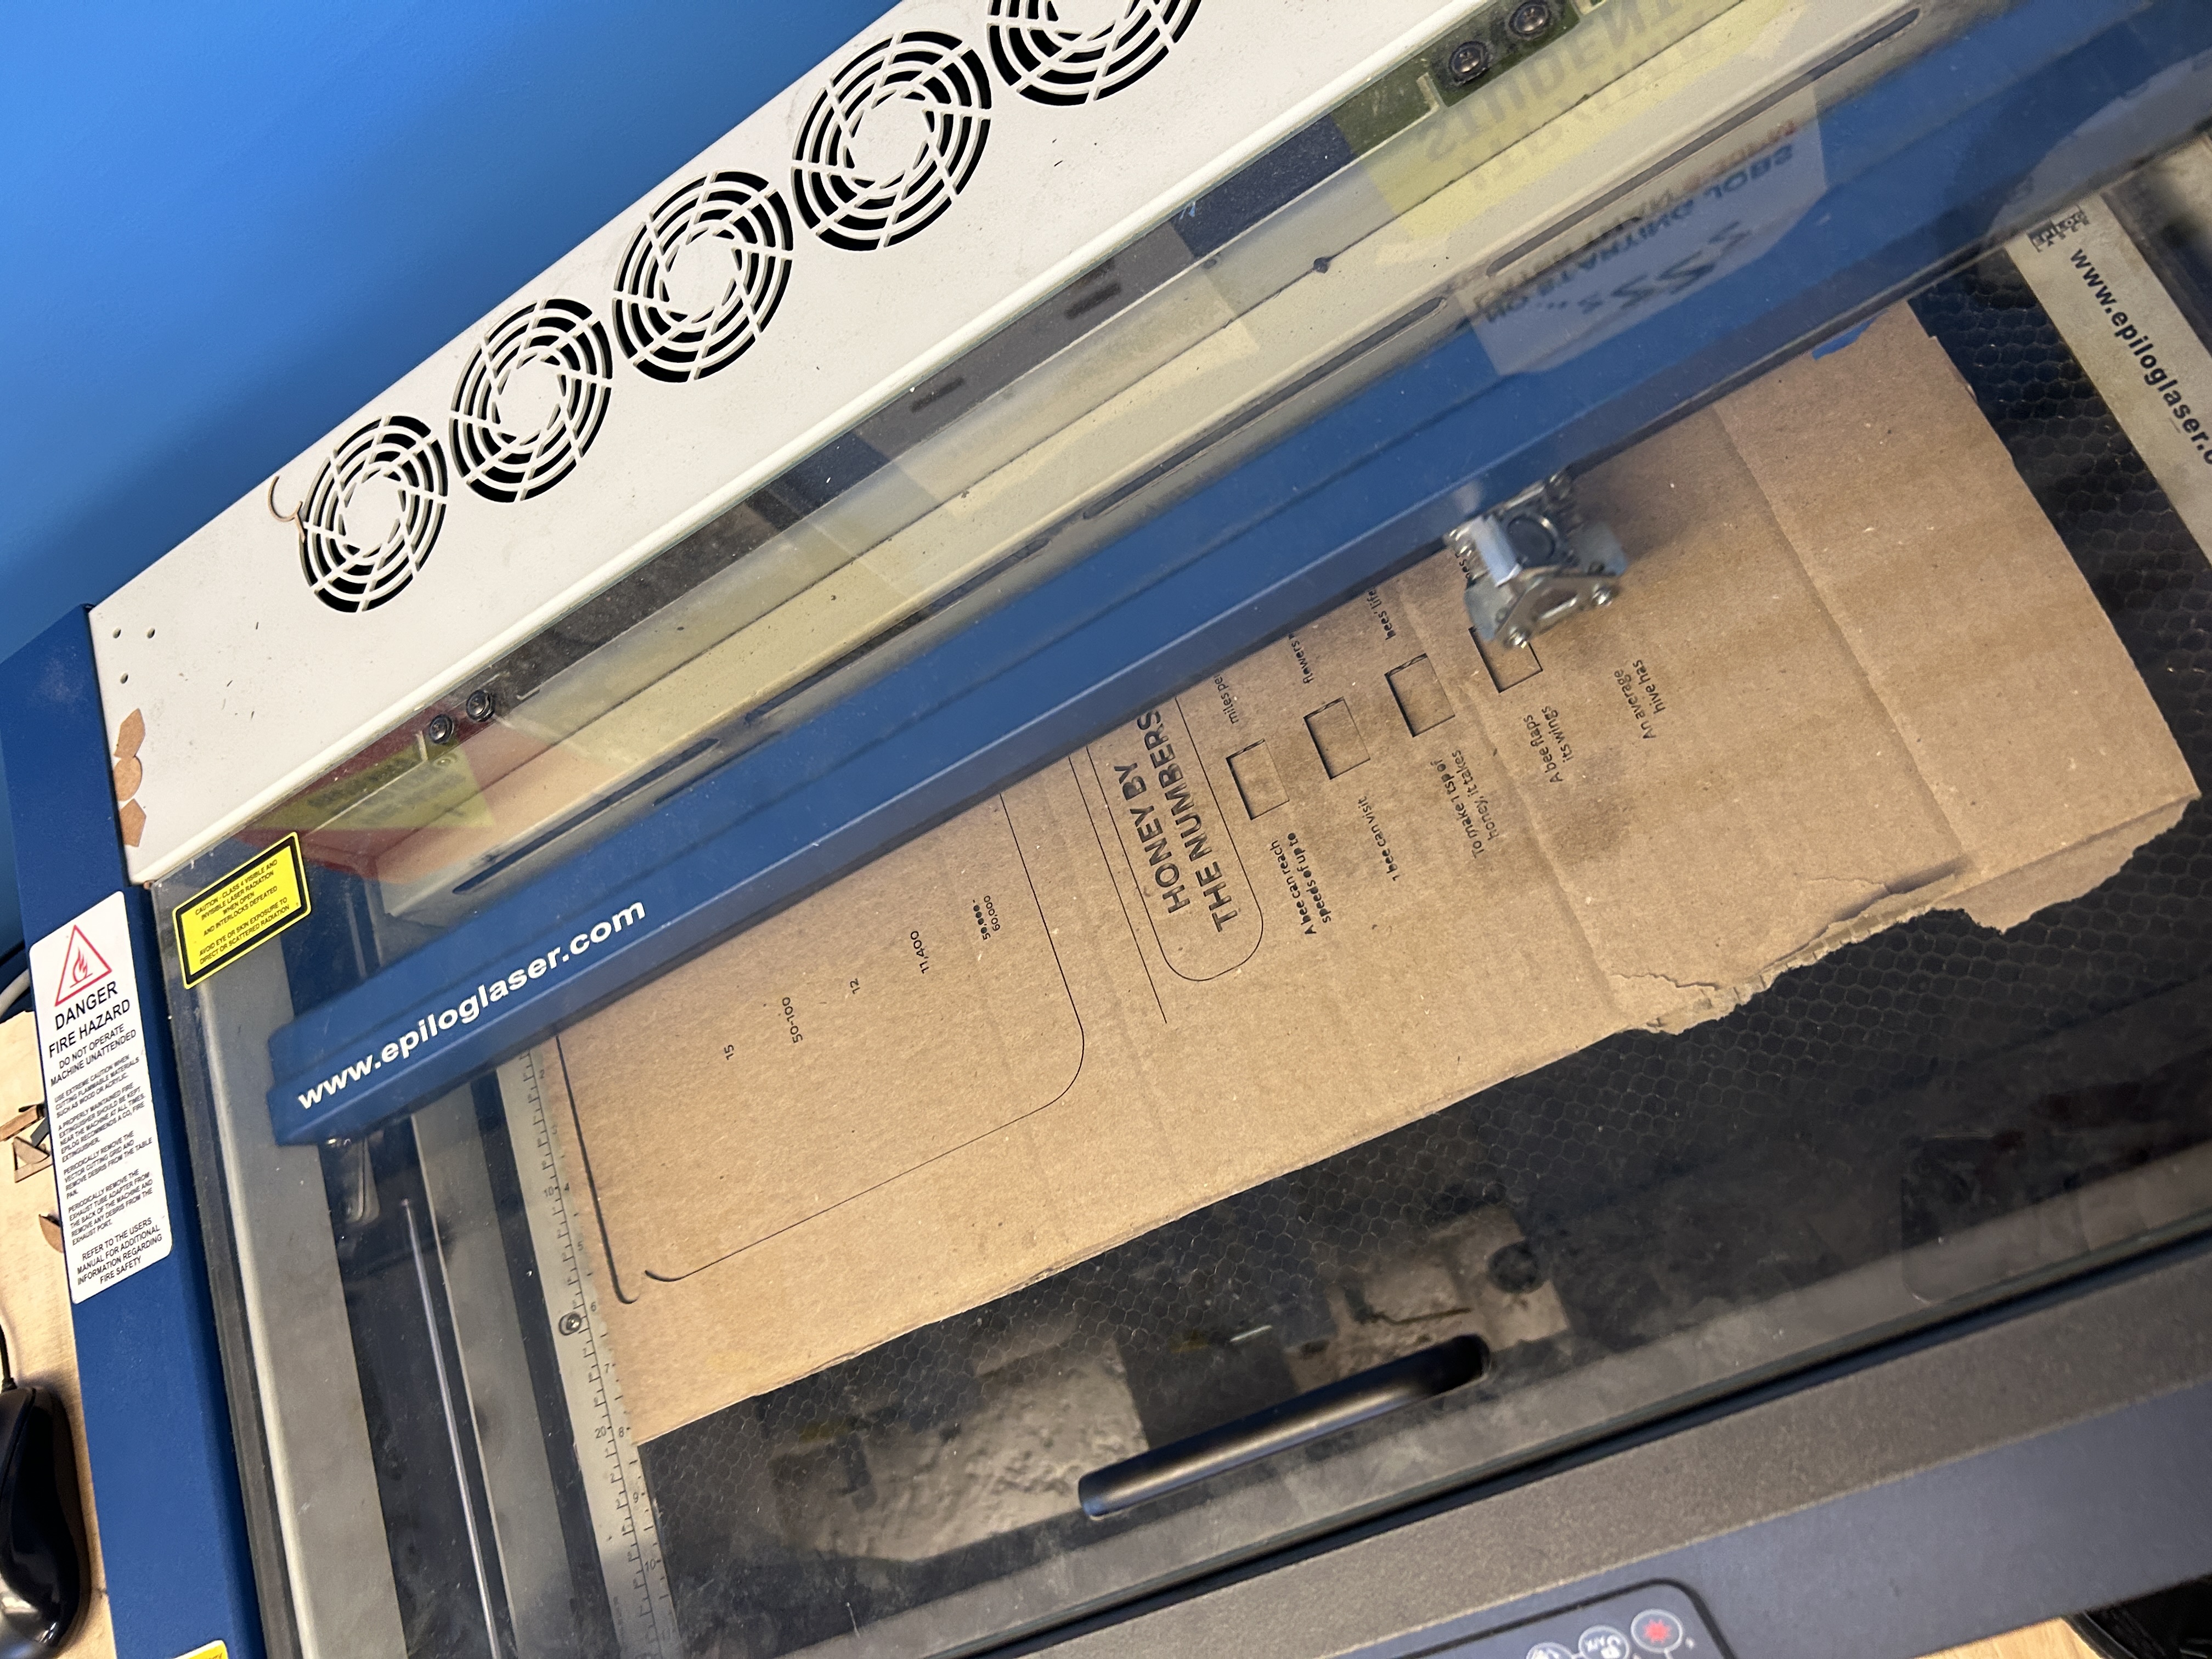
I knew I wanted the final version to be made out of wood, so I made a new prototype out of cardboard, which would act more like wood dimension-wise.
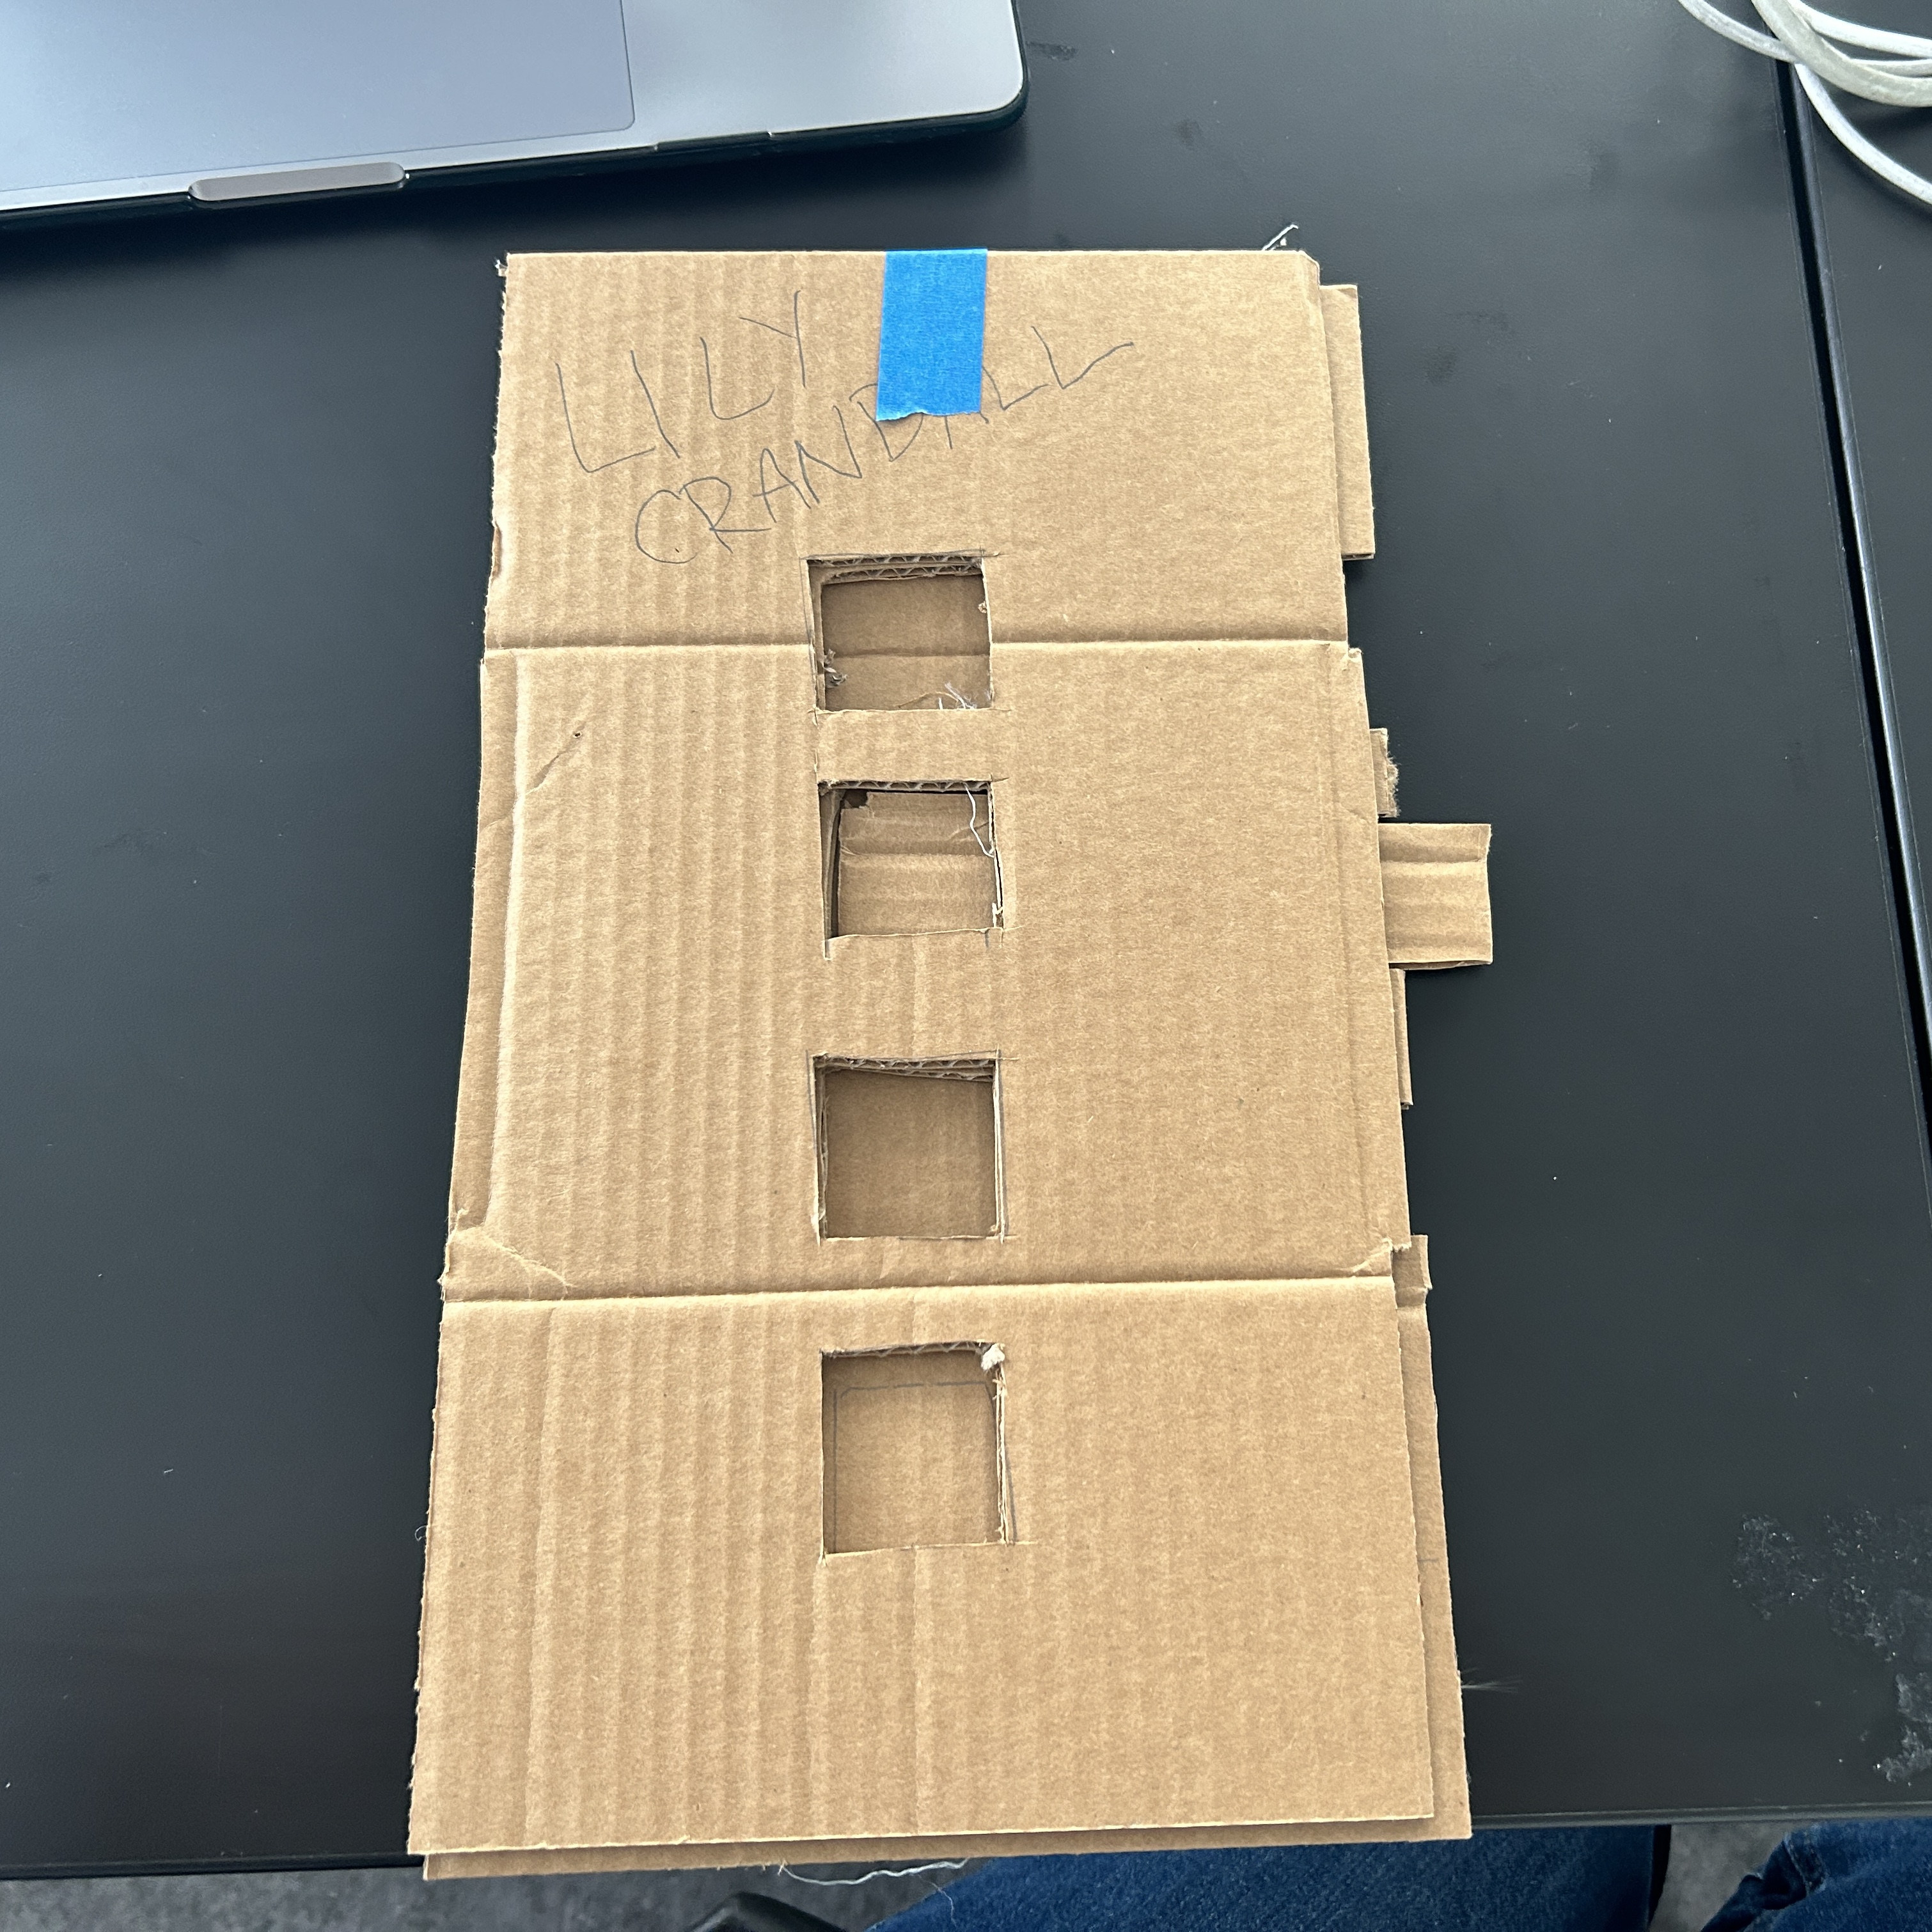


Then, I took it into Illustrator to make the design for the laser cutter.

And then I cut it out of cardboard:

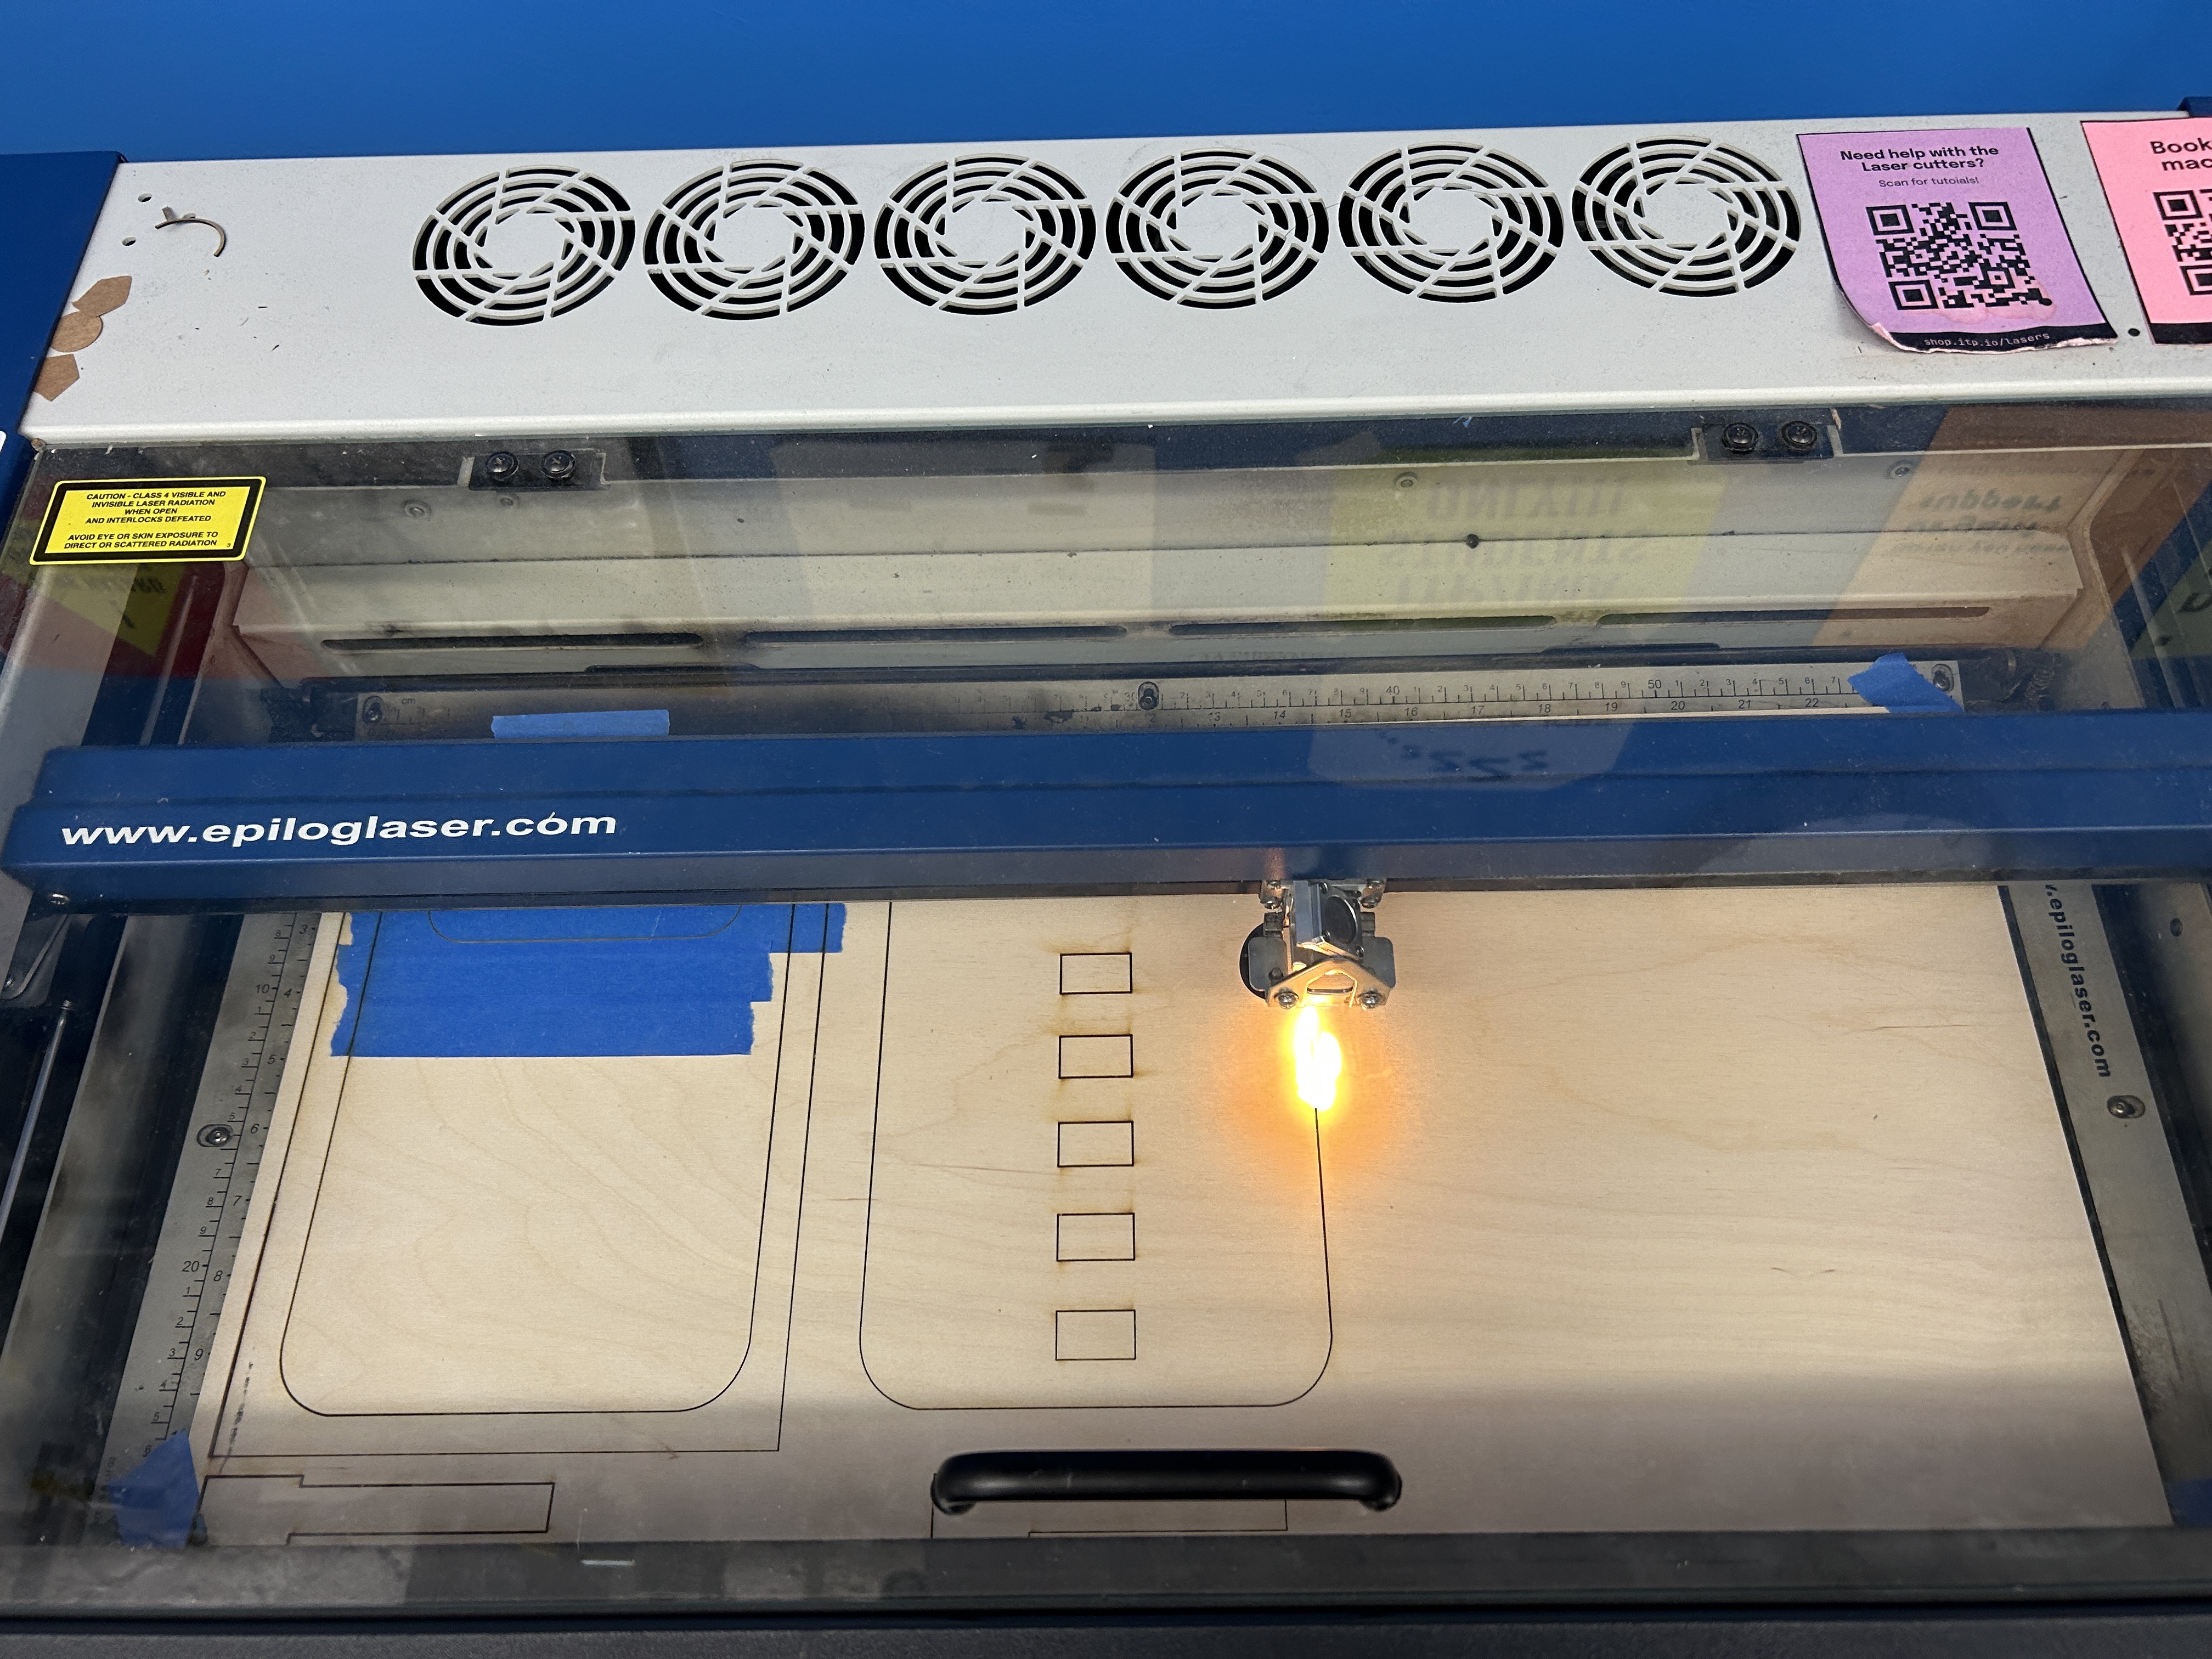
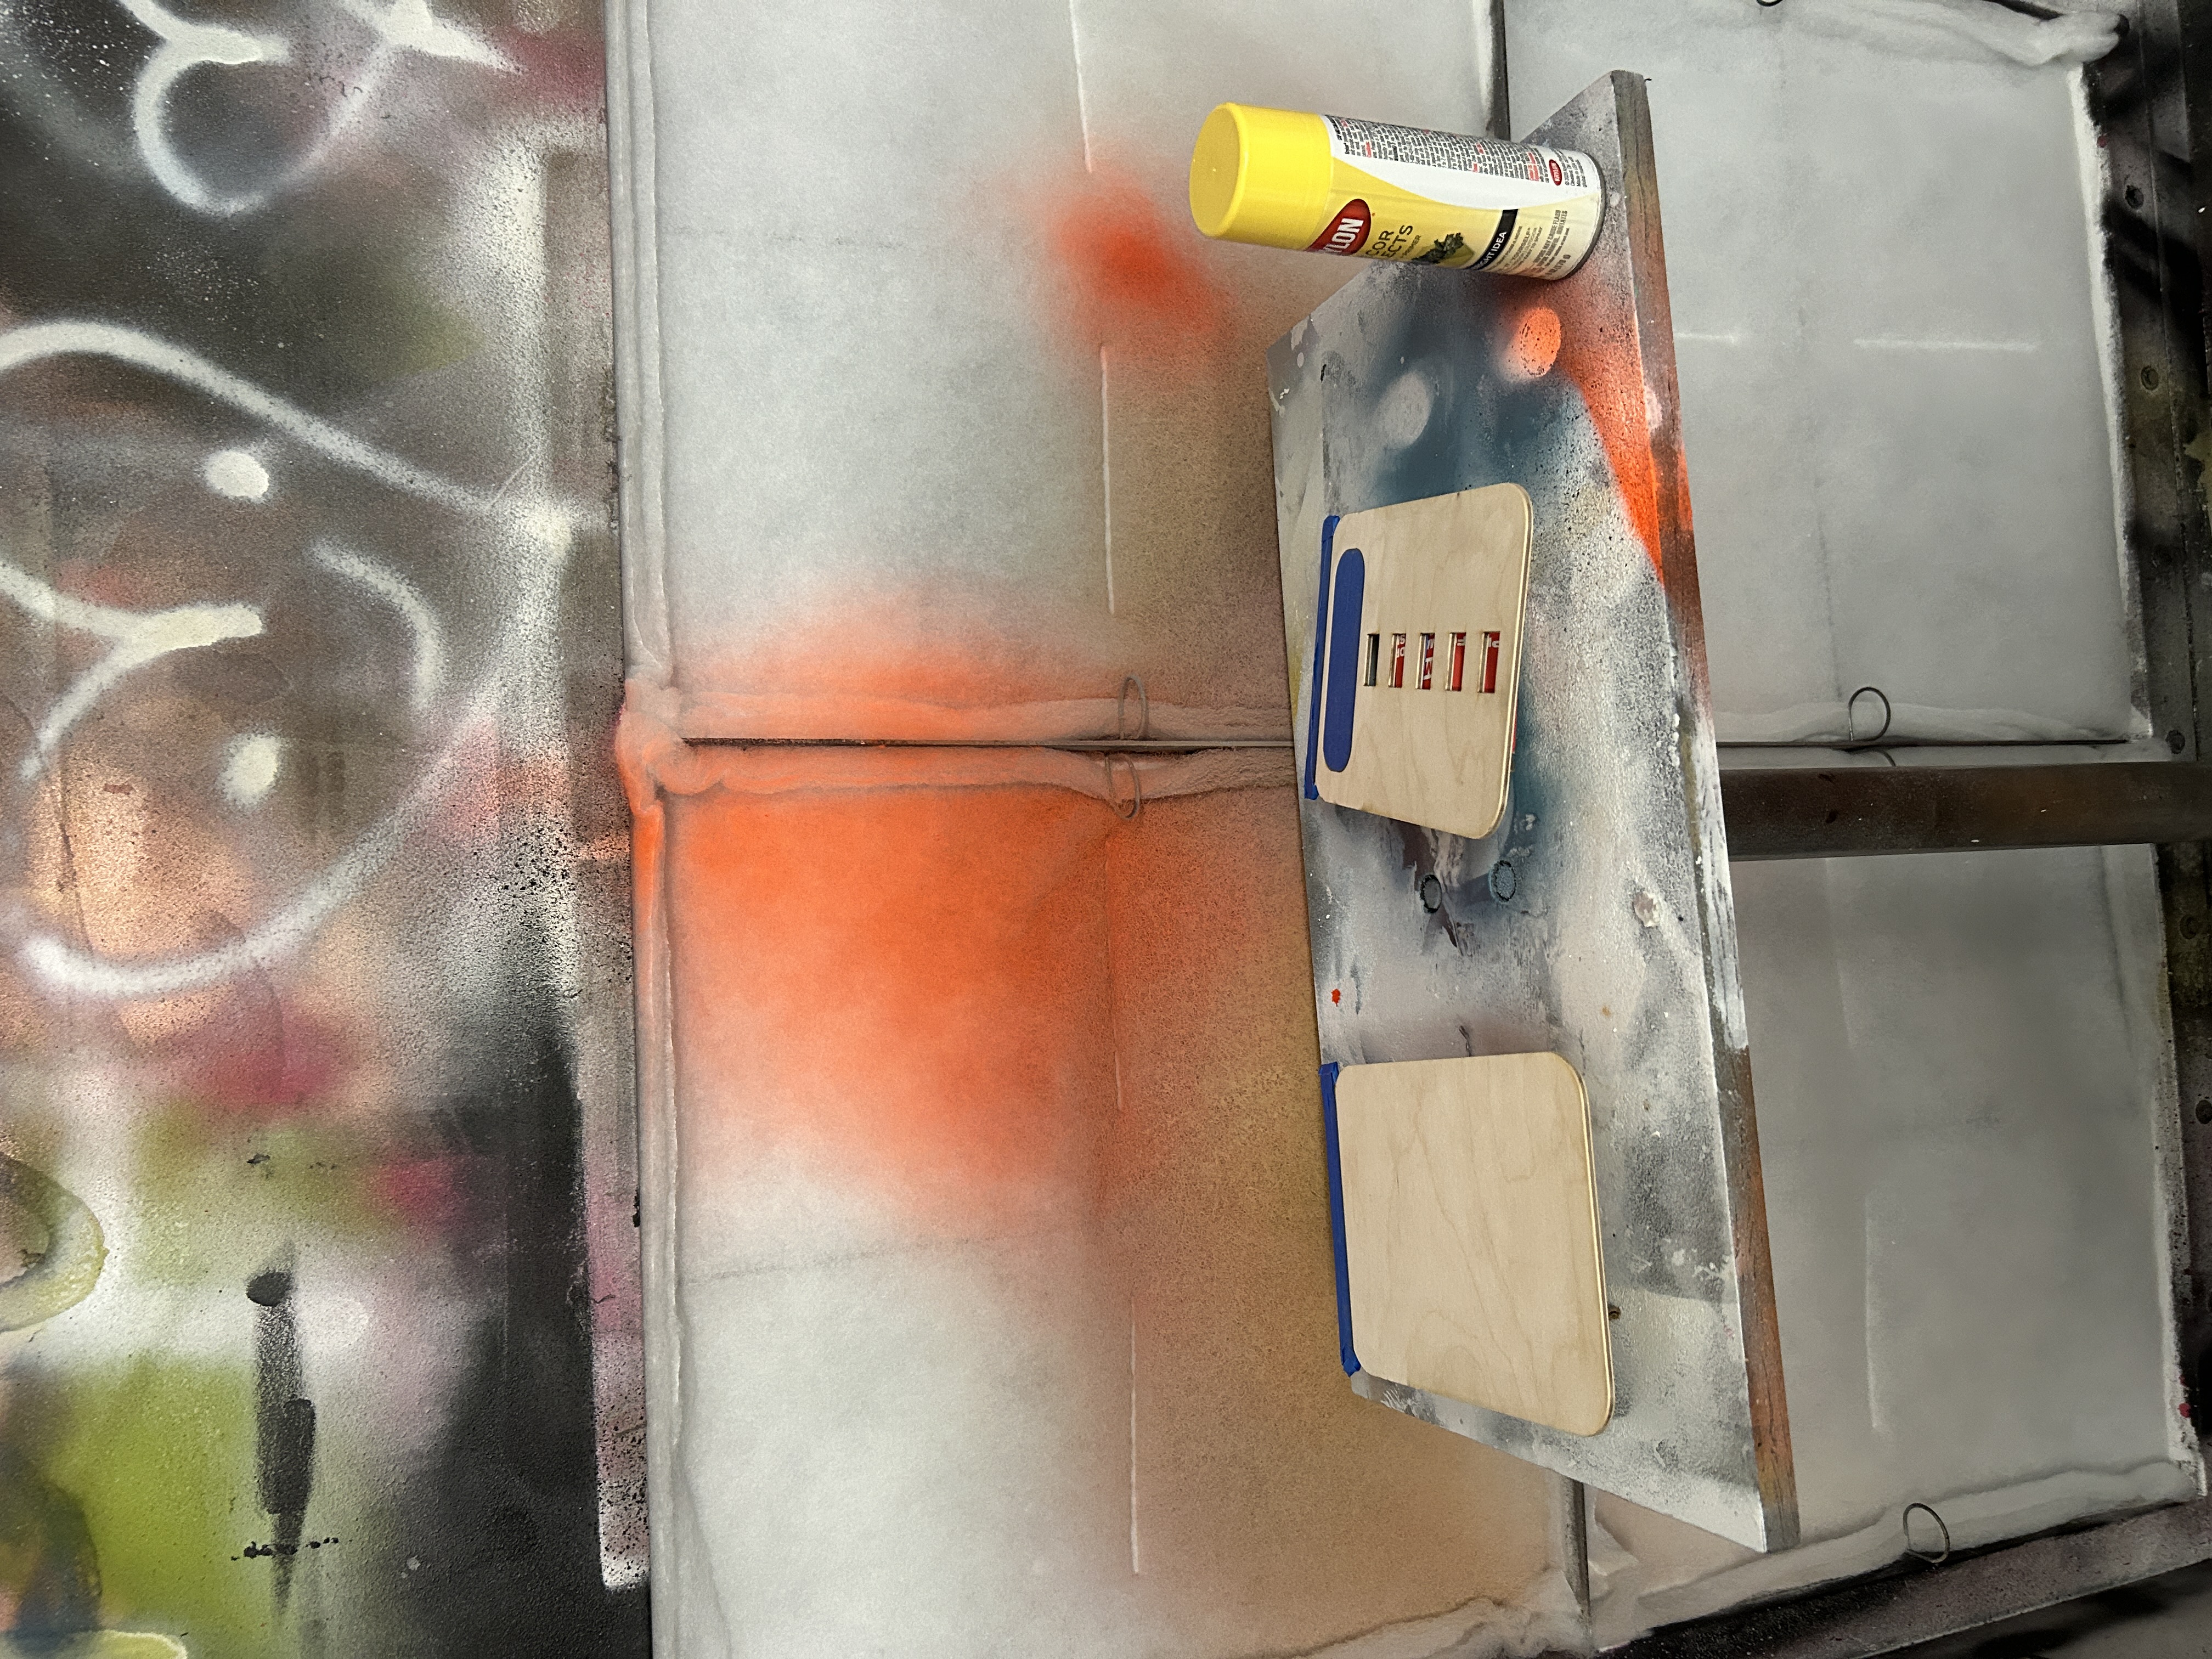
I liked the size and how the tabs moved, so I moved on to wood. Because I knew I wanted to paint the lid of the jar & the label a different color, I made a makeshift stencil bu putting tape over the places it would engrave, so I could paint around those sections easily.

Once I had that done, I sanded down the burn marks as best as I could and moved onto painting.


Next, I painted the label section white, and left to dry overnight before adding the text using the UV printer. I got some white paint on the yellow part which was entirely distressing. Some had gotten on my watch and I rested my wrist on it : ( I was able to get it out for the most part.


The UV printer is pretty cool. It took some time to set up the files correctly and for the machine itself to warm up, though. First, we did a test run on the wood prototype in white ink to make sure the spacing was correct. It was.

Then, I did one pass of the white ink on the real deal version (to make the black ink look better) and then did 2 rounds of black ink, and one round of gloss. I really love the effect the UV printer is able to create, and it has a nice texture as well.


I ended up just using double-stick tape to adhere the layers together for now. Here’s the end result!