

PROJECT 3: Crazy Cube
I worked with Elif Ergin for this project.

PROPOSAL

What we need:
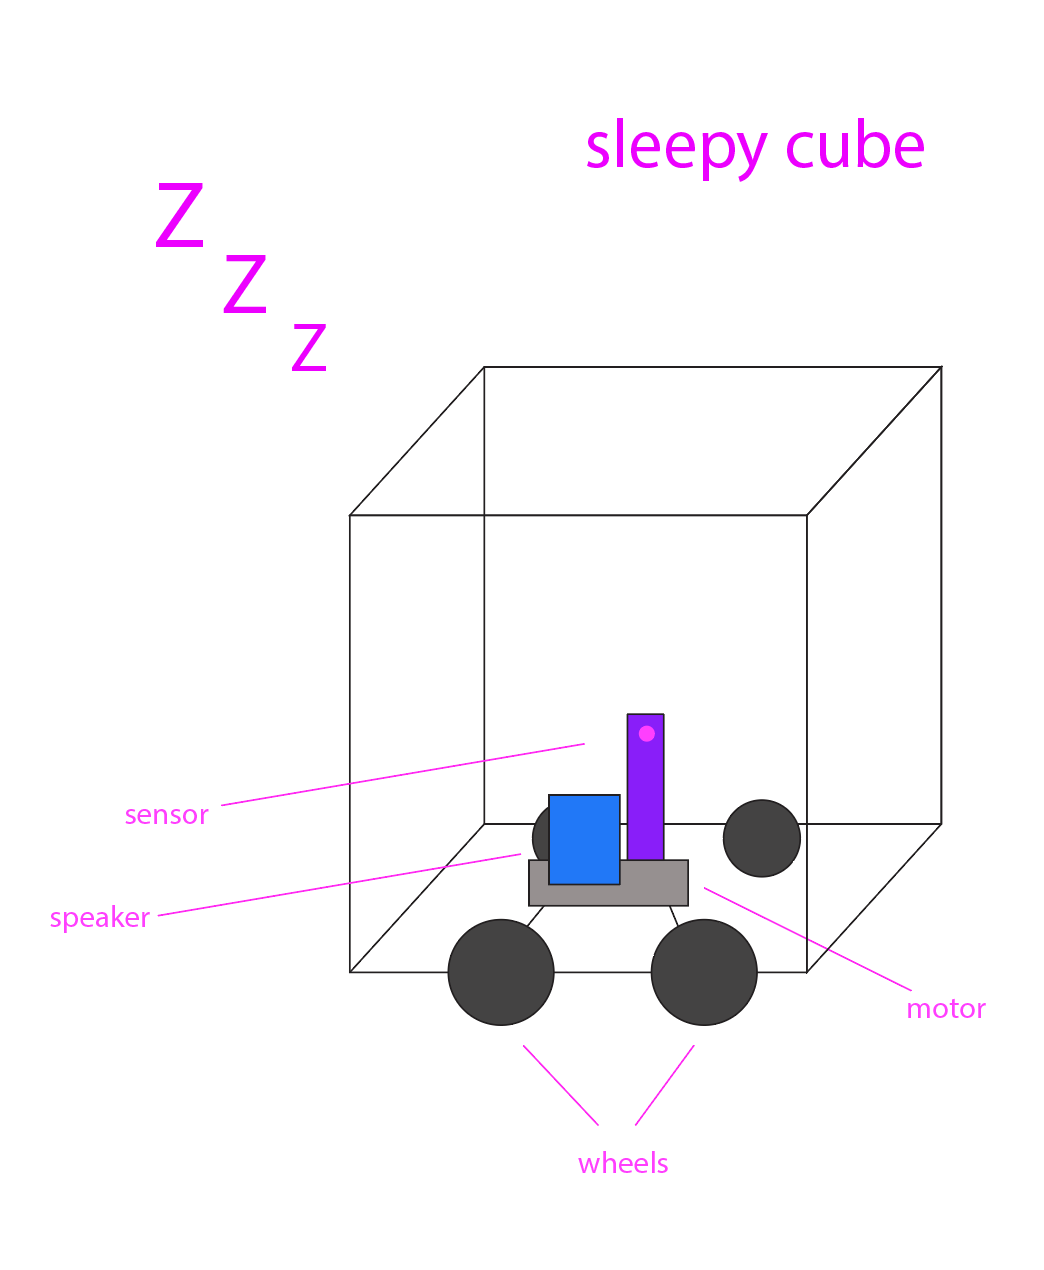
- Sensor that detects if someone is close by & measures distance- Motor to move the wheels
- speaker to play audio (snoring)
DAY 1: Choosing a sensor & getting the motors to work
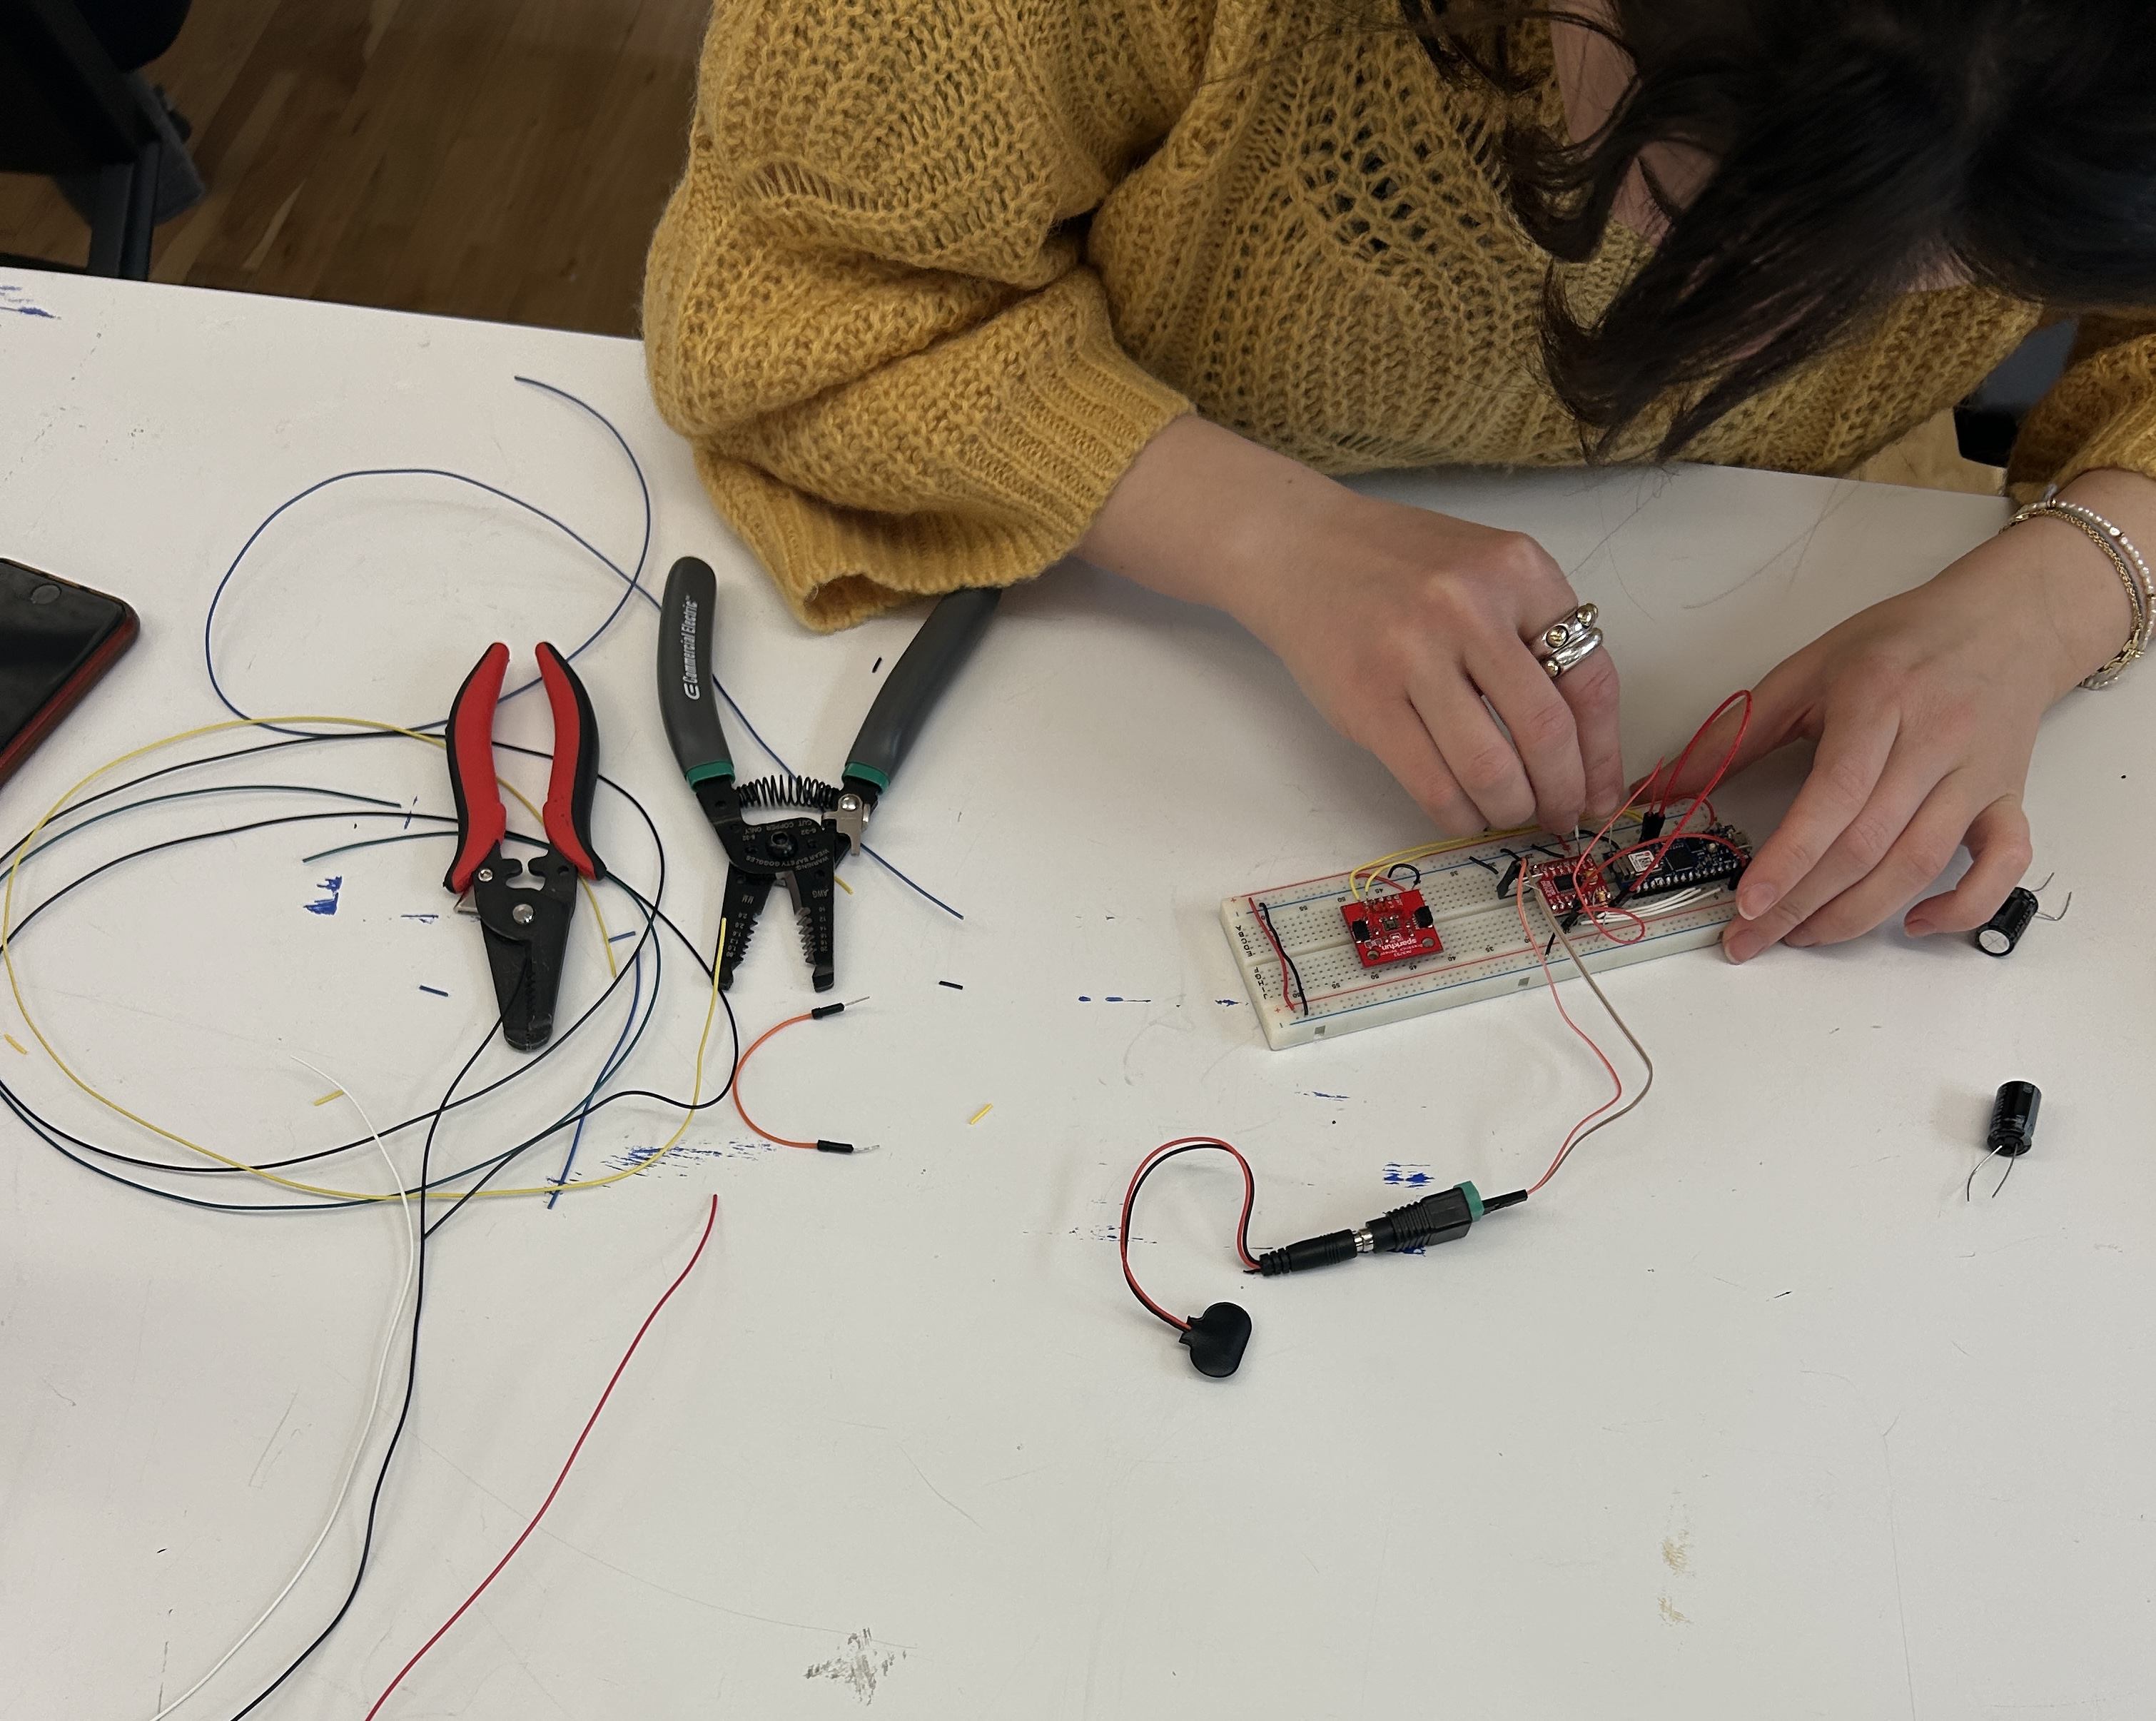
Today Elif and I worked on getting the motor system to work, as well as test out the presence sensor we decided to use for this project.
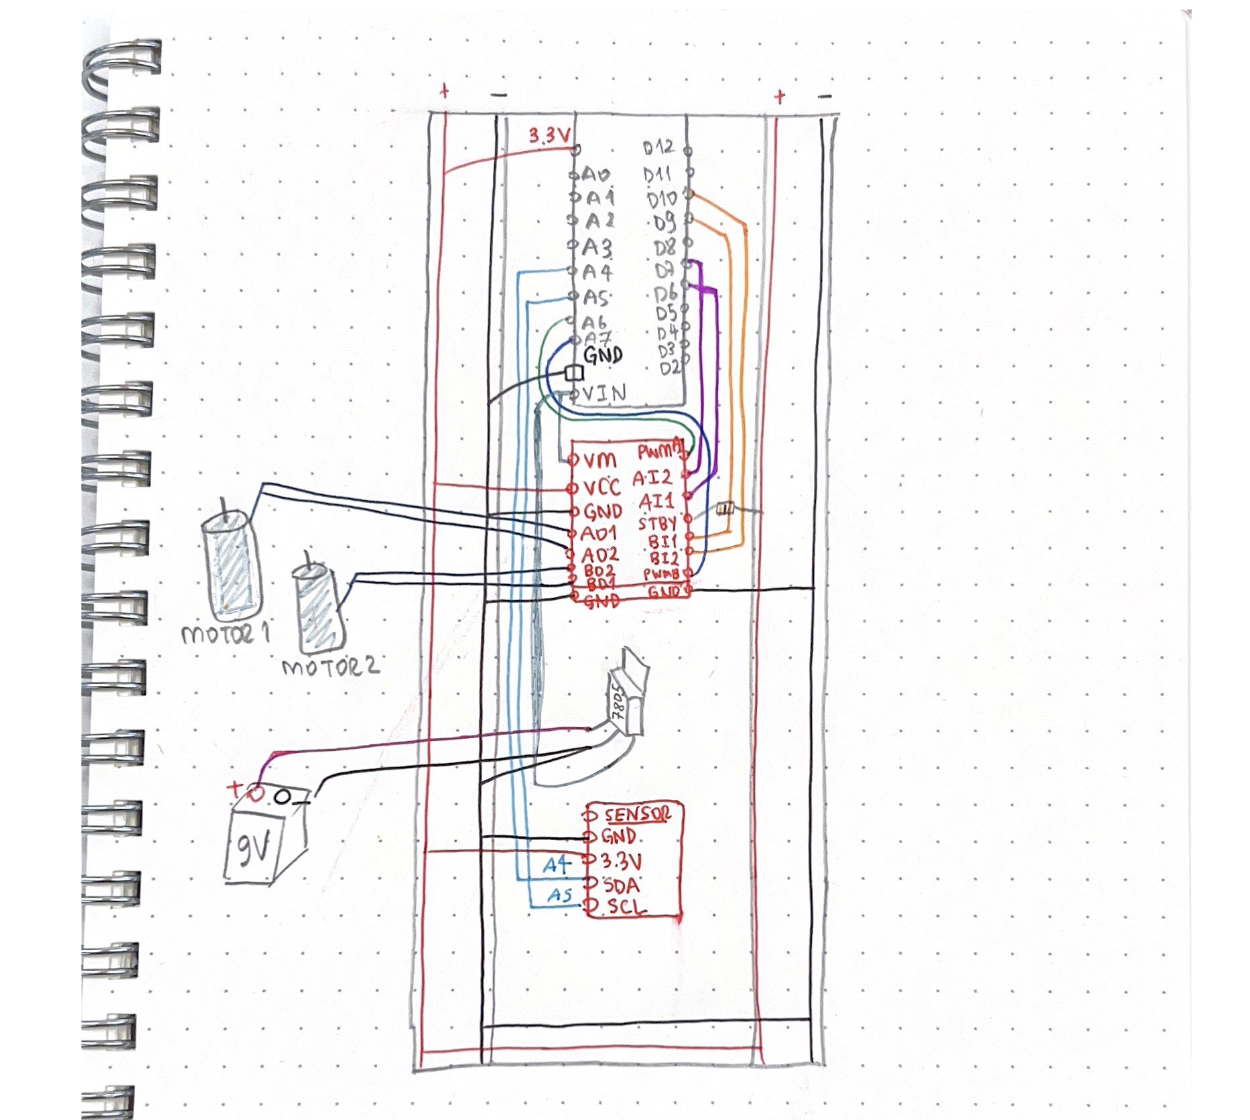
We put together the circuit using two H-bridges so that the motors could work independently of each other (so the car could turn). We connected 2 buttons to test out the motors before trying to connect the sensor.


After that, we combined the two sketches so we got sensor data and the wheels on the motor to move.
DAY 2: Movement!
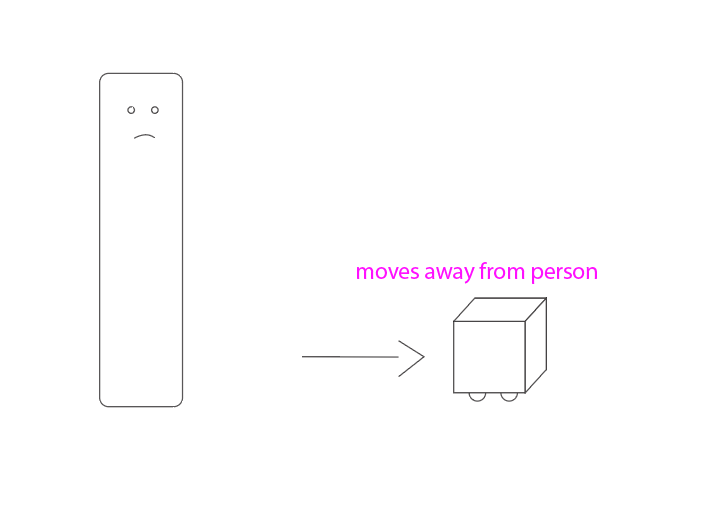
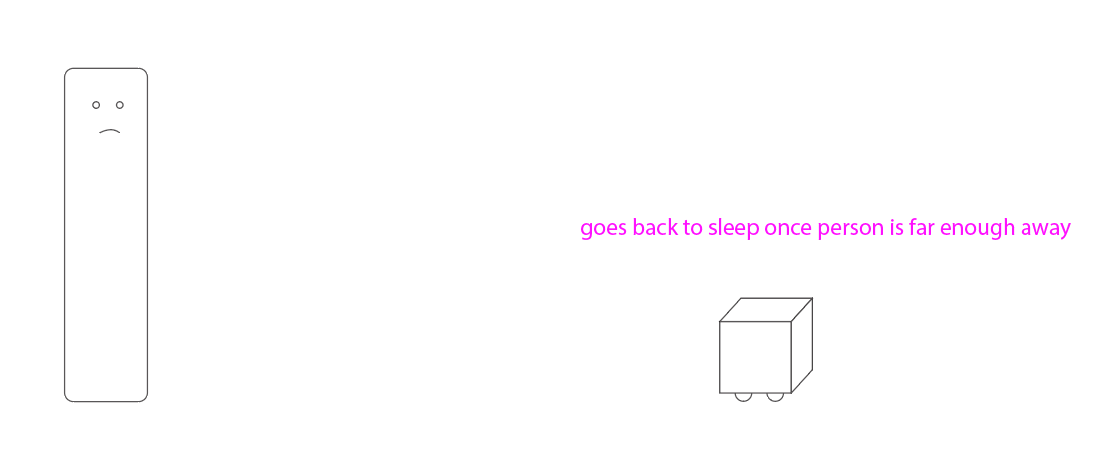
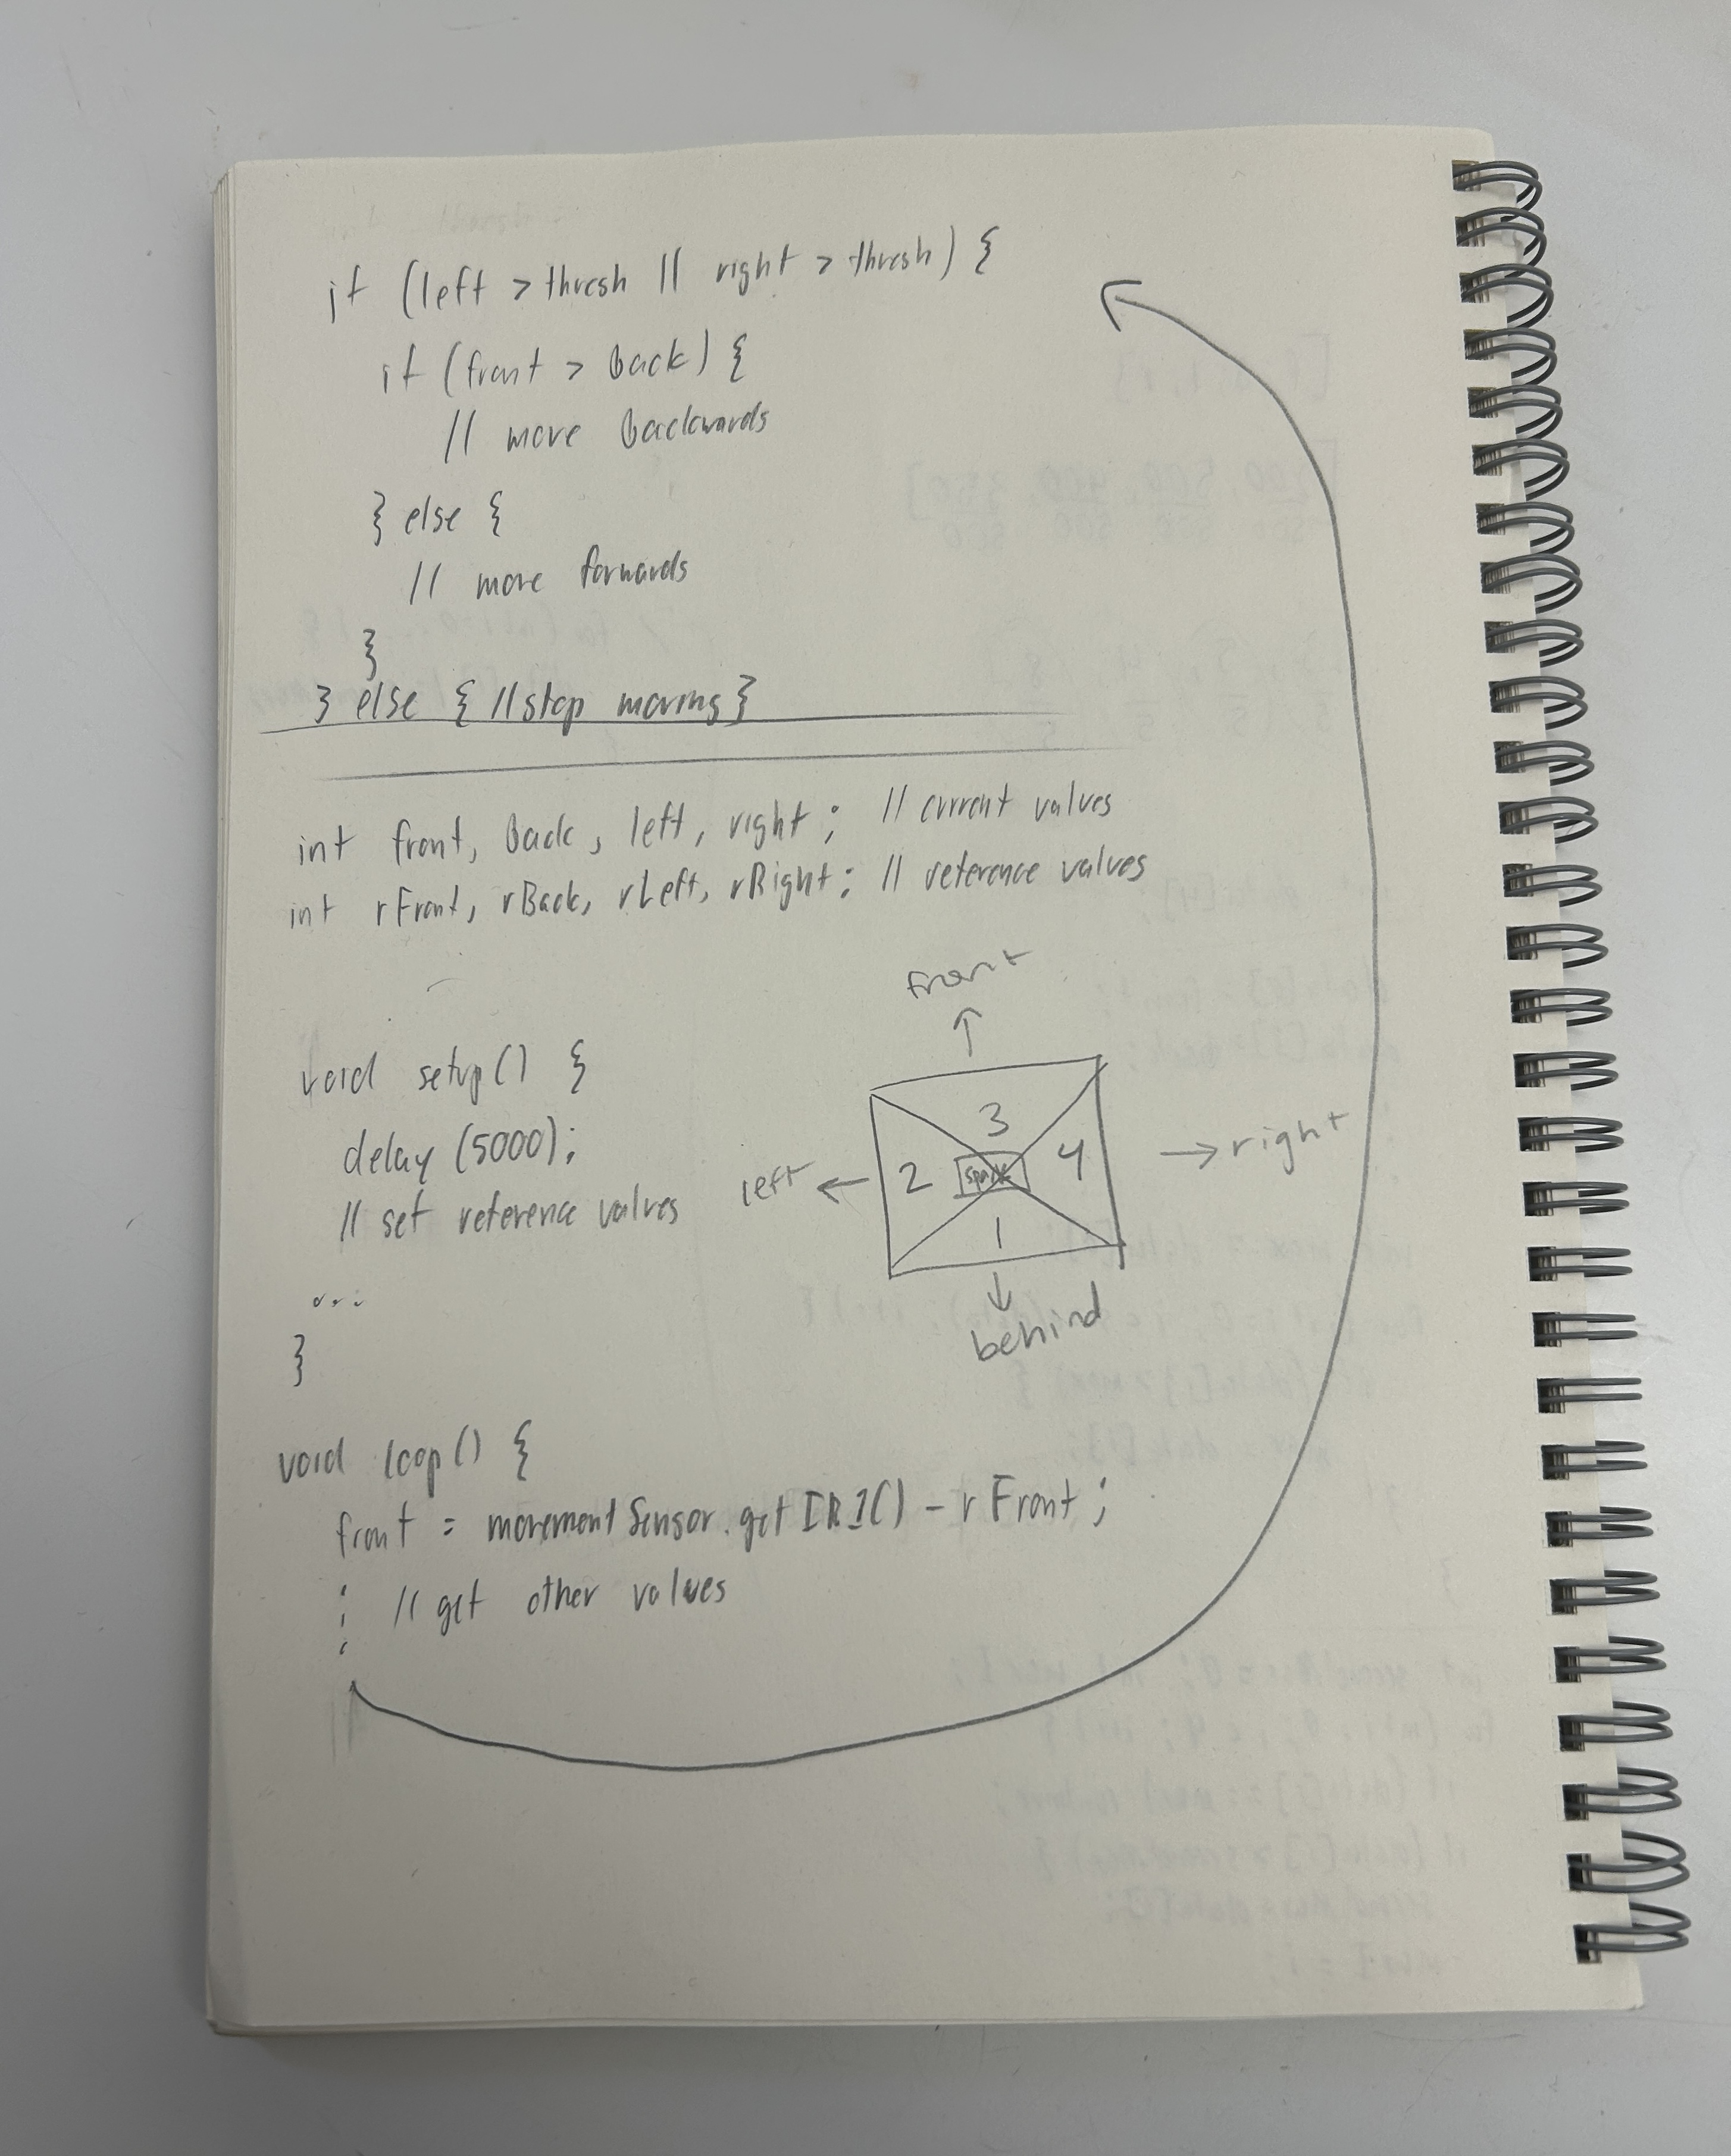
Yonatan helped us figure out the best way to write the logic for the code. We decided that instead of having it move in 4 directions, we’d start with it just moving forward and backward, but always away from the person nearby.

DAY 2: Movement, but not the right way
Today we worked on the code a little bit. The issue we ran into is that the moveForwards function works great, but there’s something with the moveBackwards code that doesn’t work. When that function is called, only one of the wheels turns. We tried switching the pins, using new wires, restarting everything, but nothing worked.
Left: movement on the table, somewhat working.
Right: alternating between moveForward and moveBackward, but only one of the wheels turns for moveBackward
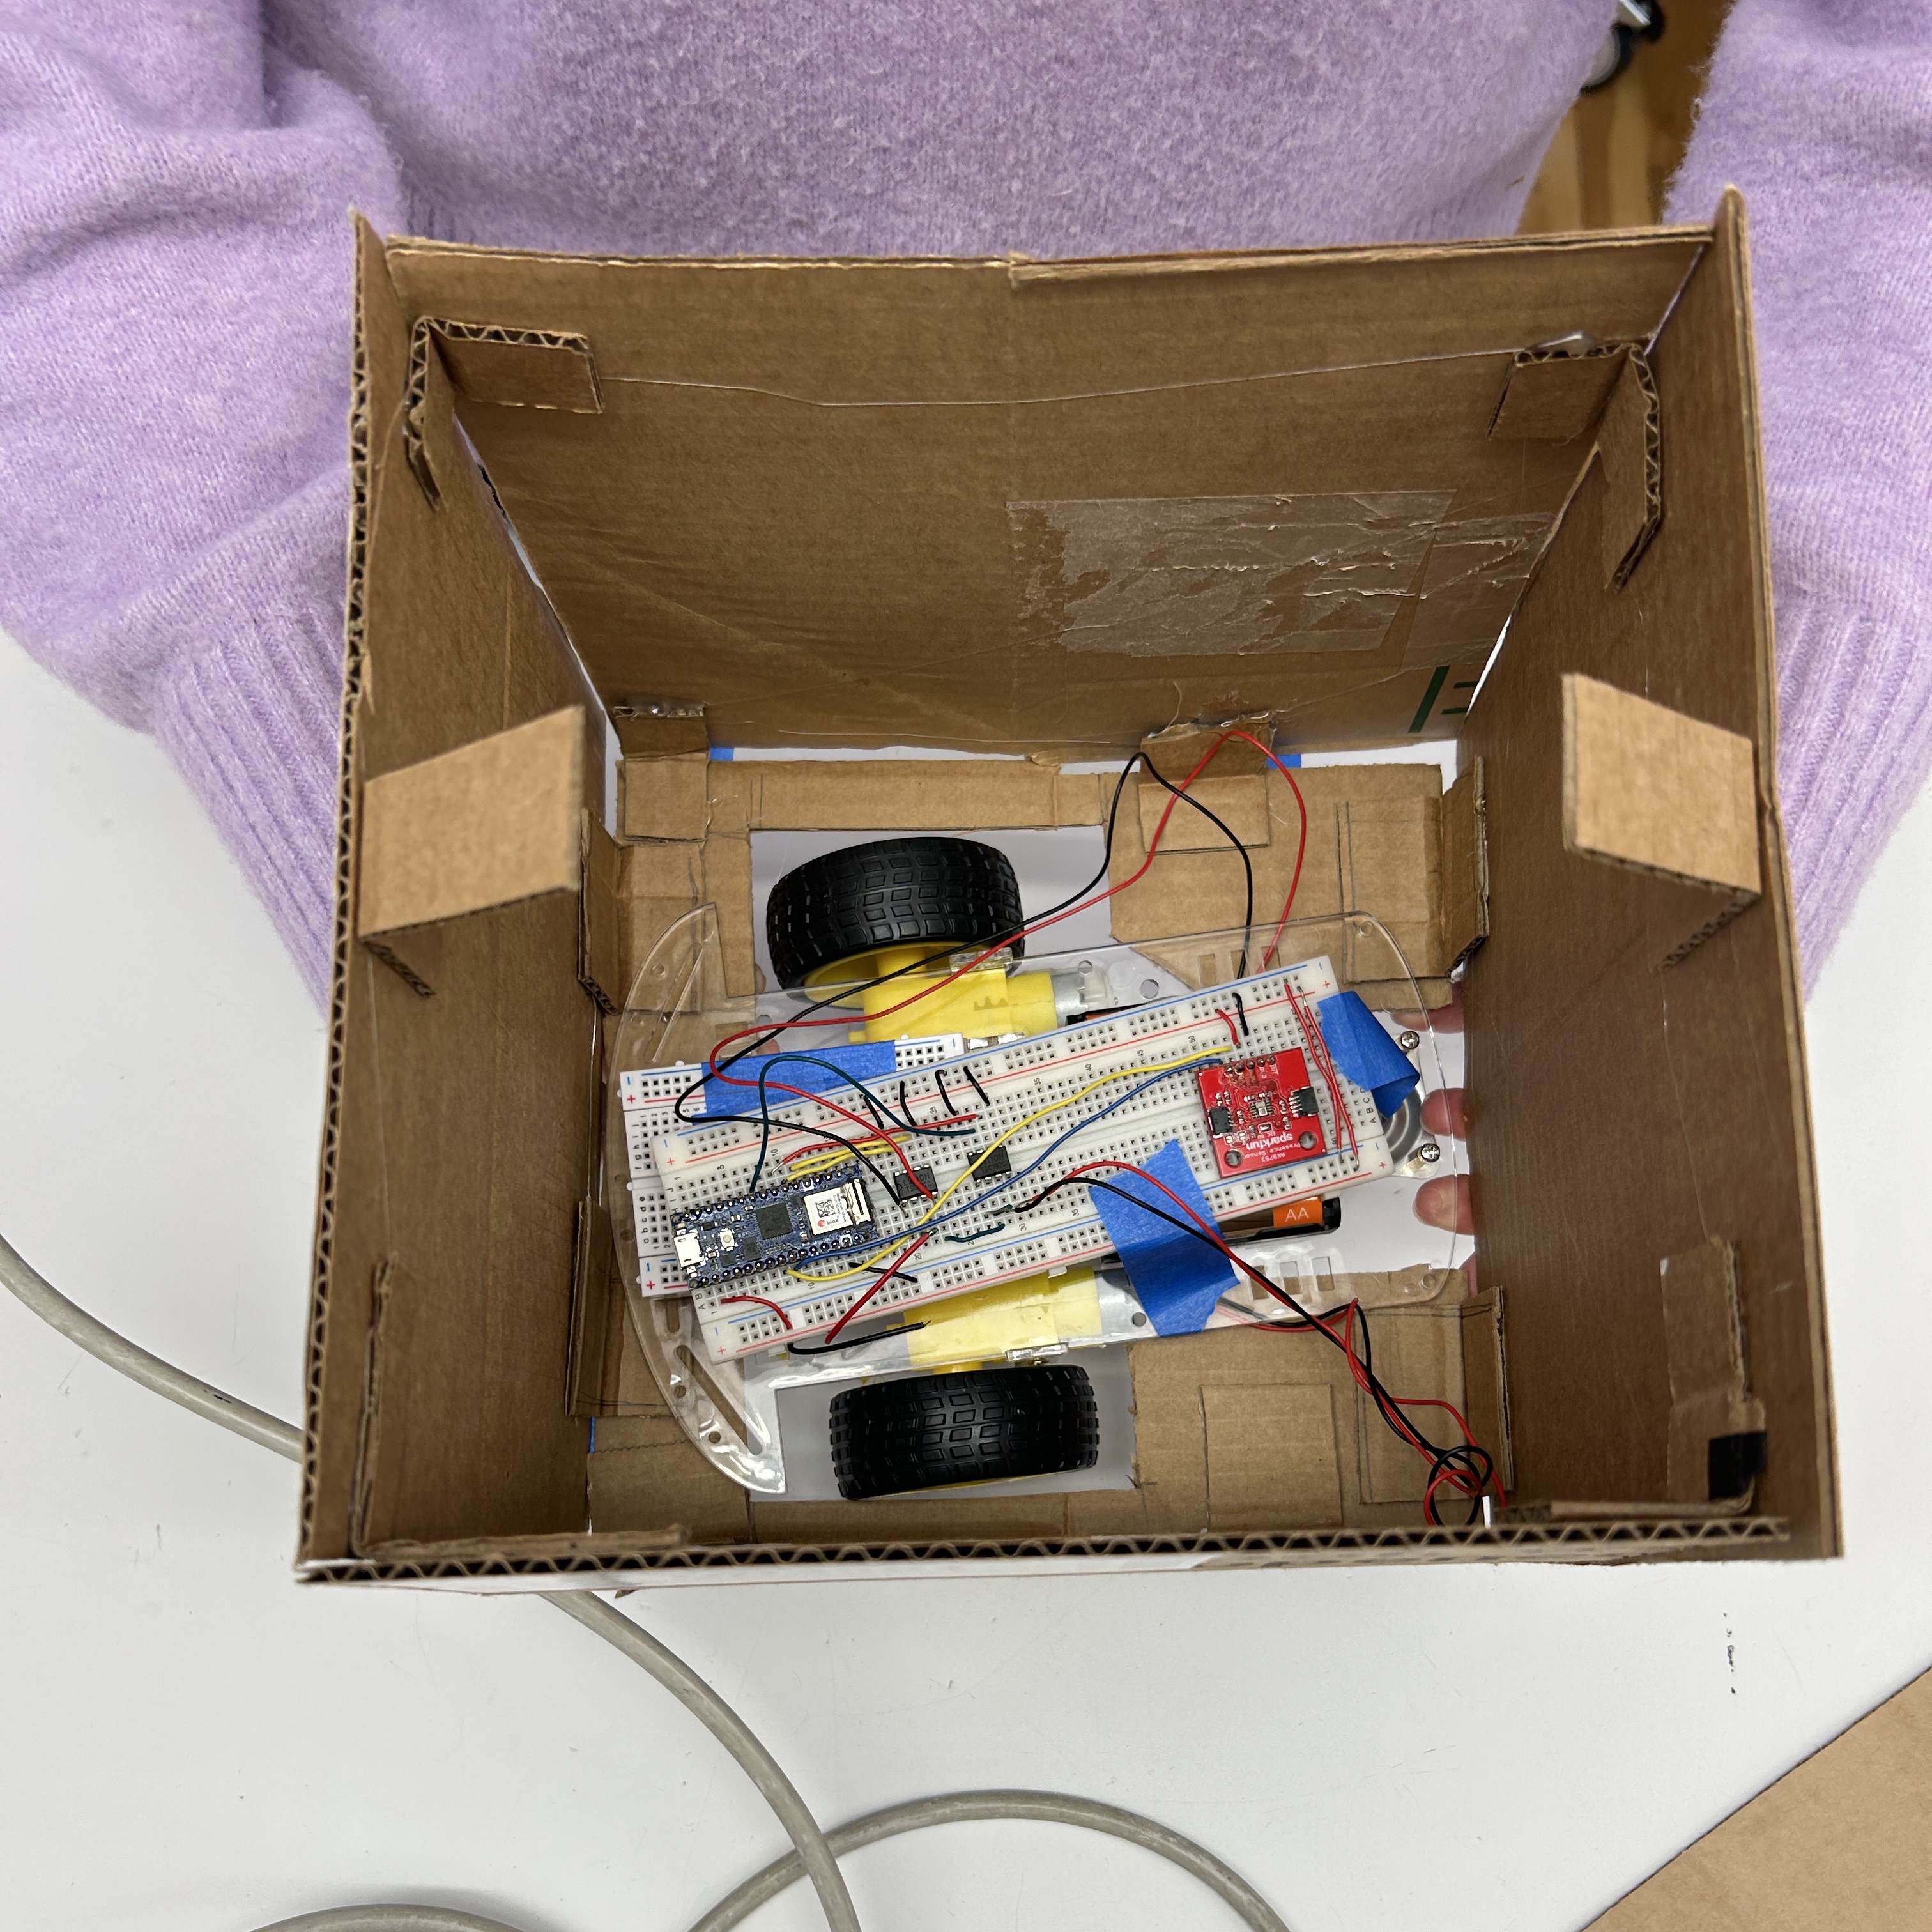
Prototyping the cube:
MARCH 2: Everything broke
Today we had about one million problems. Yonatan helped us with just about everything and we owe our lives to him.
1. We tried to solve the problem of only one wheel working for the moveBackwards function. At some point during this troubleshooting, we found out that one of the wires attached to the motor had fallen off. The copper coil had snapped off. This happened shortly after to the other motor. We replaced both motors.
2. We decided to try a new breadboard. The h-bridges started acting up and we both burned a finger. One of them burned my breadboard : (
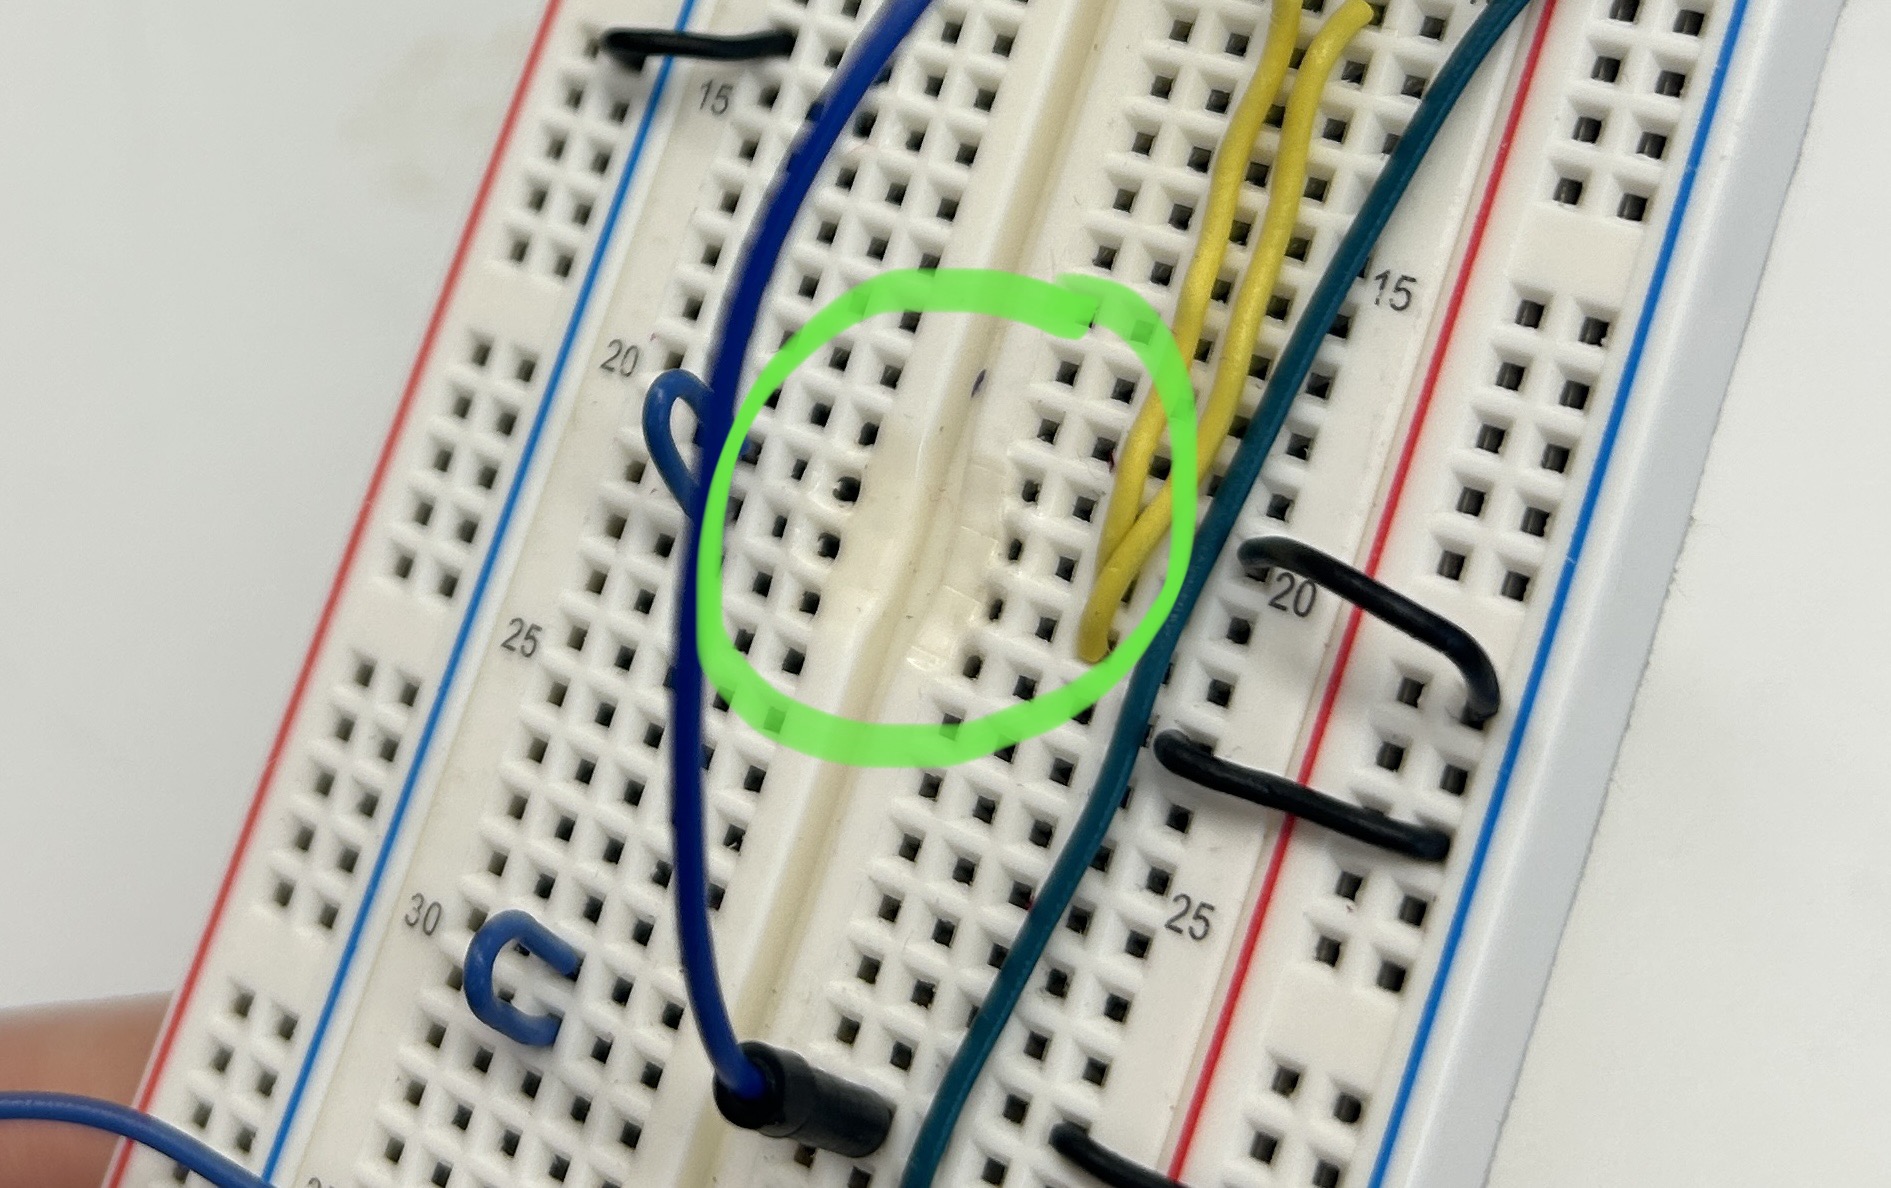
4. It was at this point we switched from 2 h-bridges to a single motor driver. After putting the whole circuit together, the wheels still weren’t turning correctly. Turns out, two of the wires somewhere in the circuit weren’t long enough and they weren’t actually connecting anything.
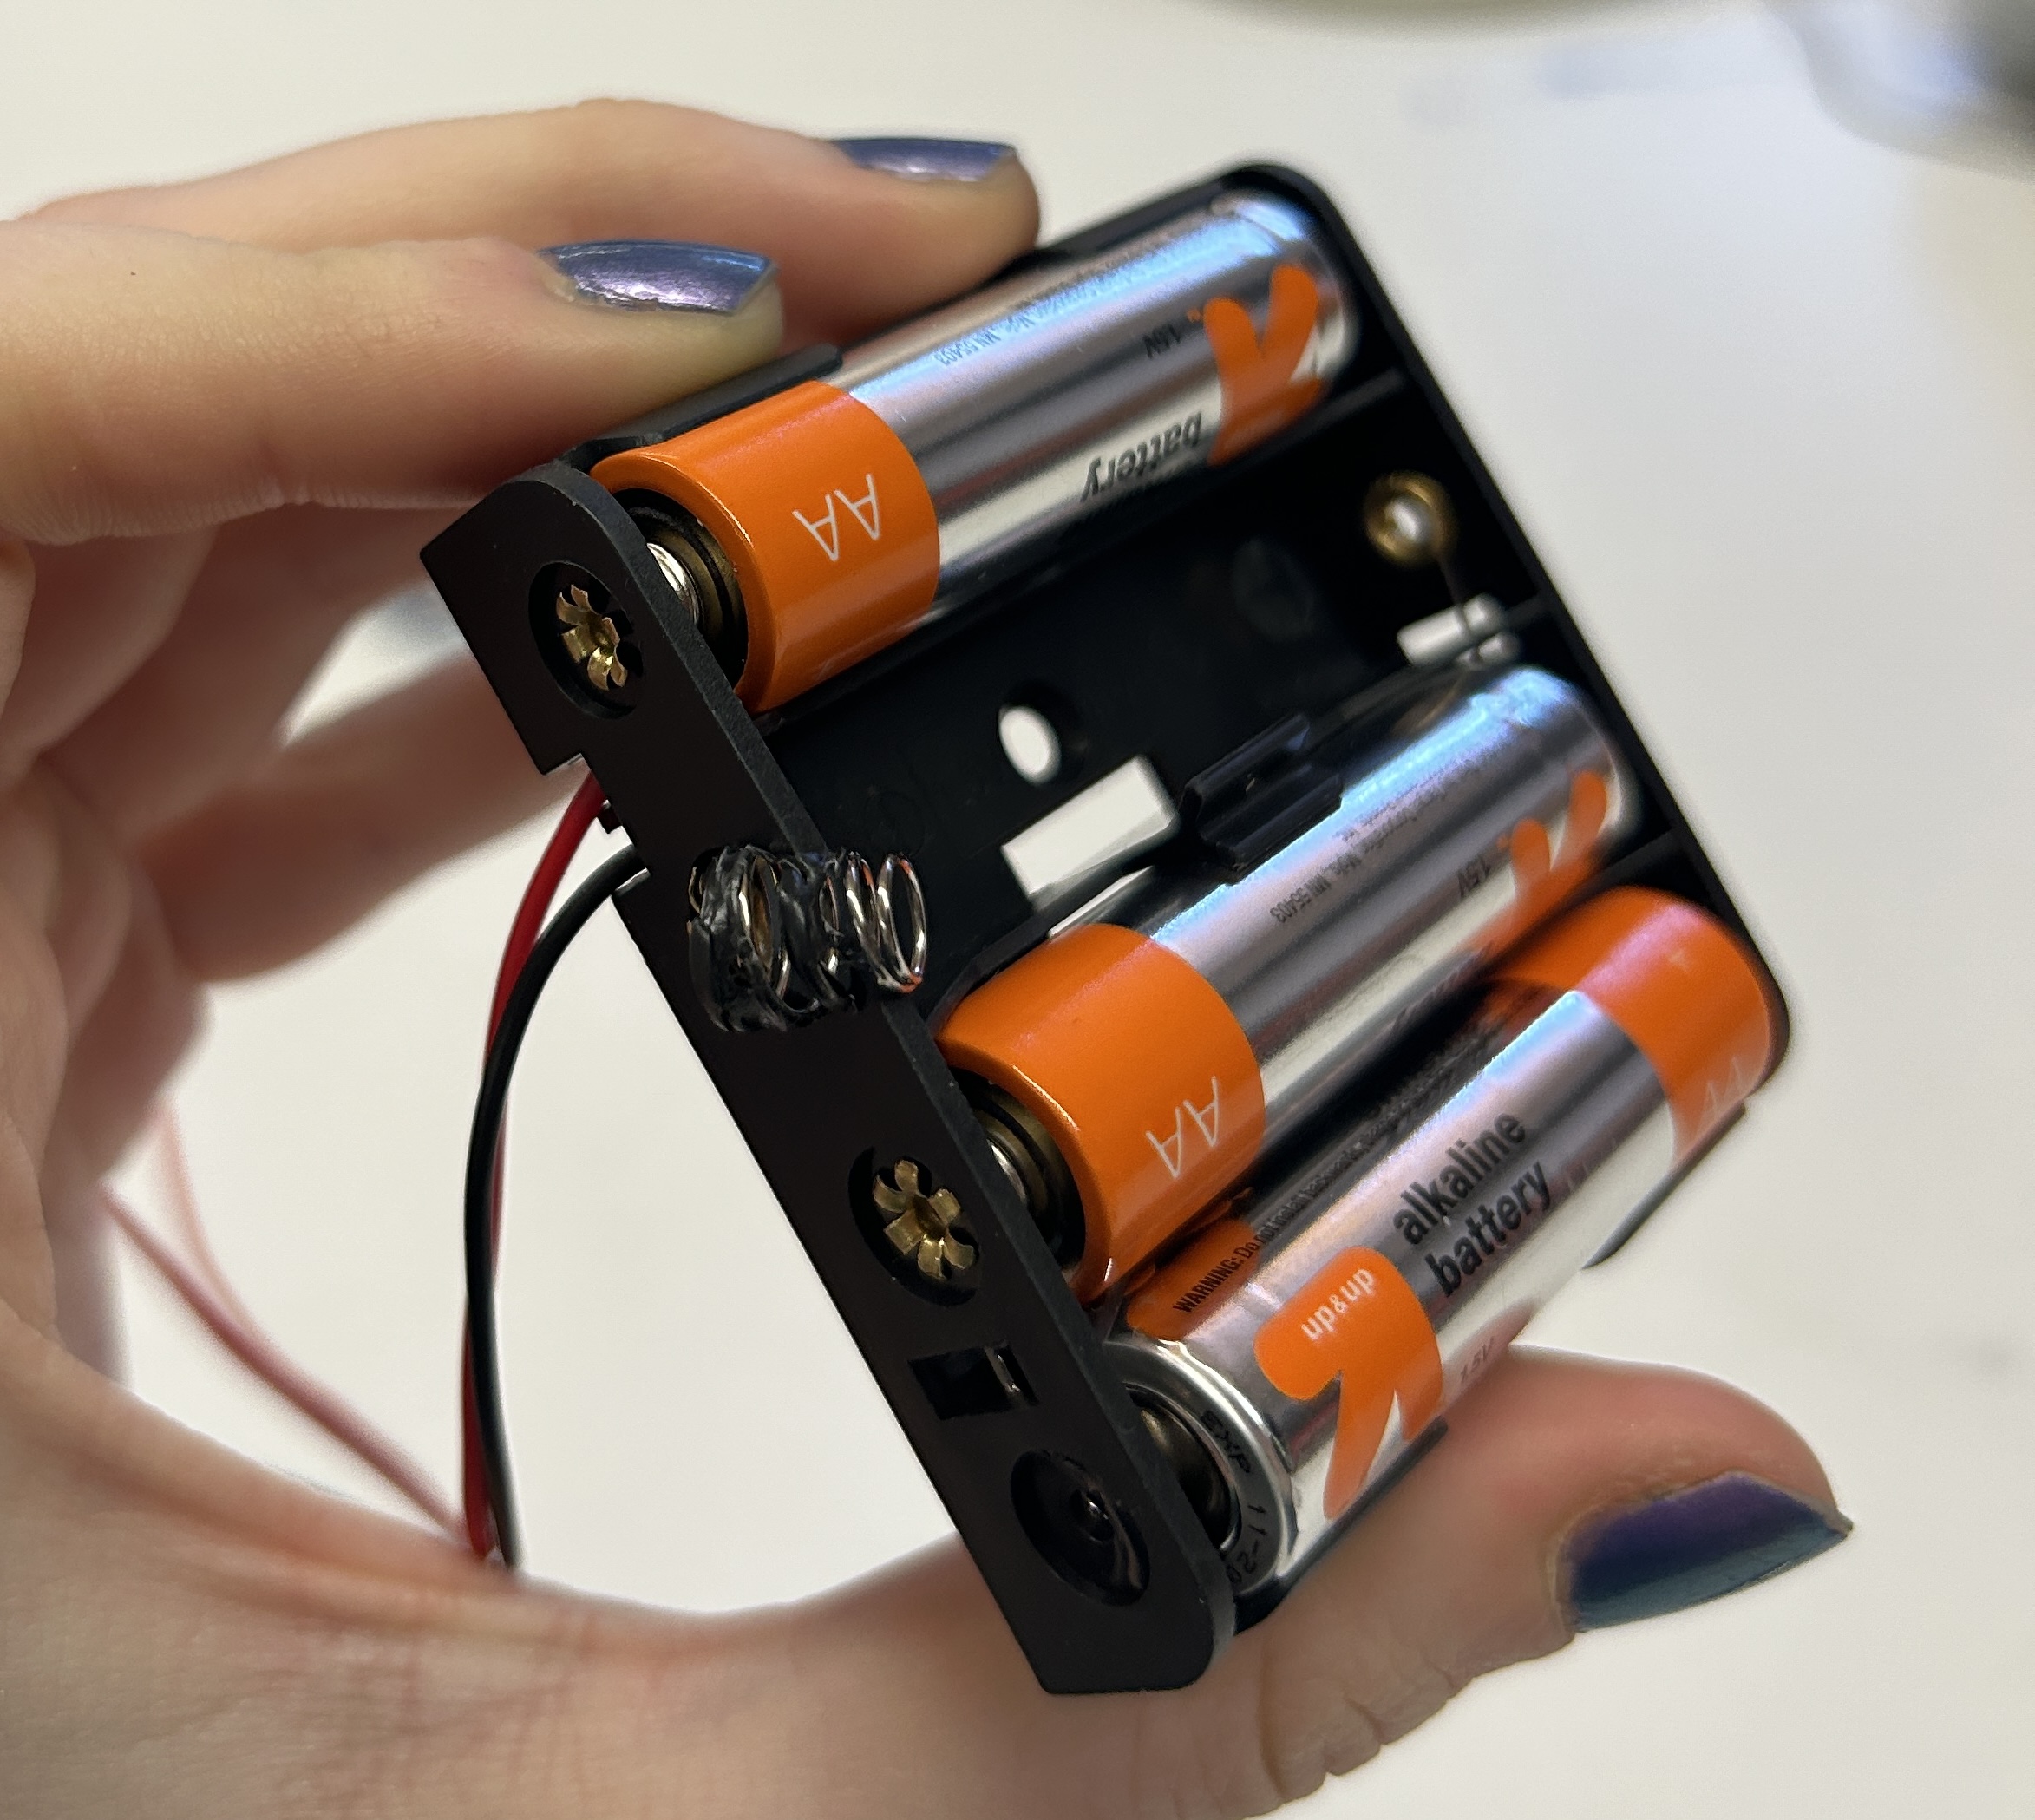
5. We replaced almost all of the wires. Then we realized that one of the batteries had melted the coil, so we had to ditch that battery pack. We picked up a 9v battery to use instead.
After replacing pretty much every aspect of this circuit, we were left with a problem:
We wrote a simple sketch that calls two functions - moveForward and moveBackward, that move the wheels forward and backward. When the board is connected to the computer, it runs fine. When we power it externally using a 9v battery, it runs continuously forward and does not follow the loop in the code. We aren’t sure why.
MARCH 3 & 4
We were able to solve the power issue with the help of David Rios. We ended up having to add another 9v battery, which required some fancy soldering by Elif.
We tested it out, and it worked!
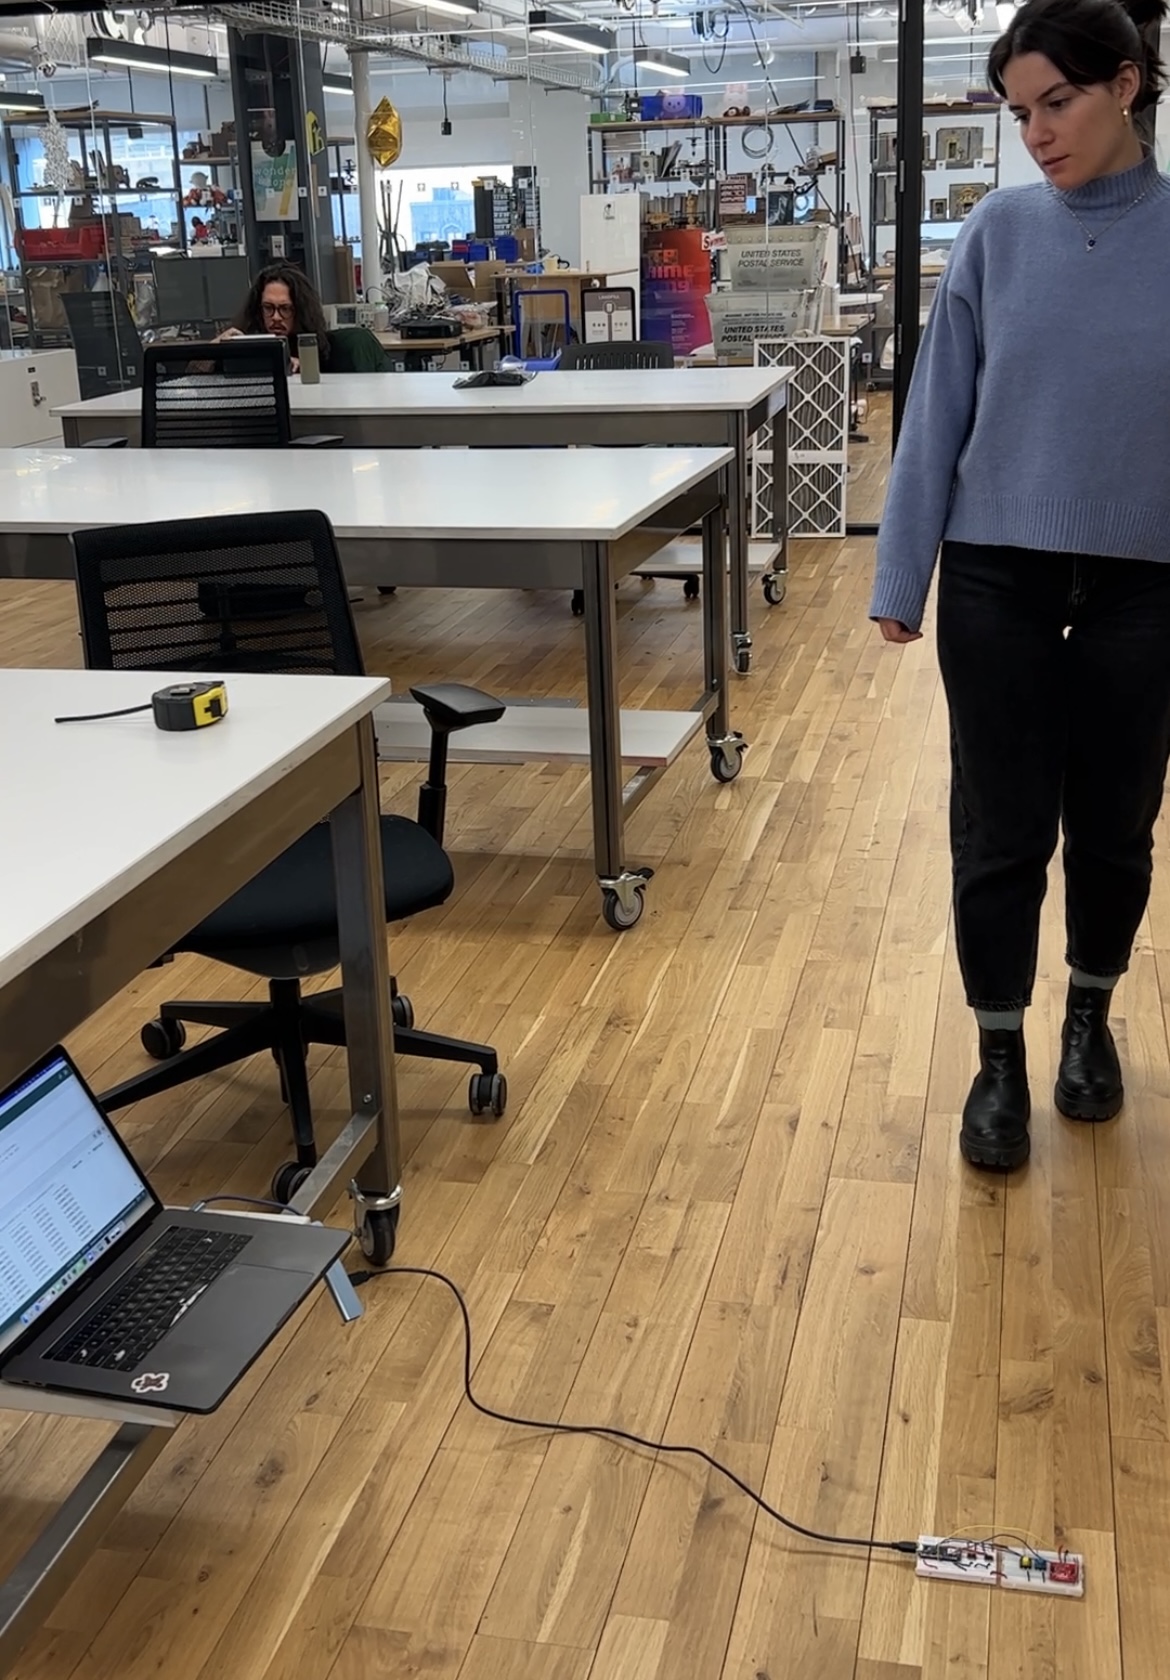
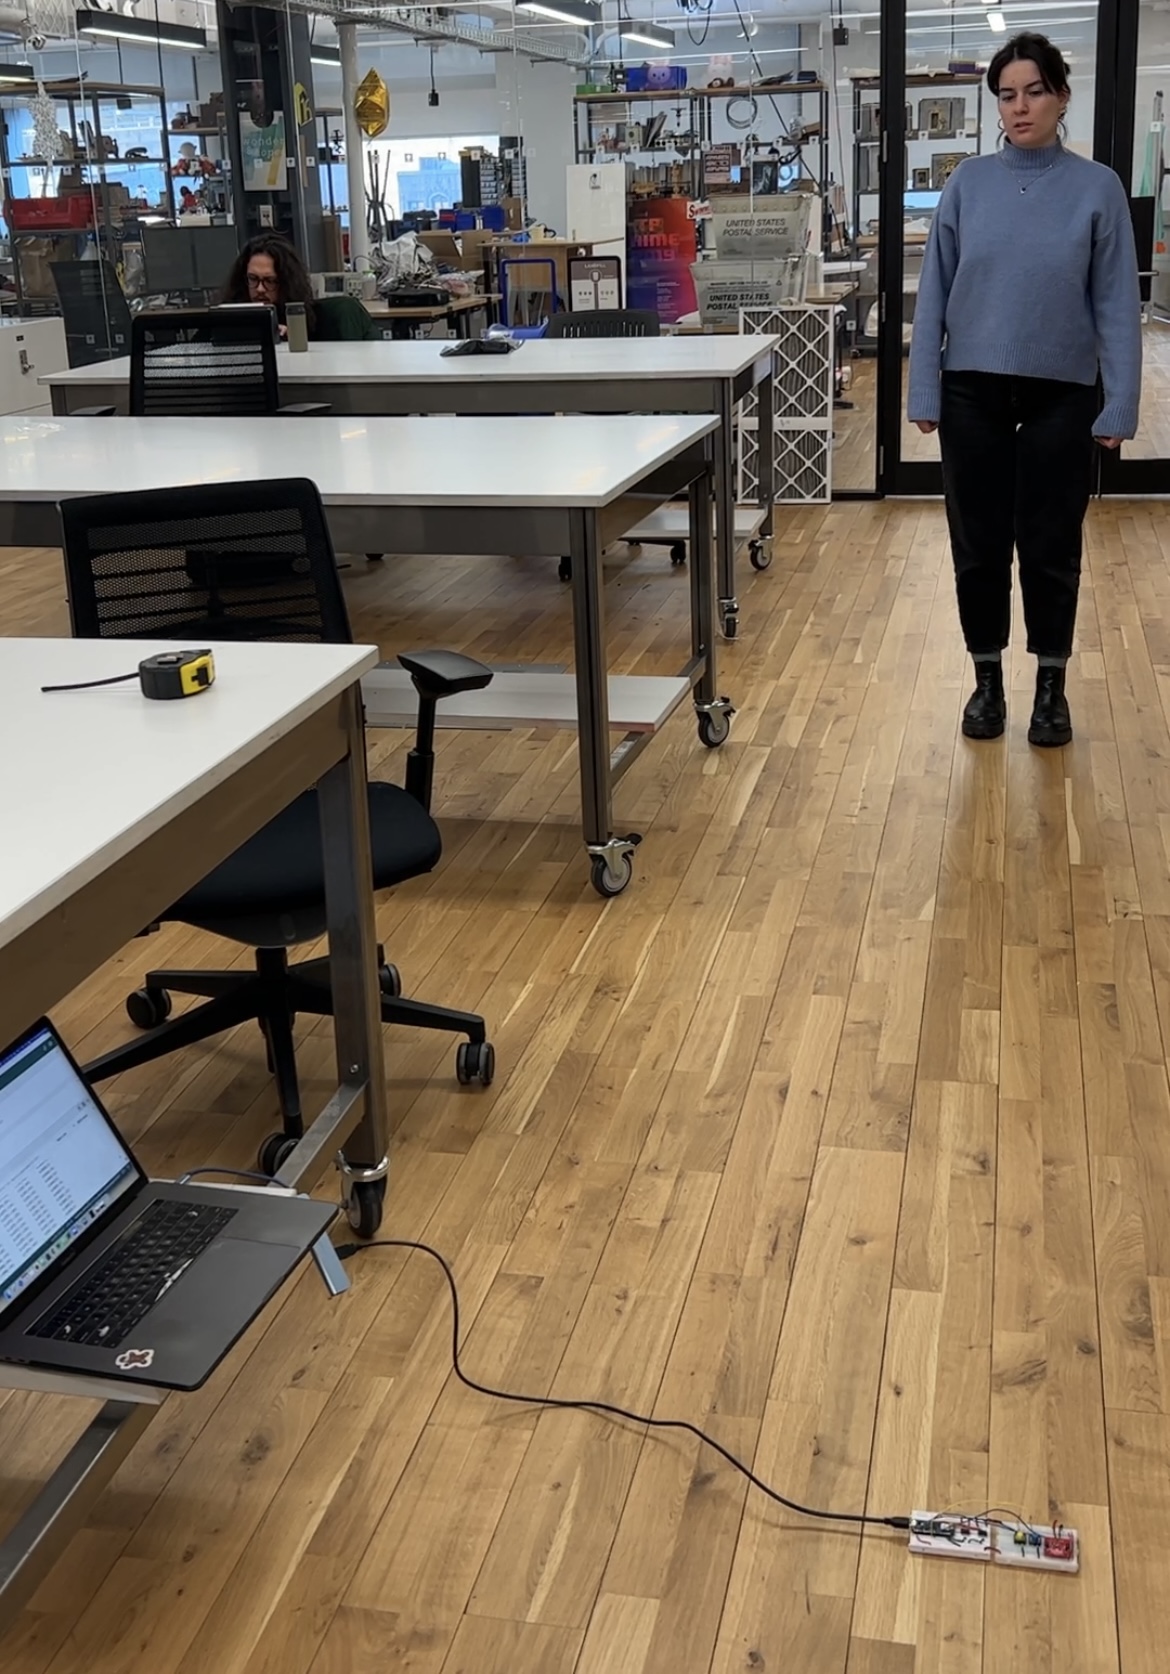
Next, we got started on fabrication. We lasercut a prototype in cardboard first and tested it out on the floor. It worked, but the movement was a little chaotic. We found that the sound of the motors, coupled with their intensity, did not have the calm, sleepy vibe we were going for. Also, we were running out of time and didn’t see a world in which we’d figure out the speaker & LEDs we had envisioned in time. We decided to rebrand from Sleepy Cube to Catch Me If You Can Cube.


Next, we will attach the car to the inside, and cover the outside so it doesn’t look so crazy. We’ll also cover up the screws poking out so no one gets hurt.
MARCH 6


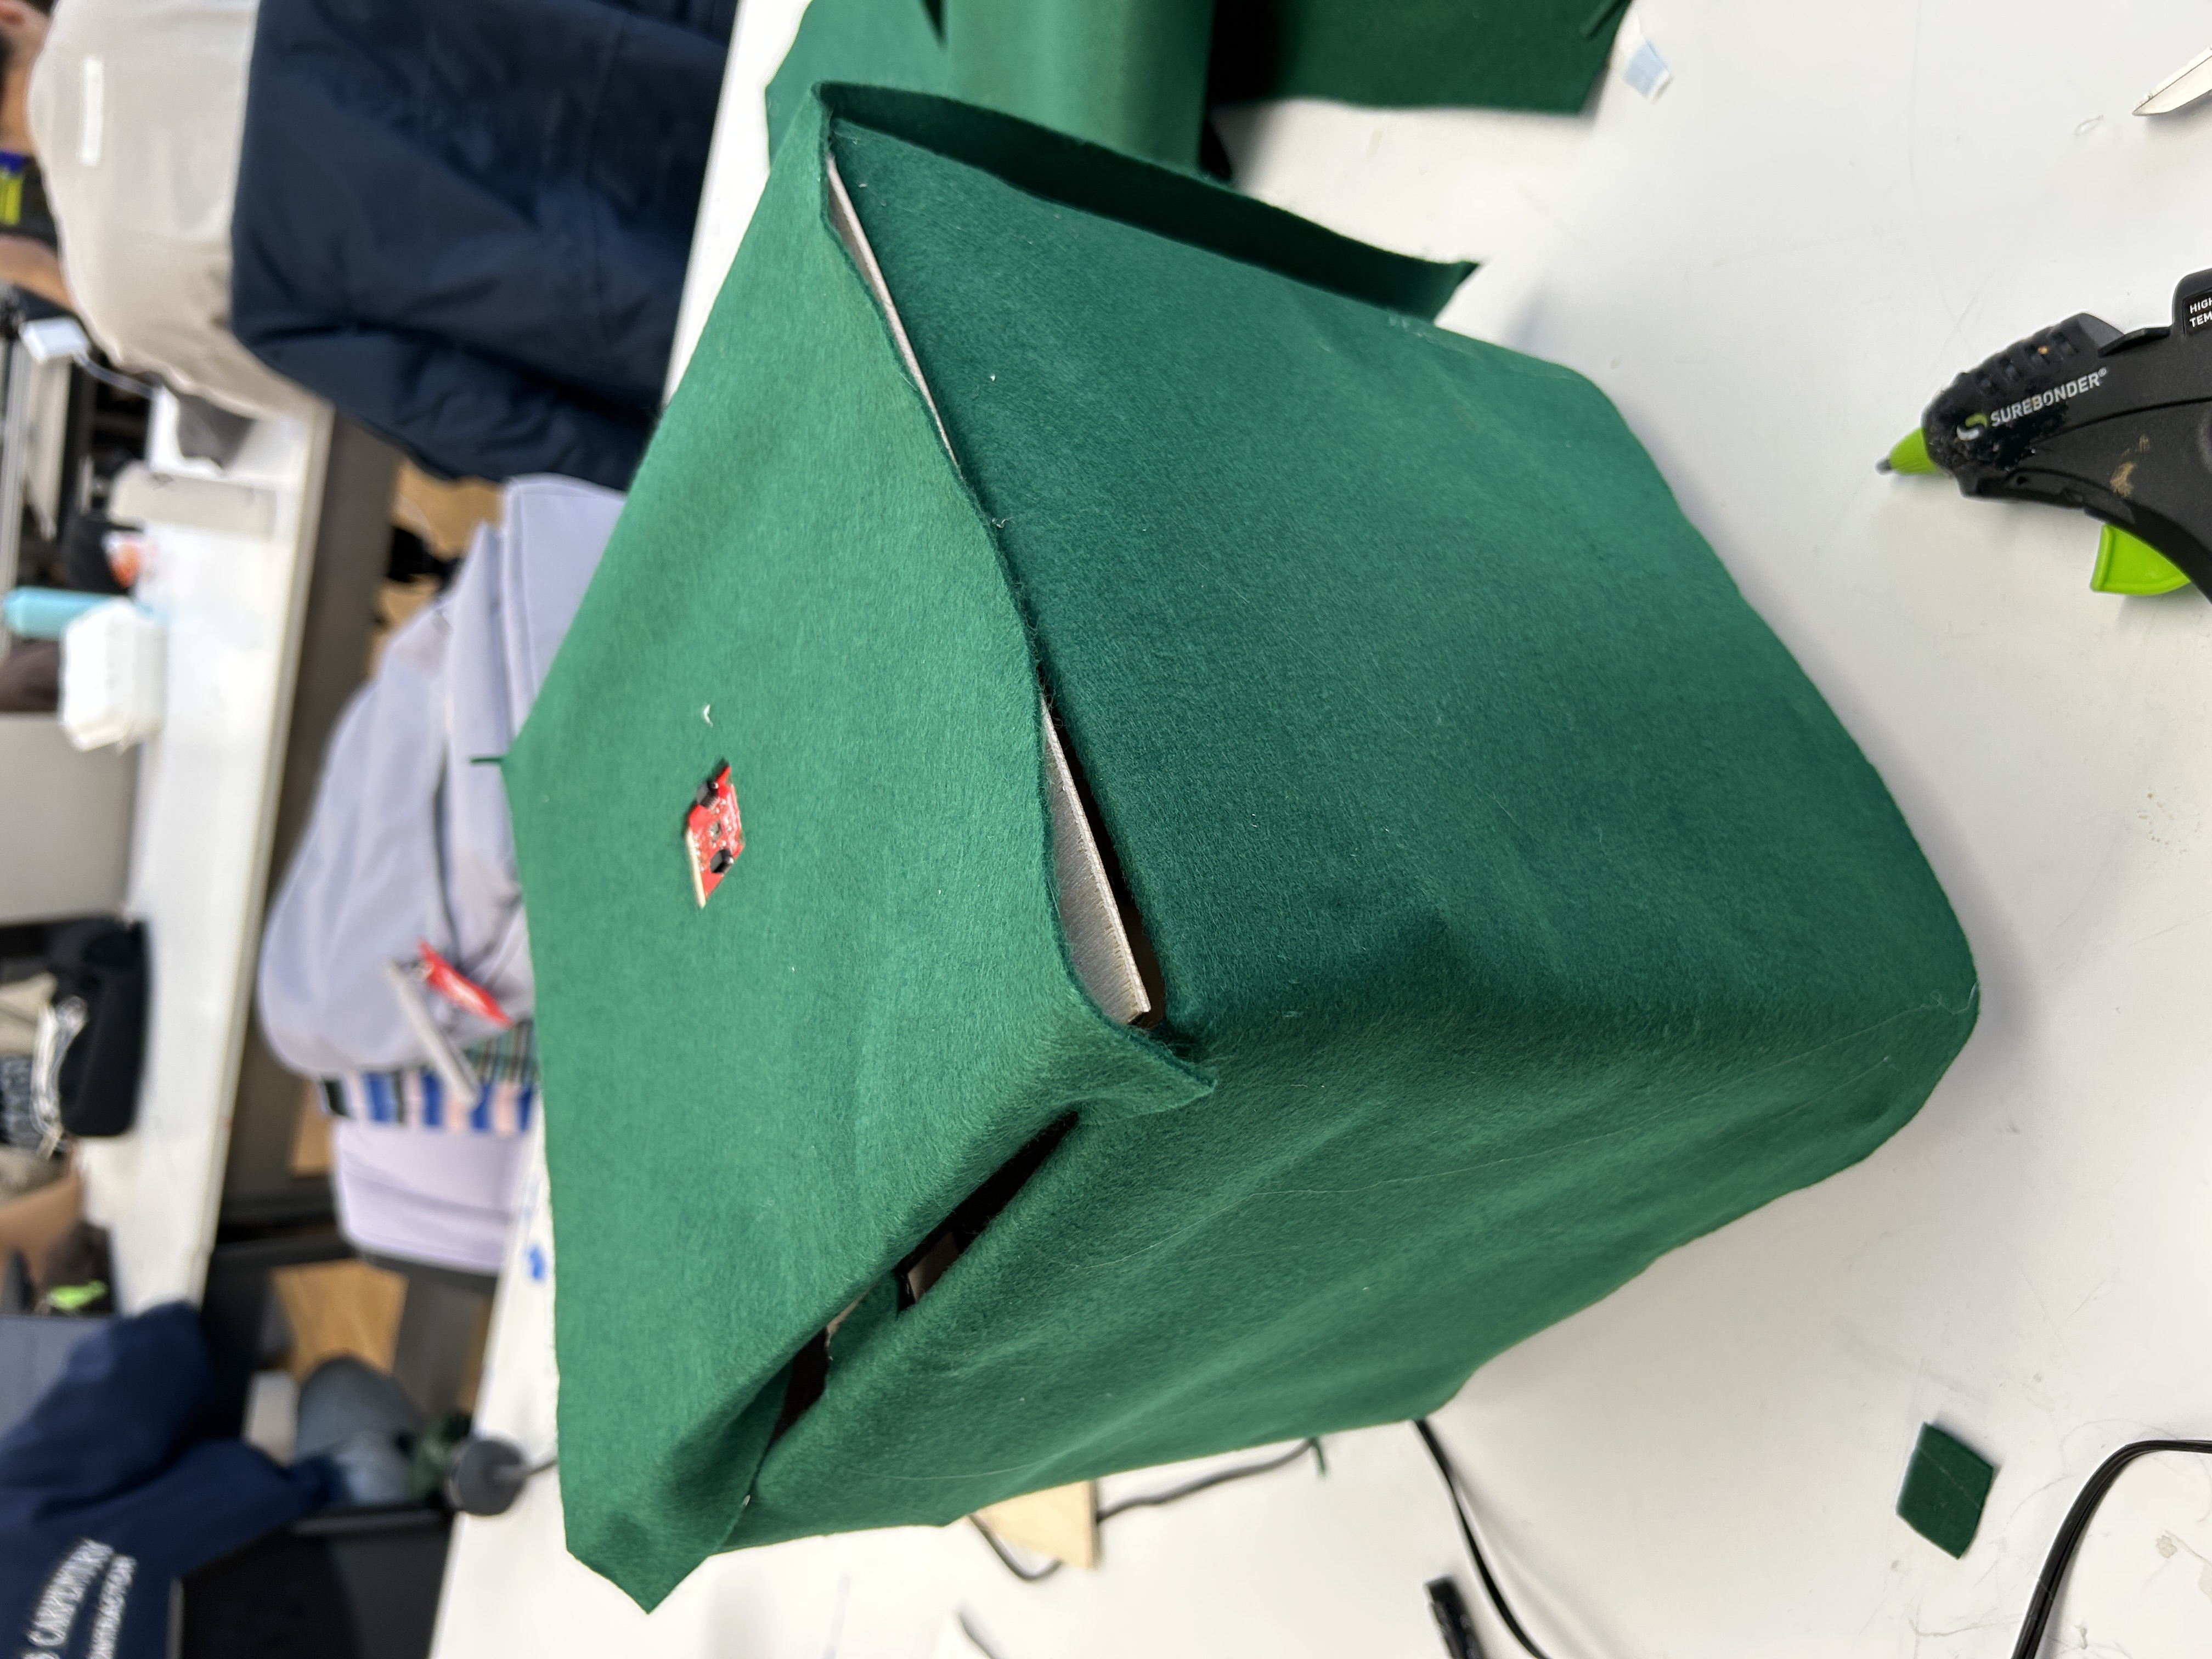


And it’s done!