

COSMIC CATCH & DODGE - PROCESS
A completely touchless game
PROPOSAL
For the pcomp final, I want to create a physical joystick that controls the direction of the green square without touch. To achieve this, I plan to use distance sensors that the player waves their hands over:

Materials I’ll need:
- 4 distance sensors
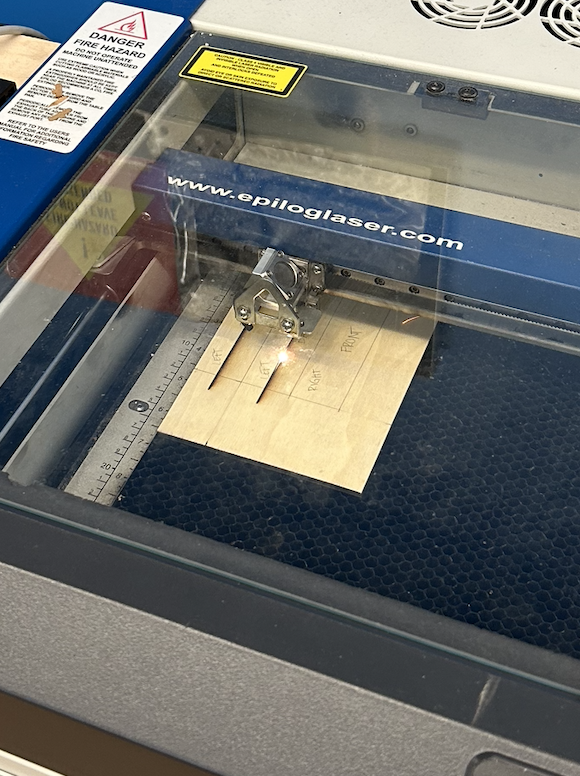
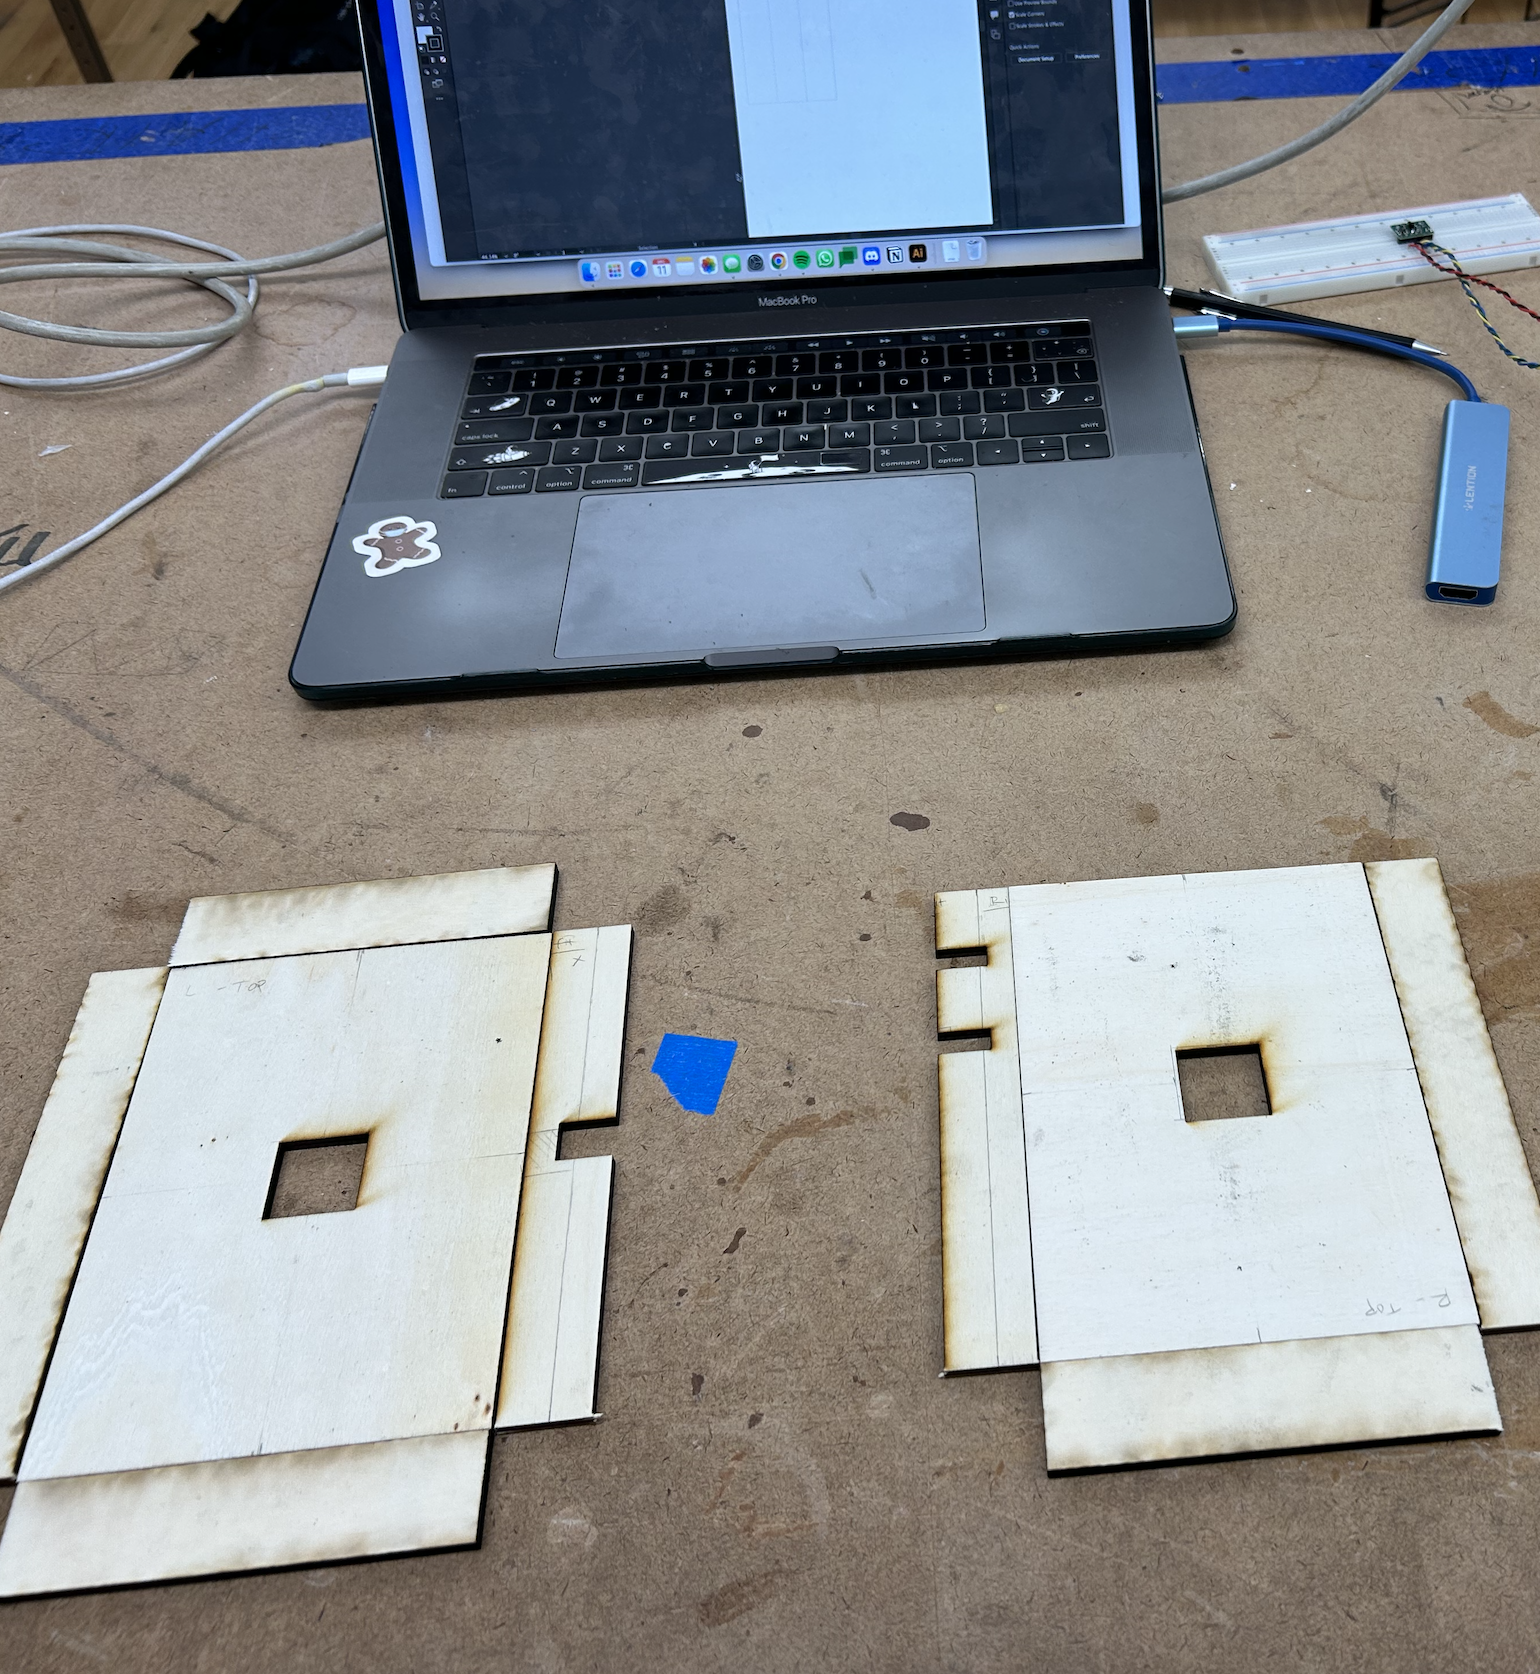
- materials to make the 4 “button” controls (most likely wood, using the laser cutter to create the shapes).
What I need to do:
-
Learn how to use distance sensors
-
Finalize the game display code and different levels
- Write Arduino IDE code to read the sensor information and send that to p5 to control the green square’s position on the screen.
- Determine if the entire game will be contactless (start button, restart button, selecting a level?)
NOV 16
Figuring out distance sensors & sending that data to p5
-
There is a minimum height that they’ll read the distance. Meaning, if my hand is resting directly on the sensor, it will still read it as being ~50 mm away. That doesn’t change my idea for how I would use them, but something to keep in mind for fabrication and instructions for users.
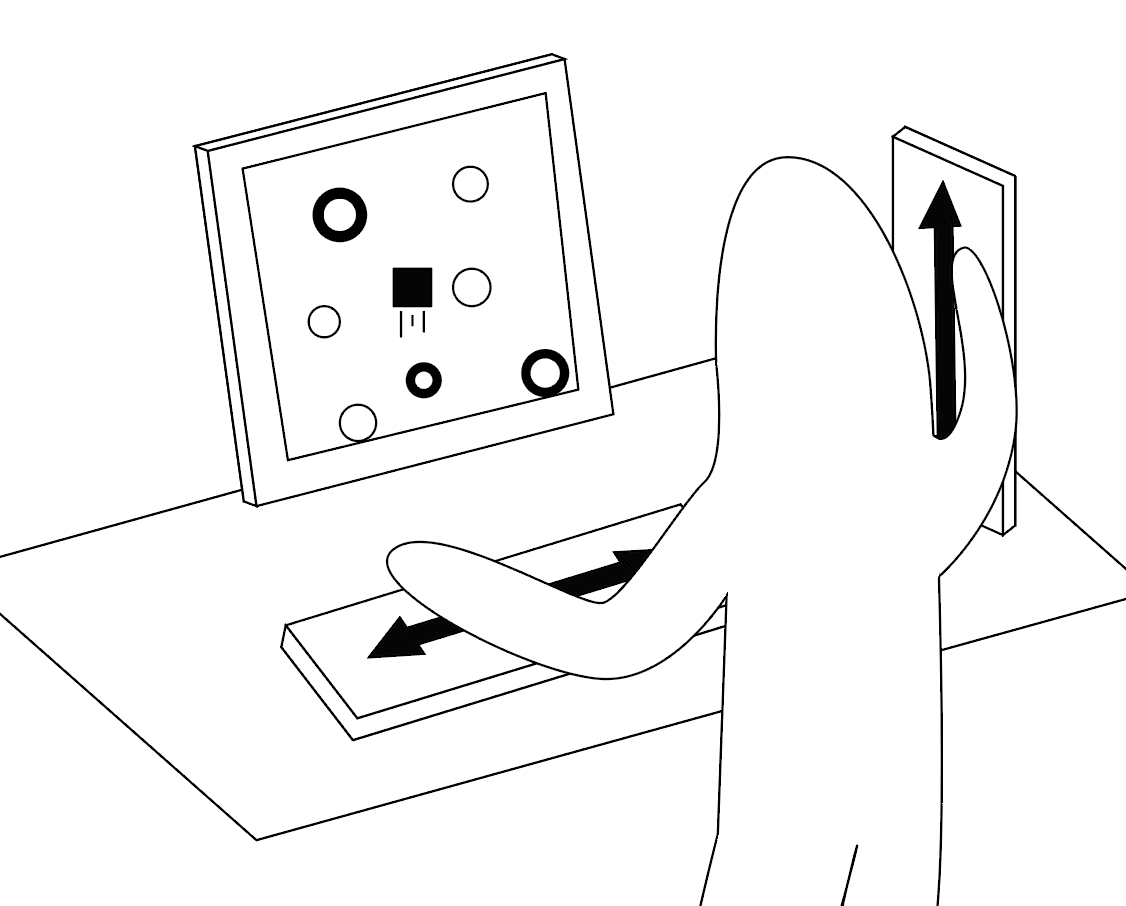
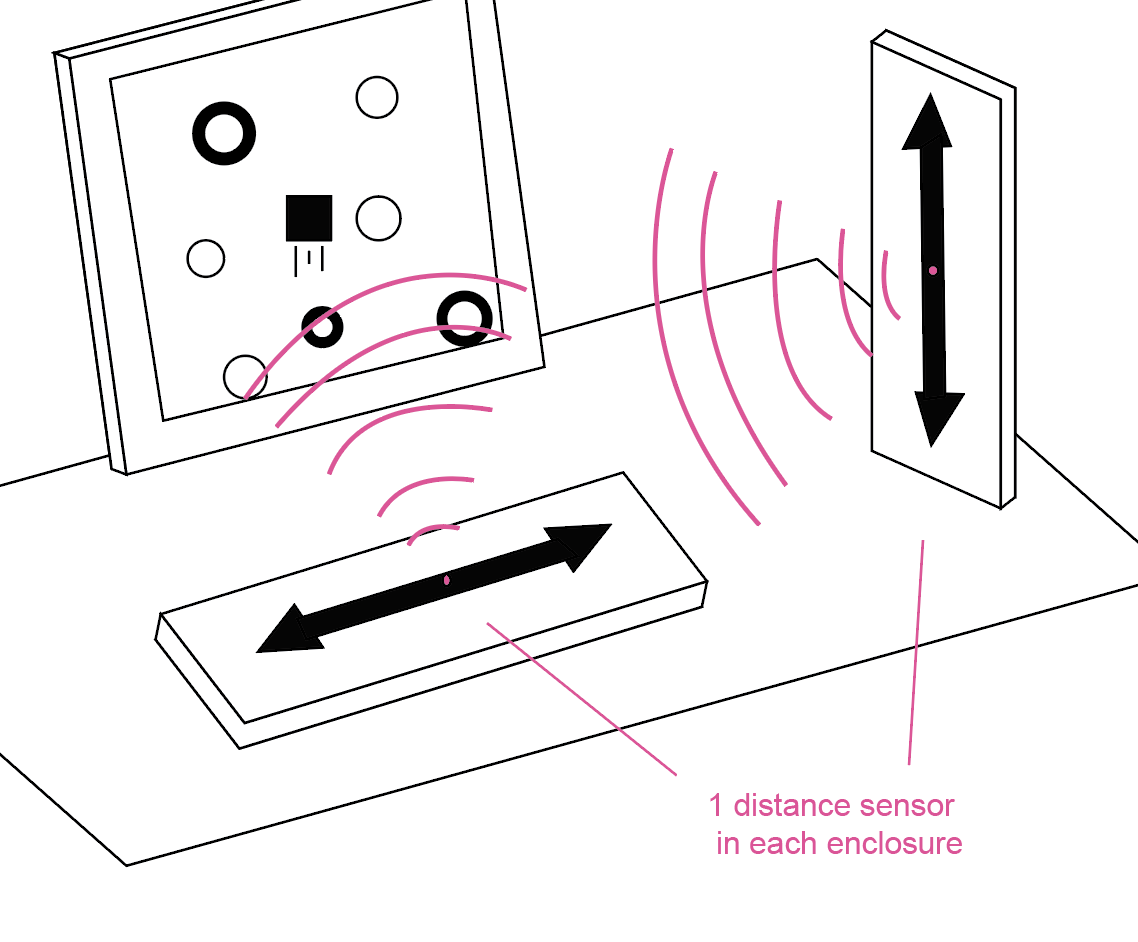
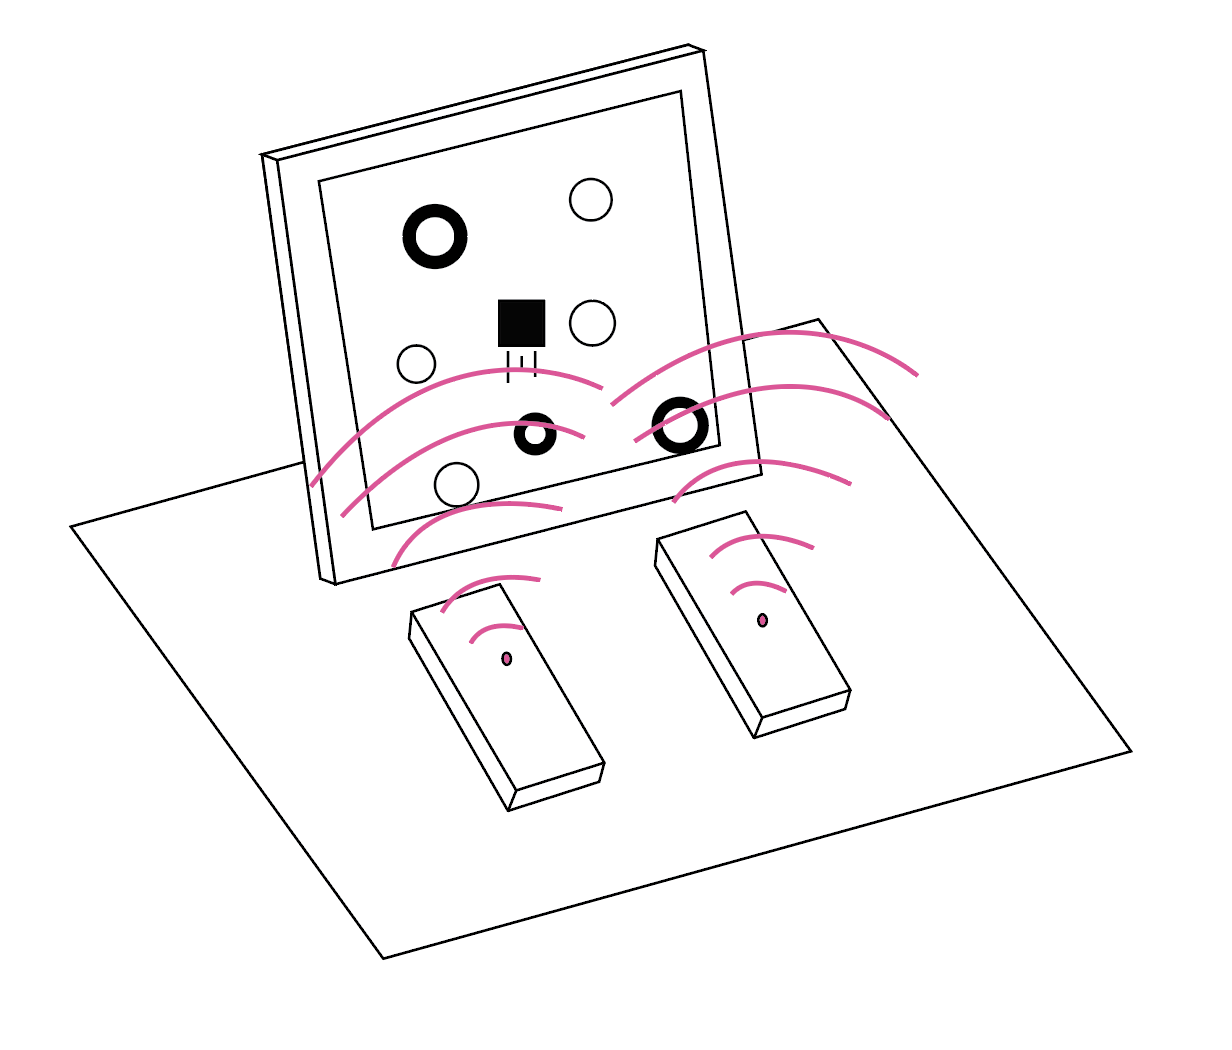
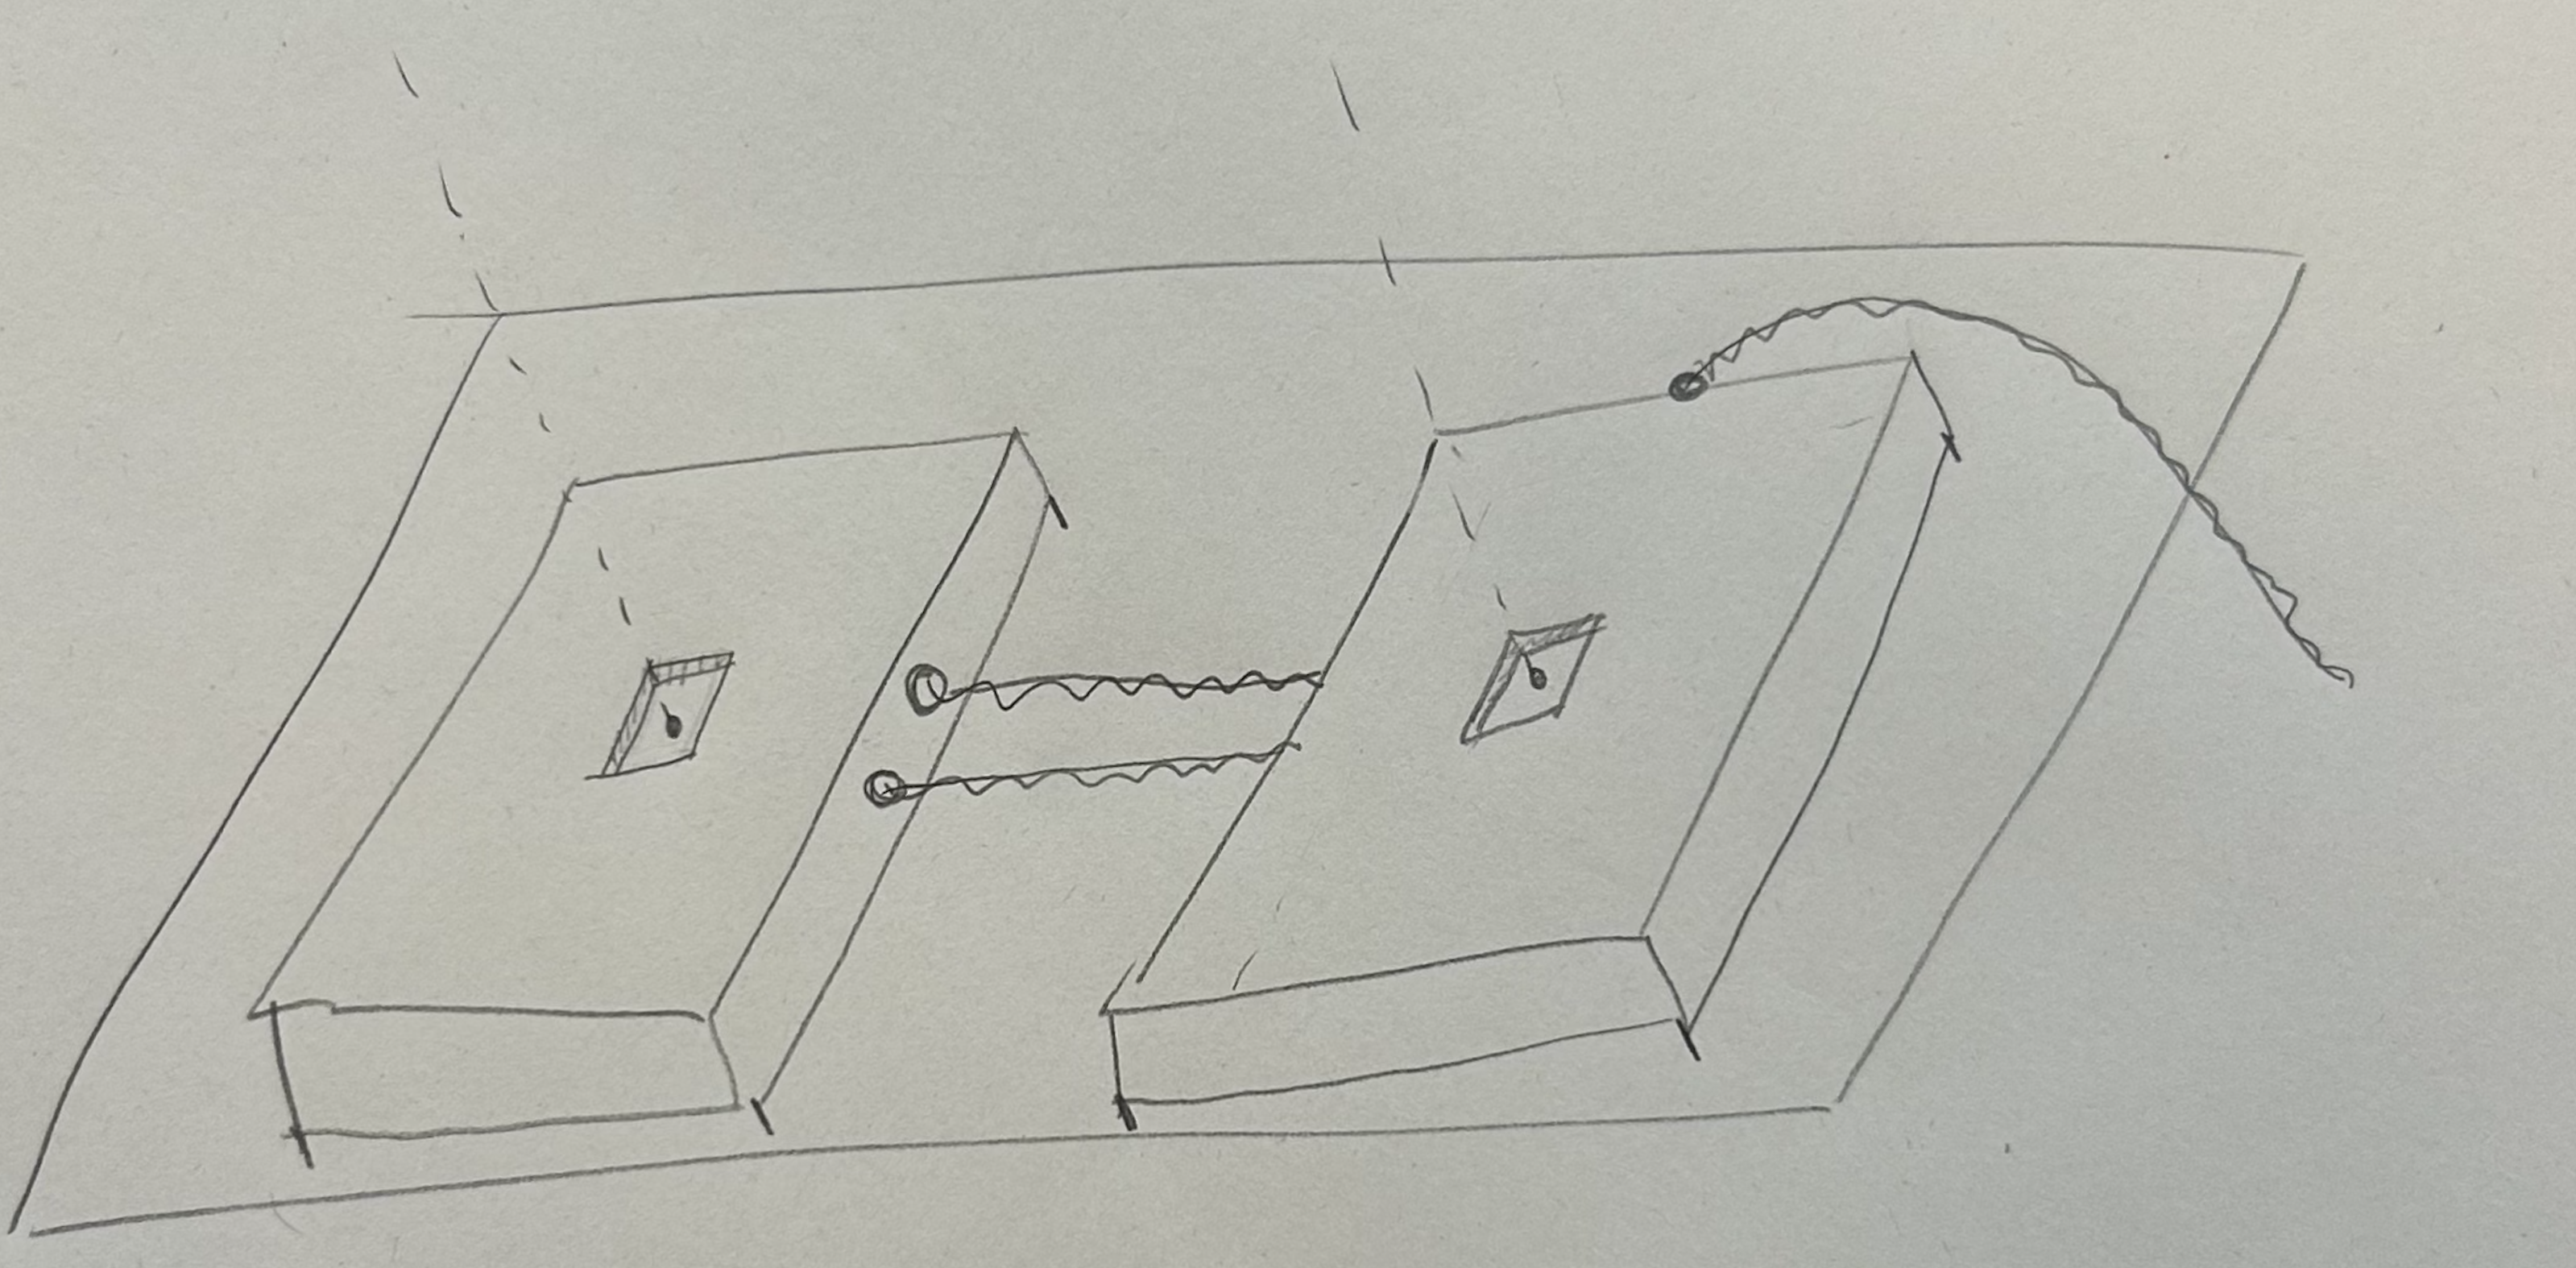
- Four distance sensors is a lot, and I think I could make this work with 2: one for the up/down movement, and one for left/right. I am not yet sure how that would work fabrication wise, but I think it makes sense to set one up at a 90 degree angle like this:
NOV 22
Connecting 2 sensors to the same board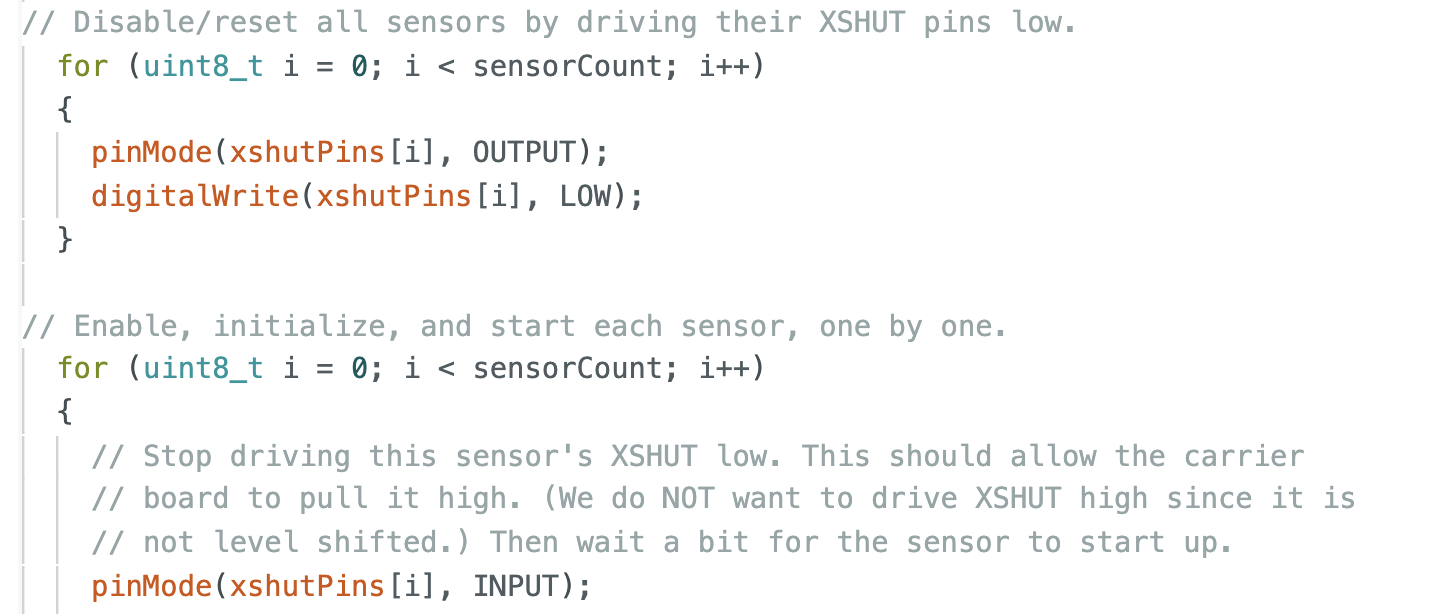
I tested it out with a few different visuals.
Overall, I’m happy with how far I’ve gotten on the project. Next, I am going to plan out the components of the game itself and slowly transfer the code from the original game sketch into a new p5 sketch that reads serial data.
NOV 23
- The square is glitchy and jittery. I wonder if this has something to do with the distance between the two sensors I’m using. Because I’m at home for the long weekend, I don’t have a second breadboard to connect the second distance sensor to, and I think they’re overlapping.
-
I want the square to stop once it hits any of the sides.
- I can’t get the game to continue after the square moves away from the start button. I think I’ll need to include a state change variable or something.
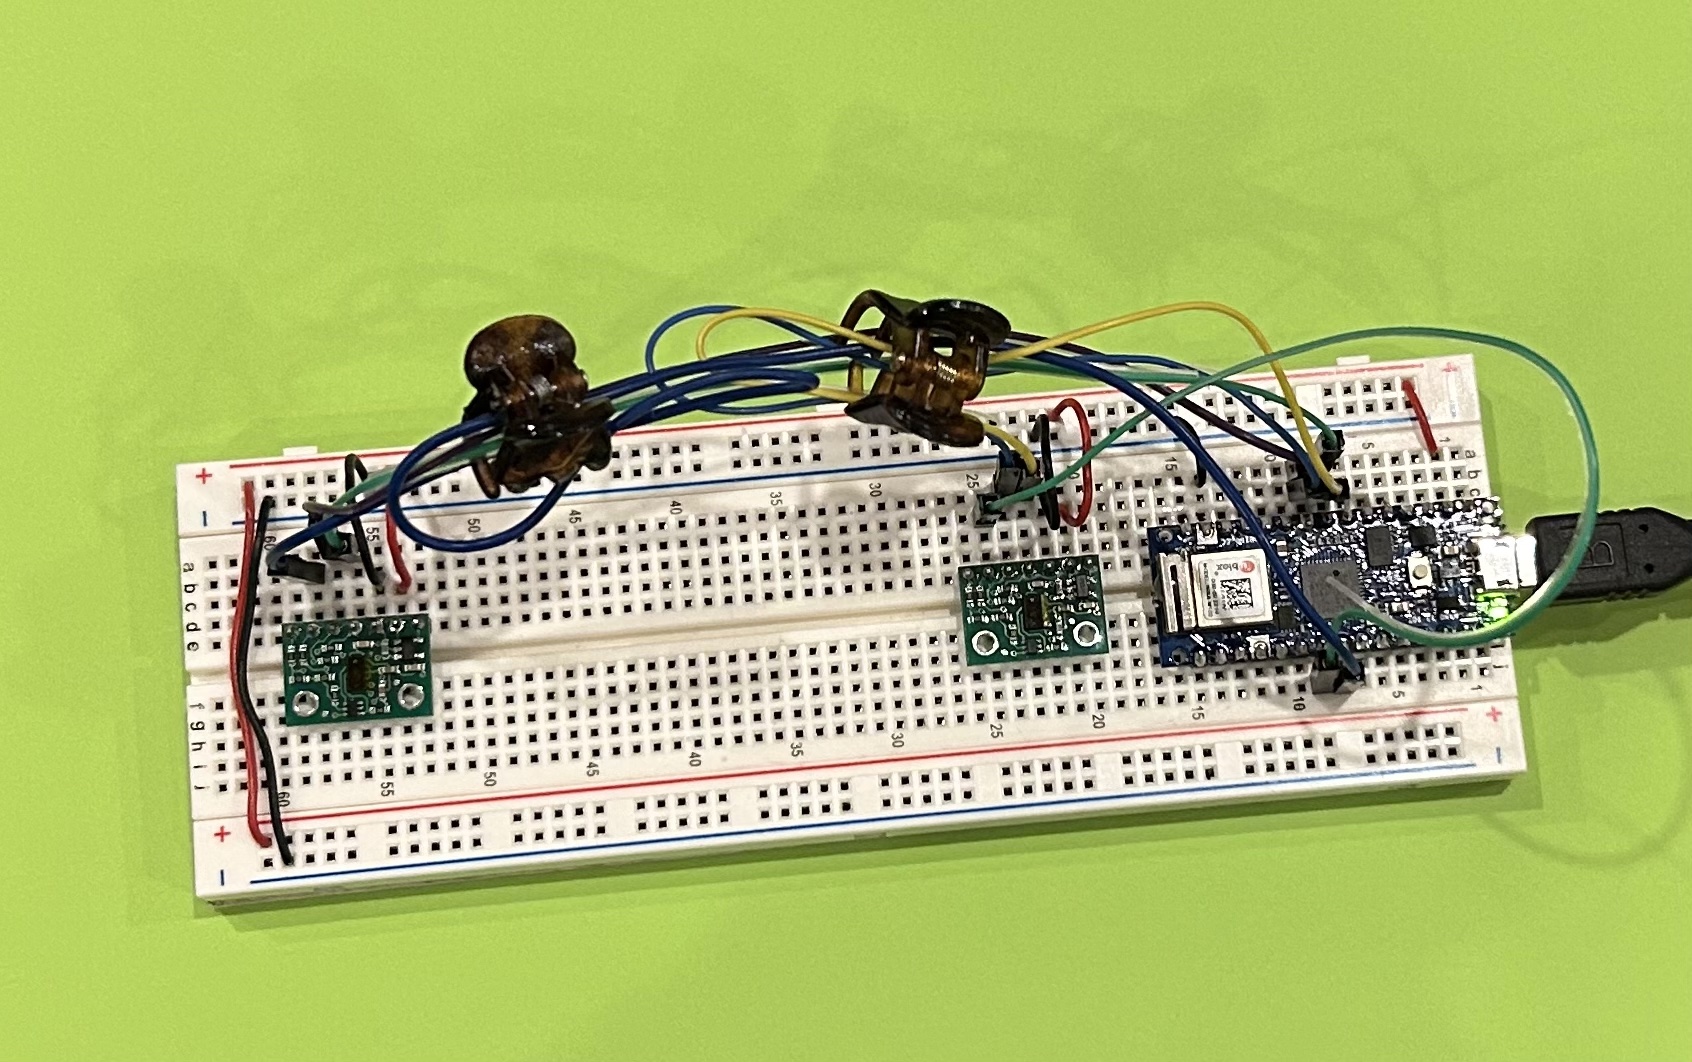
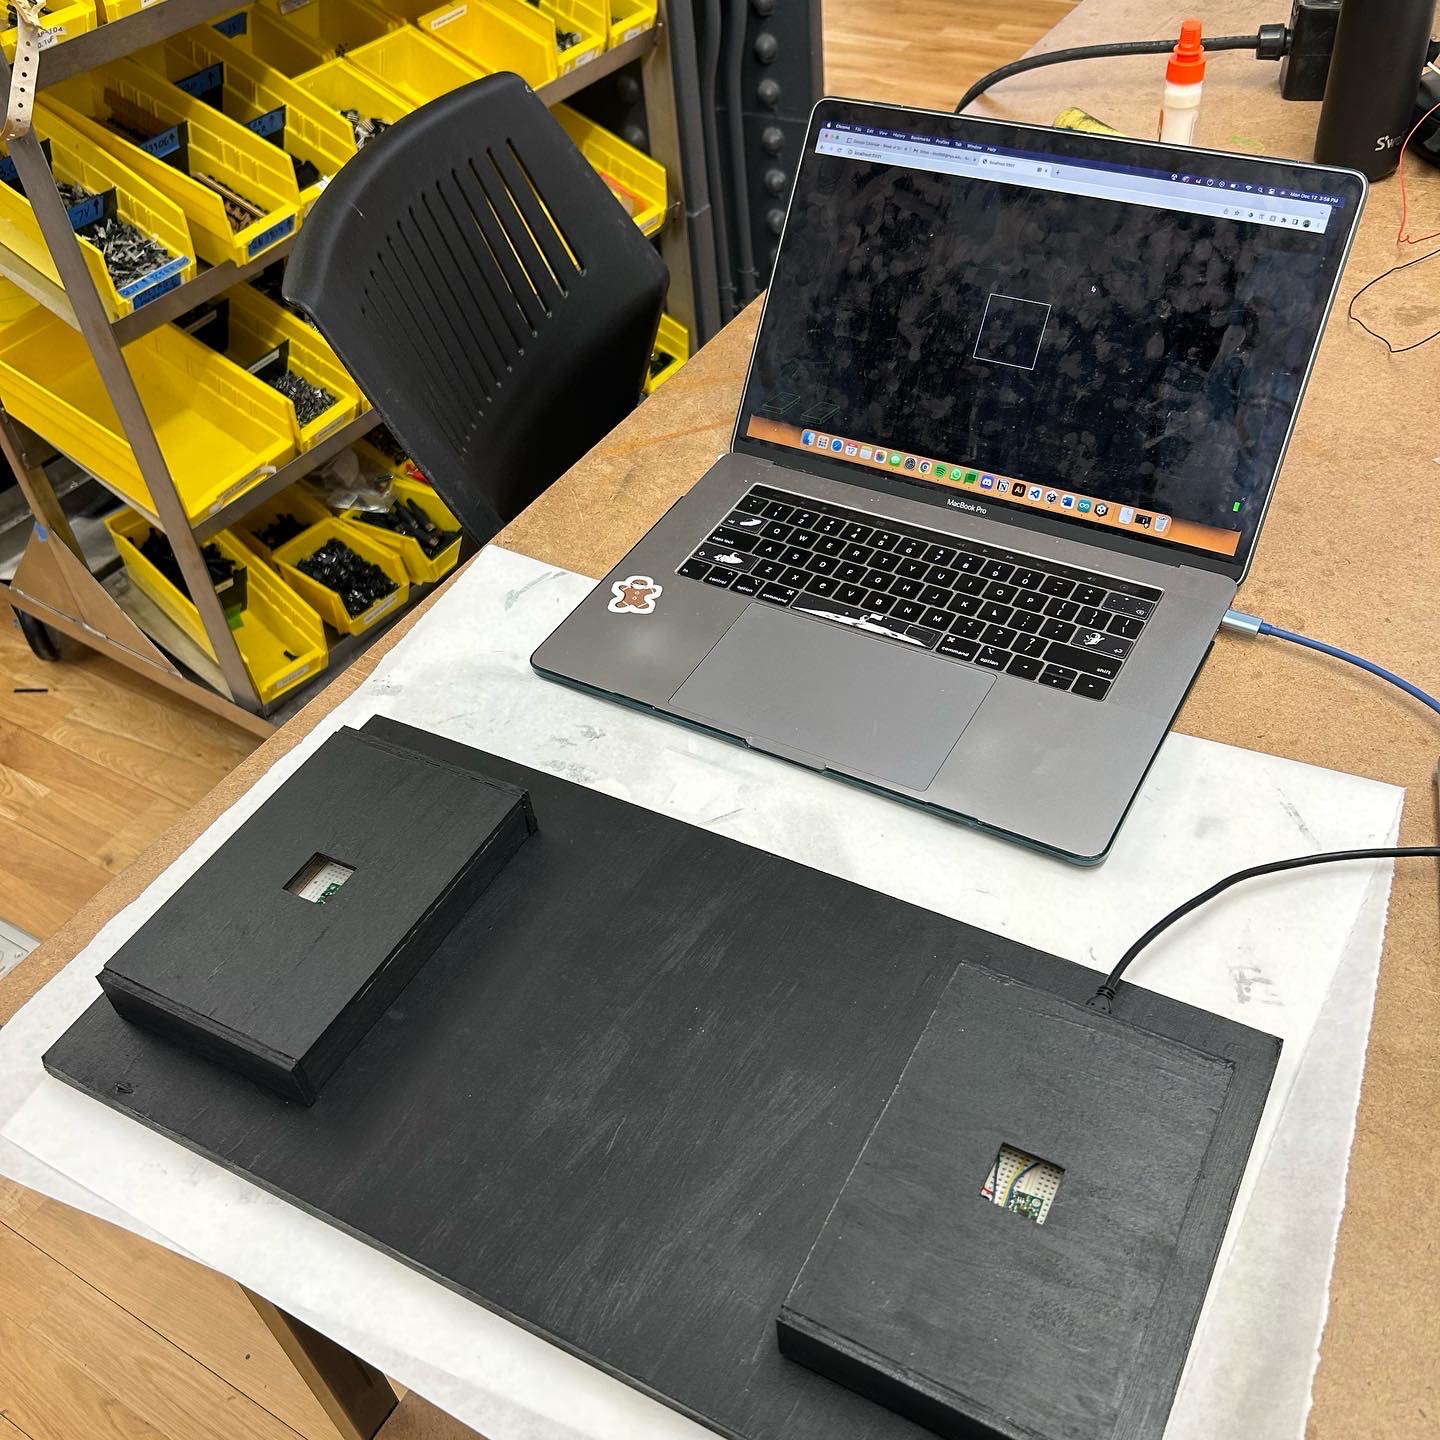
NOV 28
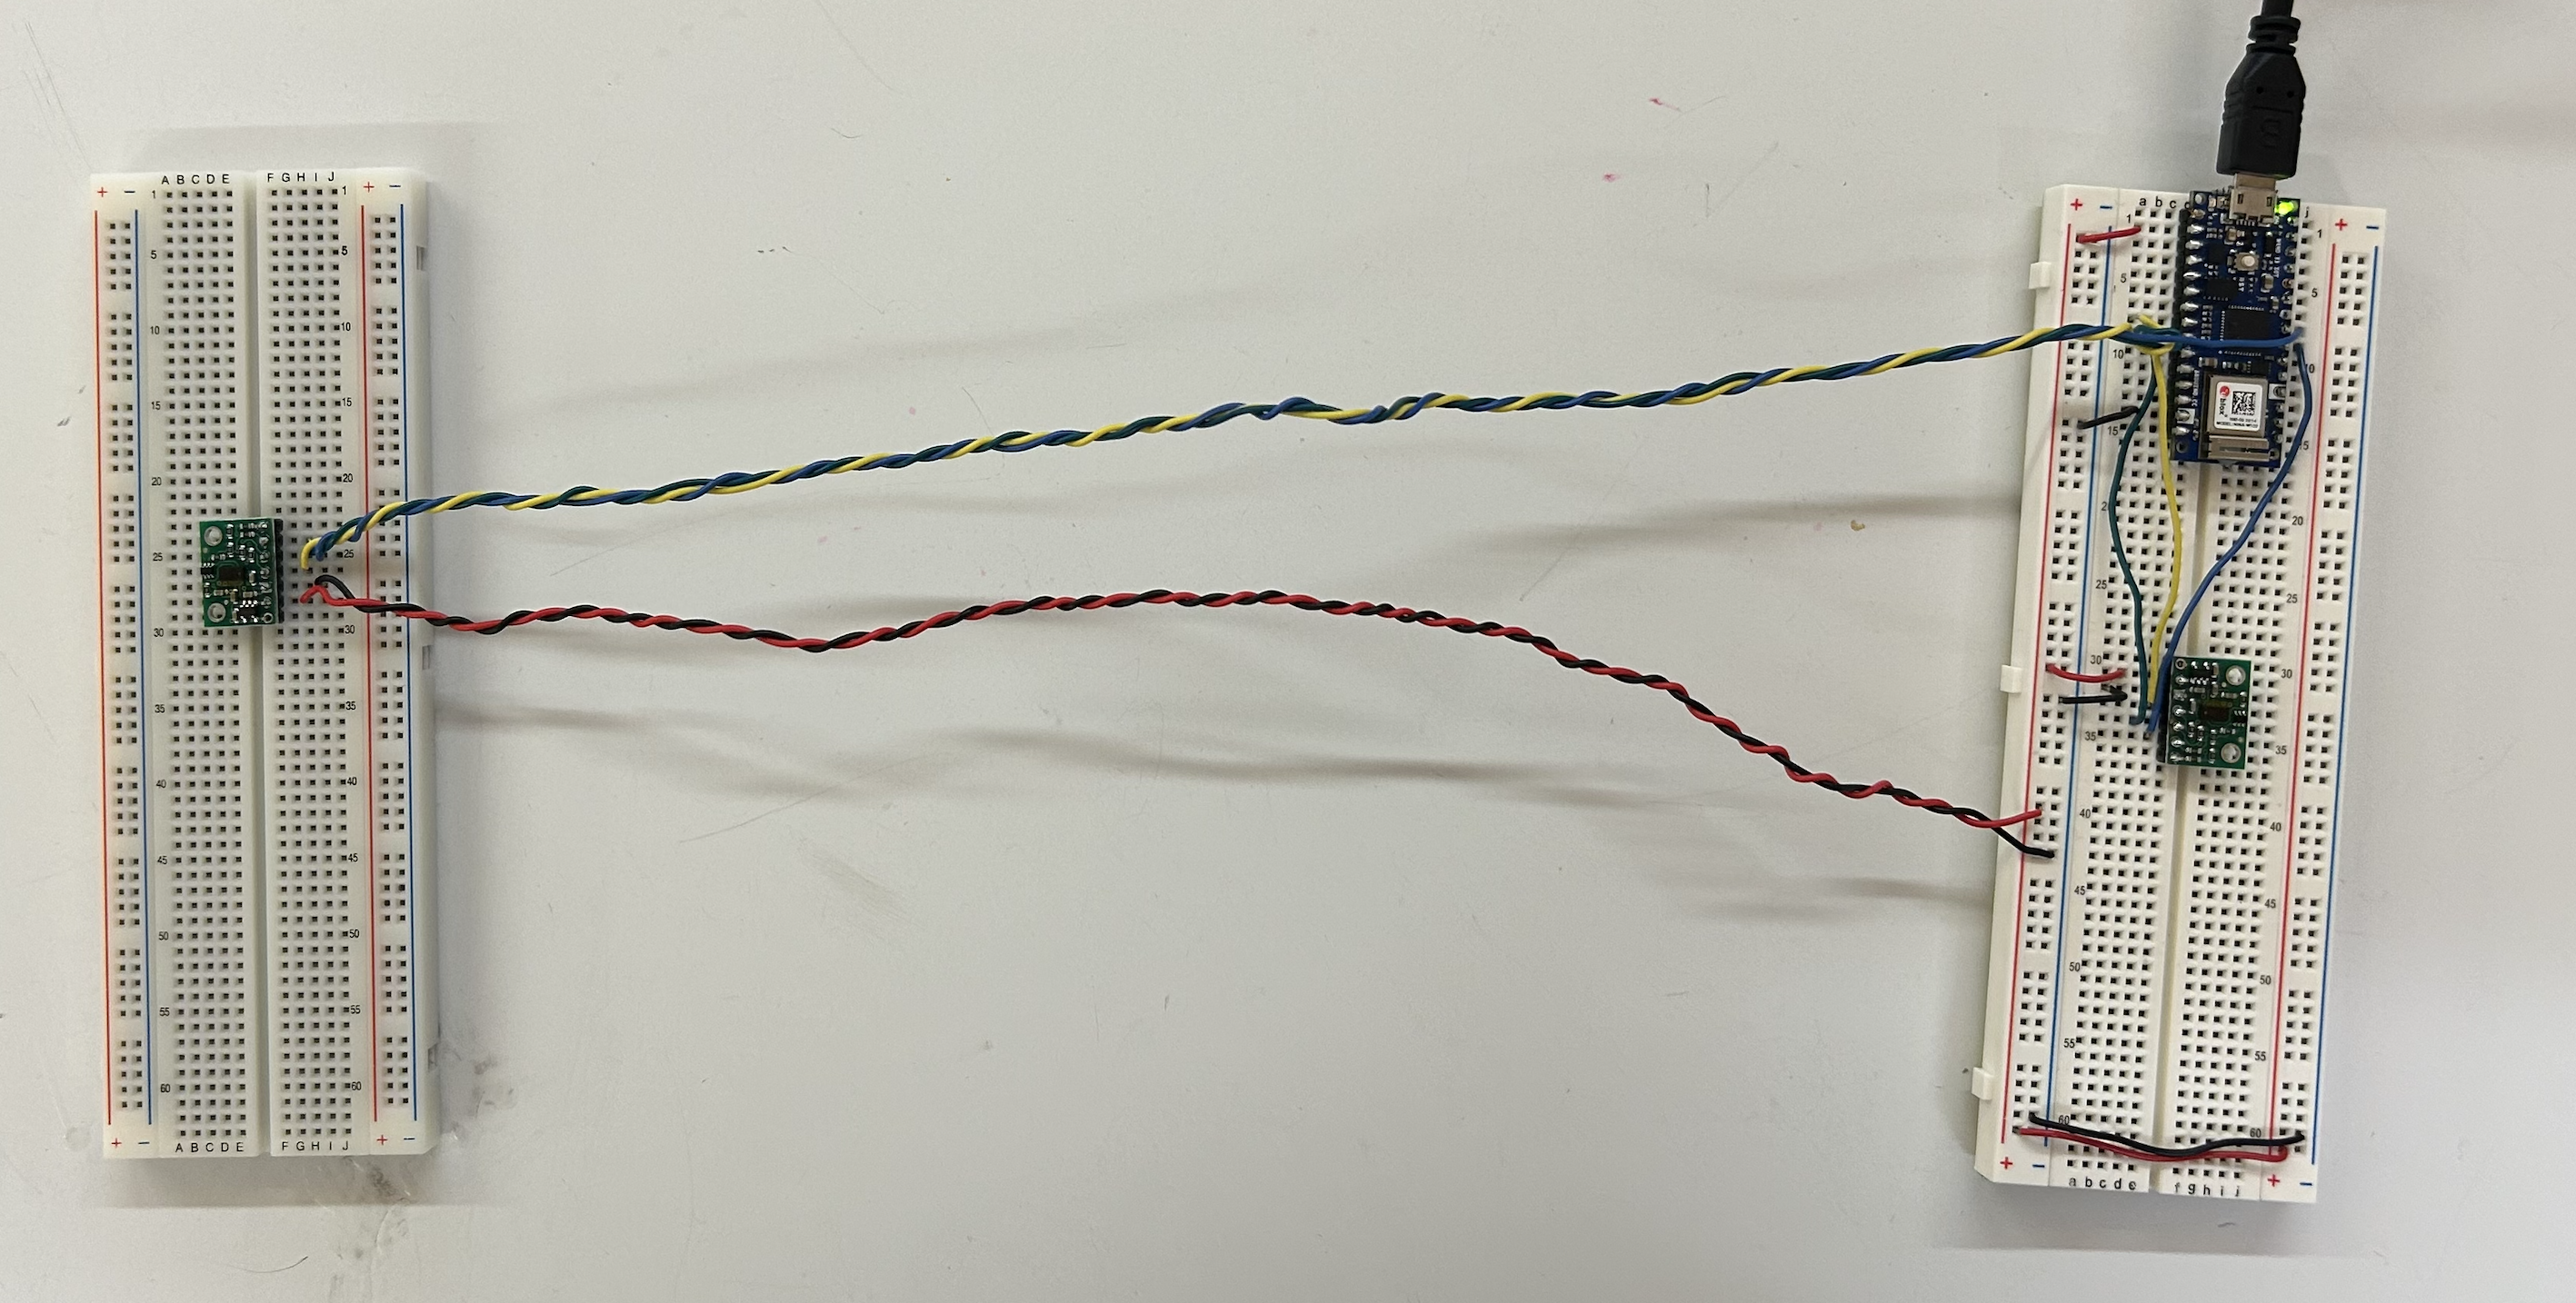
 The new setup with longer wires and one sensor perpendicular to the other
 Bird’s eye view
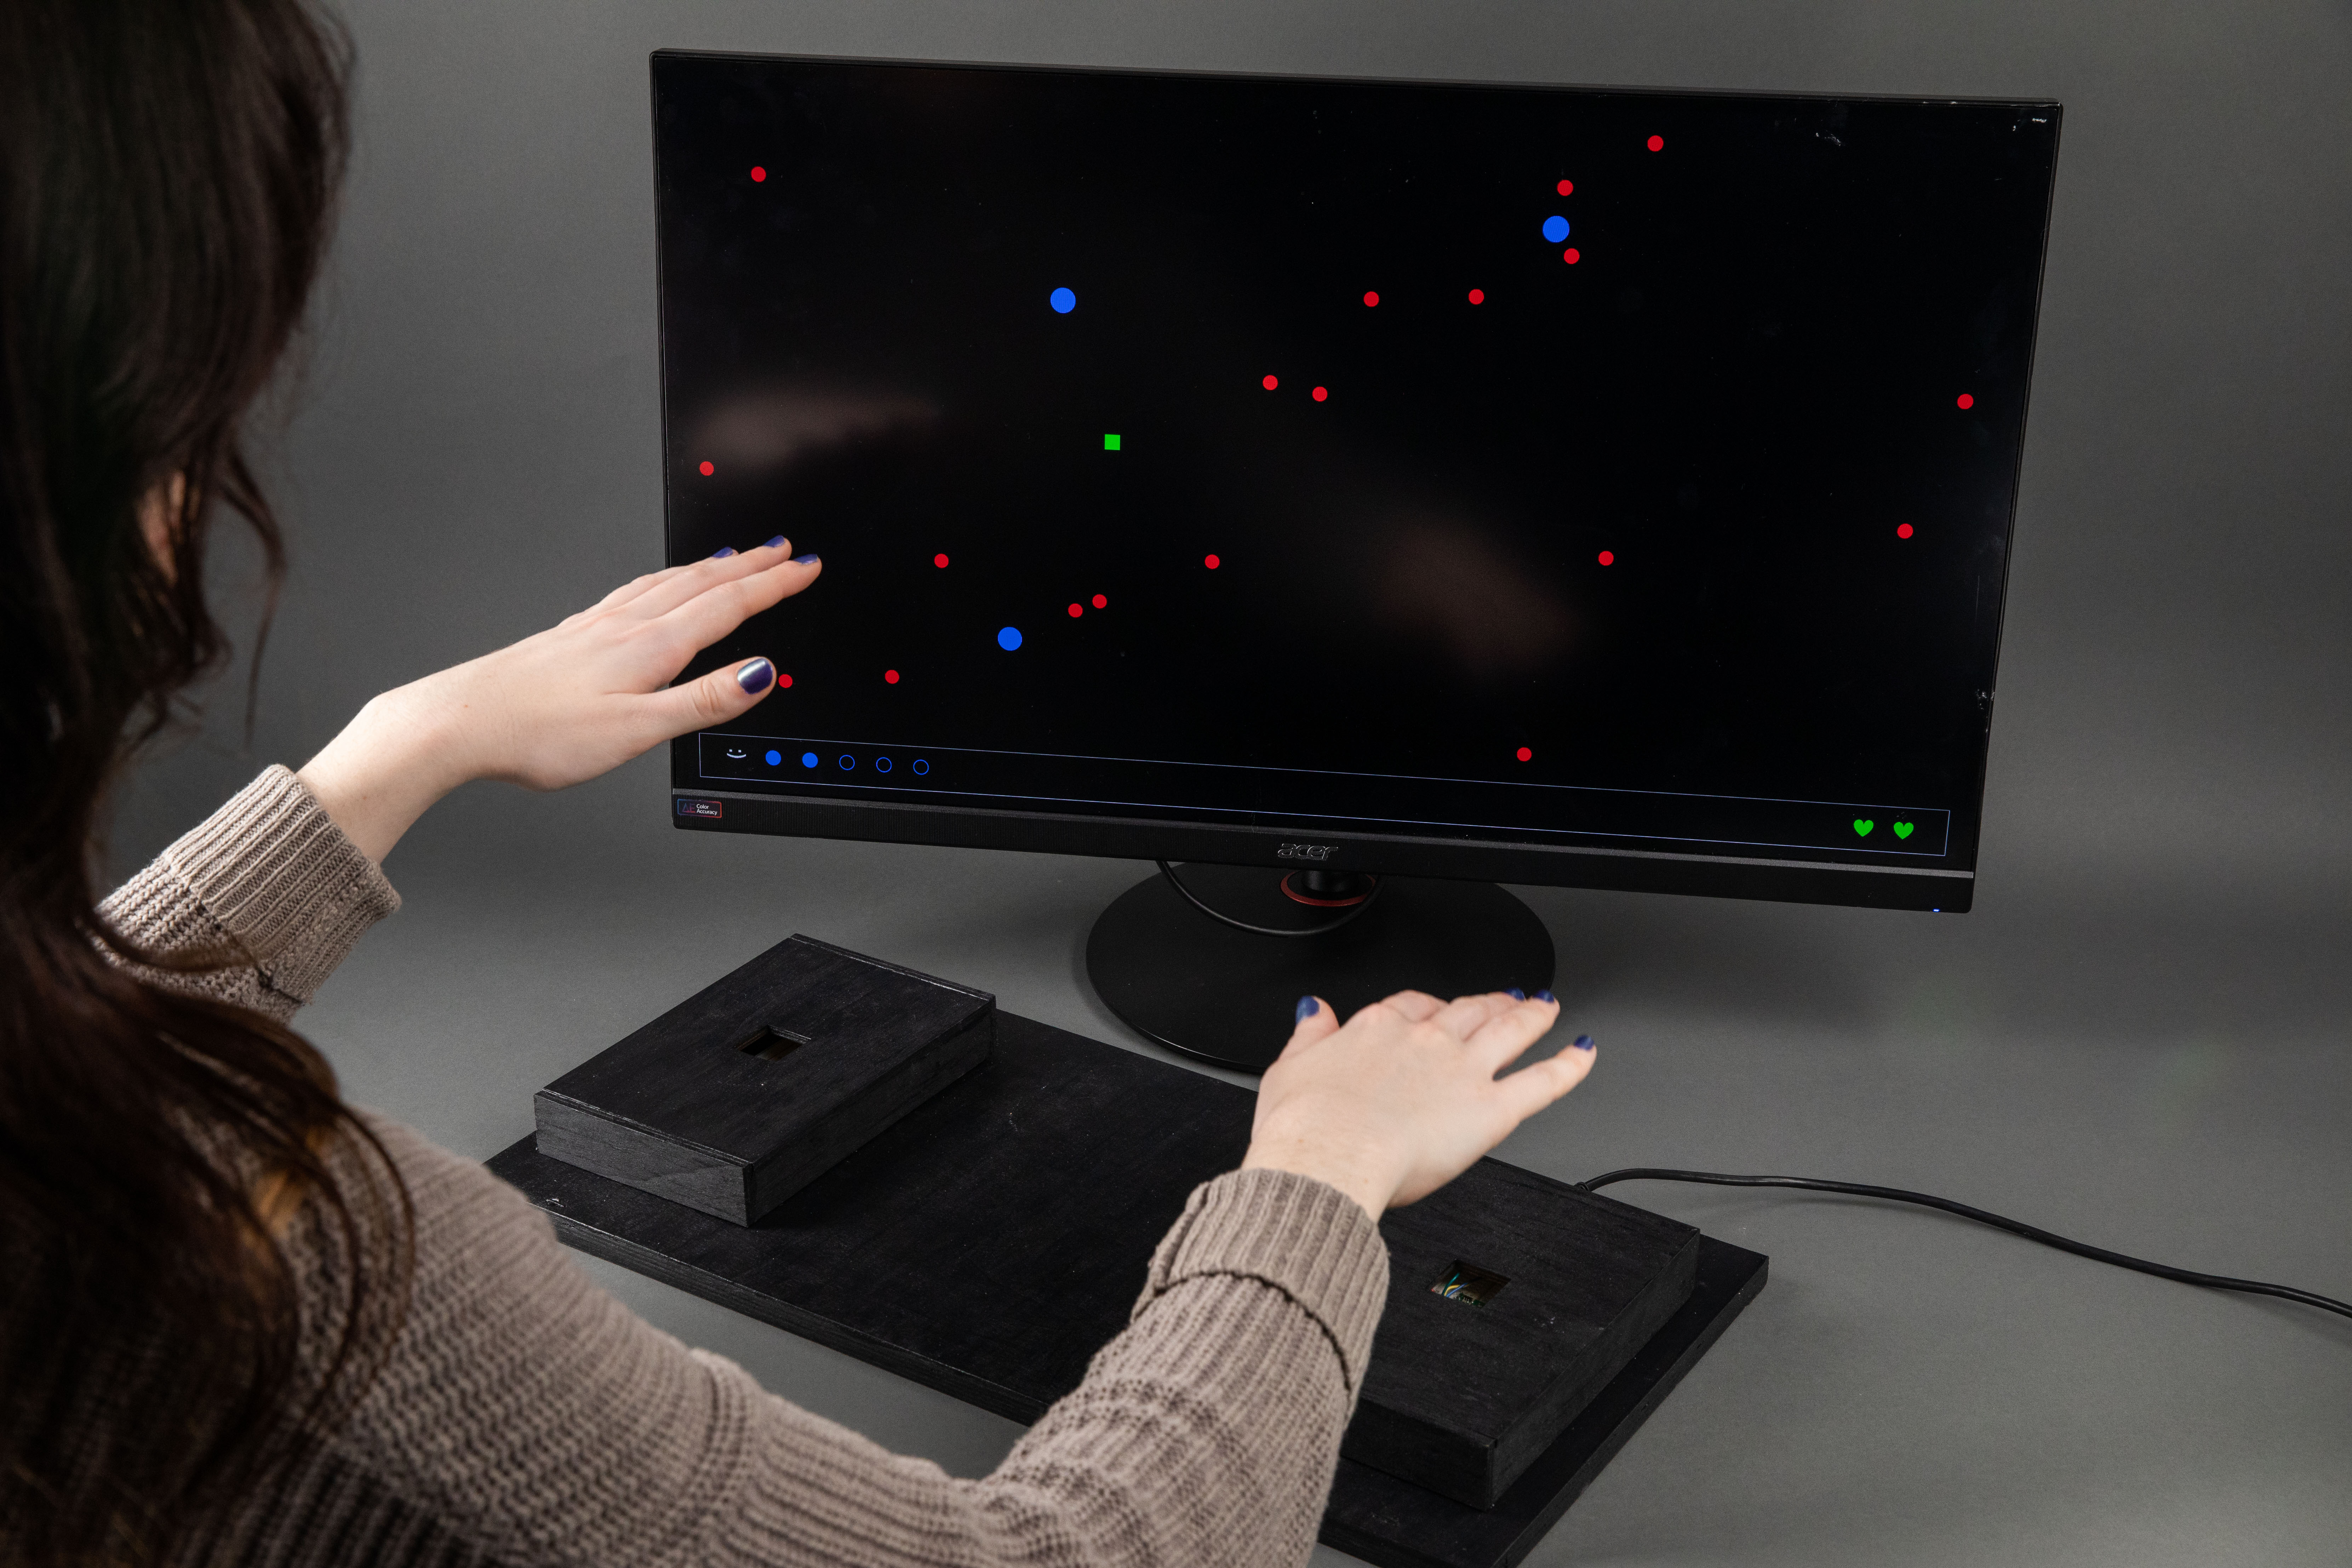
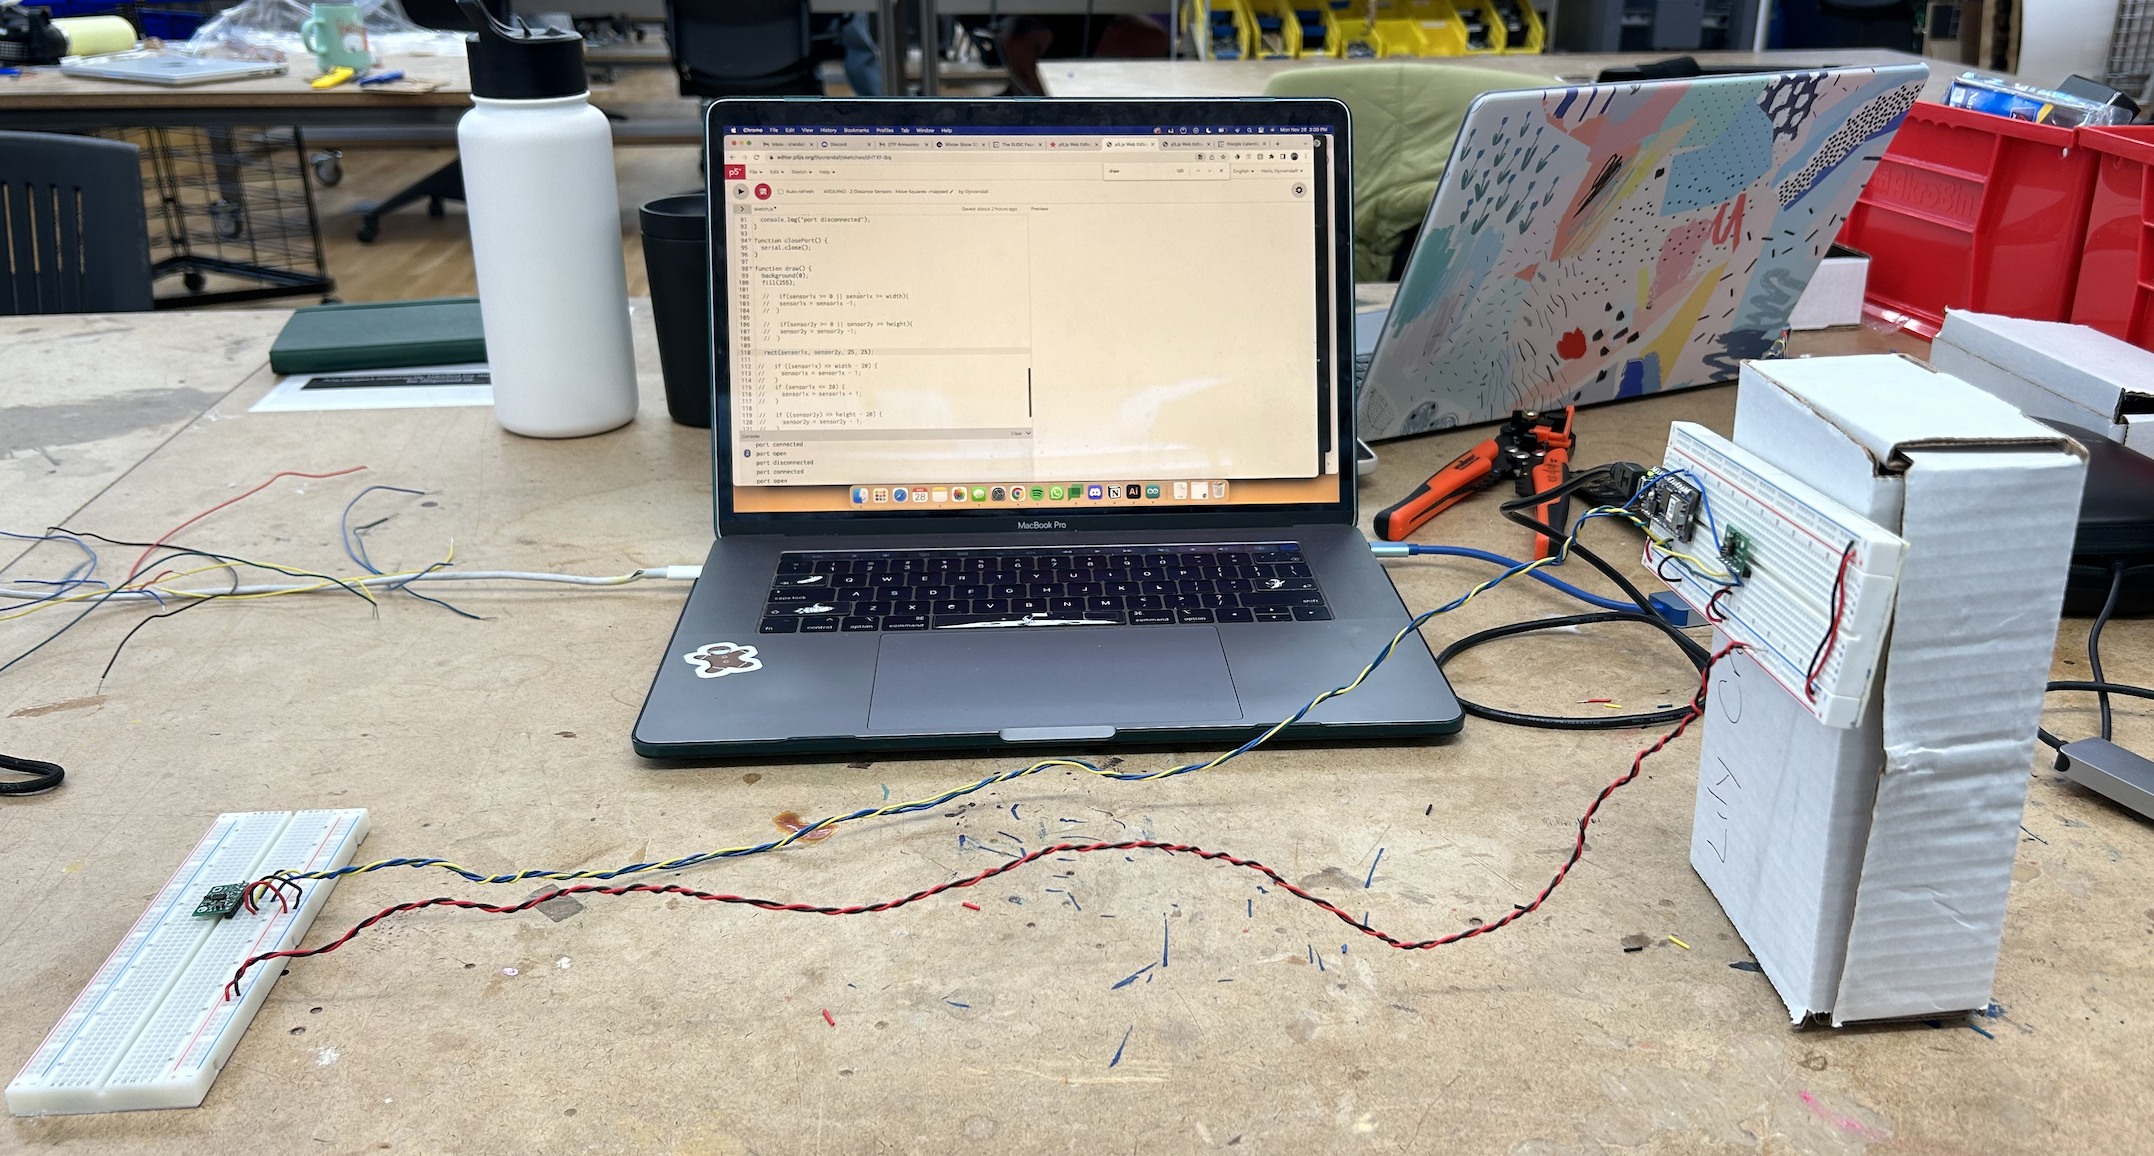
In action
NOV 29 - DEC 5
1. I combined the game code with the code from the sketch above and got it to work no start screen or anything, the game begins as soon as the sketch is run.
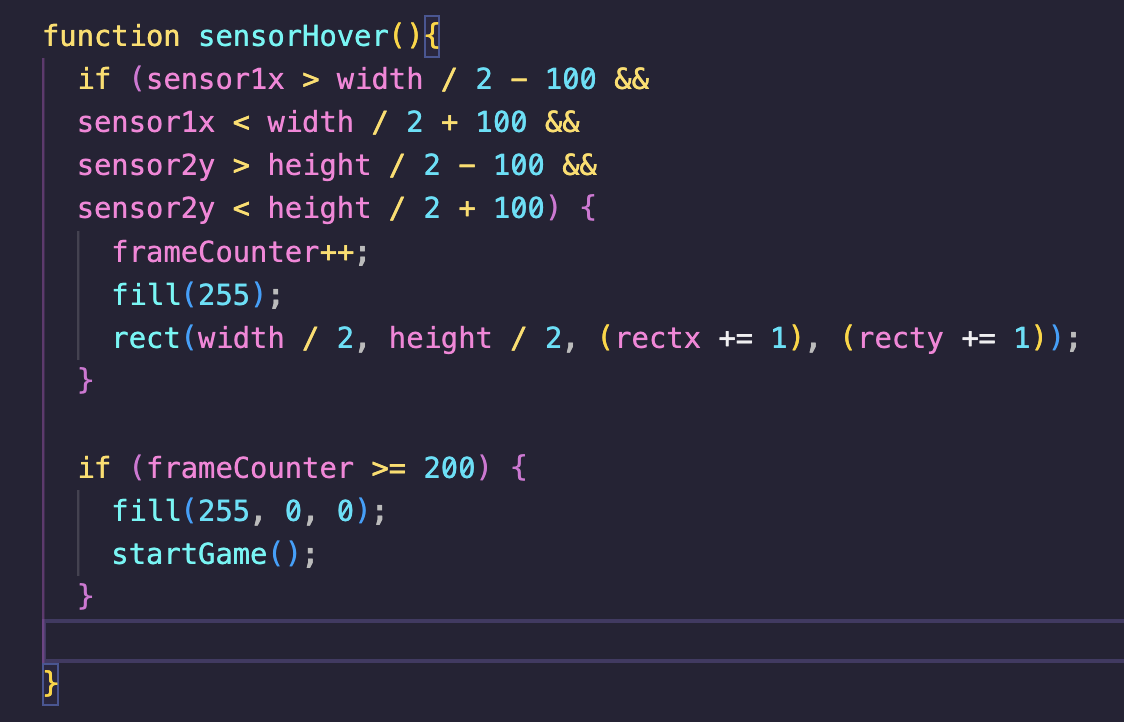
3. I got it to work properly. The game begins when the user hovers over a square in the mdidle of the screen. This is what what code looks like:
Screen recording of the game at this point
4. Instead of printing every value that comes through the distance sensor, I added code in the Arduino IDE that takes the average of every 4 values. This made the green square move more smoothly on the screen.


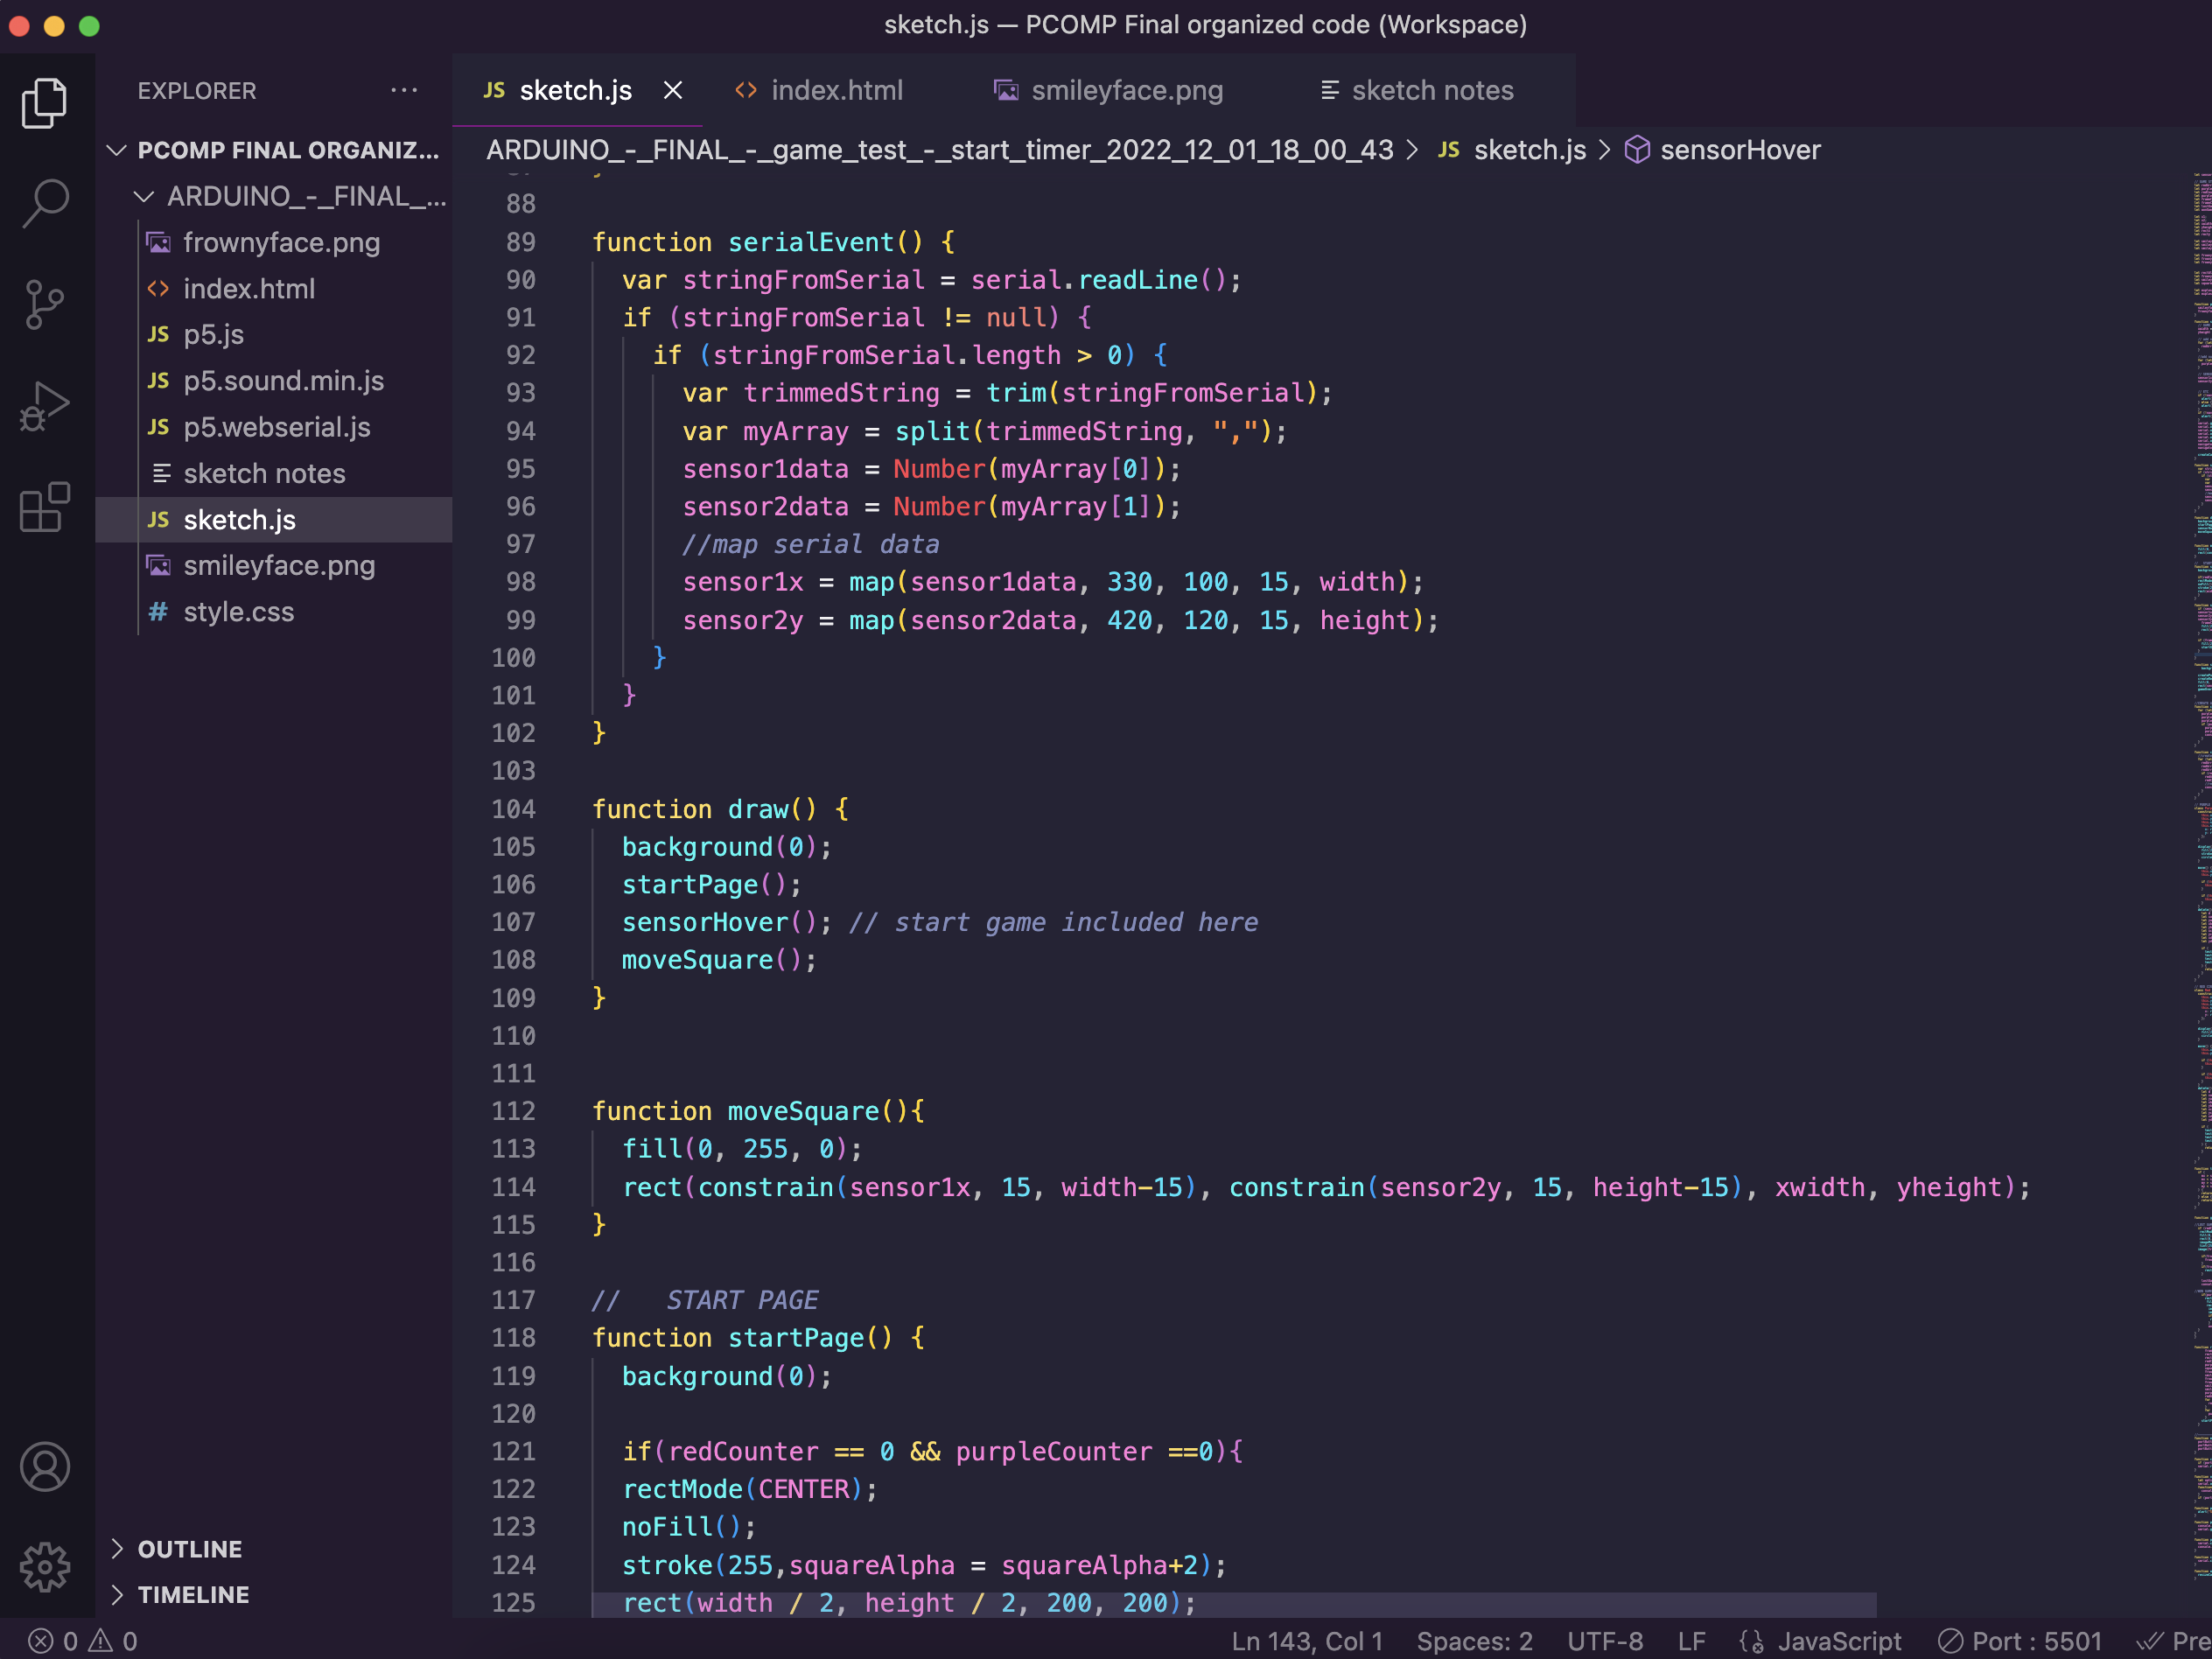
5. I moved from the p5 web editor to Visual Studio Code. It was a bit weird at first, but it’s great to be able to see the game in full screen, and organize my code a l

8. I changed the start page a bit, as well as added a smiley face / frowny face that appears when the player wins or loses. I also added a restart function so it automatically returns to the start screen when the game is over.

restart function
This is what it looks like as of now:
Ok so I went to record my screen and ran into a bug that’s been annoying me - if I don’t run the game for a few minutes, it stops receiving Arduino data, and I have to reupload the data and hope that fixes it. Here, it doesn’t. It’s not clear why this happens. Sometimes it doesn’t work again until I restart Arduino, or even my laptop. The other thing that happens here is that the game over function doesn’t work properly - it shows a smiley & frowny face.
It works in this video - I think it has something to do with the counter for the purple & red circles. Right now they’re being counted by a variable that increases when one is deleted, but I think I have to change that. This week, I want to create an enclosure for the wires.
DEC 5-10
1. When the player hits a circle, it “explodes” and you hear a sound.
- For some reason, the sound doesn’t always work - specifically with hitting the circles you want to hit. The red ones seem to work fine
2. I added a progress bar to show how many lives you have left. I’m not 100% satisfied with it, but I was having trouble figuring out an alternative that made sense visually.
3. I changed the purple color to blue. While I liked how the purple looked more, it was a little difficult to tell the purple and red apart. I might change this back later.
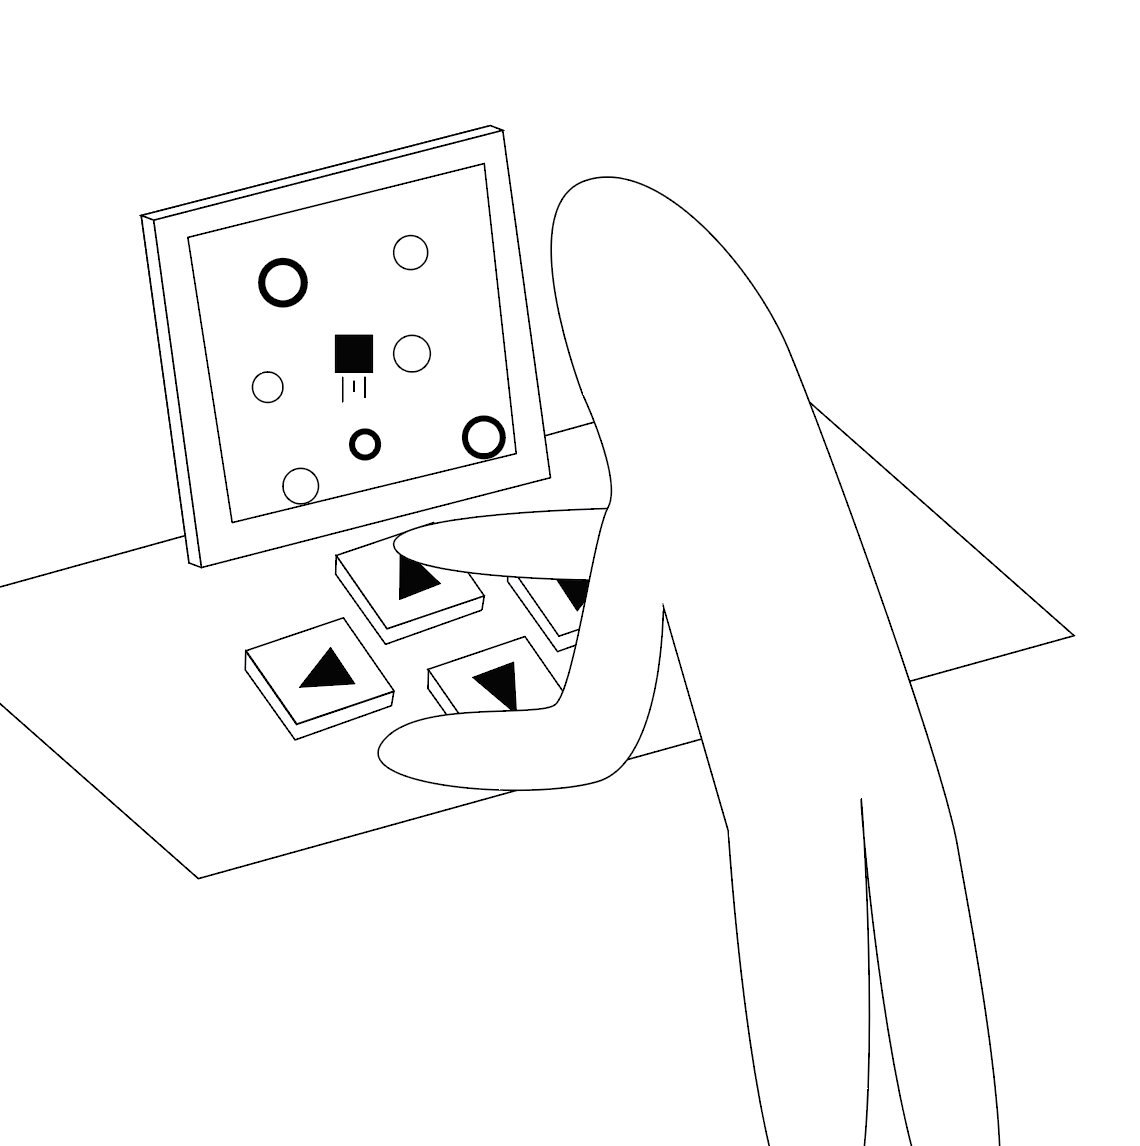
4. I added a gif on the main page. I’m trying to show users that they need to move their hands up and down over the sensors (and not left/right). If I had more time & fabrication skills, I would make “tunnels” for people to put their hands into, but I don’t think that’s realistic at this point. I think this is the kind of build I’m going to make:
DEC 11 & 12


Painting
![]()
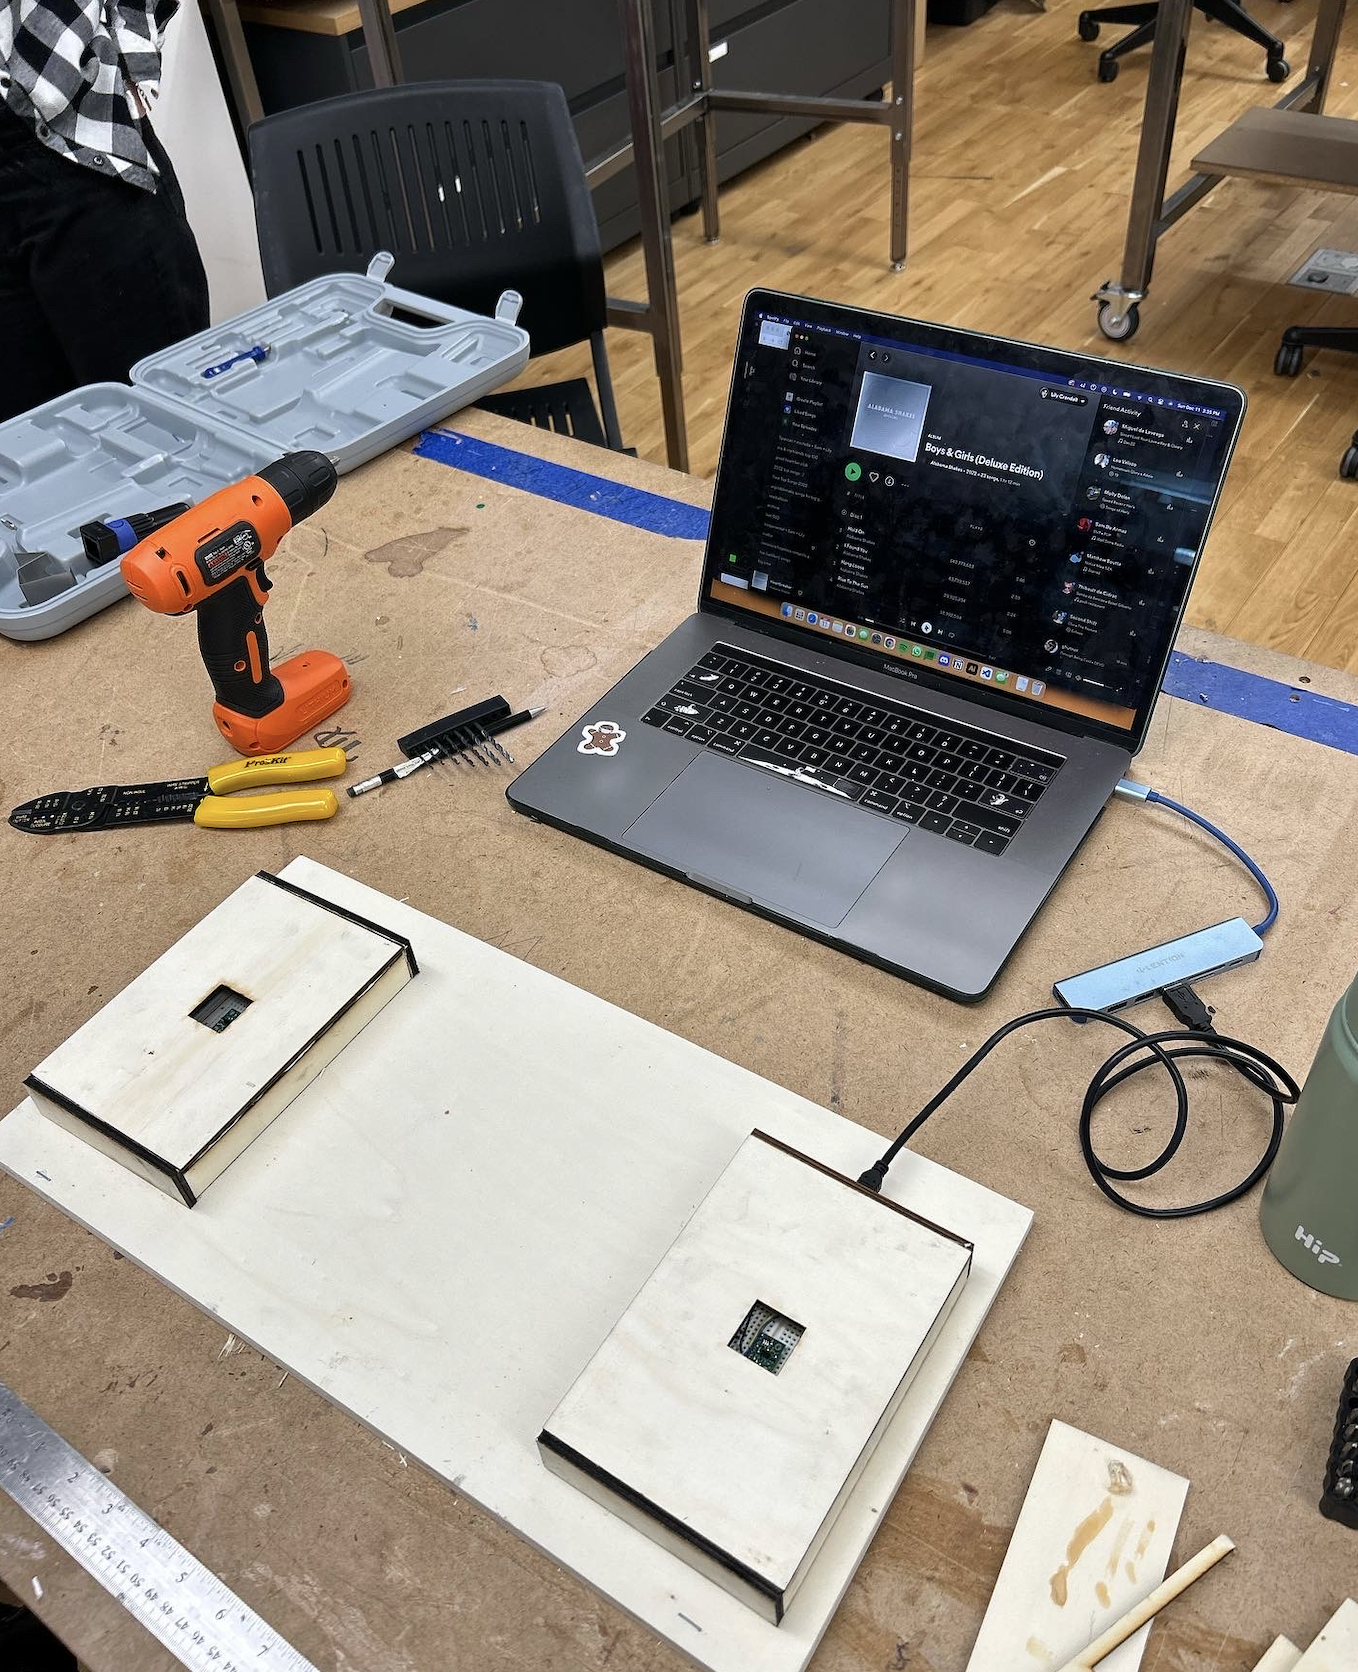
I drilled holes in the tray and ran the wires underneath.
![]()
![]()

I drilled holes in the tray and ran the wires underneath.


For the annoying data upload problem, I took out all of the console.log calls in the code, and I think it helped a little. Some things I want to do before the show:
1. Name it!!! And have the name on the start page and maybe on the actual physical console itself.
2. Add a start up sound when the game begins, when you win, and when you lose
3. Maybe change the progress bar.
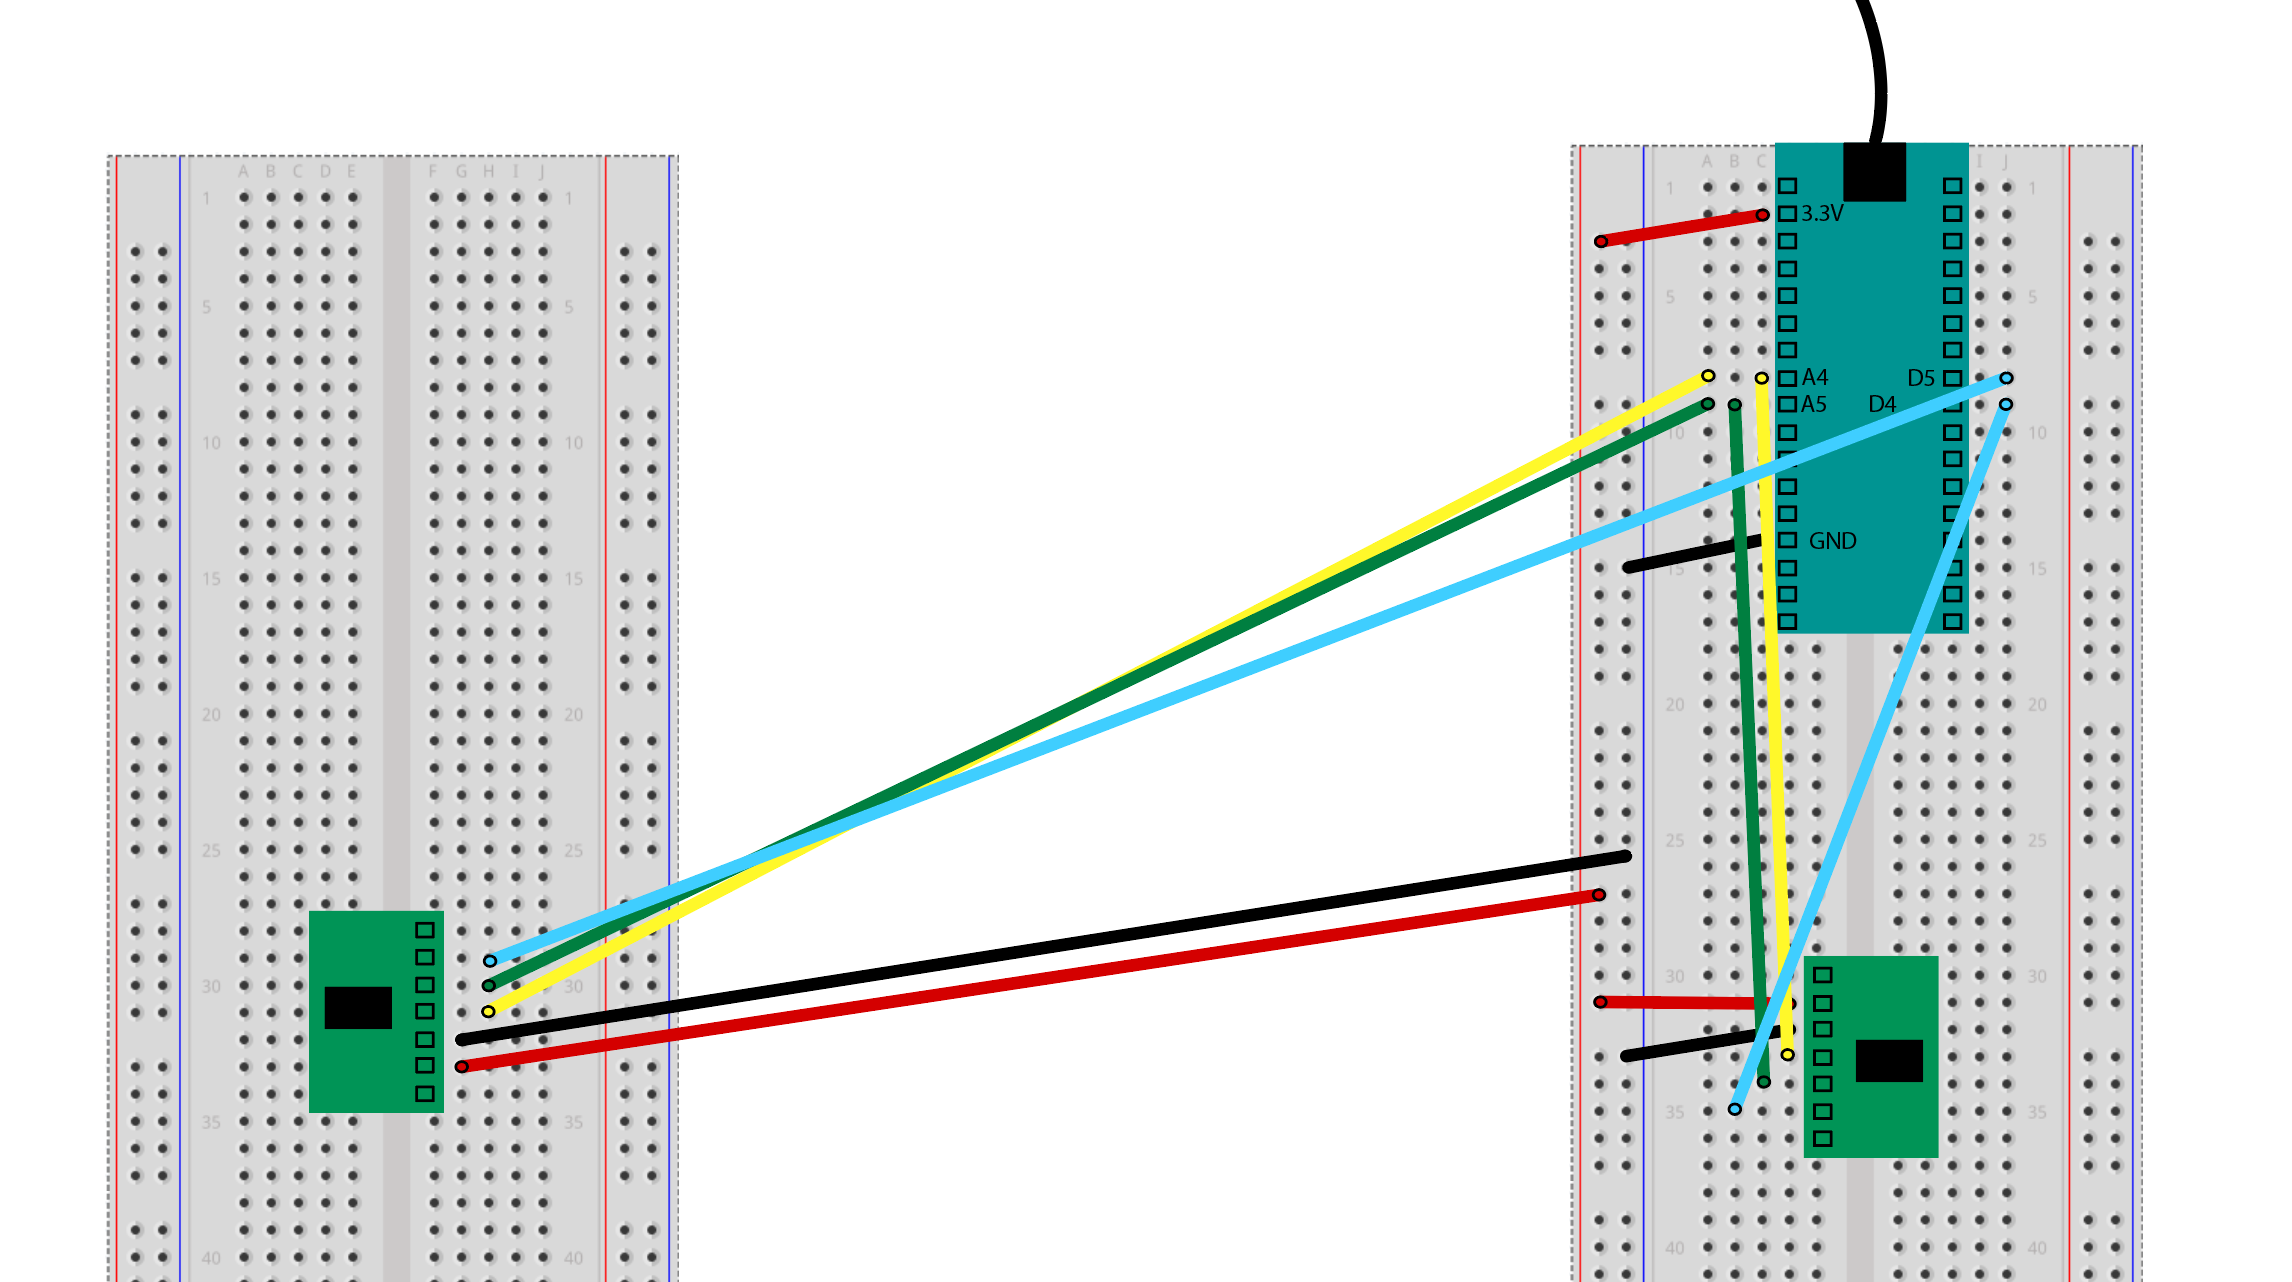
CIRCUIT DIAGRAM
Running list of people who have beat the game:
- Dror
- Zoe
- Alfonsette