WEEK 1: A LIGHT SANDWICH
This week, I built an enclosure for a LED puck light, to be used as a night light.


DAY 1:
For this assignment, I decided my enclosure would be some sort of light, and obviously a sandwich-shaped one. I went back and forth on what the light would be (LEDs? A literal lightbulb?) And then I realized that buying a battery-operated LED light would be soooo much easier. So I got one at the dollar store and decided to build a sandwich night light around that. The tricky design element to figure out was that the light was turned on by pressing down on it.
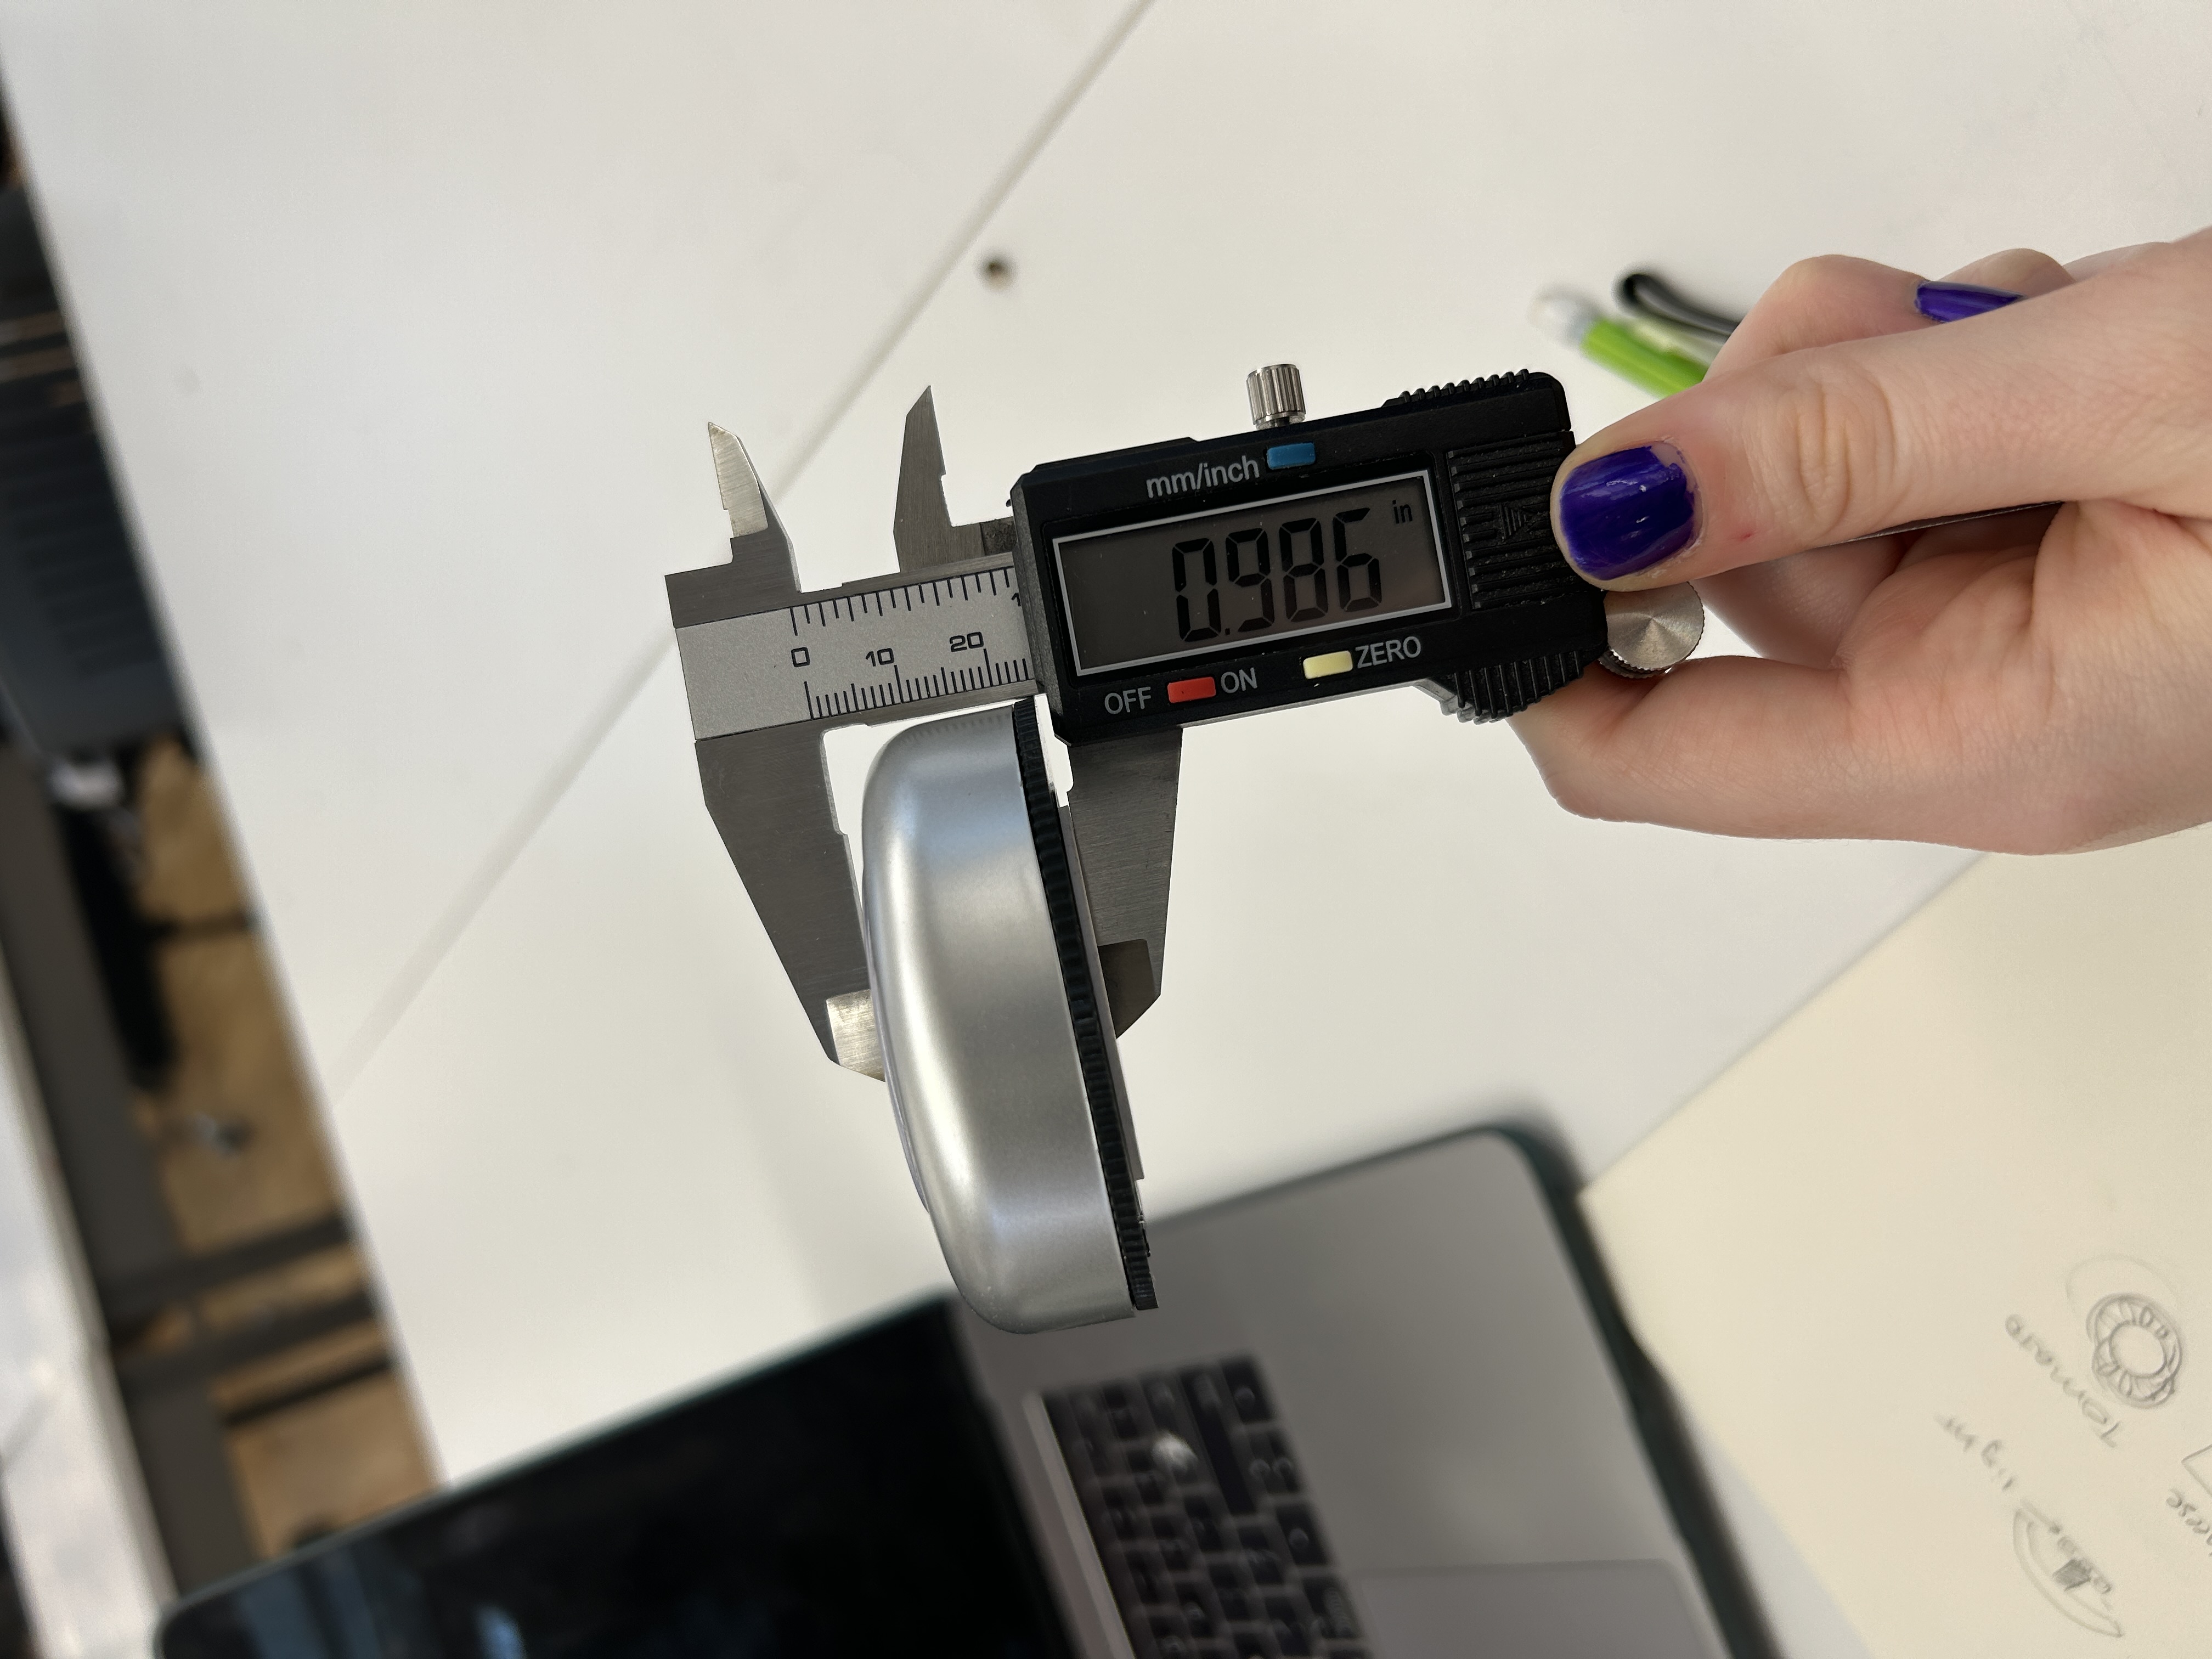
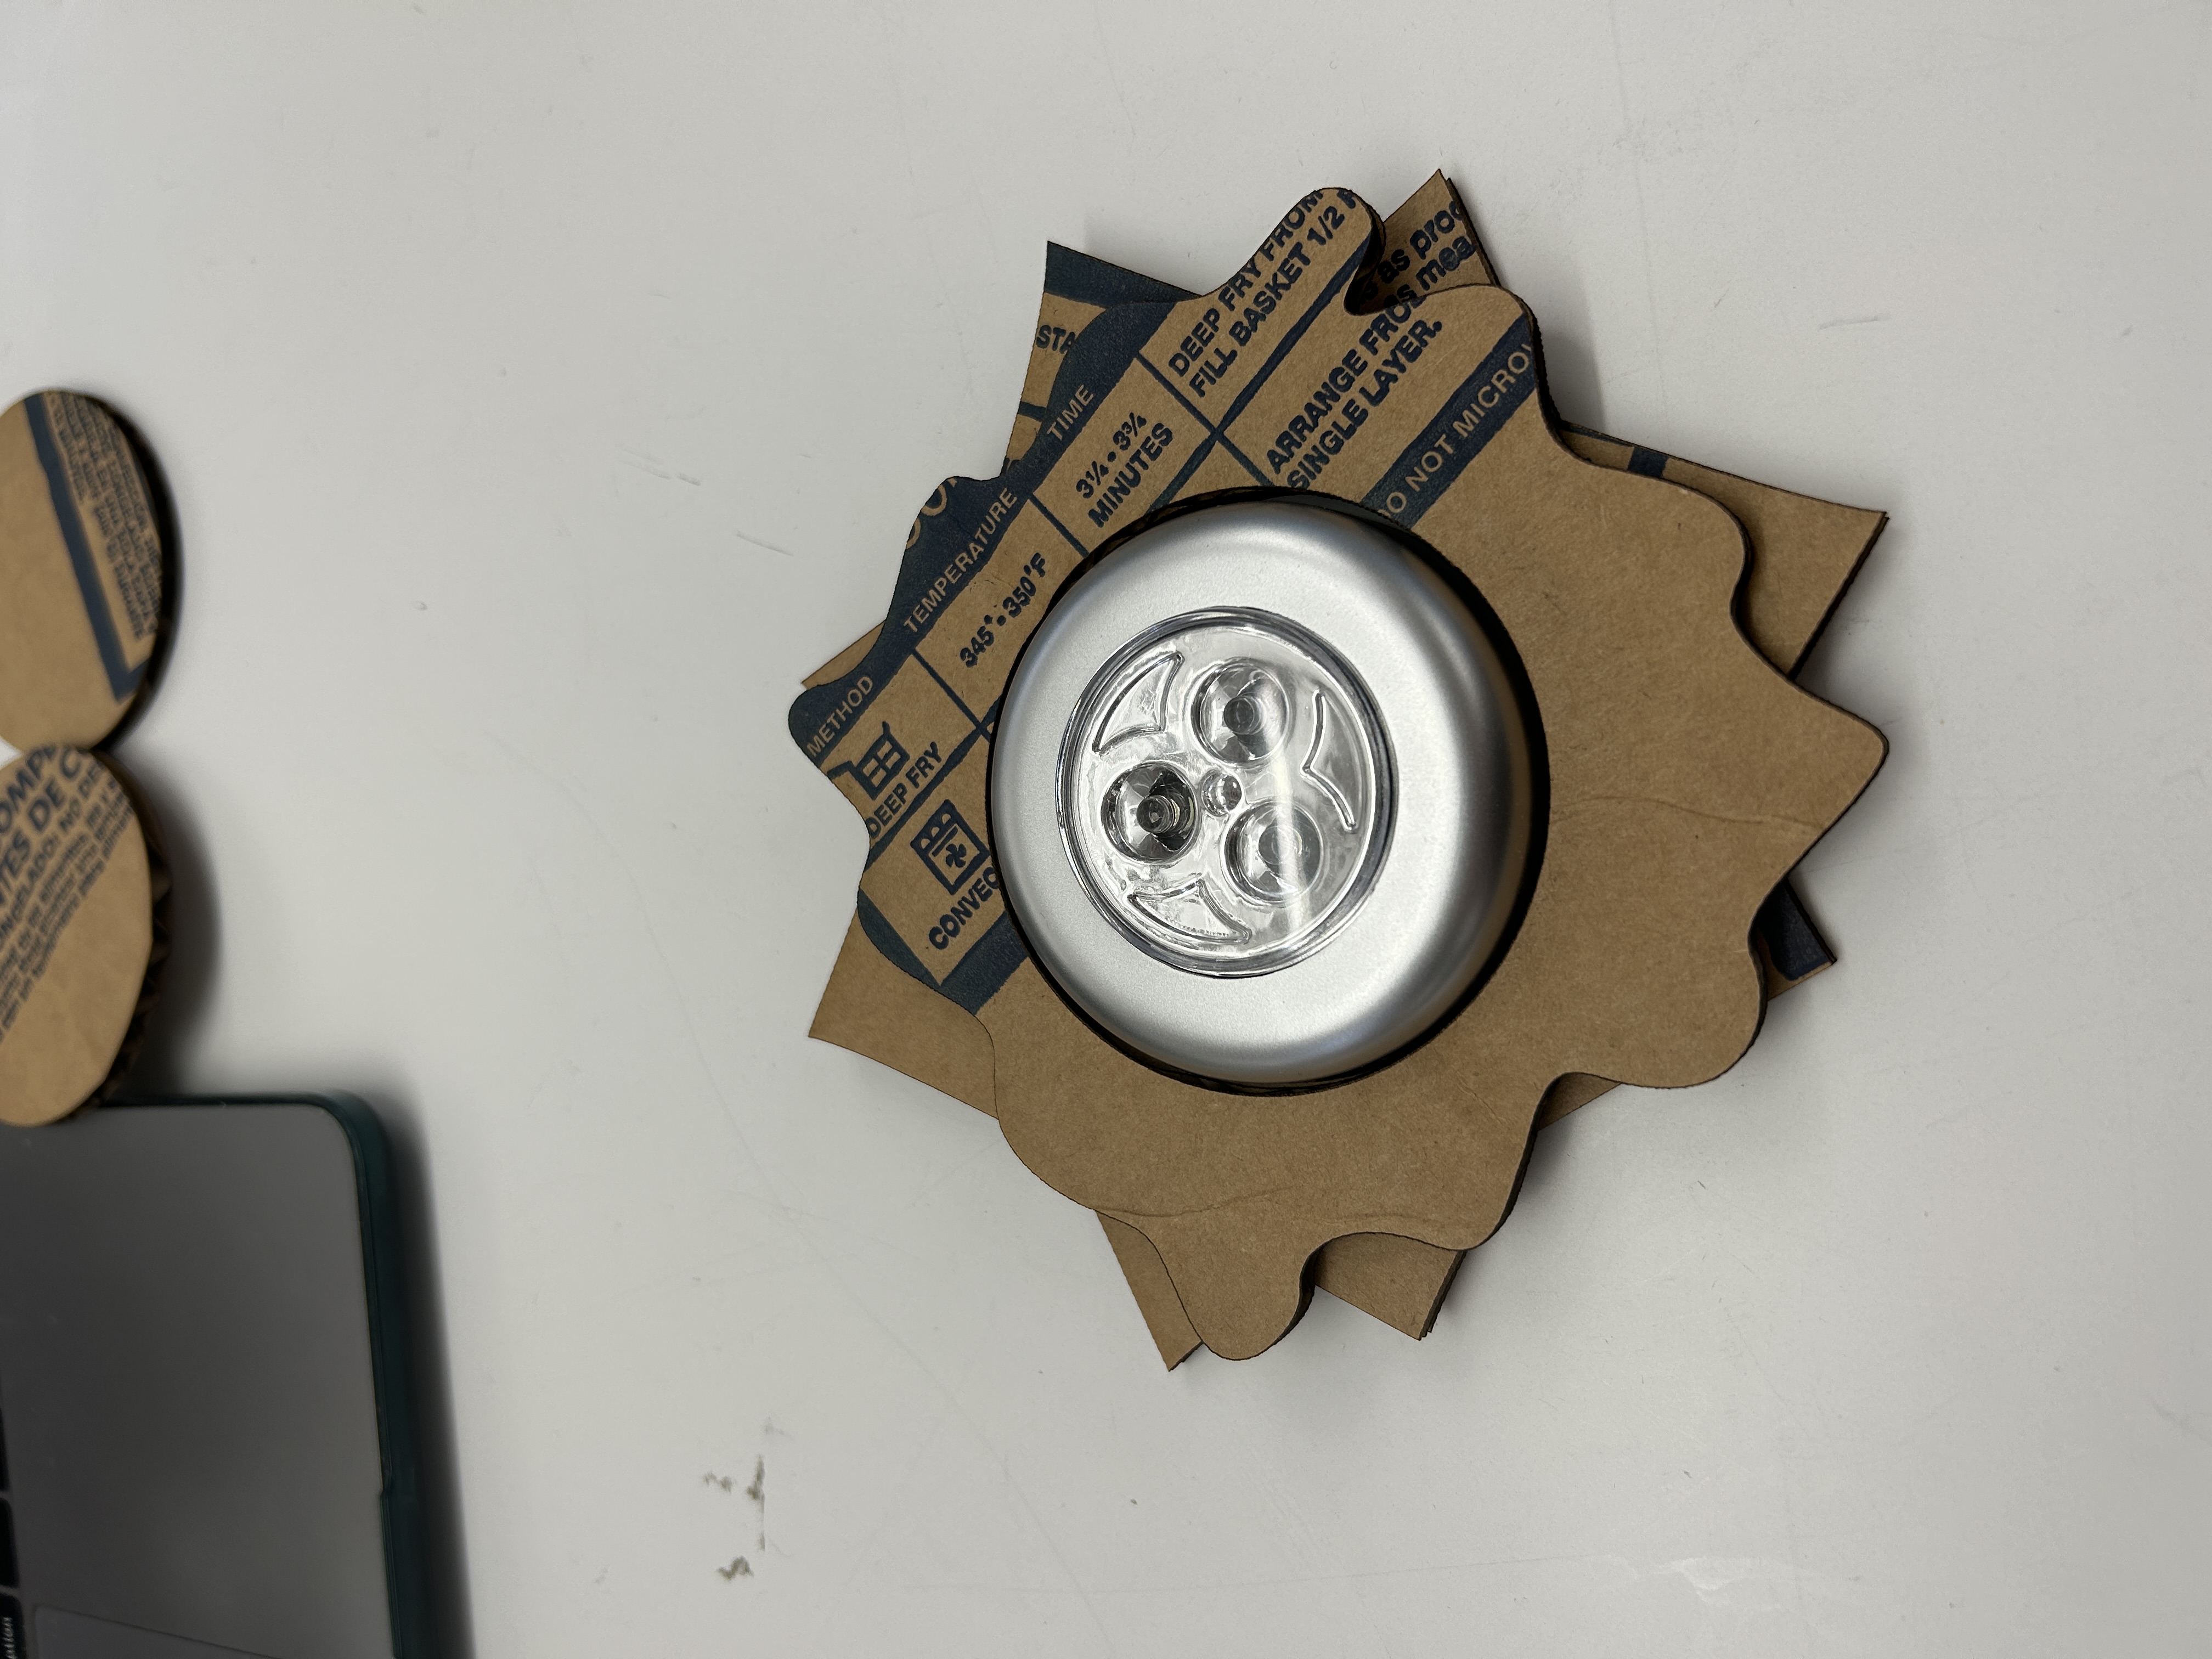

measuring the light to build a prototype / cardboard prototypes
I expected I would have to figure out how tomake the top of the light “float” so it could be pressed down to turn it on. I experimented with a few different materials, including springs and foam. I decided to wait until I made the actual wood object to see how that would affect the “give.”

MATH!!!!
testing out some cardboard prototypes
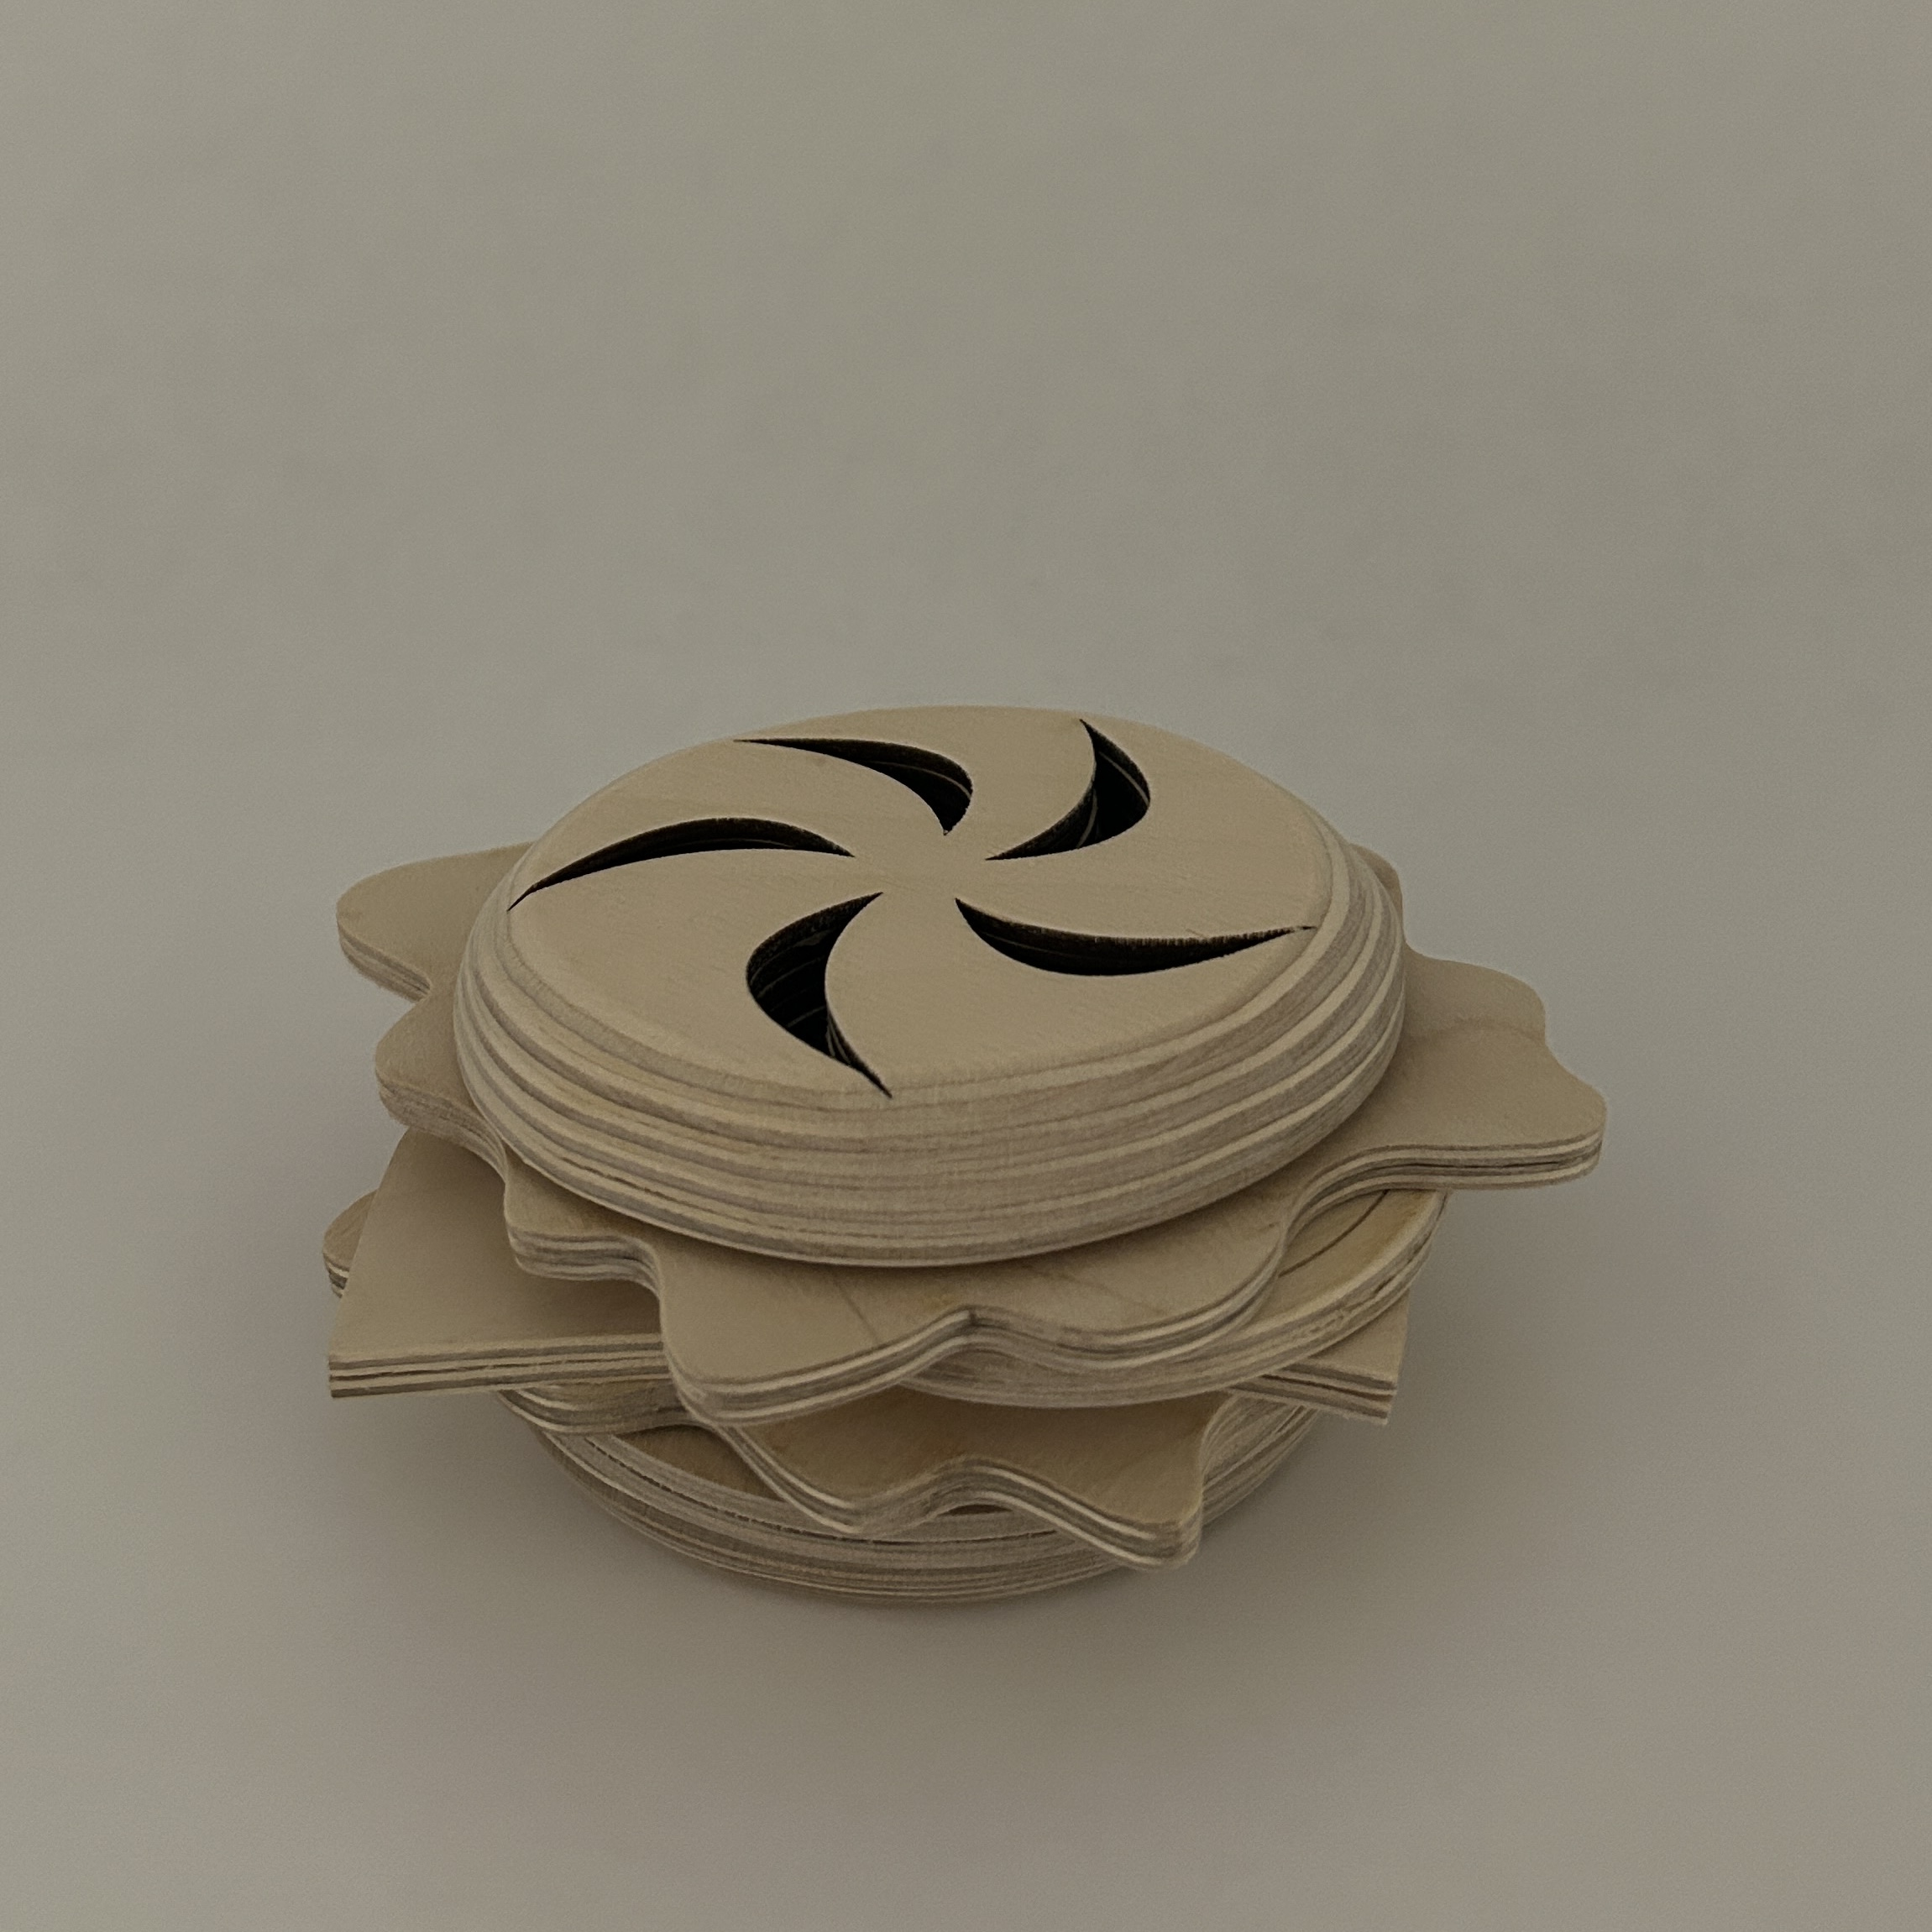
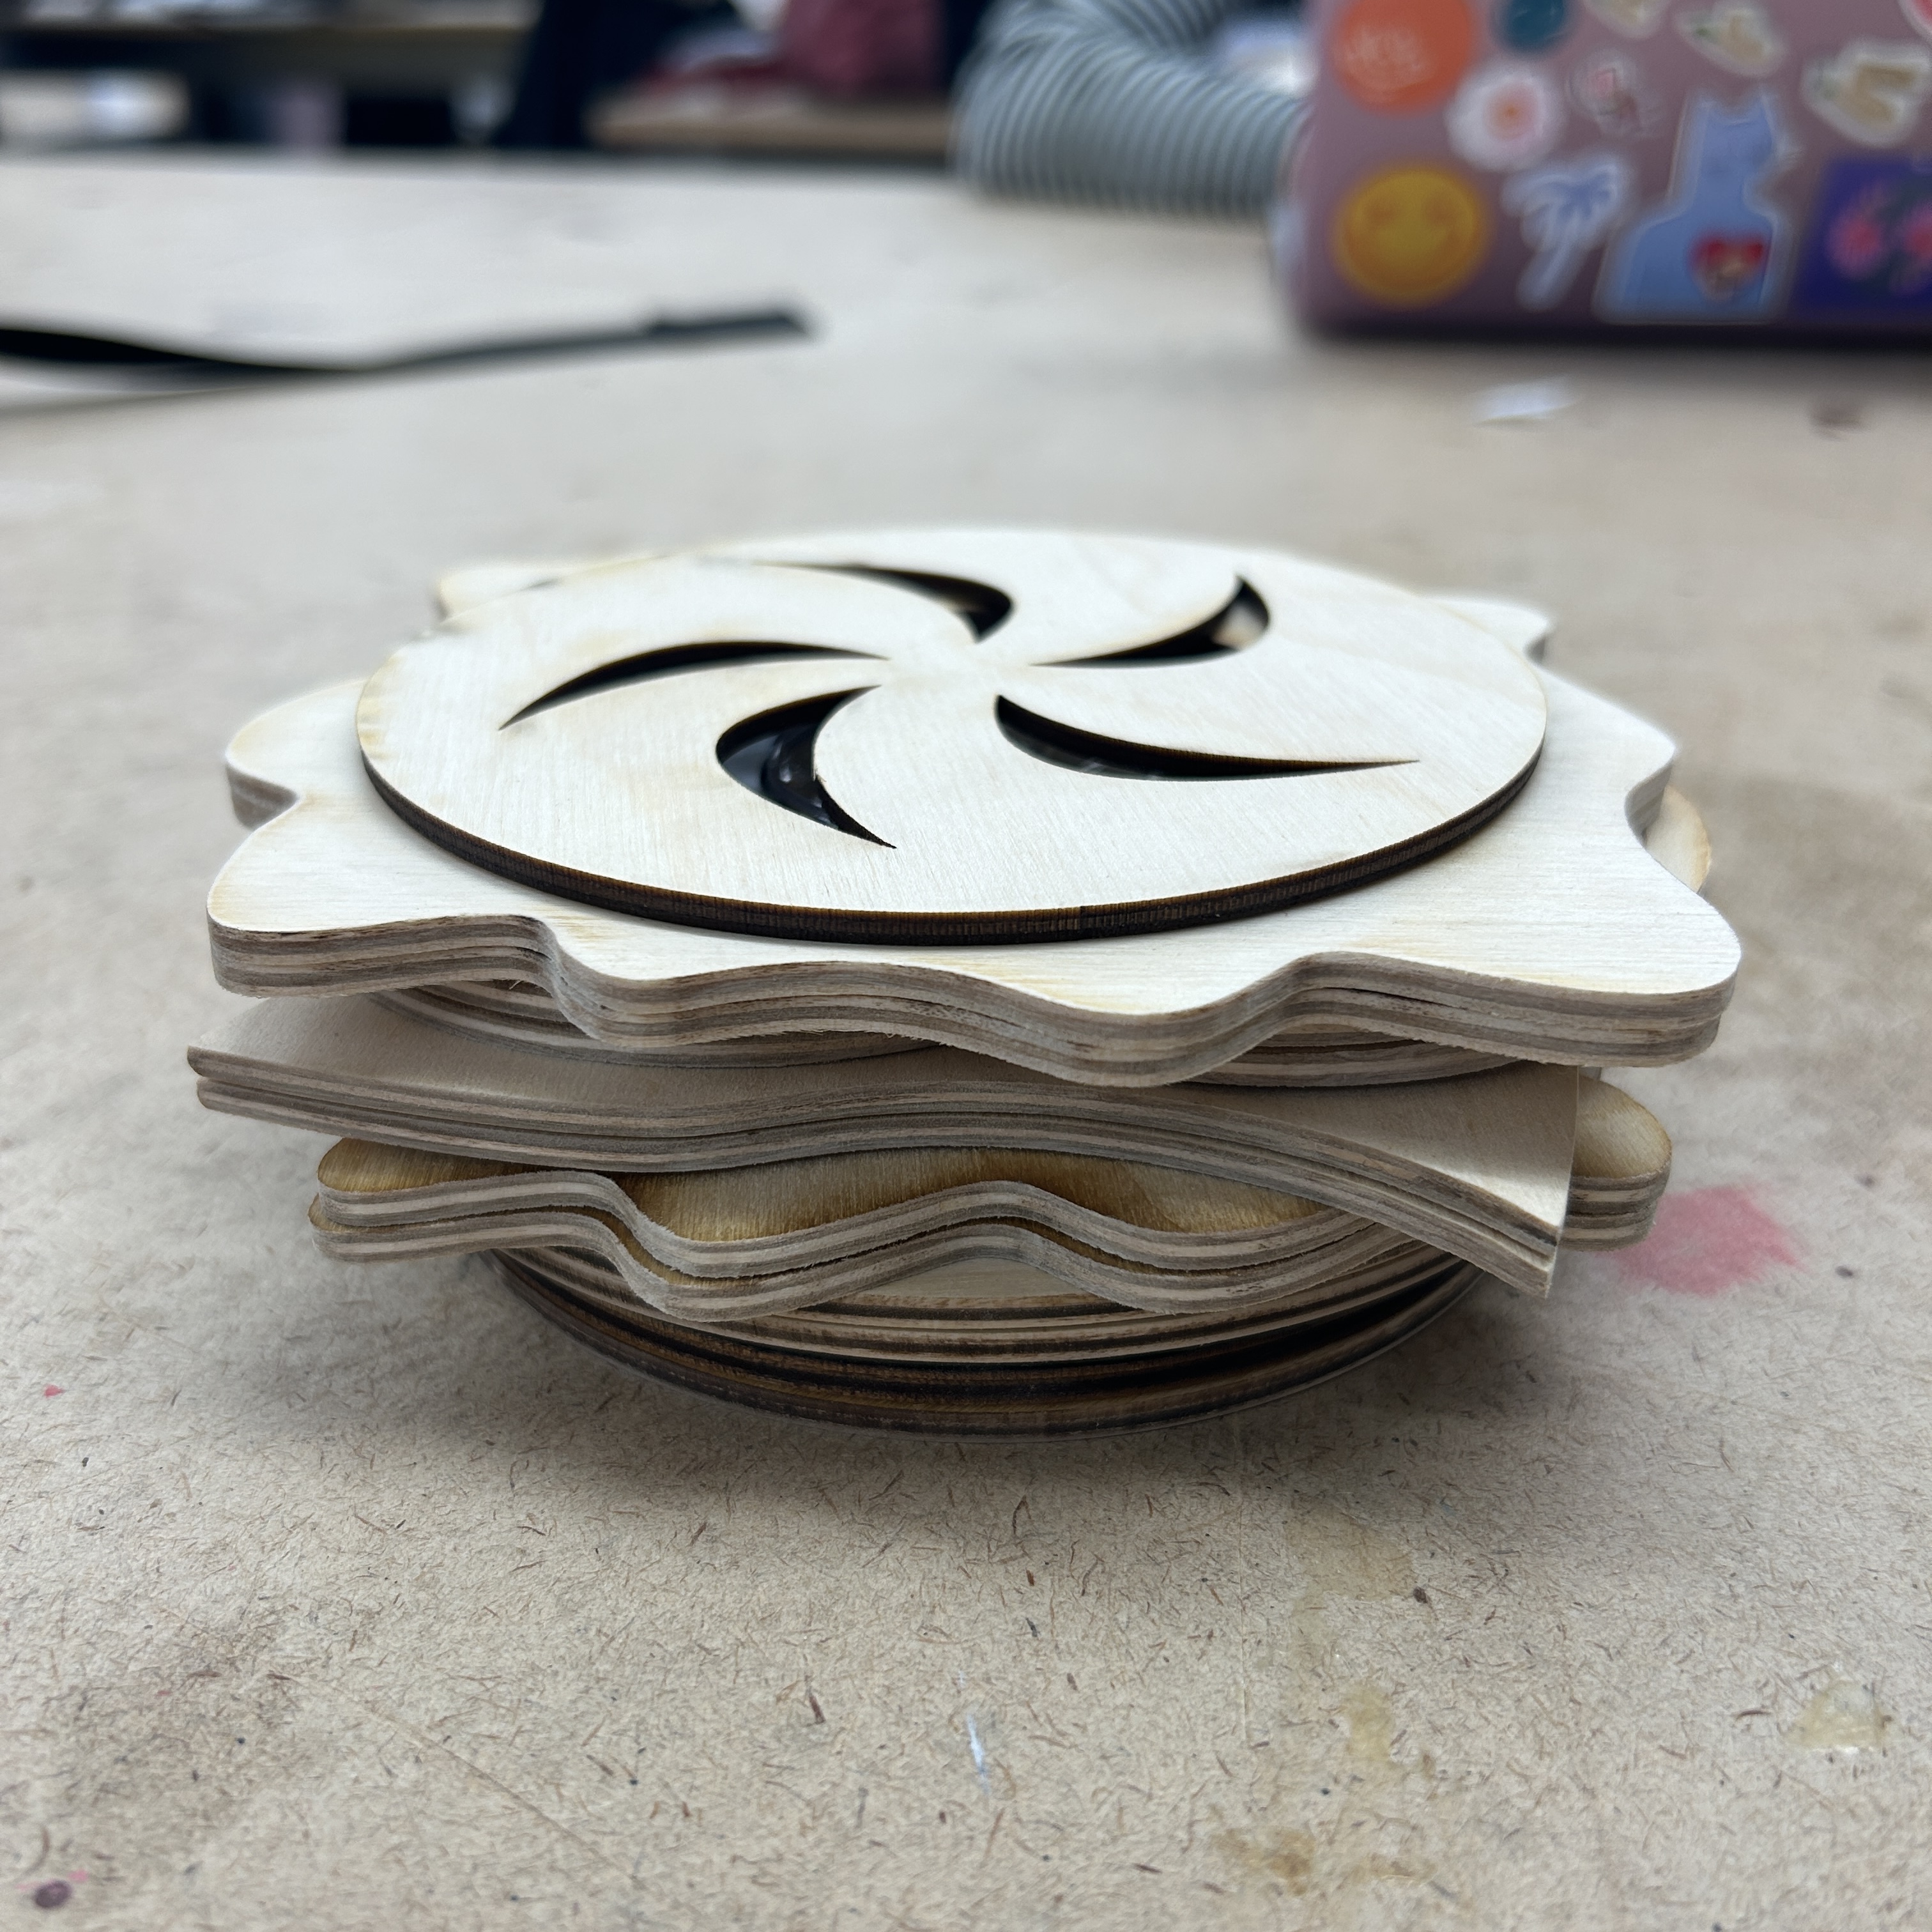
Next, I cut the designs out of wood. In all, I made circles for the bottom of the bun, ham, lettuce, tomato, and cheese. I made a kind of swirl design for the top of the bun so light could come out. I was inspired by the kaiser roll.


The wood version turned out pretty good. And, because the wood I used was a little warped, i was bendy enough that I didn’t need to add foam or springs to make it press the button.
DAY 2:
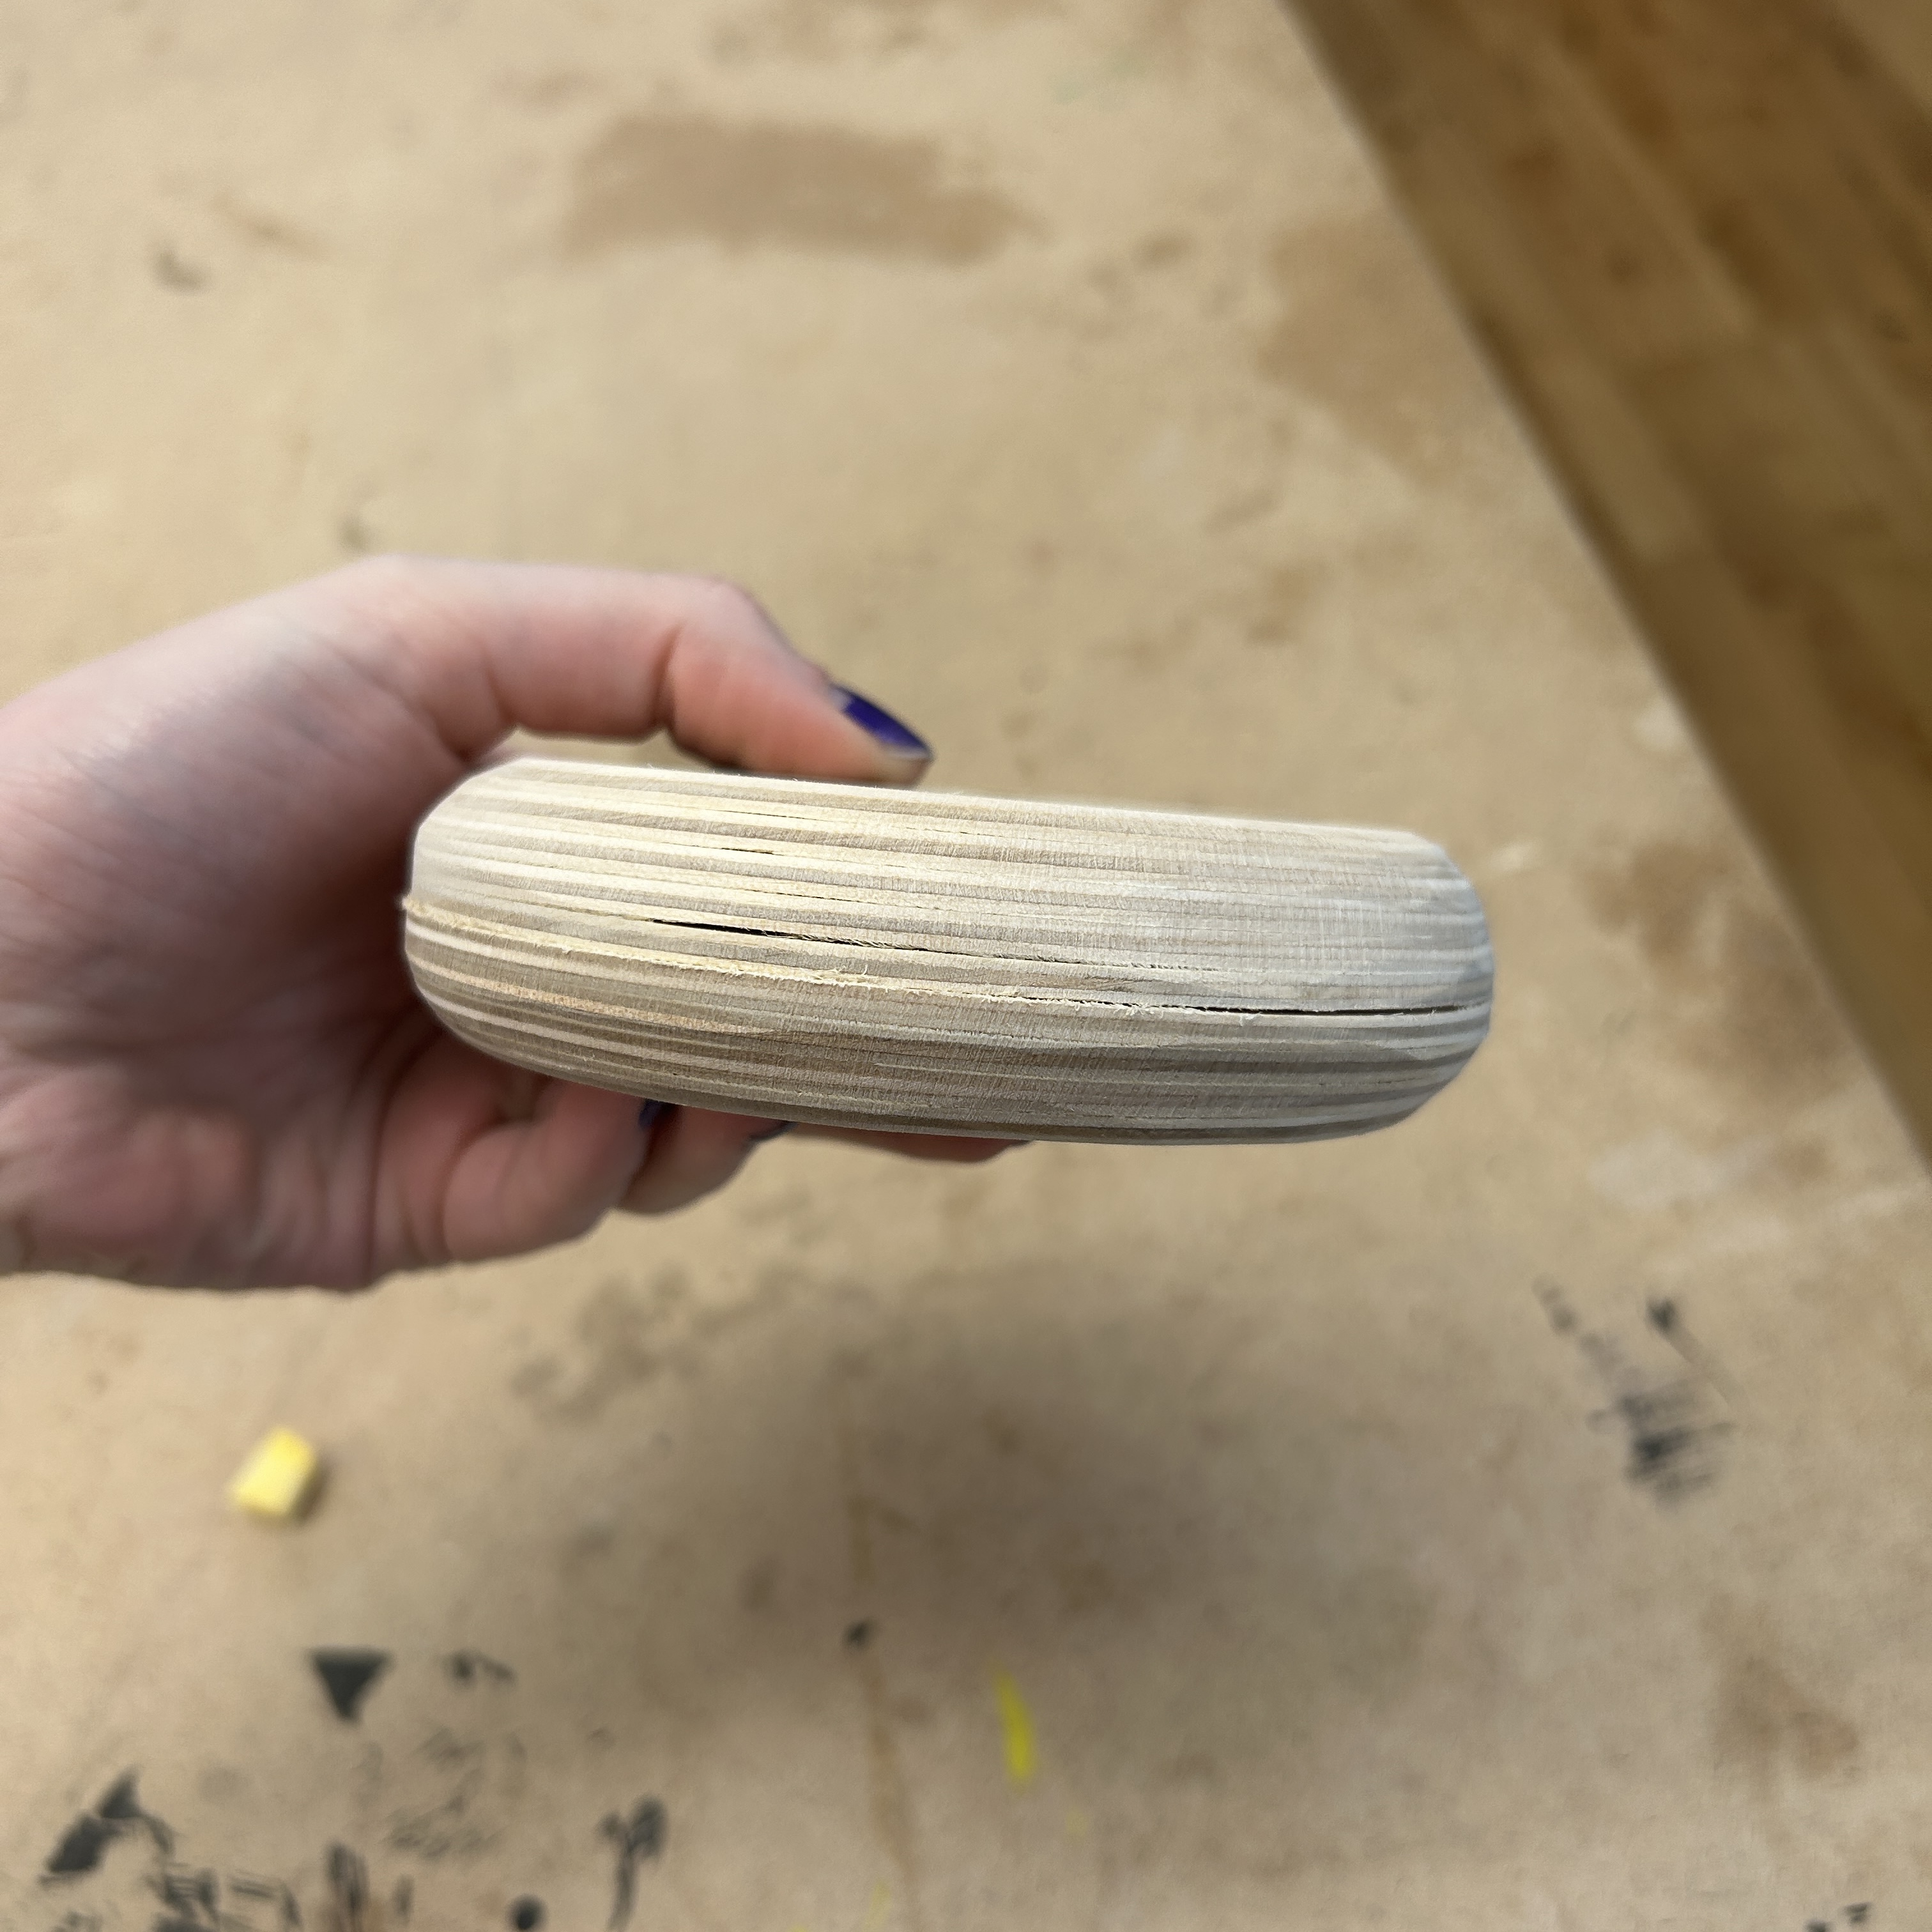
My goal for today was to get rid of the ugly burn marks on the sides. I used a dremel to sand off the top layer, and it made a huge difference! I also cut a few more top bun pieces to give it some height. I glued the 2 slices of each food together and left it to dry. Tomorrow I plan to round out the corners of the top and bottom bun.


DAY 3:
Today I finished sanding. So much sanding. I went back over all the edges with the dremel to get off the dried glue, and sanded the faces of each piece to get rid of remaining discoloration from the laser cutter. From there, I took the top and bottom buns to the belt sander and very carefully rounded out the edges. This took a while. After that, I attached a little piece of foam under the top of the bun so that I could press the button easily.